Directions
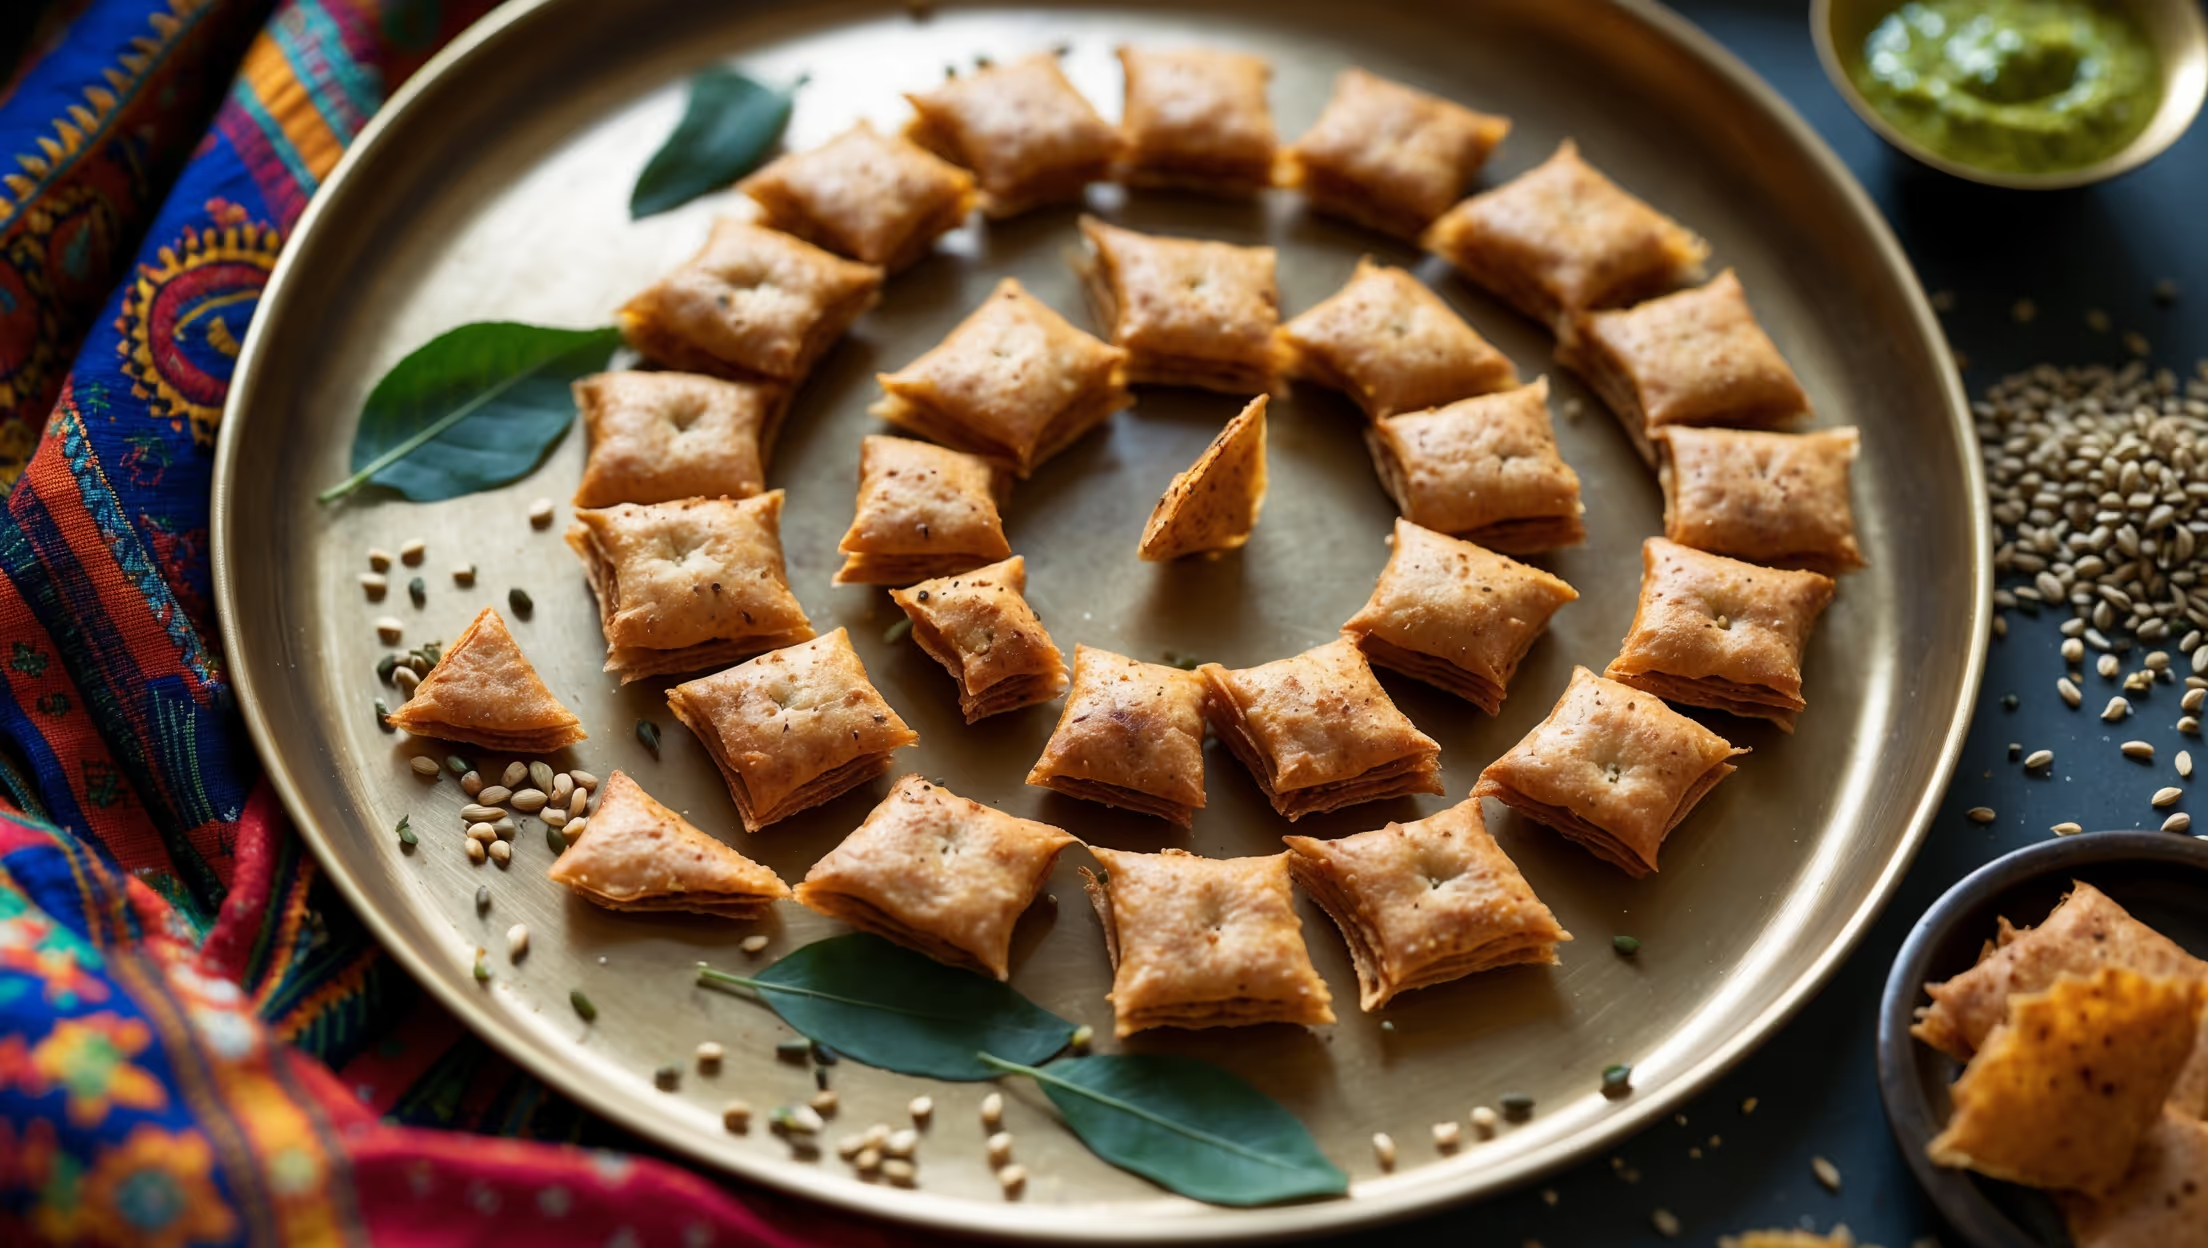
<ol class="no-list-style"><li class="MethodStepper"><h4 class="step-title">Step 1</h4>Begin by crushing the dried fenugreek leaves between your palms to make them finer. This helps distribute the flavor evenly throughout the dough and prevents large pieces from tearing the delicate mathiya dough later.</li><li class="MethodStepper"><h4 class="step-title">Step 2</h4>In a large mixing bowl, combine the whole wheat flour, gram flour, rice flour, crushed fenugreek leaves, sesame seeds, carom seeds, cumin seeds, black pepper, red chili powder, turmeric, and salt. The combination of three flours creates the perfect texture - whole wheat for structure, gram flour for binding, and rice flour for crispness.</li><li class="MethodStepper"><h4 class="step-title">Step 3</h4>Add the 3 tablespoons of oil to the flour mixture and rub it in with your fingertips until the mixture resembles coarse breadcrumbs. This step is crucial as the oil coats the flour particles, creating flaky layers in the finished mathiya.</li><li class="MethodStepper"><h4 class="step-title">Step 4</h4>Gradually add water, a little at a time, kneading gently to form a smooth, firm dough that isn't sticky but holds together well. The dough should be slightly firmer than chapati dough. Cover with a damp cloth and let it rest for 30 minutes. This resting period allows the gluten to relax, making the dough easier to roll thinly.</li><li class="MethodStepper"><h4 class="step-title">Step 5</h4>After resting, divide the dough into 12-15 equal portions and shape them into smooth balls. Keep them covered with a damp cloth to prevent drying out while you work with one piece at a time.</li><li class="MethodStepper"><h4 class="step-title">Step 6</h4>Take one ball of dough and flatten it slightly with your palm. Dust your work surface lightly with whole wheat flour and roll the dough into a very thin circle, approximately 15-18cm in diameter. The mathiya should be almost translucent - the thinner you roll it, the crispier your final result will be.</li><li class="MethodStepper"><h4 class="step-title">Step 7</h4>Heat oil in a deep pan to 180°C. To check if the oil is ready without a thermometer, drop a small piece of dough in the oil - it should rise to the surface immediately surrounded by bubbles, but shouldn't brown too quickly.</li><li class="MethodStepper"><h4 class="step-title">Step 8</h4>Carefully slide the rolled mathiya into the hot oil. It will sink initially and then rise to the surface. Gently press it down with the slotted spoon to ensure even frying and to prevent it from puffing up too much. We want crisp layers, not a puffy result.</li><li class="MethodStepper"><h4 class="step-title">Step 9</h4>Fry for about 30-40 seconds on each side until the mathiya turns light golden brown with some darker spots. Don't let it become too dark as it will continue to darken slightly after removing from the oil and may taste bitter if overcooked.</li><li class="MethodStepper"><h4 class="step-title">Step 10</h4>Remove with a slotted spoon, allowing excess oil to drain back into the pan, then transfer to a plate lined with paper towels to absorb any remaining oil.</li><li class="MethodStepper"><h4 class="step-title">Step 11</h4>Repeat with the remaining dough balls, adjusting the heat as necessary between batches to maintain the correct temperature. Allow the mathiyas to cool completely before storing, as this is when they develop their characteristic crispness.</li><li class="MethodStepper"><h4 class="step-title">Step 12</h4>Once completely cooled, store in an airtight container where they will keep fresh for up to 2-3 weeks. For the best texture and flavor, serve mathiya with green chutney or as part of a traditional Gujarati farsan (snack) platter.</li></ol>