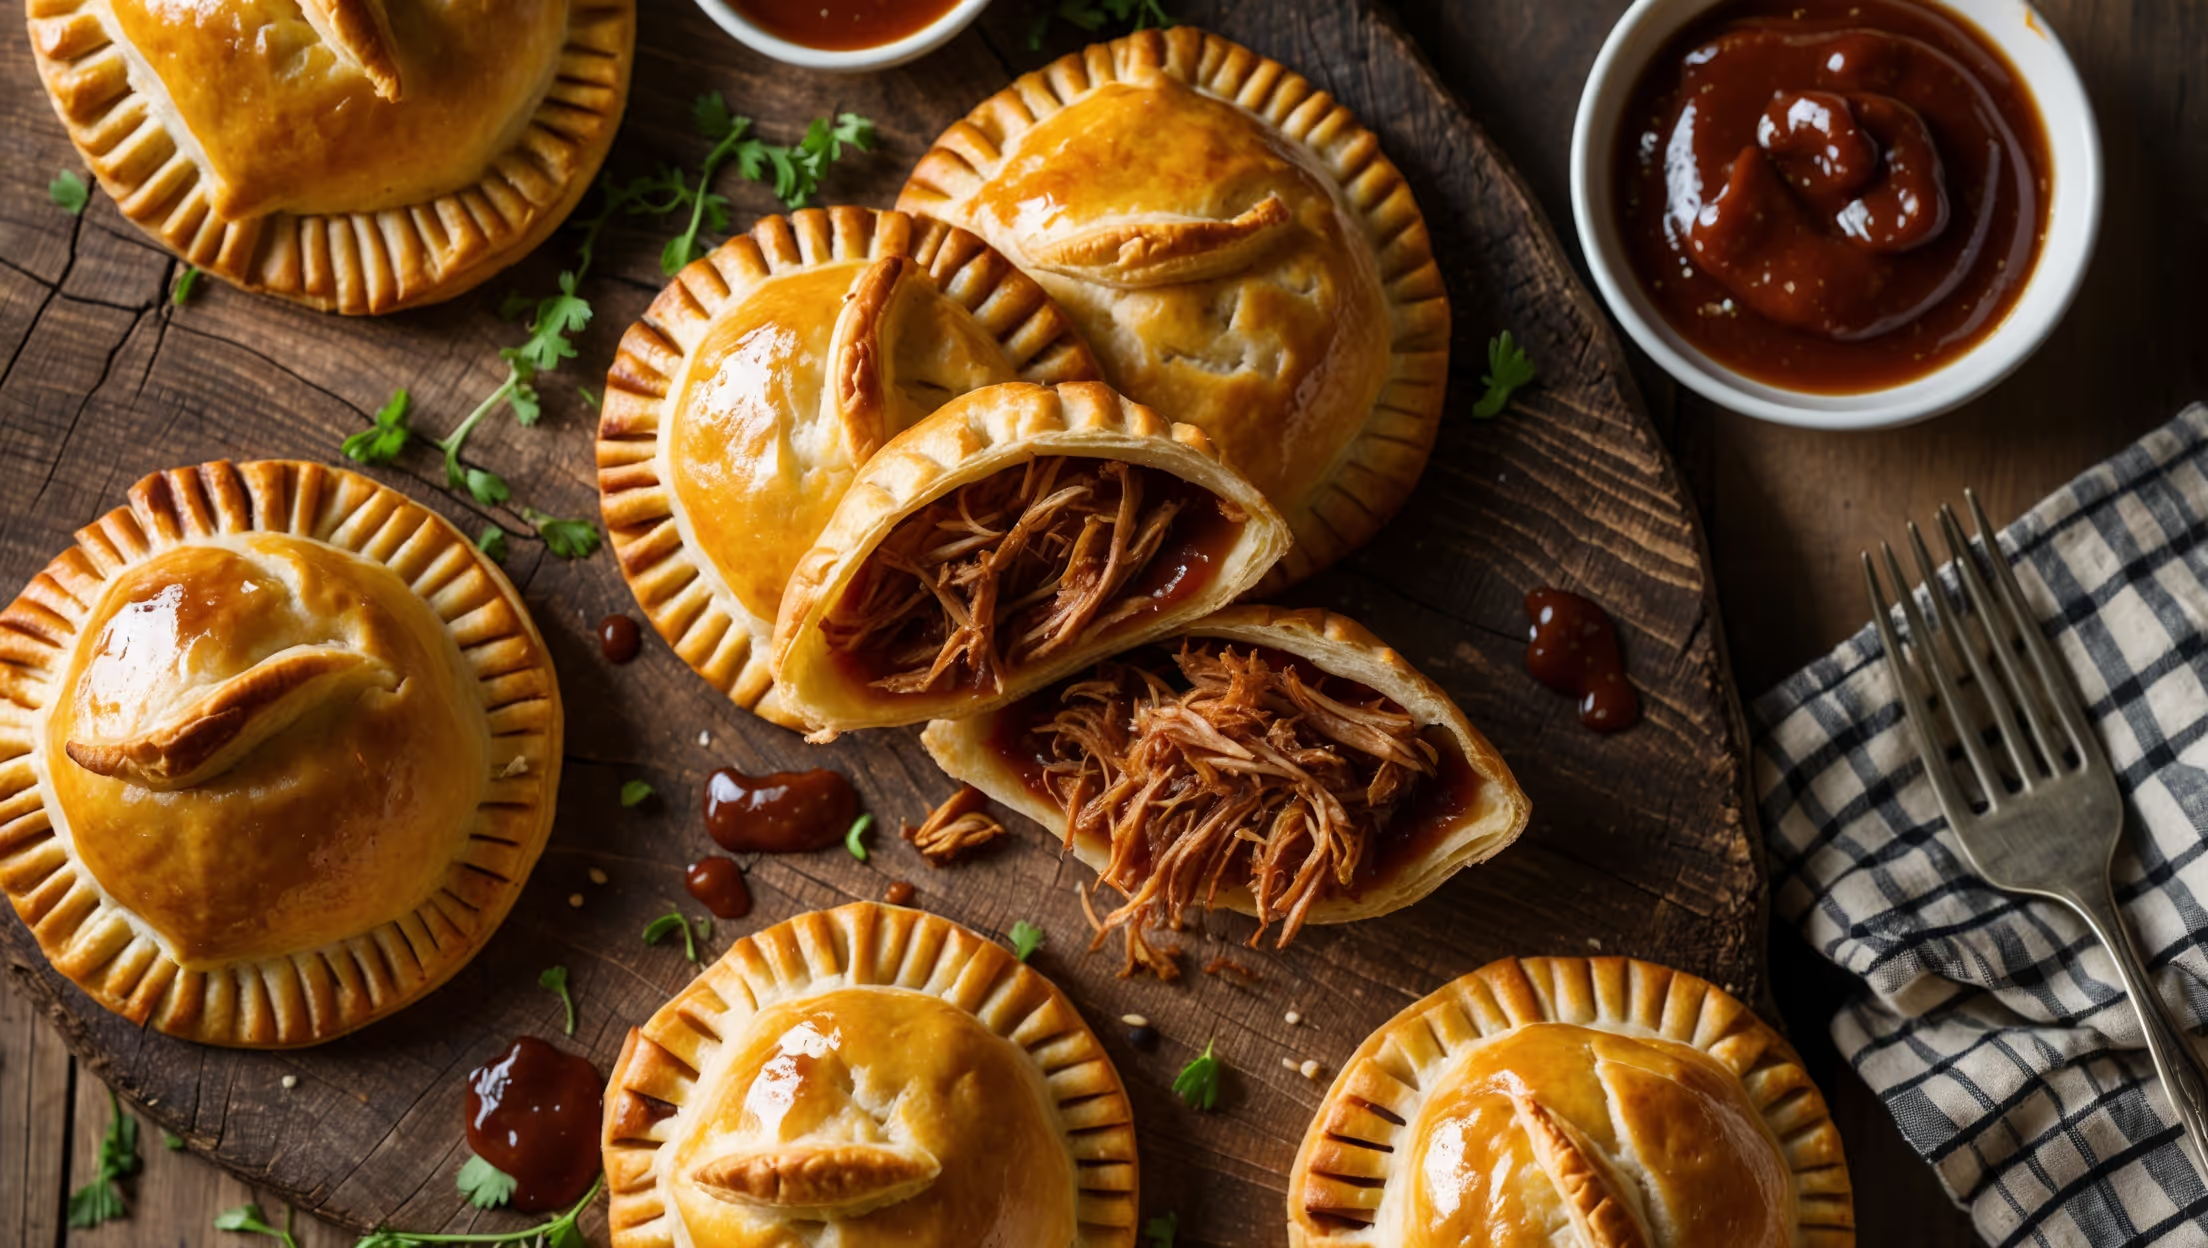
Directions
<ol class="no-list-style"><li class="MethodStepper"><h4 class="step-title">Step 1</h4>Start by making the pastry. In a large bowl or food processor, combine the flour, salt, and sugar. Add the cold cubed butter and pulse or use your fingertips to work it into the flour until the mixture resembles coarse breadcrumbs with some pea-sized butter pieces remaining. These butter pockets will create the flaky layers in your pastry.</li><li class="MethodStepper"><h4 class="step-title">Step 2</h4>Gradually add the ice-cold water, a tablespoon at a time, mixing until the dough just comes together (you may not need all the water). The dough should hold together when squeezed but shouldn't feel wet or sticky. Cold ingredients and minimal handling are crucial for a flaky texture.</li><li class="MethodStepper"><h4 class="step-title">Step 3</h4>Shape the dough into a disc, wrap in plastic wrap, and refrigerate for at least 1 hour. This resting period allows the gluten to relax and the butter to firm up again, which is essential for a flaky result.</li><li class="MethodStepper"><h4 class="step-title">Step 4</h4>While the pastry chills, prepare the filling. Heat the vegetable oil in a large frying pan over medium-high heat. Add the diced chicken and cook until lightly browned, about 5-6 minutes.</li><li class="MethodStepper"><h4 class="step-title">Step 5</h4>Add the minced garlic, grated ginger, and white parts of the spring onions to the pan. Sauté for 1-2 minutes until fragrant, being careful not to burn the garlic as it can become bitter.</li><li class="MethodStepper"><h4 class="step-title">Step 6</h4>In a small bowl, whisk together all the teriyaki sauce ingredients except the cornstarch slurry. Pour into the pan with the chicken and bring to a simmer. Cook for 2-3 minutes, then stir in the cornstarch slurry. Continue to cook, stirring constantly, until the sauce thickens and coats the chicken nicely, about 2 minutes more.</li><li class="MethodStepper"><h4 class="step-title">Step 7</h4>Remove from heat and stir in the green parts of the spring onions. Transfer the filling to a shallow dish and refrigerate until completely cool. Hot filling will melt your pastry, so patience is key here!</li><li class="MethodStepper"><h4 class="step-title">Step 8</h4>Preheat your oven to 200°C (180°C fan/390°F) and line a baking sheet with parchment paper. Remove the chilled dough from the refrigerator and let it sit for 5 minutes to slightly soften.</li><li class="MethodStepper"><h4 class="step-title">Step 9</h4>On a lightly floured surface, roll out the pastry to about 3mm thickness. Using a 10cm round cutter or small bowl as a guide, cut out as many circles as possible. Re-roll scraps to cut more circles until all dough is used. You should get approximately 16 circles.</li><li class="MethodStepper"><h4 class="step-title">Step 10</h4>Place a heaped tablespoon of the cooled chicken filling onto one half of each pastry circle, leaving a 1cm border. Avoid overfilling – it might be tempting, but it will cause your pies to burst during baking.</li><li class="MethodStepper"><h4 class="step-title">Step 11</h4>Brush the edges with a little beaten egg, then fold the empty half over the filling to create a half-moon shape. Press the edges firmly to seal, then use a fork to crimp the edges decoratively and ensure they're well-sealed.</li><li class="MethodStepper"><h4 class="step-title">Step 12</h4>Transfer the hand pies to the prepared baking sheet, spacing them about 3cm apart. Brush the tops with beaten egg for a golden shine, then sprinkle with sesame seeds. Use a small knife to cut a small vent in the top of each pie to allow steam to escape during baking.</li><li class="MethodStepper"><h4 class="step-title">Step 13</h4>Bake in the preheated oven for 25-30 minutes, until the pastry is golden brown and crisp. If the pies are browning too quickly, cover loosely with foil for the remaining baking time.</li><li class="MethodStepper"><h4 class="step-title">Step 14</h4>Remove from the oven and let cool on the baking sheet for 5 minutes before transferring to a wire rack. The filling will be extremely hot, so allow them to cool for at least 10 minutes before serving to avoid burnt mouths! These hand pies are delicious warm or at room temperature and can be stored in an airtight container in the refrigerator for up to 3 days, or frozen for up to 3 months.</li></ol>