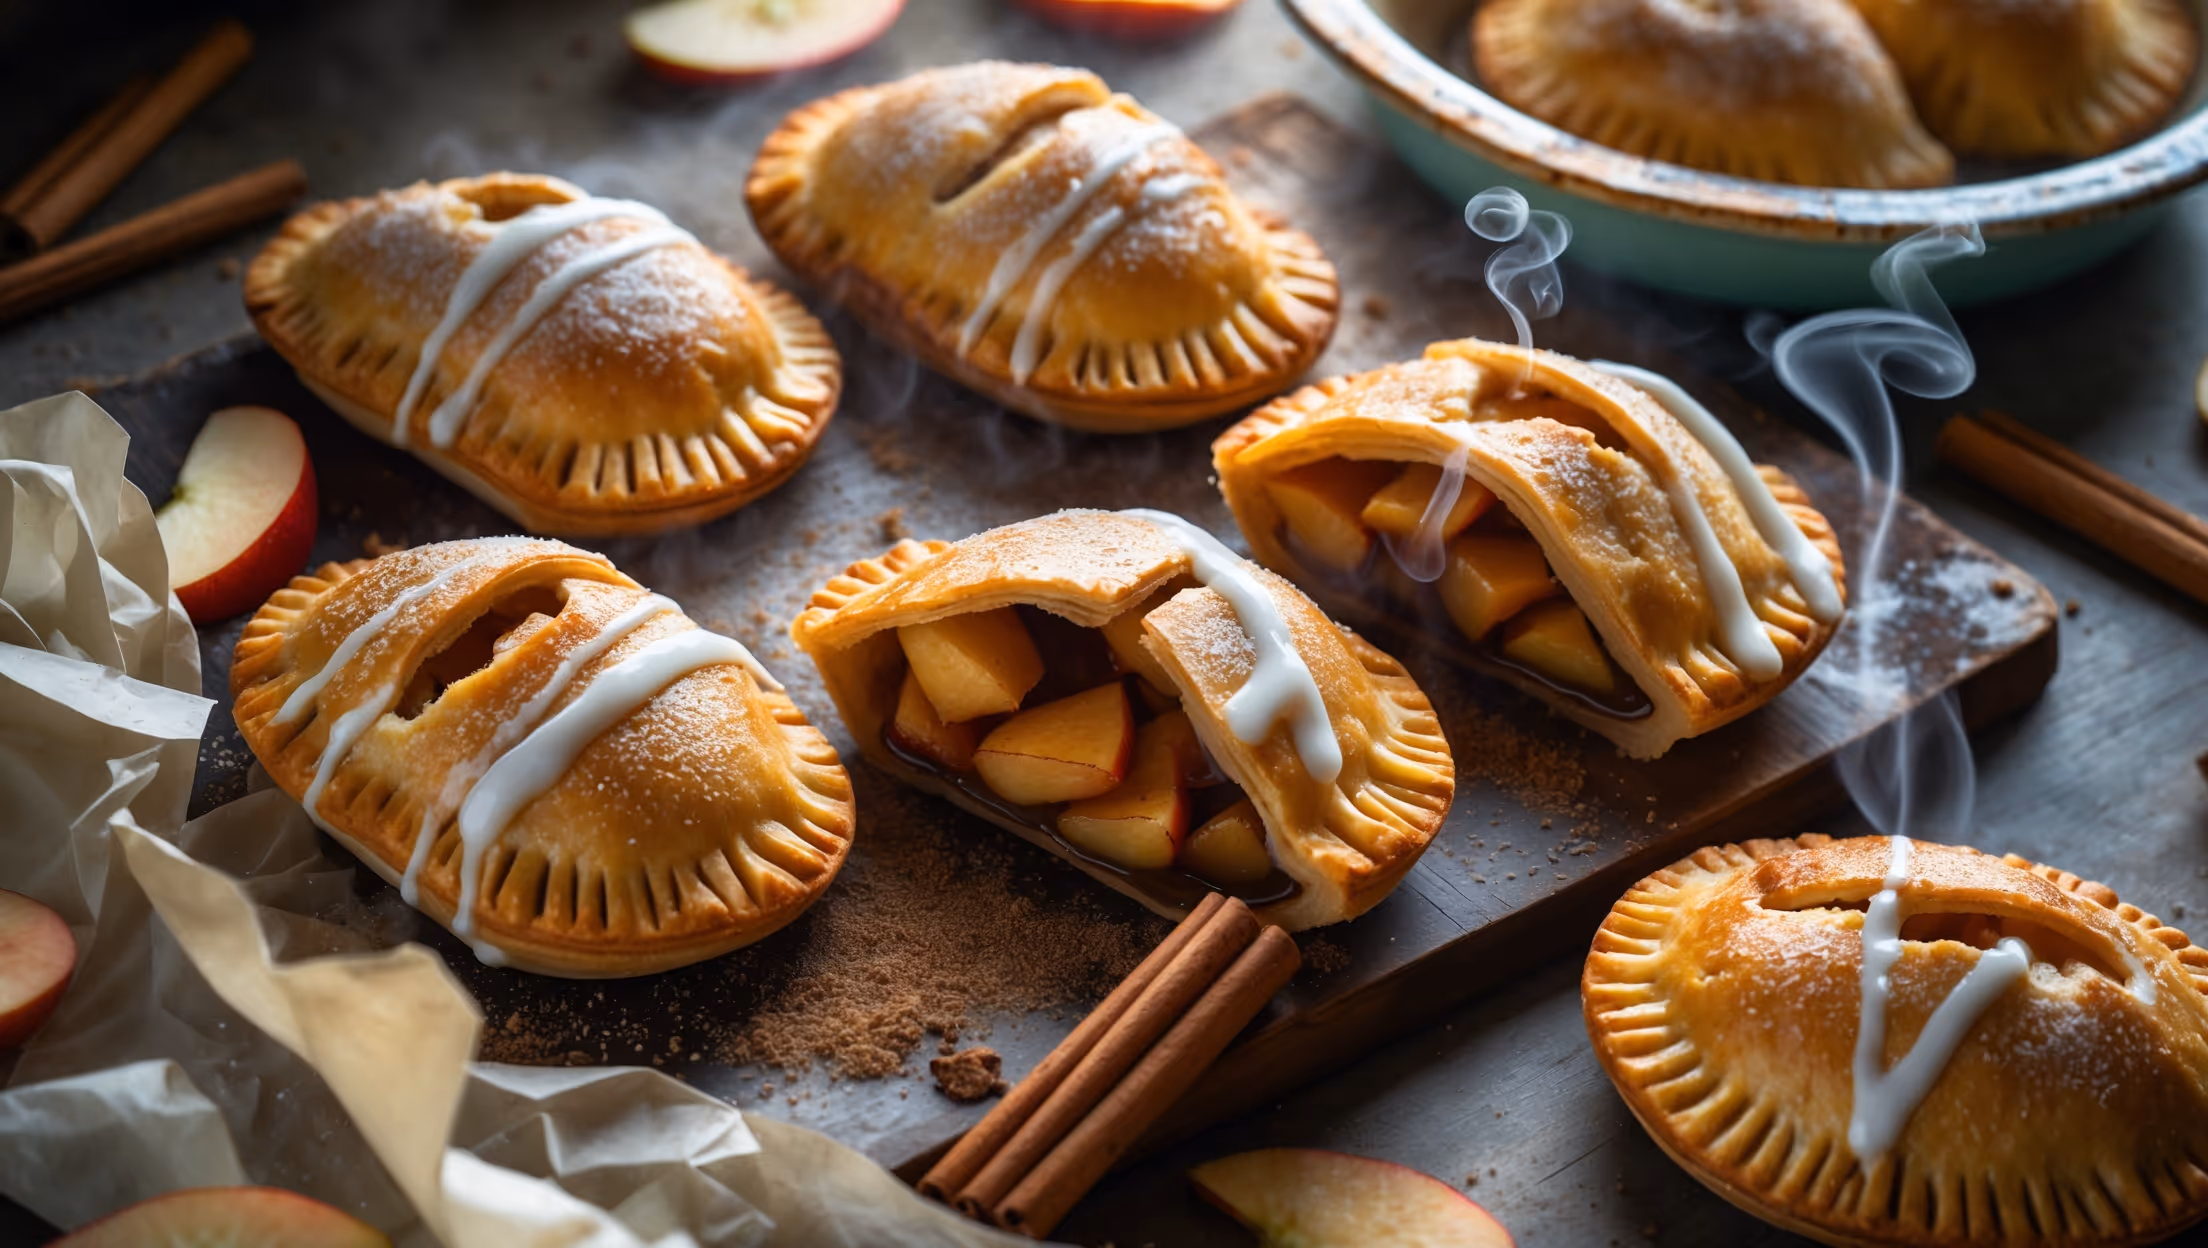
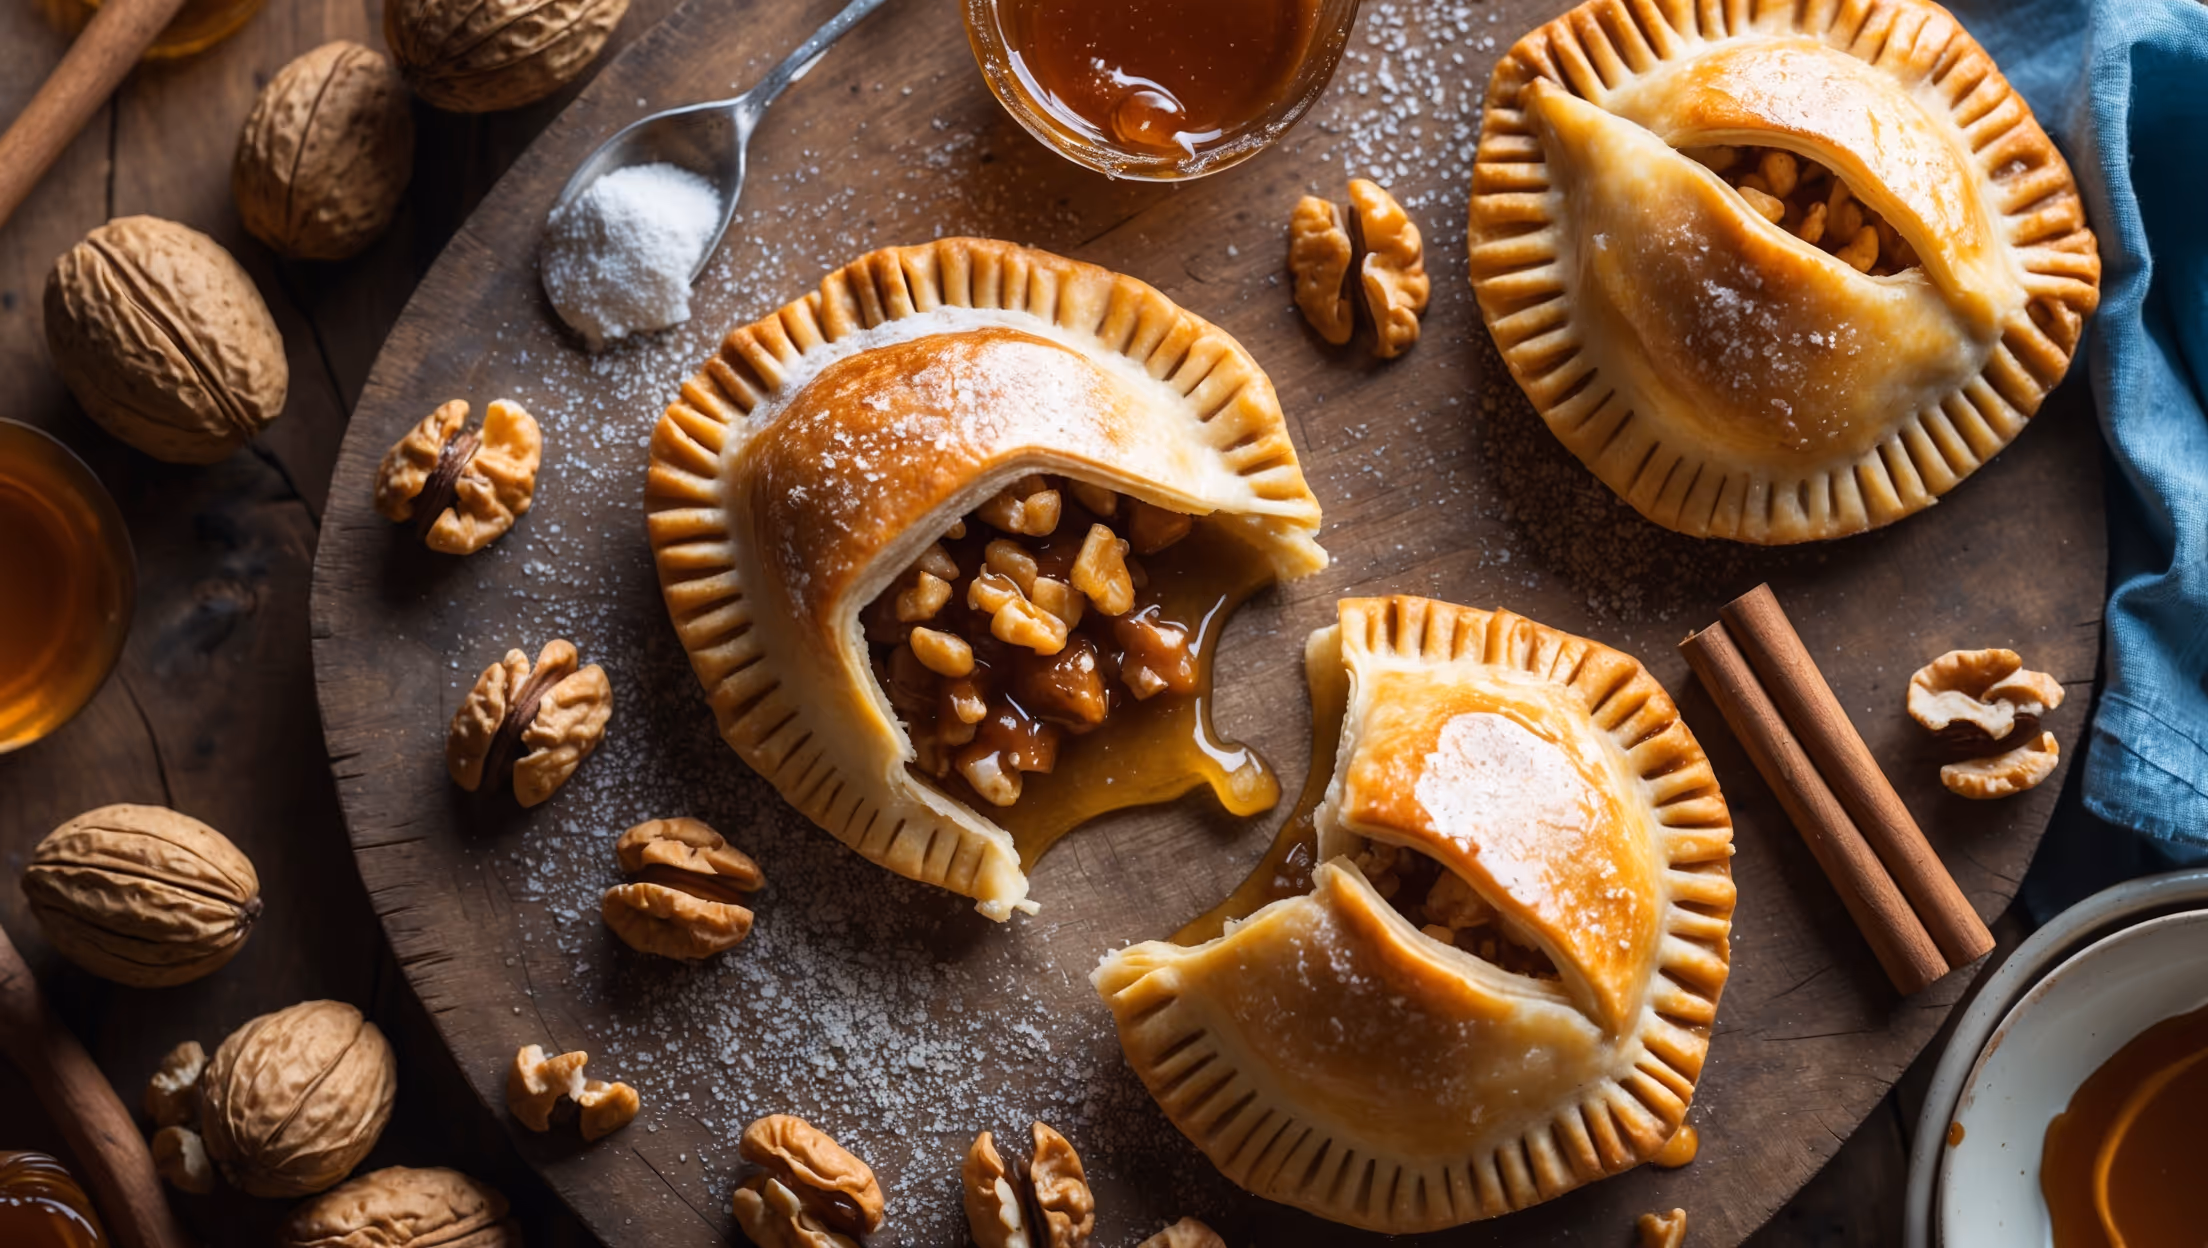
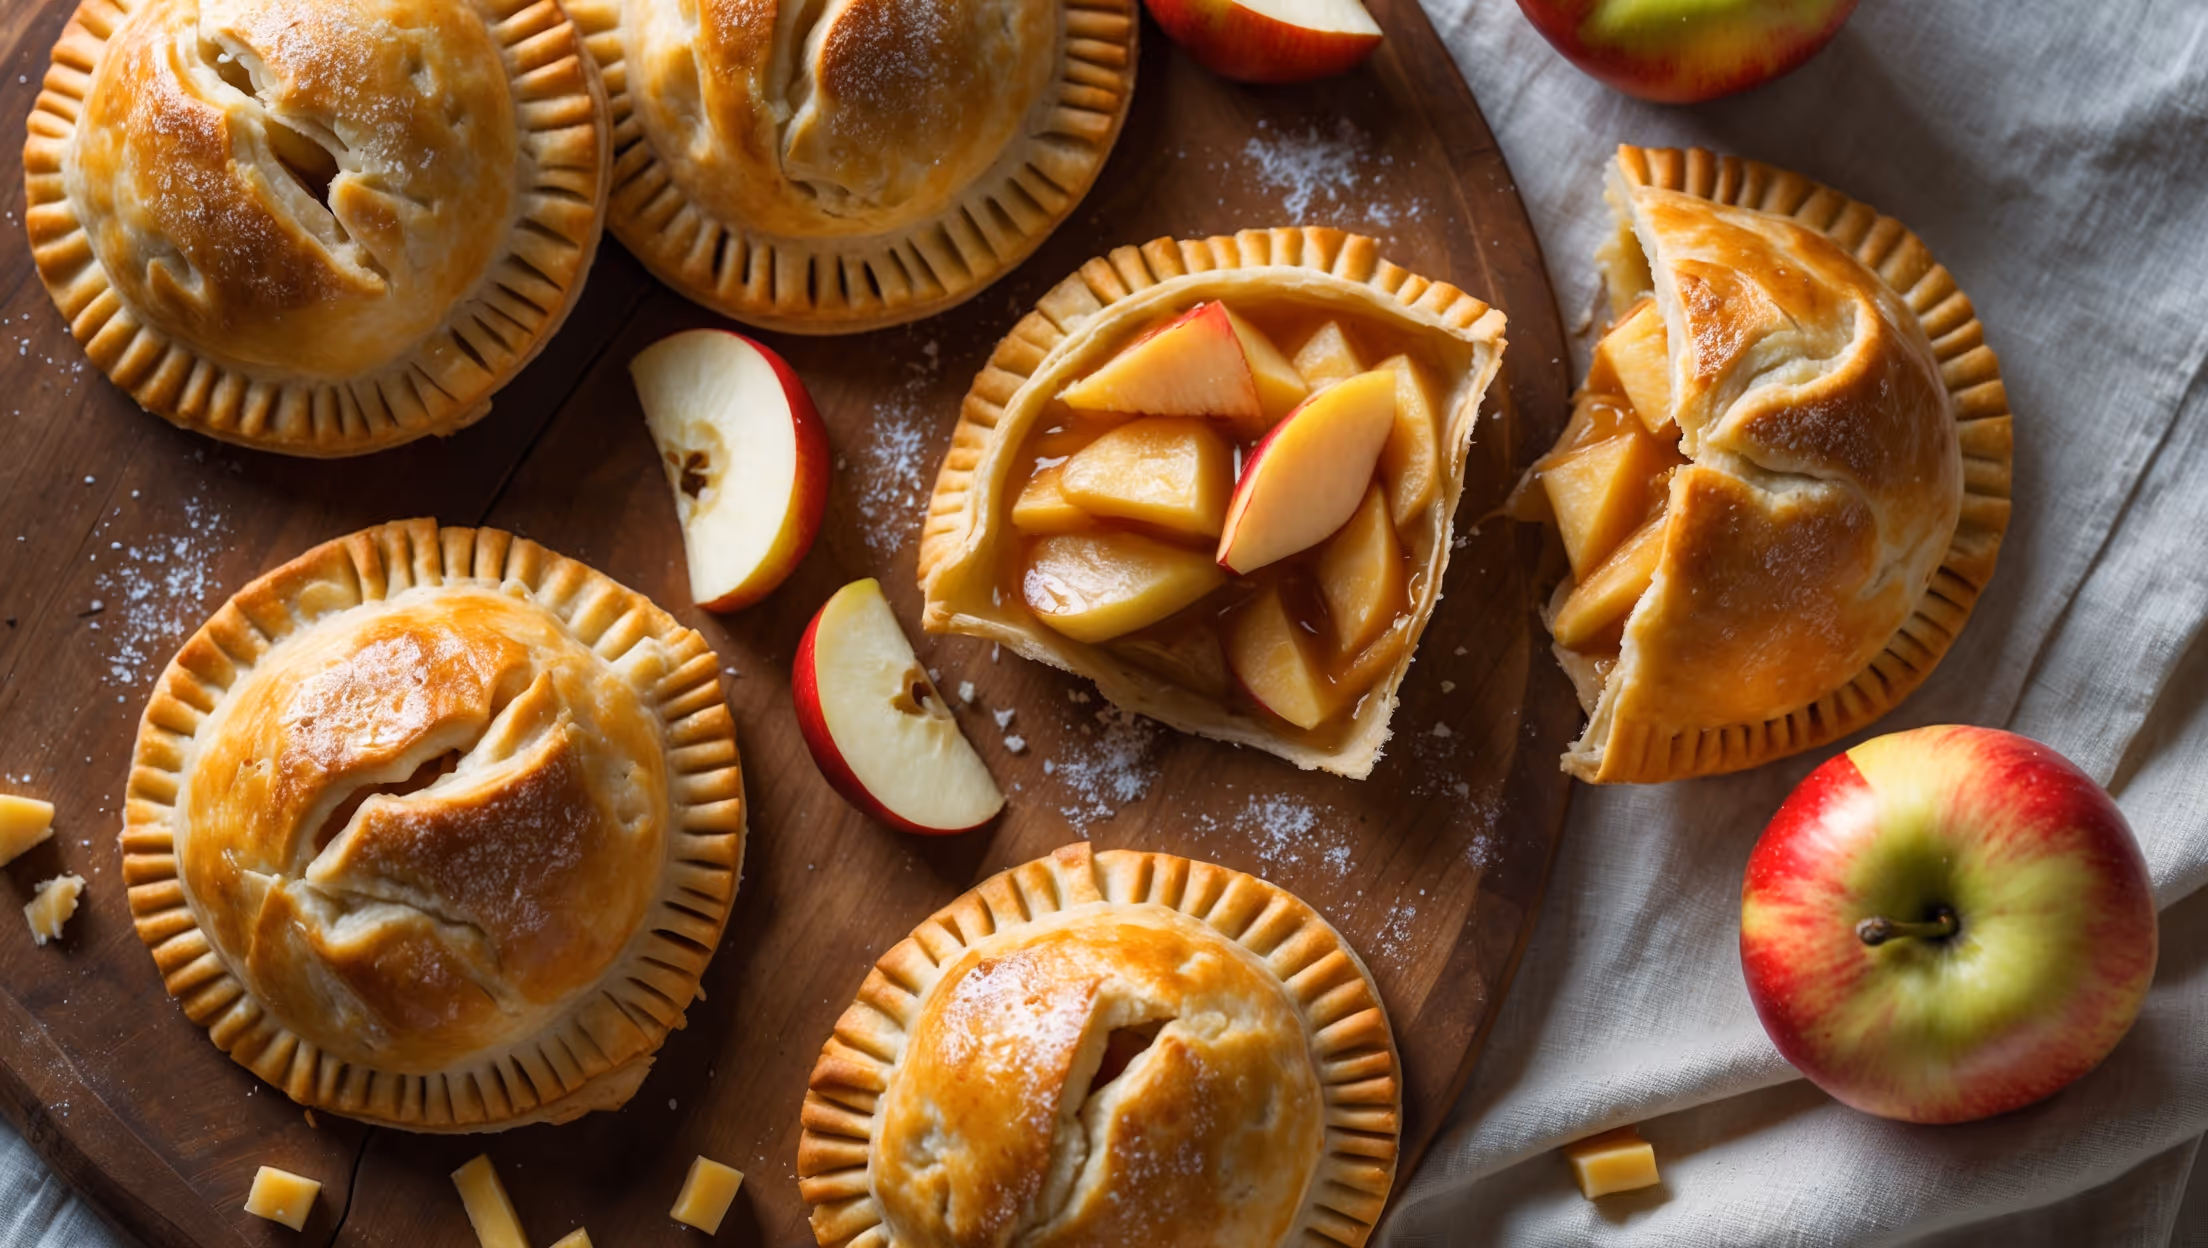
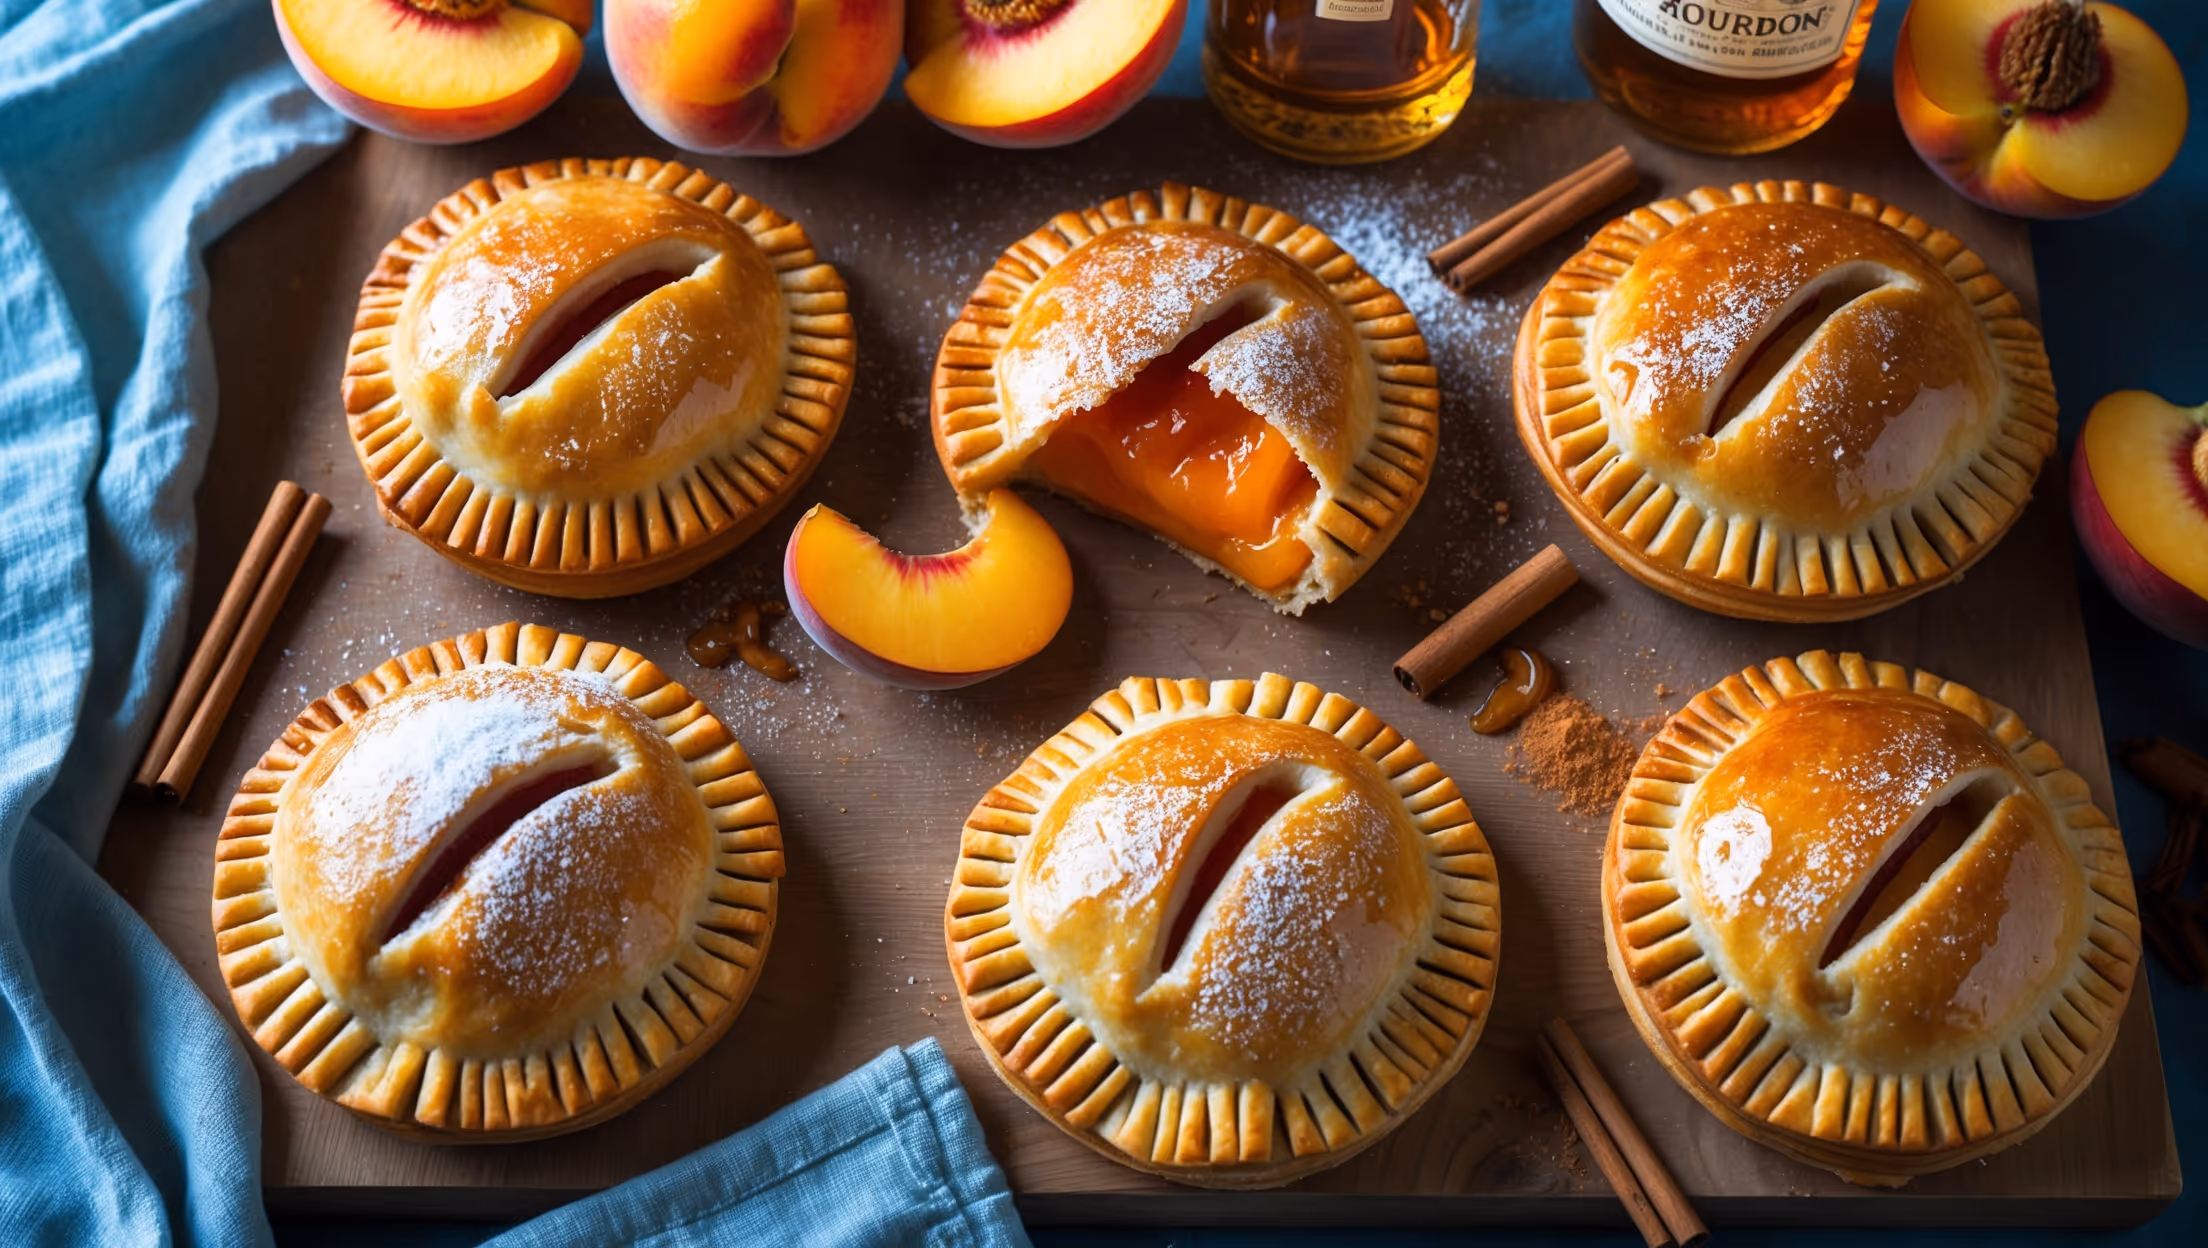
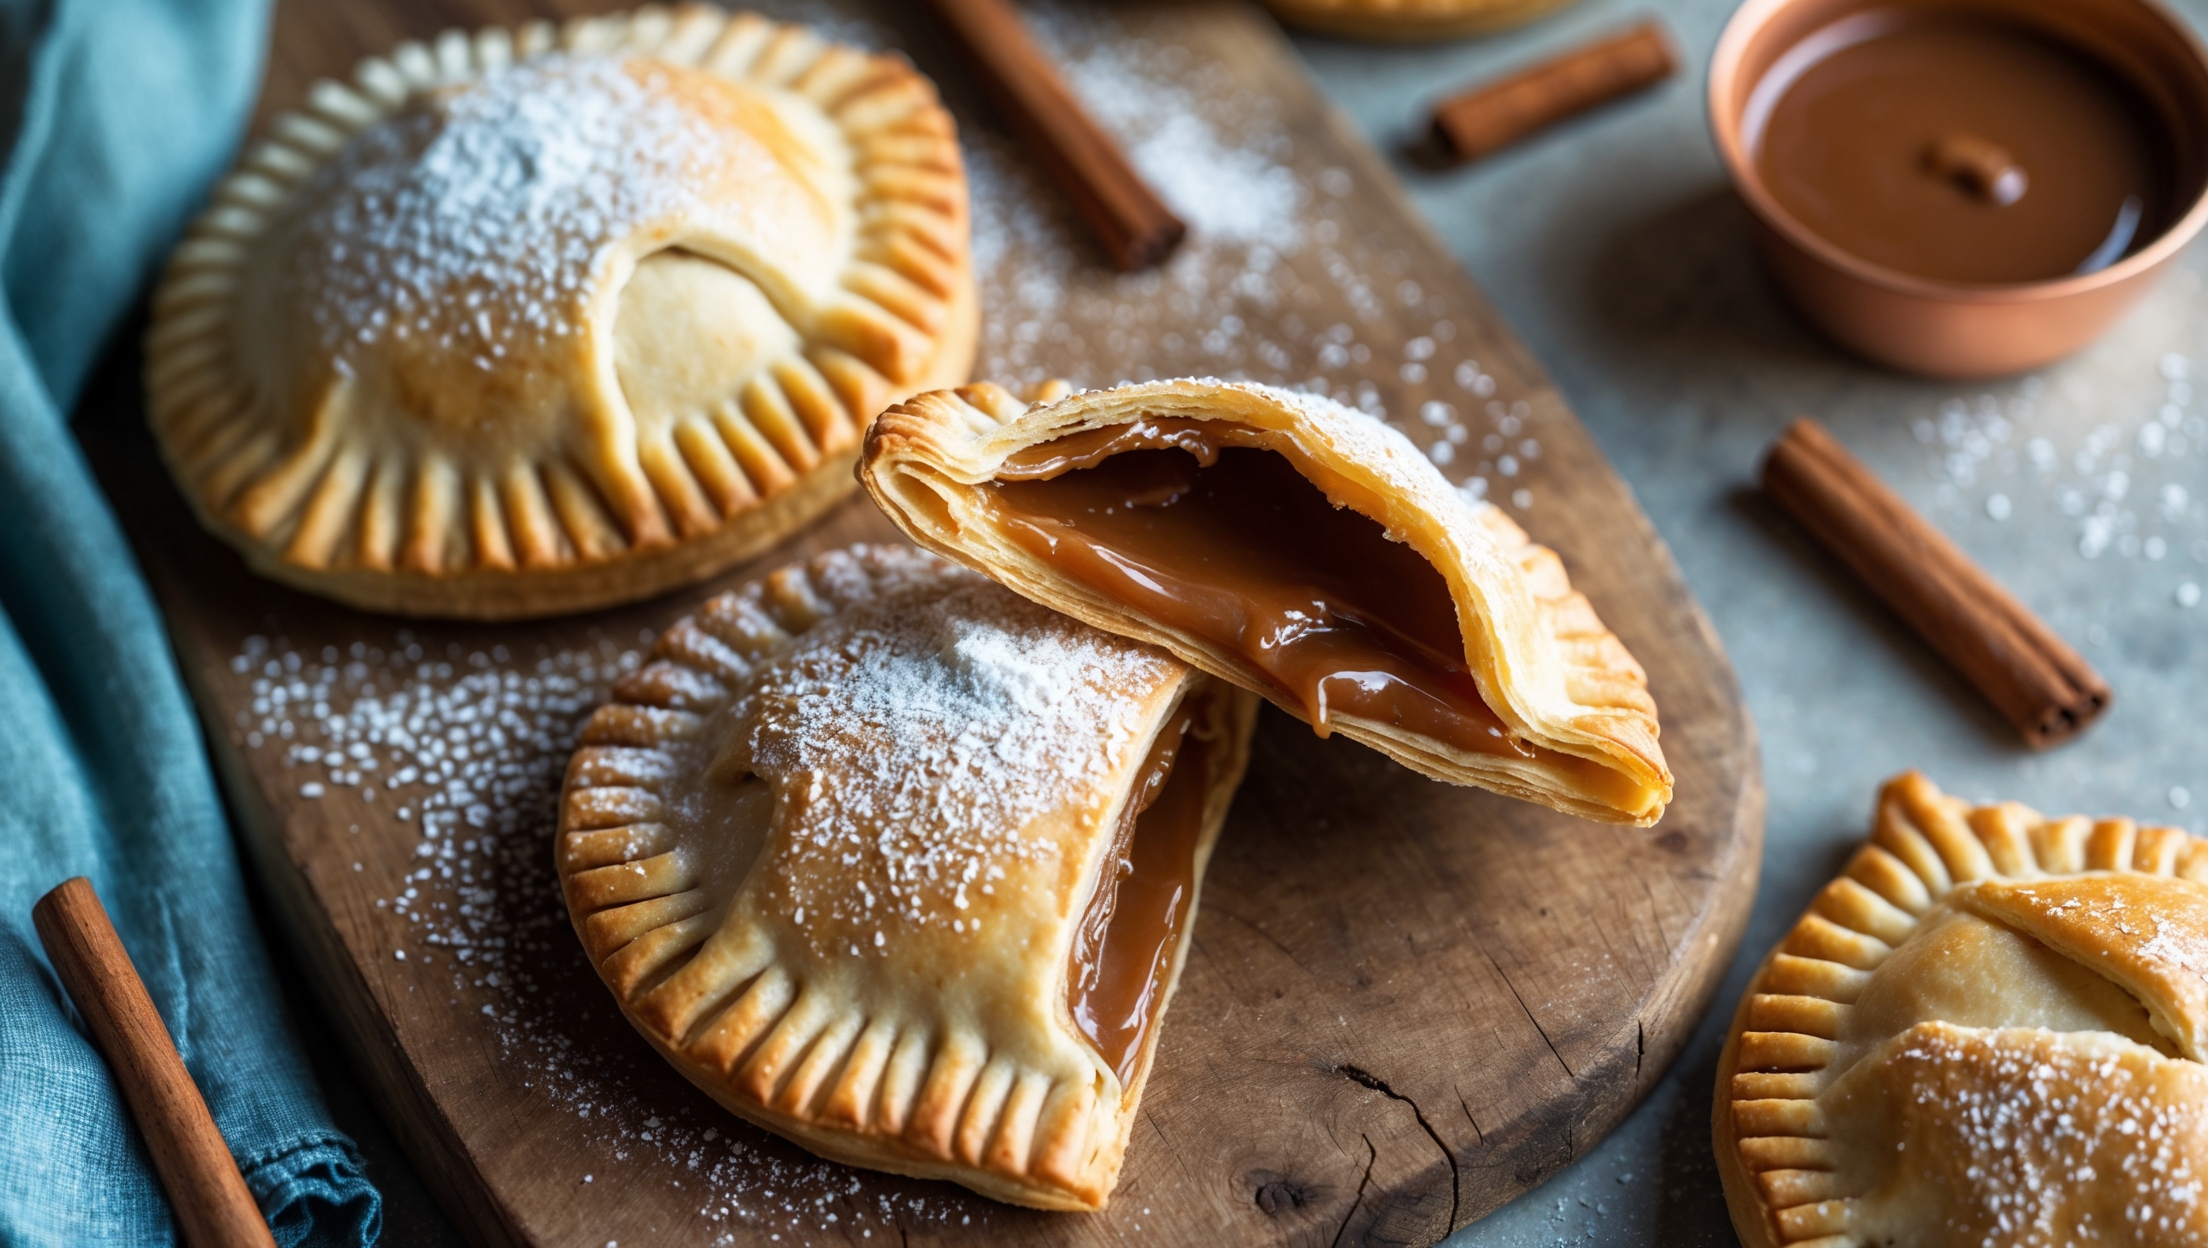
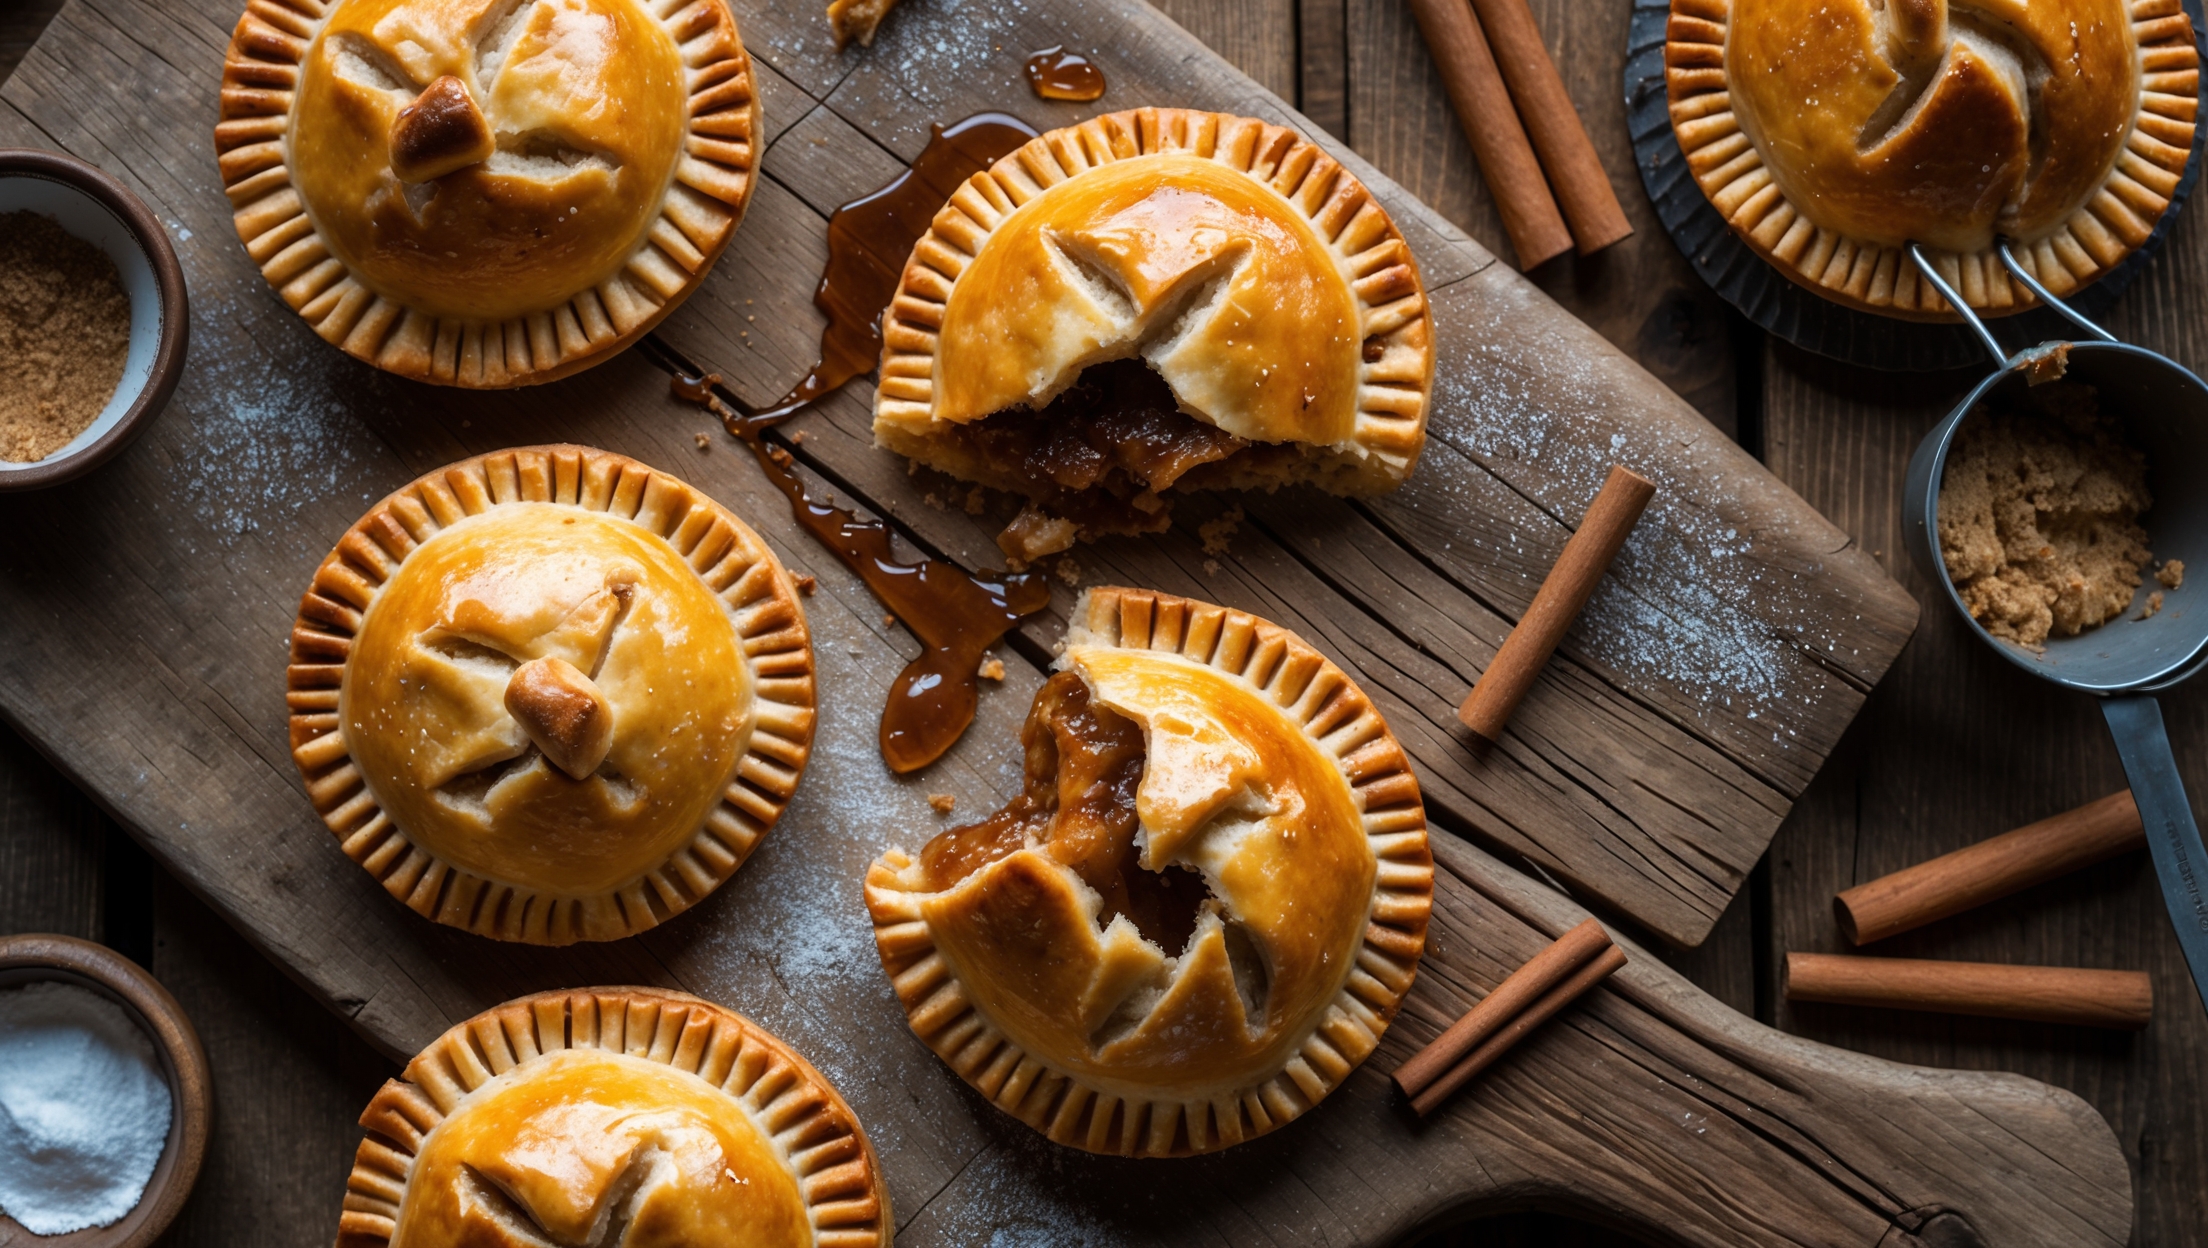
Brown Sugar Cinnamon Hand Pies Recipe
Ingredients
Equipment
Directions
FAQs
Find answers to your most pressing questions about this delicious recipe right here.
The main ingredients include all-purpose flour, unsalted butter, ice-cold water, dark brown sugar, ground cinnamon, vanilla extract, and an egg for the wash. Optional ingredients include demerara sugar for sprinkling and powdered sugar, milk, and vanilla for the glaze.
Learn how to cook Brown Sugar Cinnamon Hand Pies by making a flaky pastry, preparing a caramelised brown sugar filling, and baking until golden. The key techniques include keeping the butter cold for flaky layers, properly sealing the edges to prevent leakage, cutting steam vents, and chilling the assembled pies before baking at 190°C for 18-22 minutes.
Yes, these hand pies freeze exceptionally well! You can freeze them either before or after baking. For unbaked pies, freeze on a baking sheet until solid, then transfer to freezer bags. For baked pies, freeze unglazed. Reheat frozen baked pies in a 150°C oven for 10 minutes for a fresh-baked taste.
The secret is keeping everything cold! Use ice-cold water, refrigerate the butter before cutting it into the flour, chill the dough for at least an hour, and give the assembled pies a final chill before baking. Those visible butter pockets in the dough create steam while baking, resulting in delicious flaky layers.
To prevent leaking, don't overfill each pie (1 tablespoon of filling is ideal), leave a 1cm border around the edges, properly seal the edges with egg wash, and crimp firmly with a fork. The flour in the filling helps absorb moisture, while cutting proper vents allows steam to escape without bursting the pastry.
Hand Pies
Try following recommended recipes