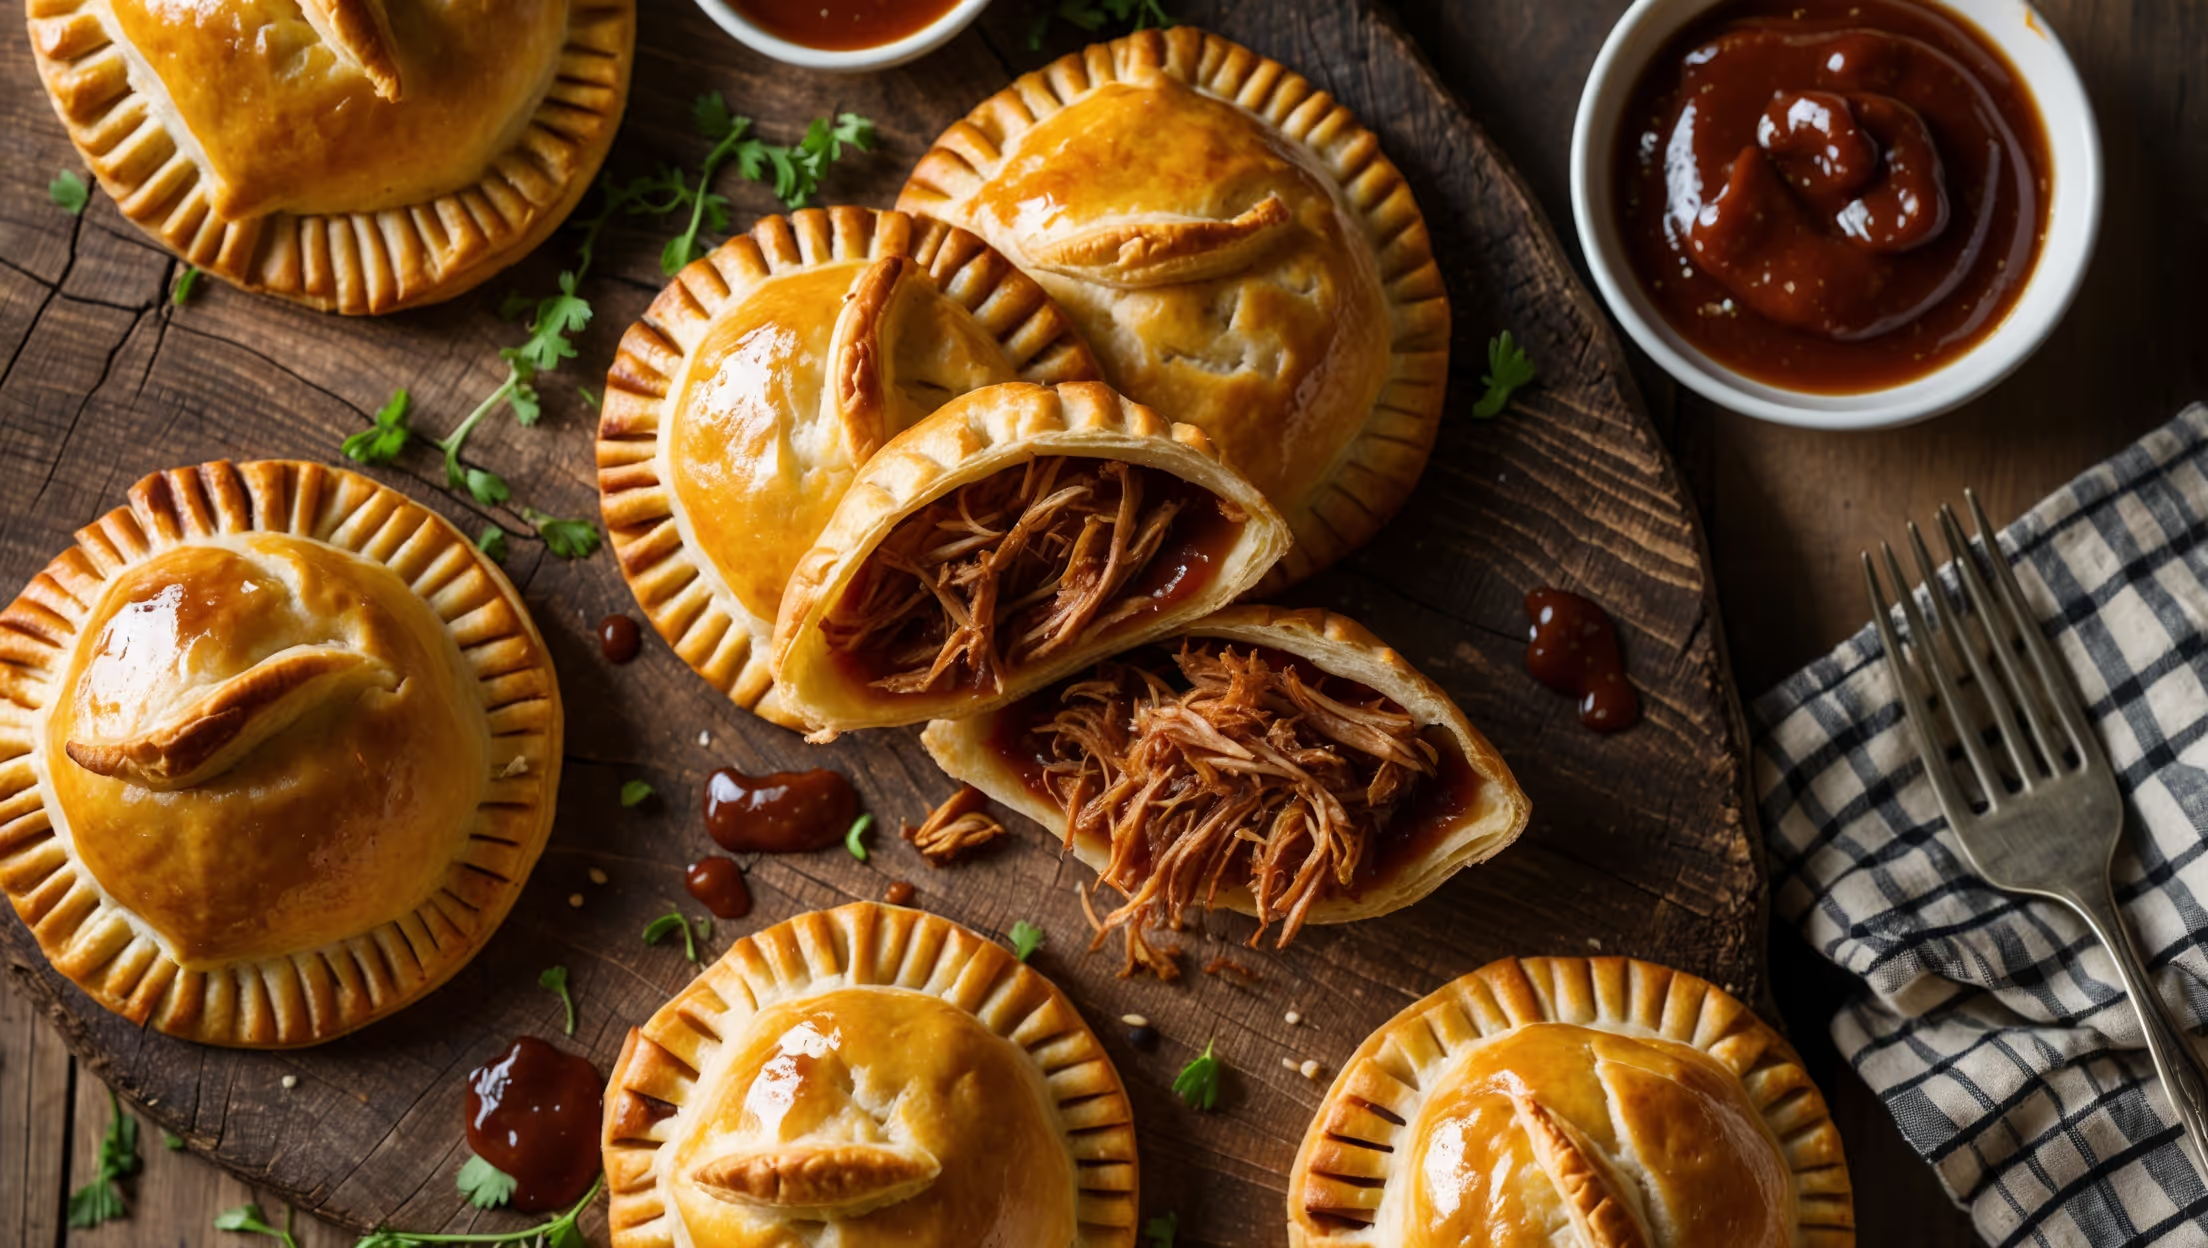
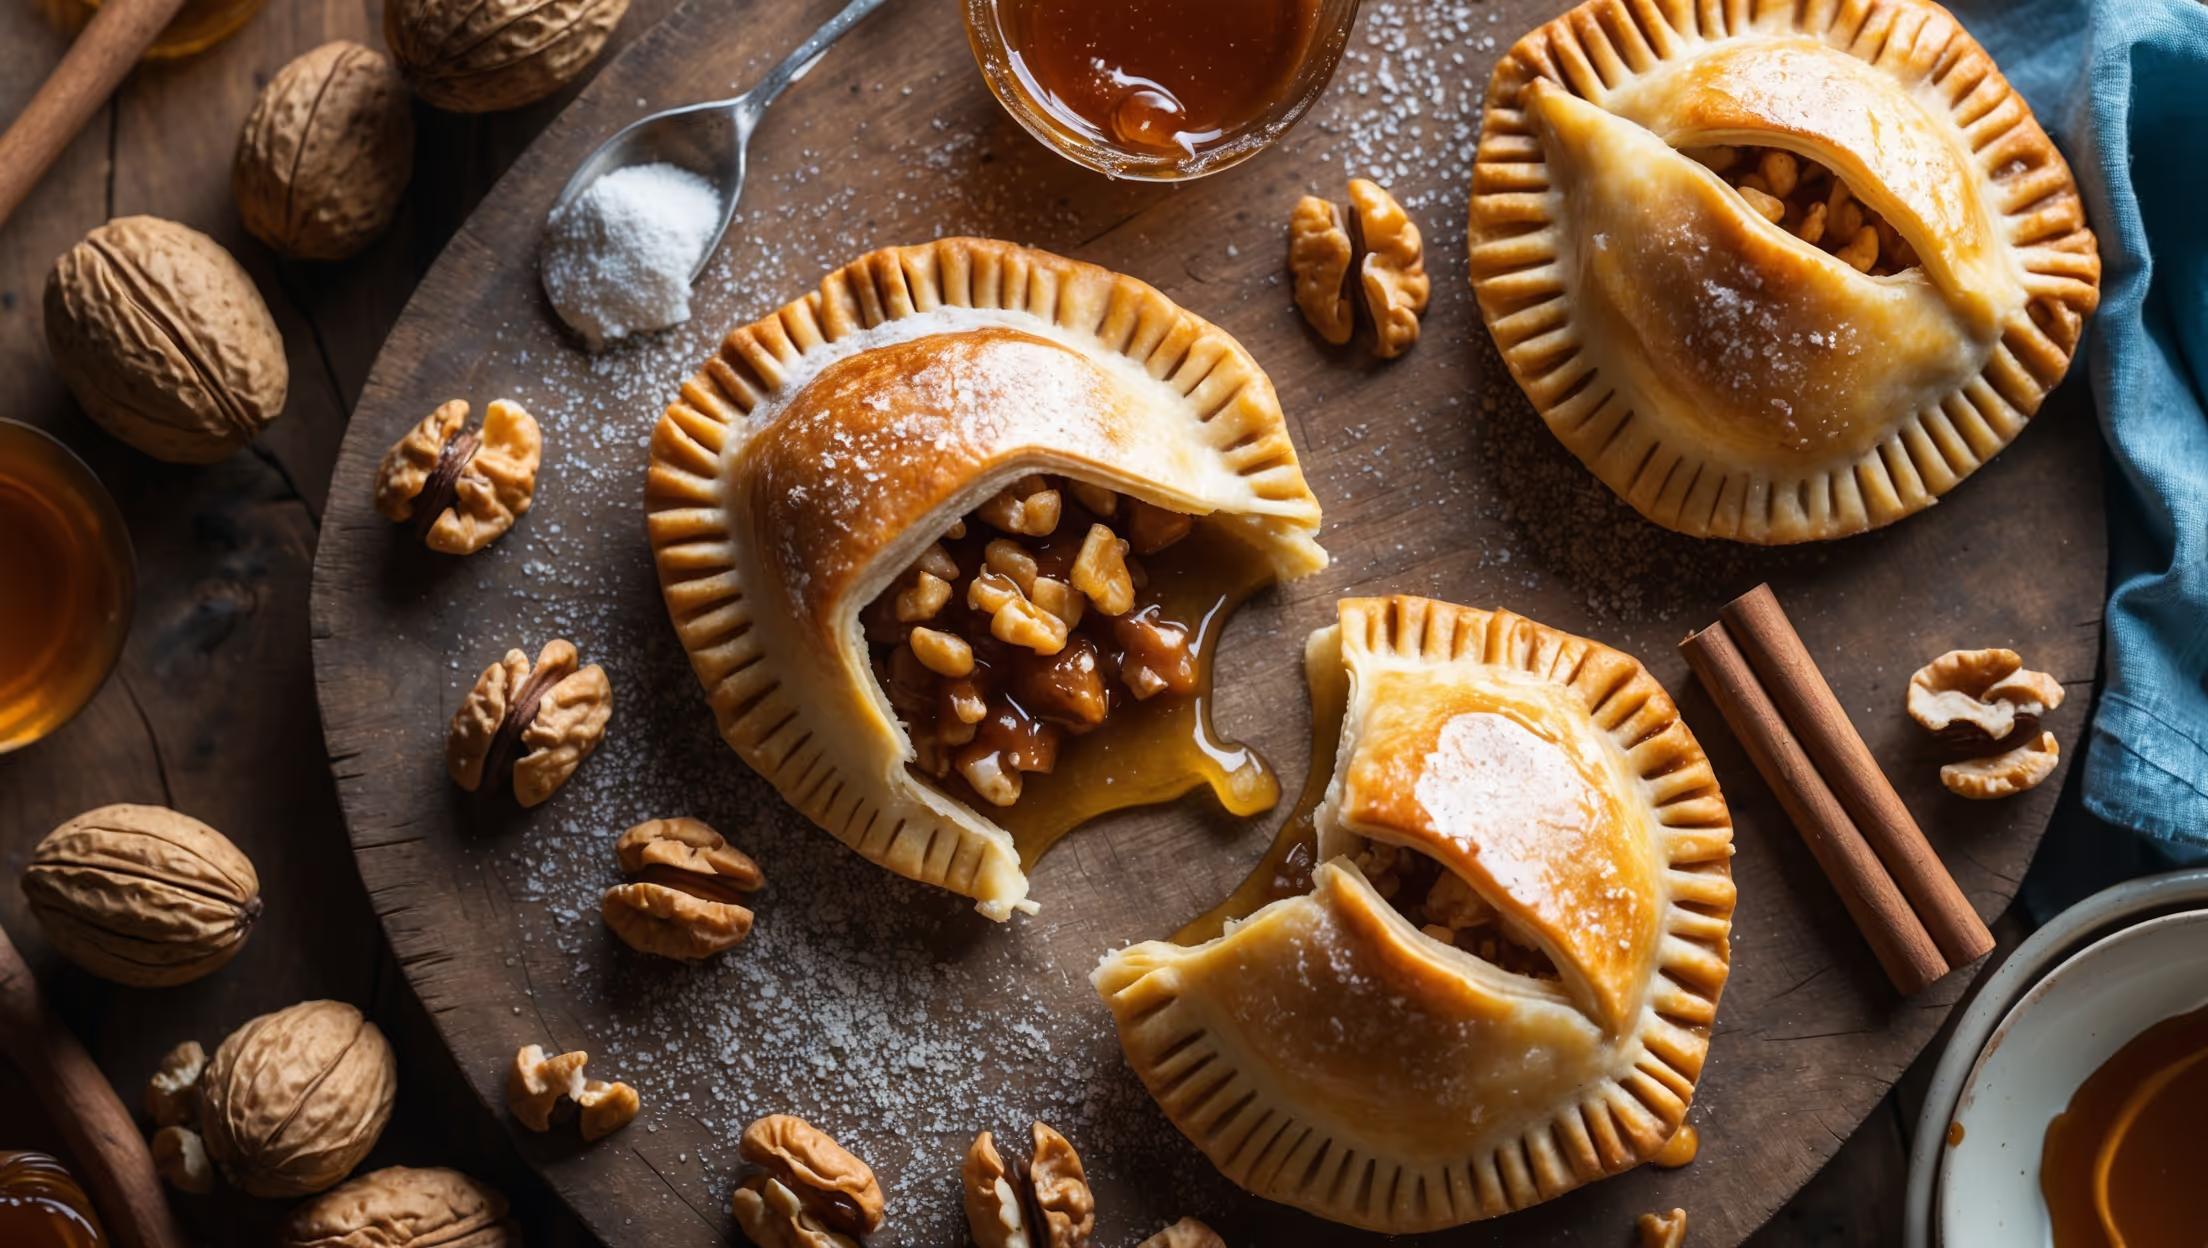
Directions
<ol class="no-list-style"><li class="MethodStepper"><h4 class="step-title">Step 1</h4>Begin by preparing your pastry. In a large bowl or food processor, combine the flour, sugar and salt. Add the cold cubed butter and either rub it in with your fingertips until the mixture resembles breadcrumbs (keeping some larger pea-sized butter pieces which will create flaky layers) or pulse 8-10 times in the food processor. Working with cold butter is crucial as it creates steam pockets during baking that result in flaky layers.</li><li class="MethodStepper"><h4 class="step-title">Step 2</h4>Mix the ice-cold water with the apple cider vinegar. The acid helps prevent gluten development for a more tender crust. Gradually add this liquid to the flour mixture, stirring with a fork or pulsing briefly until the dough just begins to come together. You may not need all the liquid – stop when the dough holds together when pinched.</li><li class="MethodStepper"><h4 class="step-title">Step 3</h4>Turn the dough onto a lightly floured surface and gather it together, being careful not to overwork it. Divide the dough in half and shape each portion into a disc. Wrap in cling film and refrigerate for at least 1 hour, or up to 2 days. This resting period allows the gluten to relax and the moisture to distribute evenly.</li><li class="MethodStepper"><h4 class="step-title">Step 4</h4>While the dough chills, prepare your filling. In a medium saucepan, combine the diced apples, brown sugar, cornflour, spices, and lemon juice. Cook over medium heat, stirring frequently, for about 5-7 minutes until the apples soften slightly and the mixture thickens. The cornflour is essential here as it creates a gel-like consistency that prevents a runny filling. Remove from heat and allow to cool completely. A warm filling would melt the butter in your pastry before baking.</li><li class="MethodStepper"><h4 class="step-title">Step 5</h4>Preheat your oven to 190°C (375°F) and line a baking tray with parchment paper. Remove one disc of dough from the refrigerator. On a lightly floured surface, roll it out to about 3mm thickness. Using a 10cm round cutter or template, cut out as many circles as possible. Re-roll scraps once to cut additional circles. Repeat with the second disc. You should have approximately 16 circles total.</li><li class="MethodStepper"><h4 class="step-title">Step 6</h4>Place a heaped tablespoon of cooled apple filling in the center of half of the dough circles, leaving a 1cm border around the edge. Brush the borders lightly with egg wash, which will act as a glue. Place the remaining dough circles on top of the filled ones, then press the edges together firmly with your fingers to seal.</li><li class="MethodStepper"><h4 class="step-title">Step 7</h4>Crimp the edges with a fork to ensure a proper seal, or crimp by hand for a decorative edge. Cut a small vent in the top of each pie to allow steam to escape during baking – this prevents the filling from bursting through the seams. Transfer the assembled pies to your prepared baking tray and place in the refrigerator for 15 minutes to firm up. This final chilling helps maintain the structure during baking.</li><li class="MethodStepper"><h4 class="step-title">Step 8</h4>Once chilled, brush the tops with egg wash for a beautiful golden shine. Sprinkle with demerara sugar for a delightful crunch and extra sweetness. Bake in the preheated oven for 20-25 minutes, or until the pastry is golden brown and you can see bubbling from the vents.</li><li class="MethodStepper"><h4 class="step-title">Step 9</h4>Allow the pies to cool on the baking tray for 5 minutes before transferring to a wire rack. These hand pies are delicious served warm or at room temperature. The filling will be extremely hot straight from the oven, so exercise caution when taking your first bite! Store any leftovers in an airtight container for up to 2 days, or freeze for up to 3 months. To reheat, warm in a 160°C oven for 10 minutes until heated through.</li></ol>