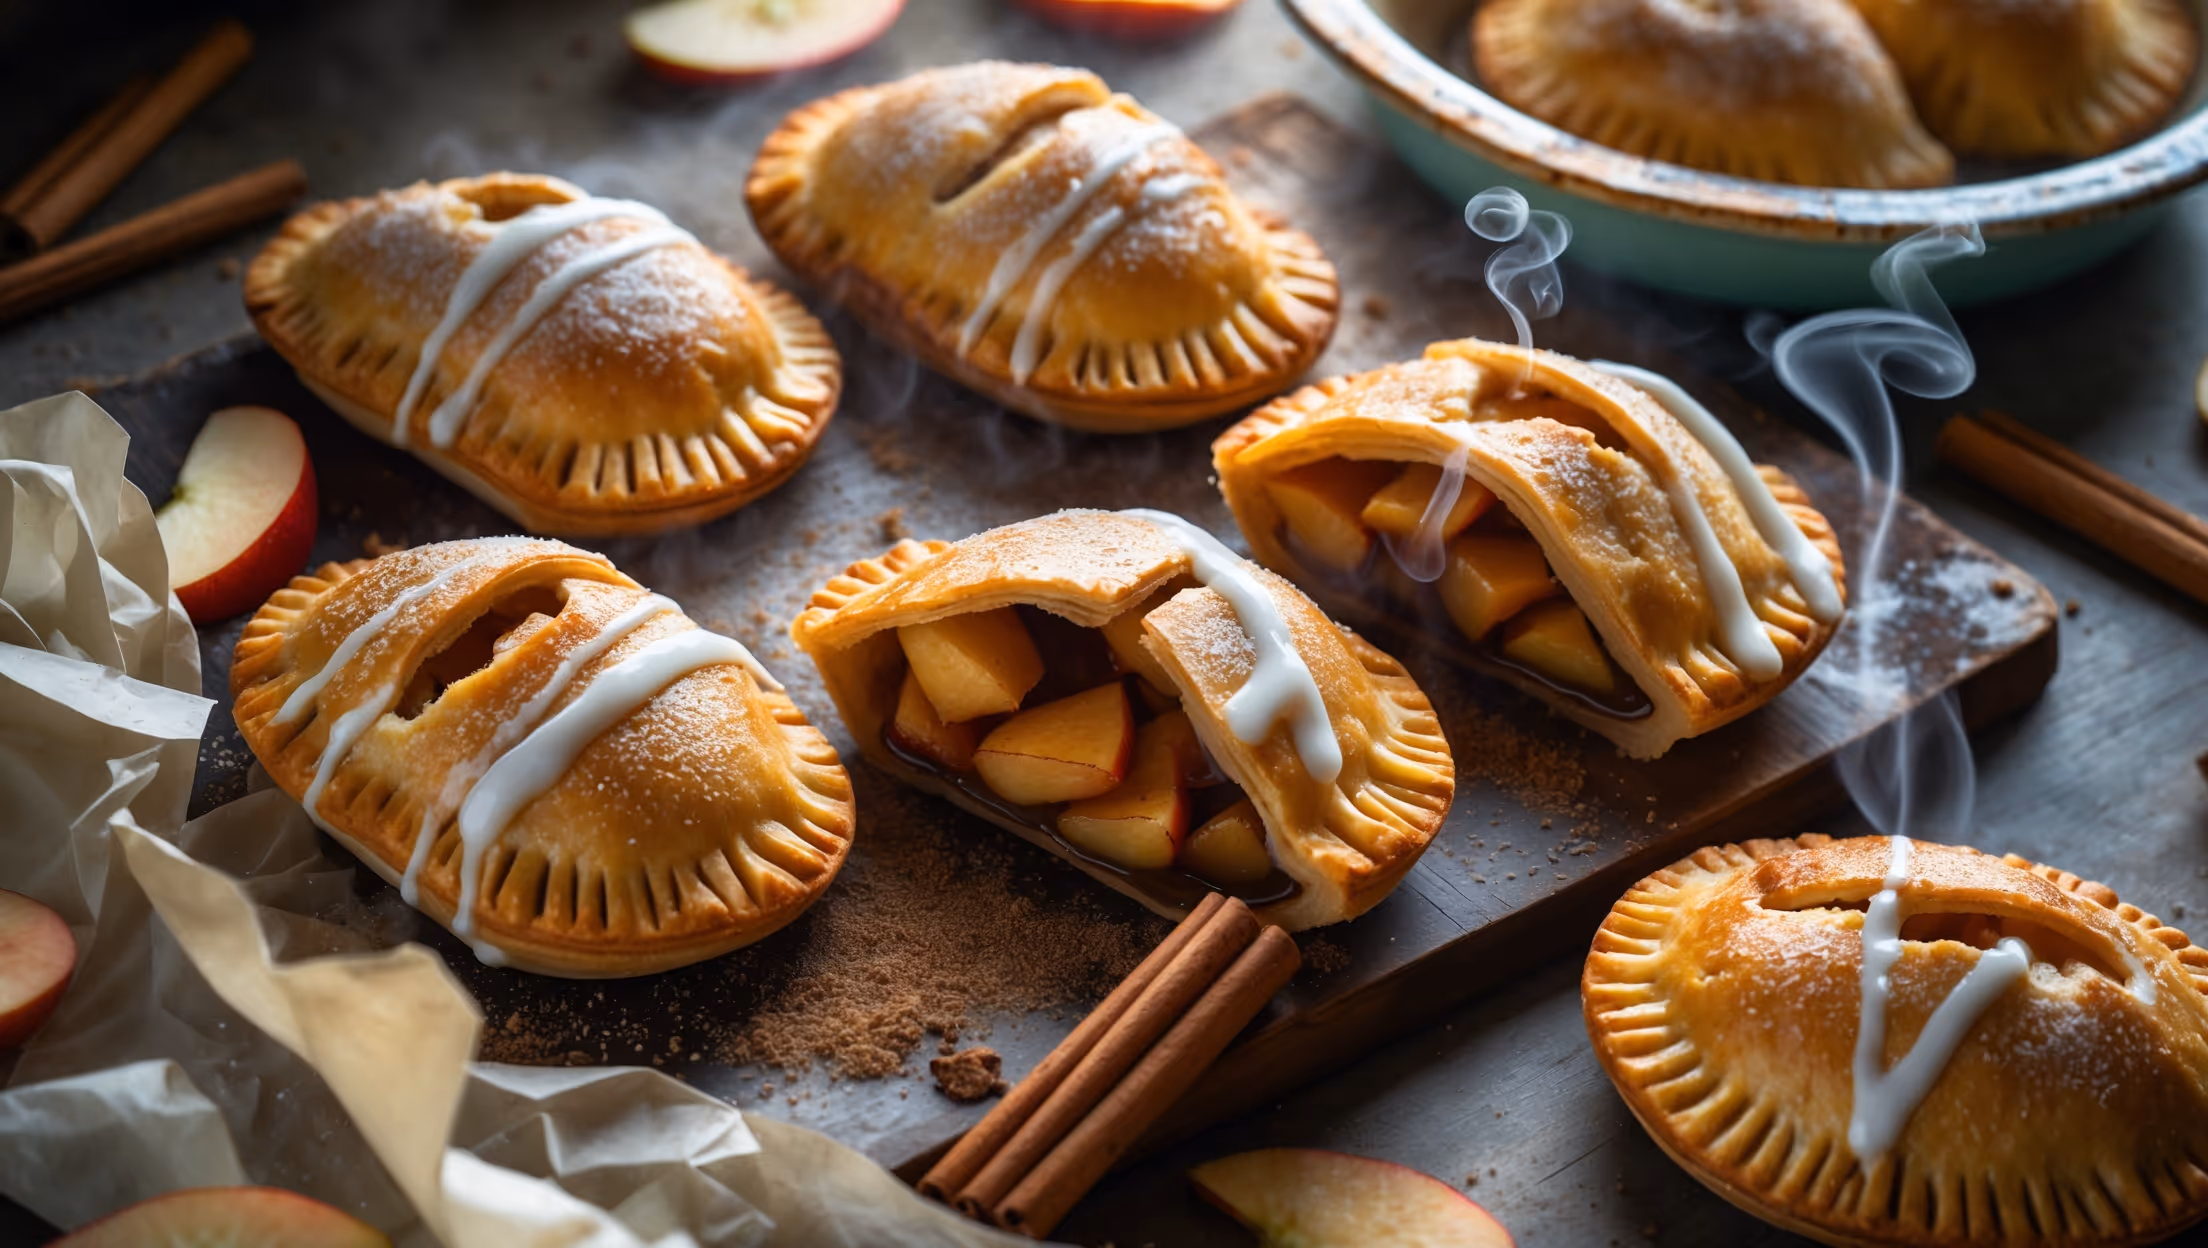
Coconut Hand Pies Recipe

Ingredients
Equipment
Directions
FAQs
Find answers to your most pressing questions about this delicious recipe right here.
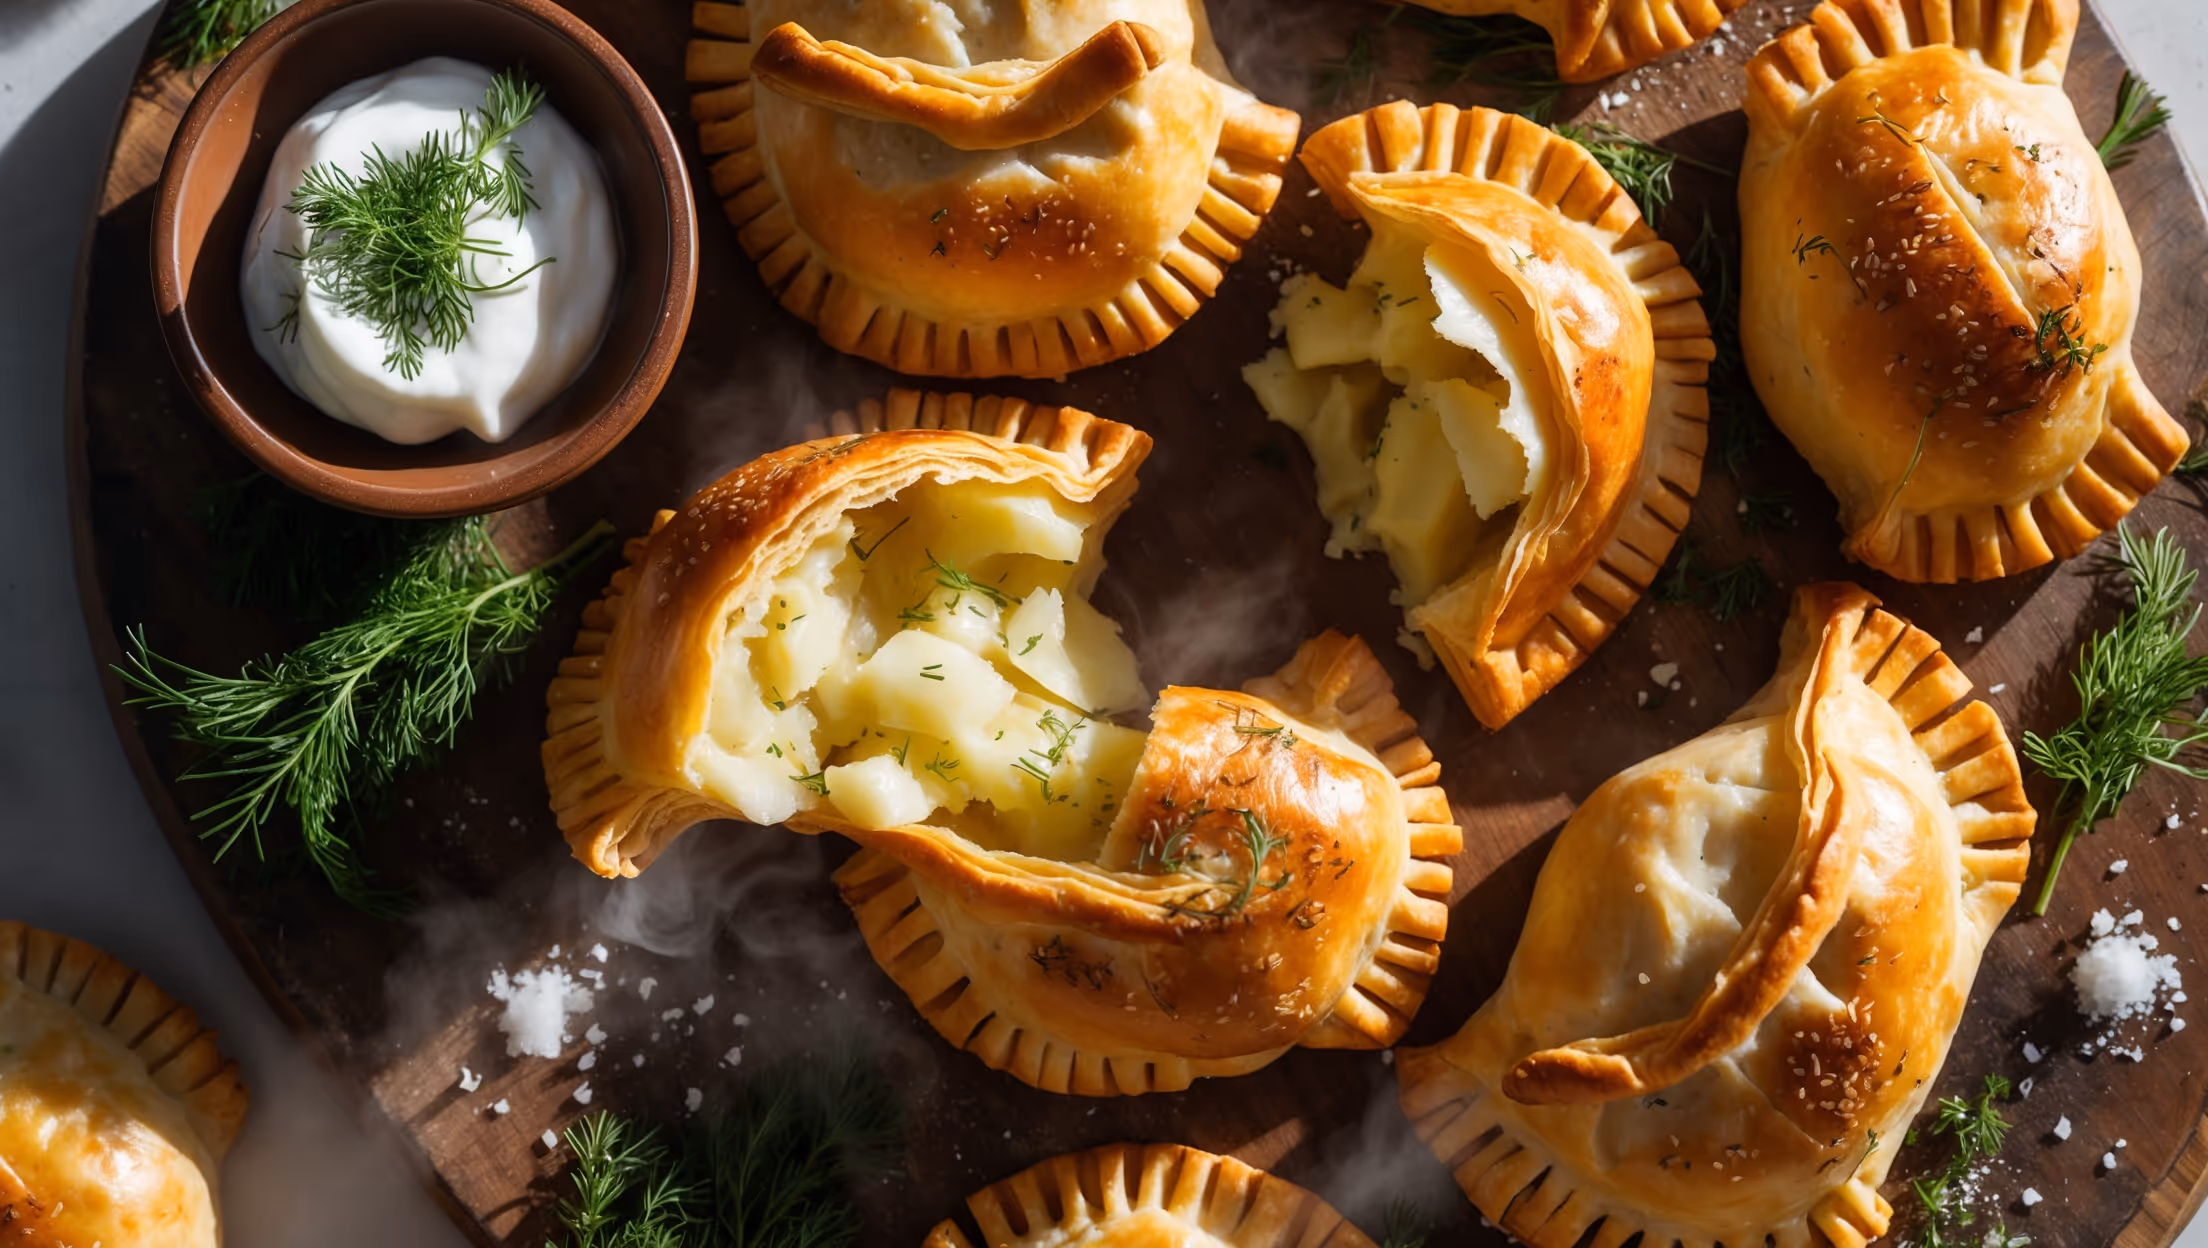
Coconut Hand Pies require all-purpose flour, salt, sugar, cold butter, ice water, vinegar, coconut milk, egg yolks, cornstarch, vanilla extract, and shredded coconut. For assembly, you'll need an egg for washing and coarse sugar for topping.
Learn how to cook Coconut Hand Pies Recipe by making a flaky pastry dough first, then preparing a creamy coconut filling. After chilling both components, cut pastry circles, add filling, seal with a second pastry circle, crimp edges, and bake until golden. The process creates deliciously portable tropical treats with the perfect balance of buttery pastry and sweet coconut filling.
To prevent leakage, don't overfill the pies (stick to 1½ tablespoons of filling), ensure a 1cm border around the edges, seal thoroughly with egg wash between layers, crimp edges firmly with a fork, and most importantly, chill the assembled pies for 15 minutes before baking.
Cornstarch is essential for proper thickening, but you could substitute with arrowroot powder (use the same amount) or flour (use double the amount, 50g). However, cornstarch creates the ideal silky texture that makes these tropical hand pies so luscious.
The baked hand pies keep for 2 days at room temperature or 5 days refrigerated in an airtight container. You can also freeze unbaked assembled pies for up to 3 months - just add 5-7 minutes to the baking time when cooking from frozen.
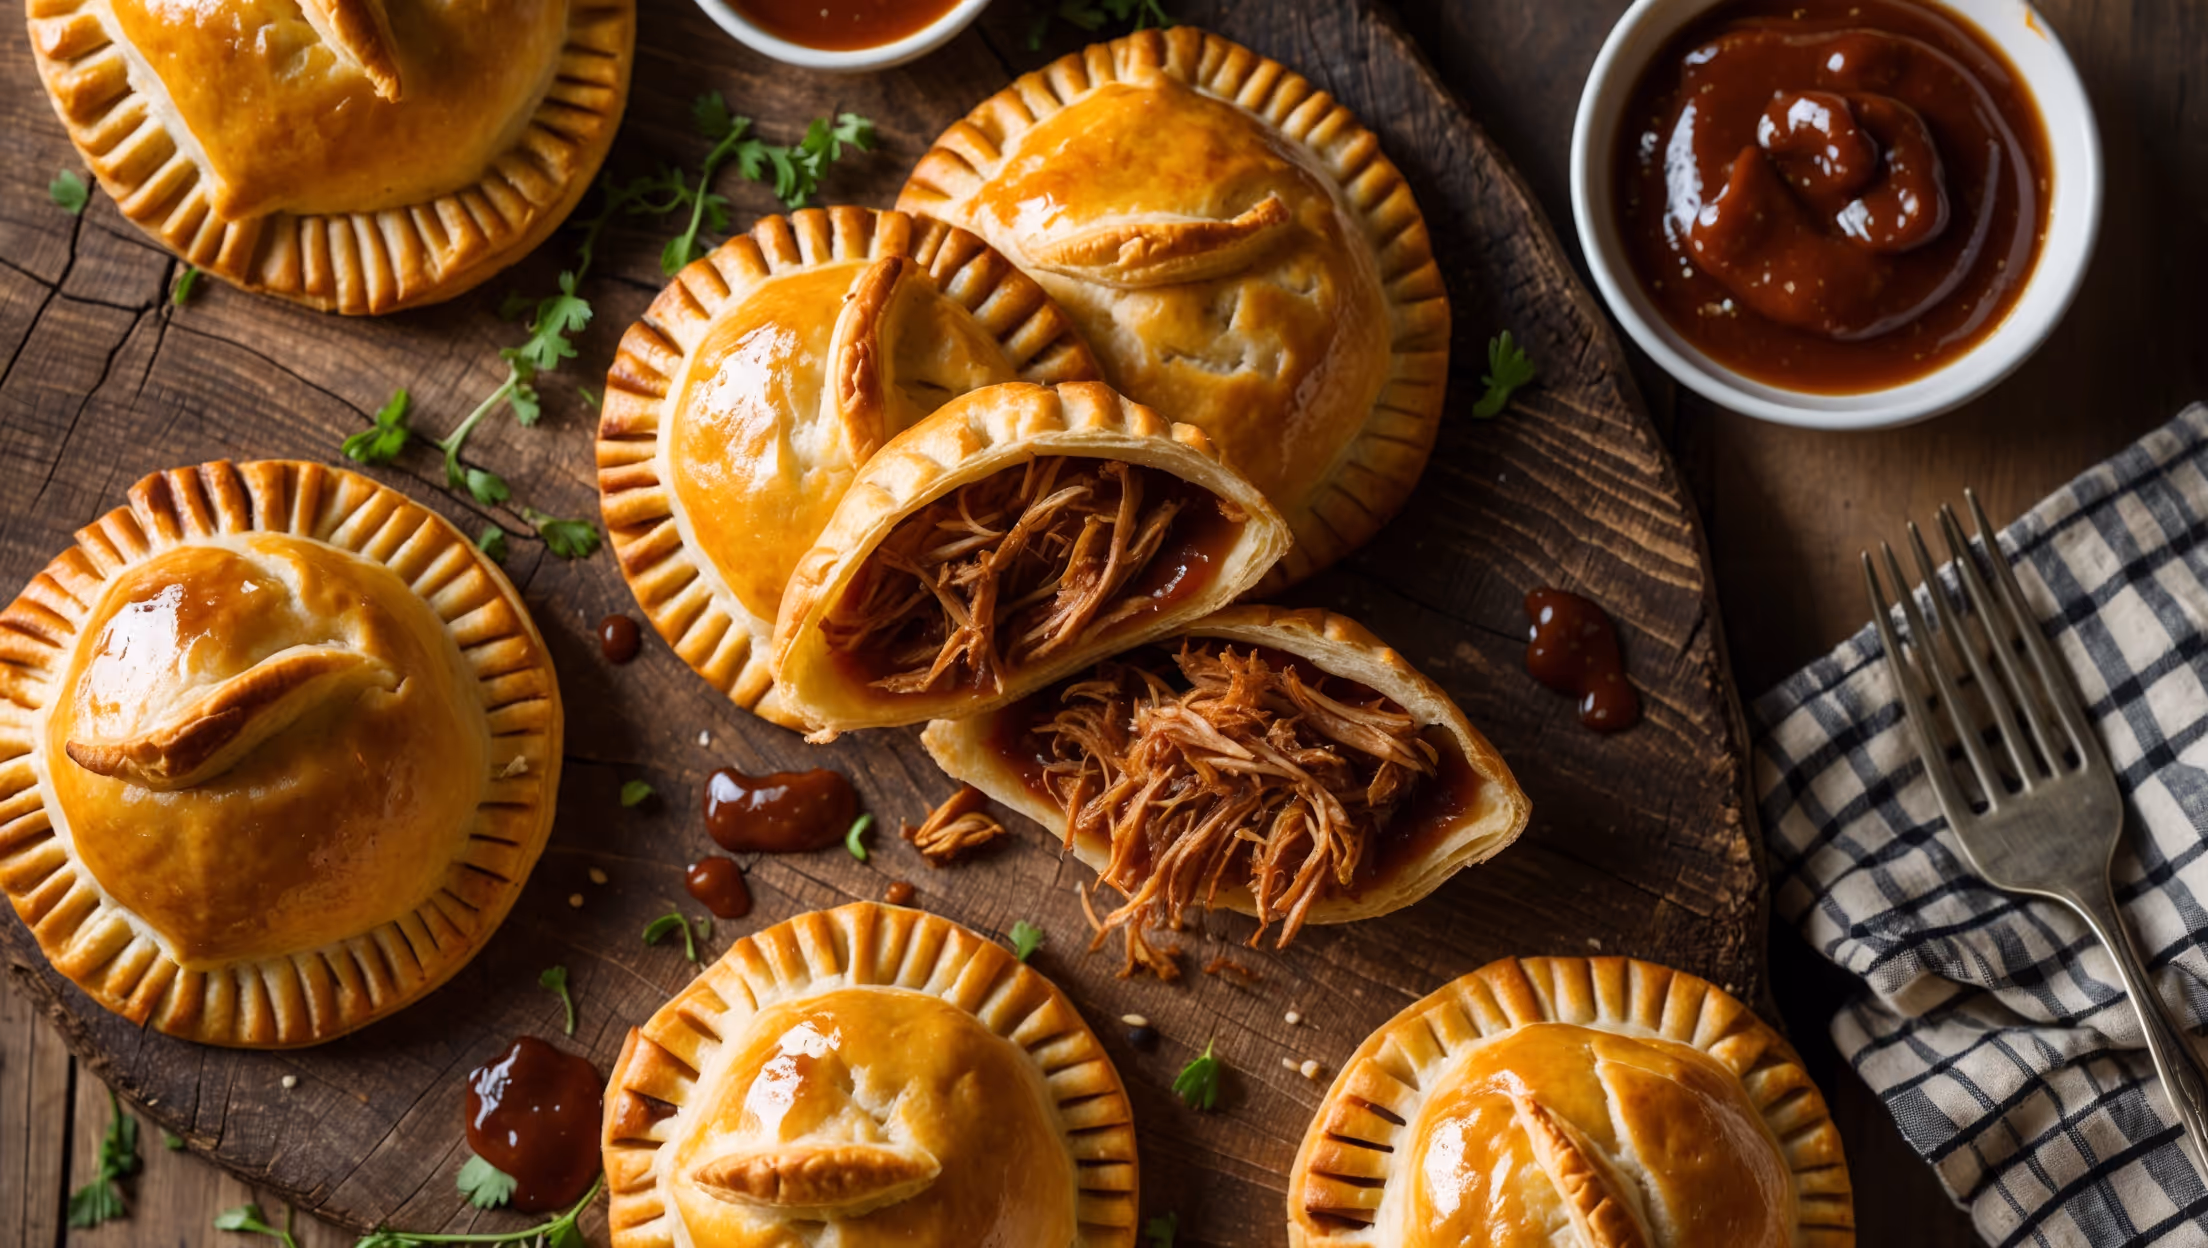
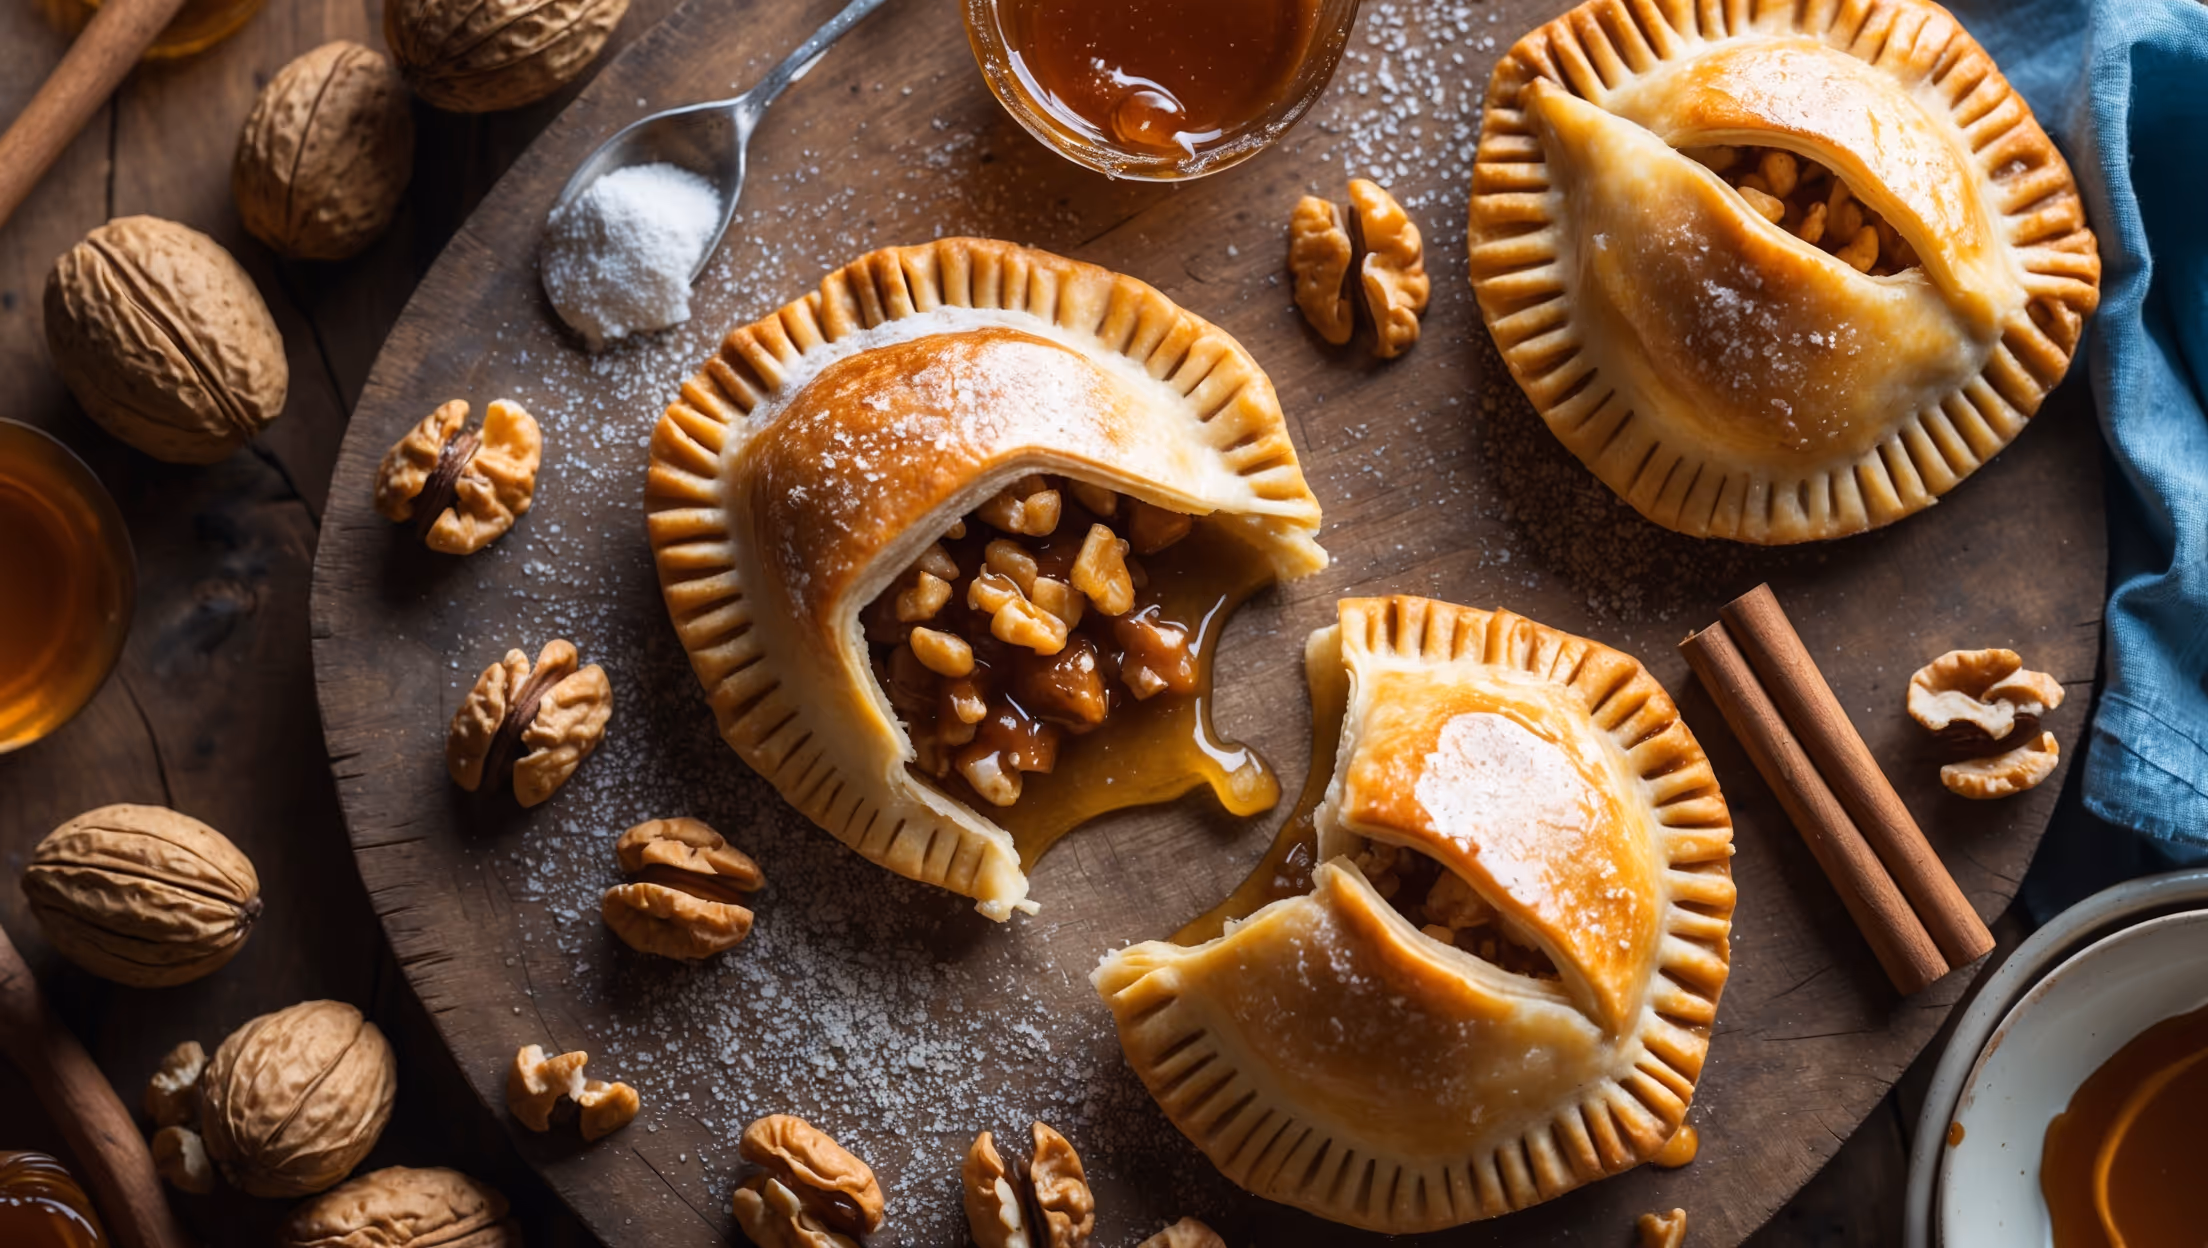
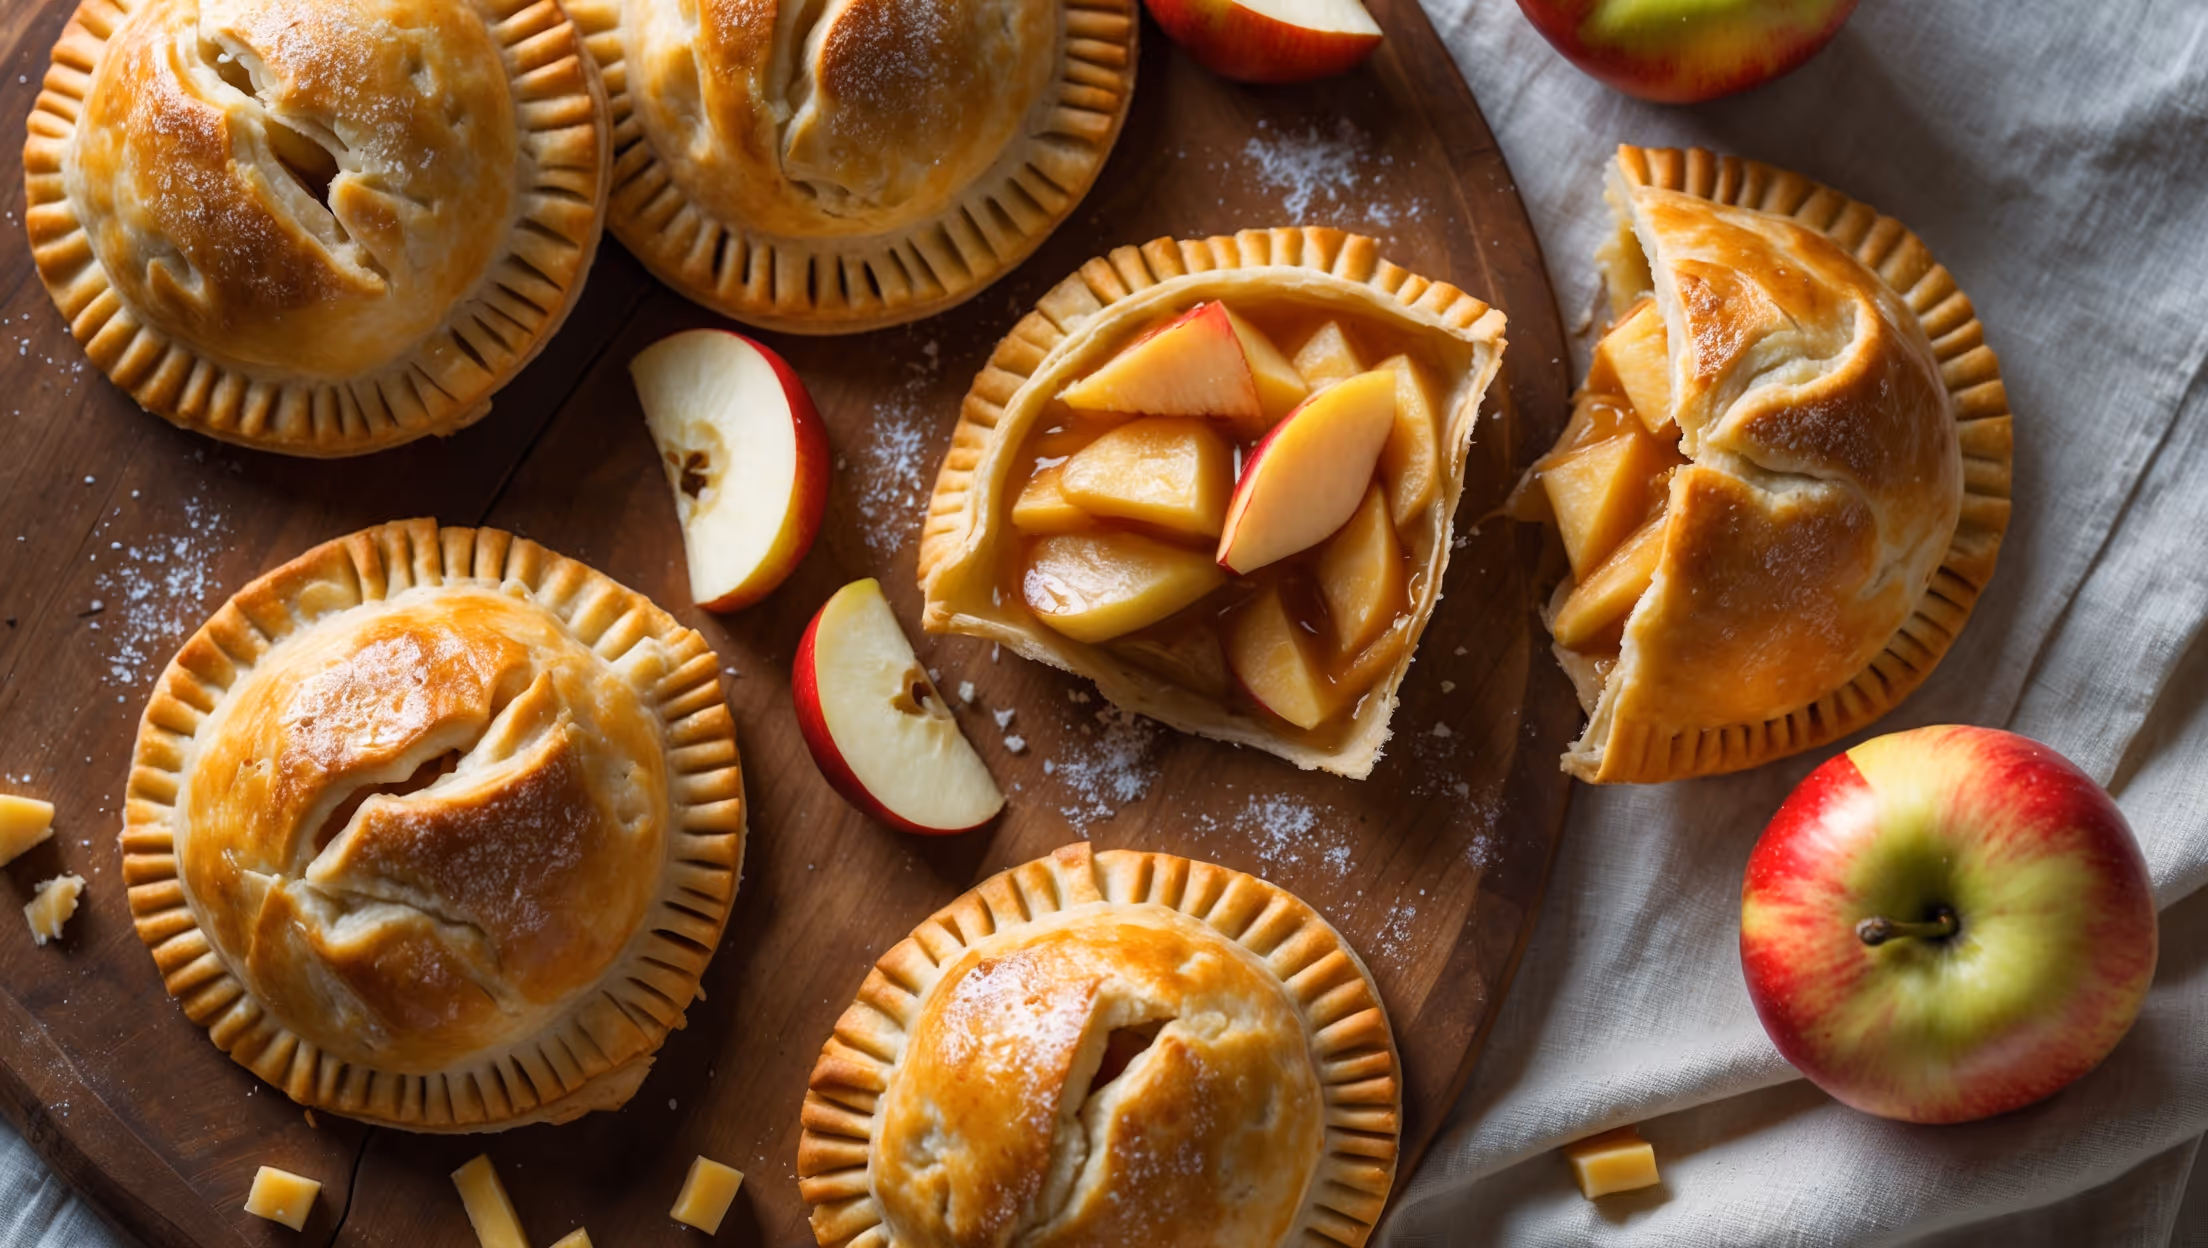
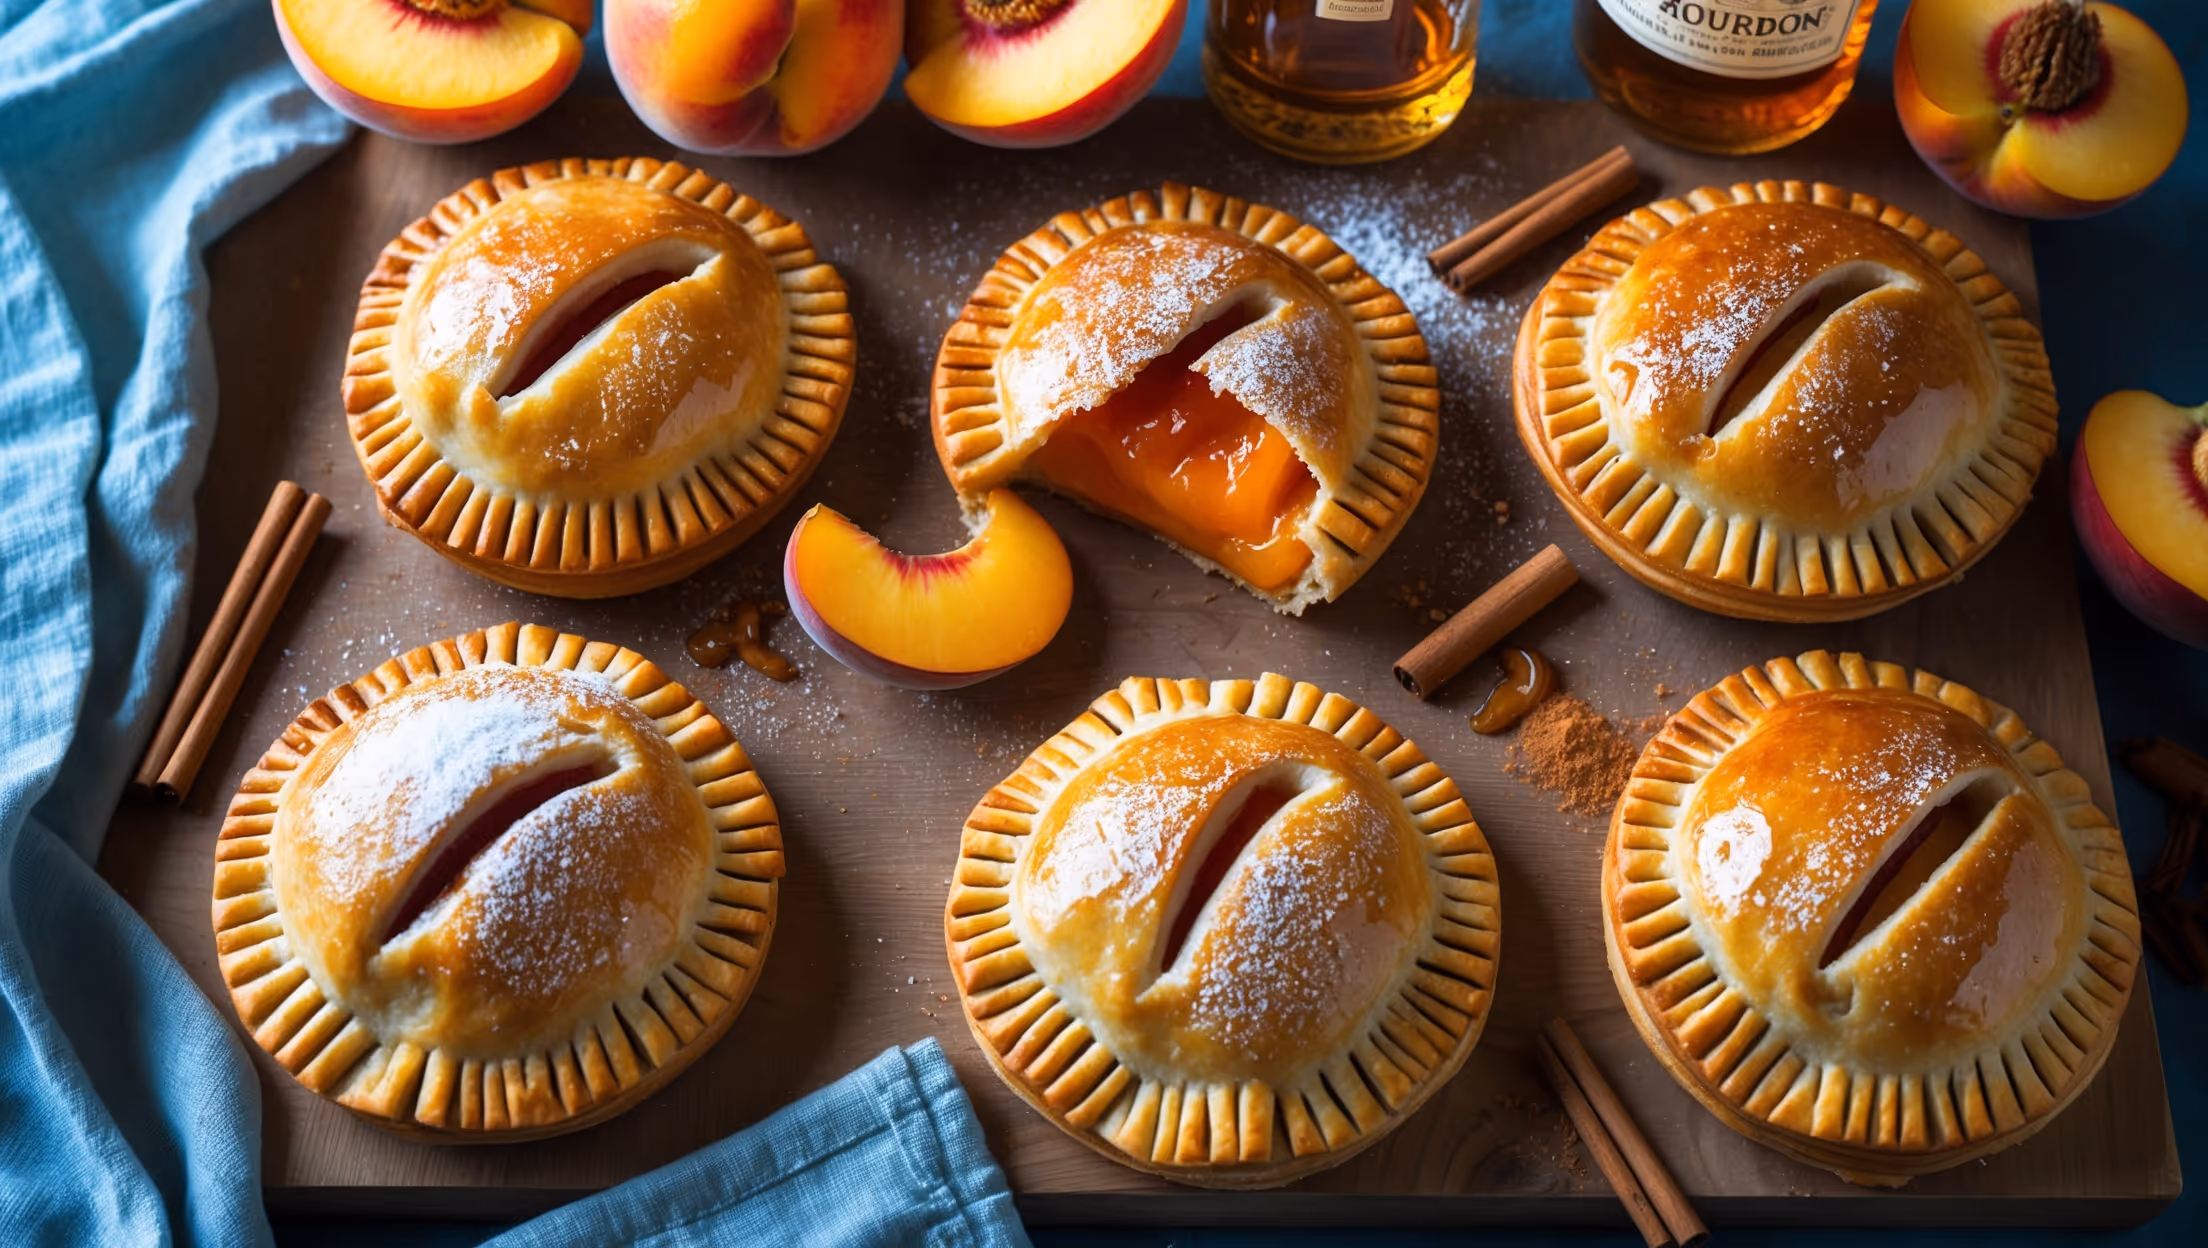
Hand Pies
Try following recommended recipes