Apple Cheddar Hand Pies Recipe

Flaky pastry pockets filled with sweet-tart apples and sharp cheddar cheese create an irresistible savory-sweet treat that balances creamy, melty richness with fruity brightness.
Difficulty:
Intermediate
Prep Time:
45 mins
Cook Time:
25 mins
Serves:
8 hand pies
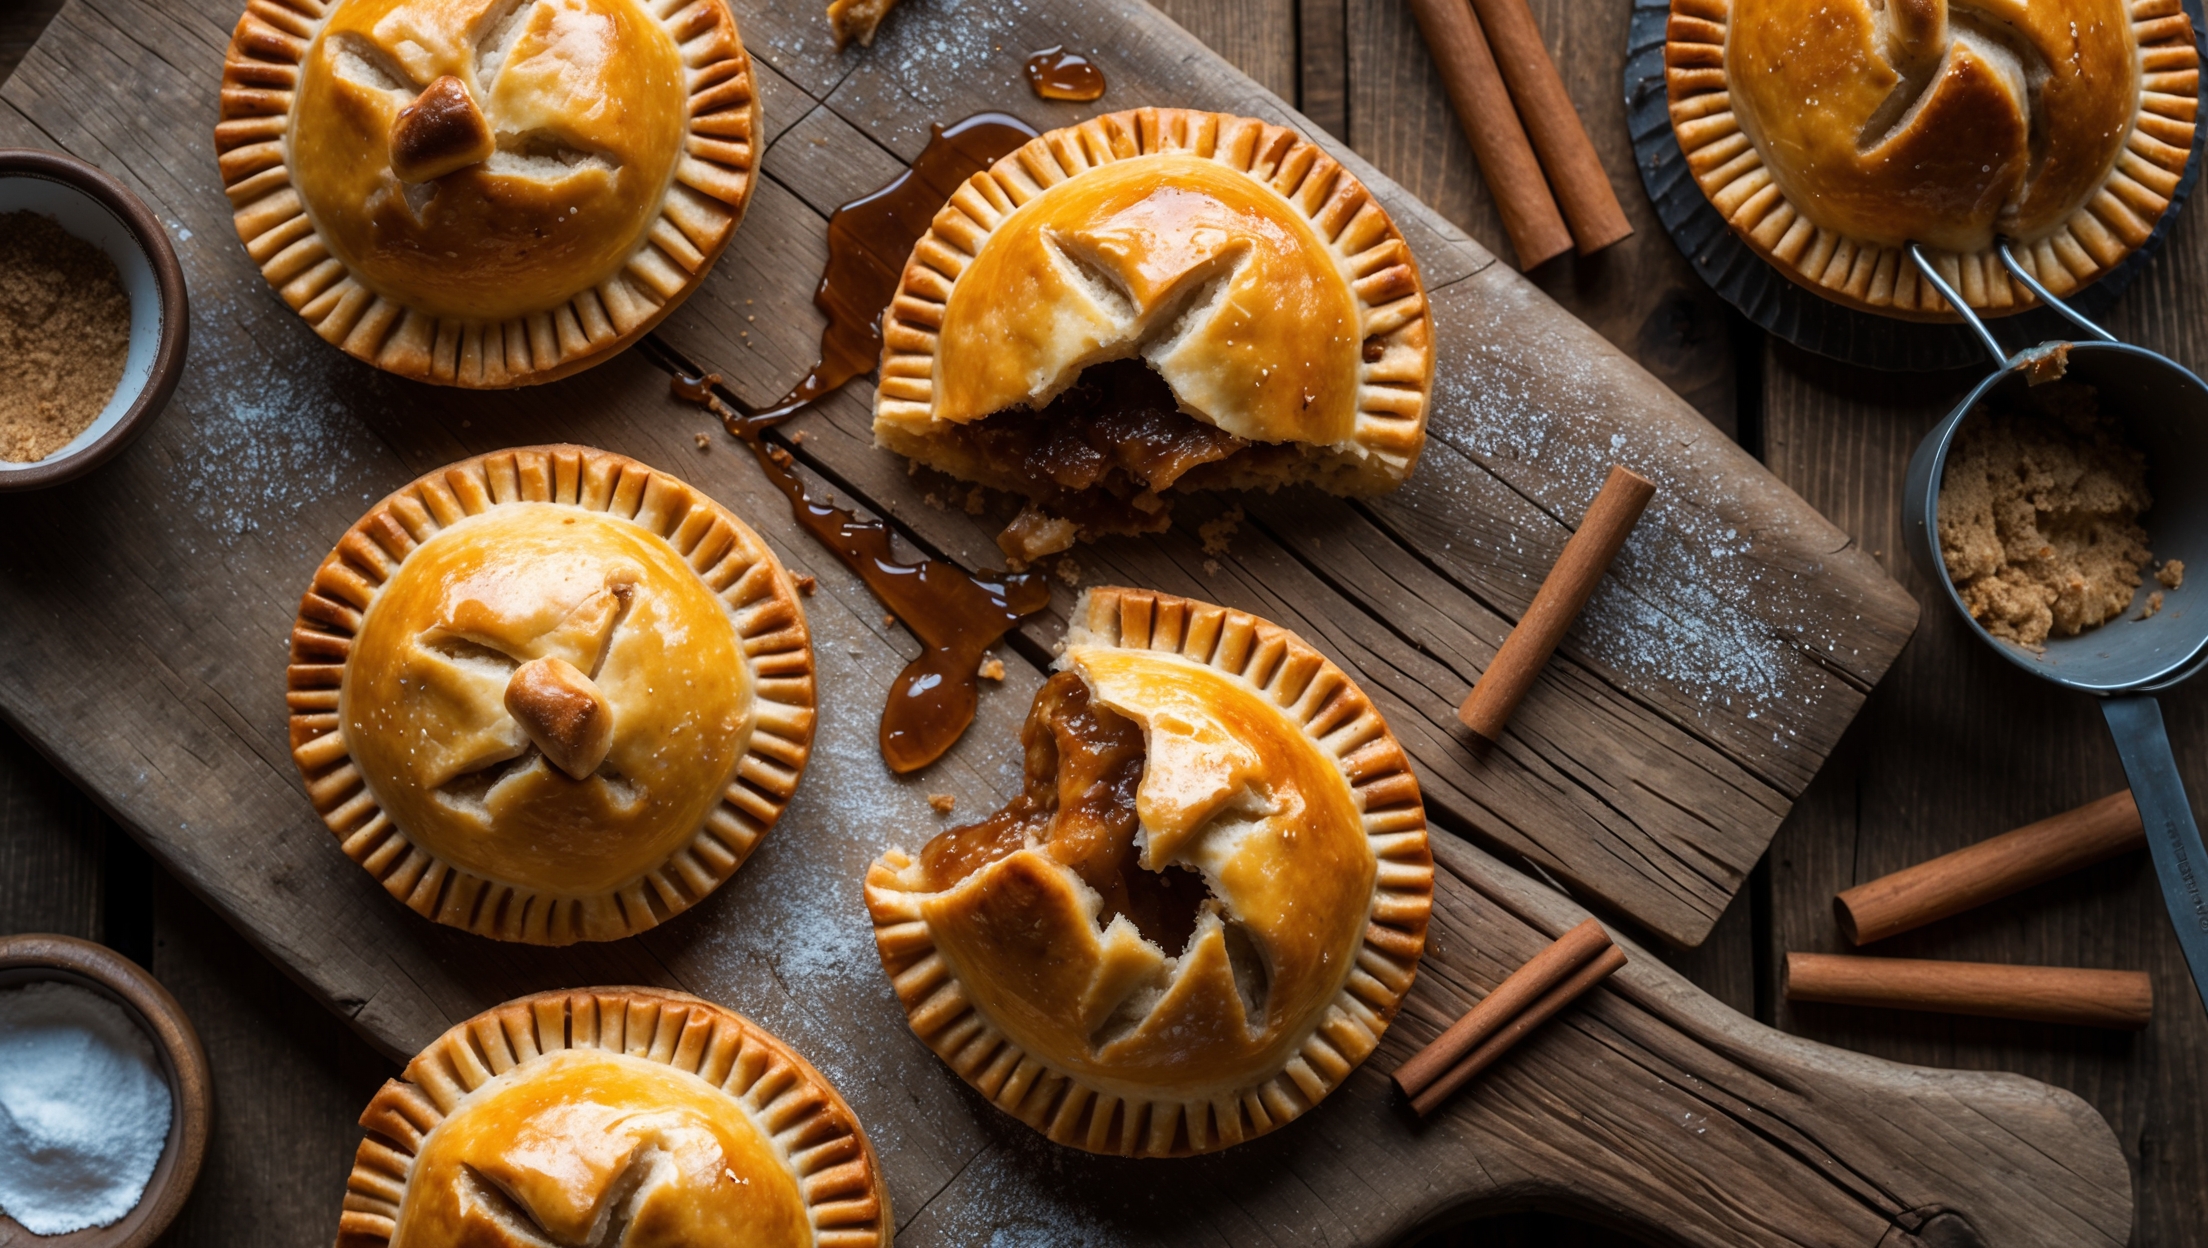
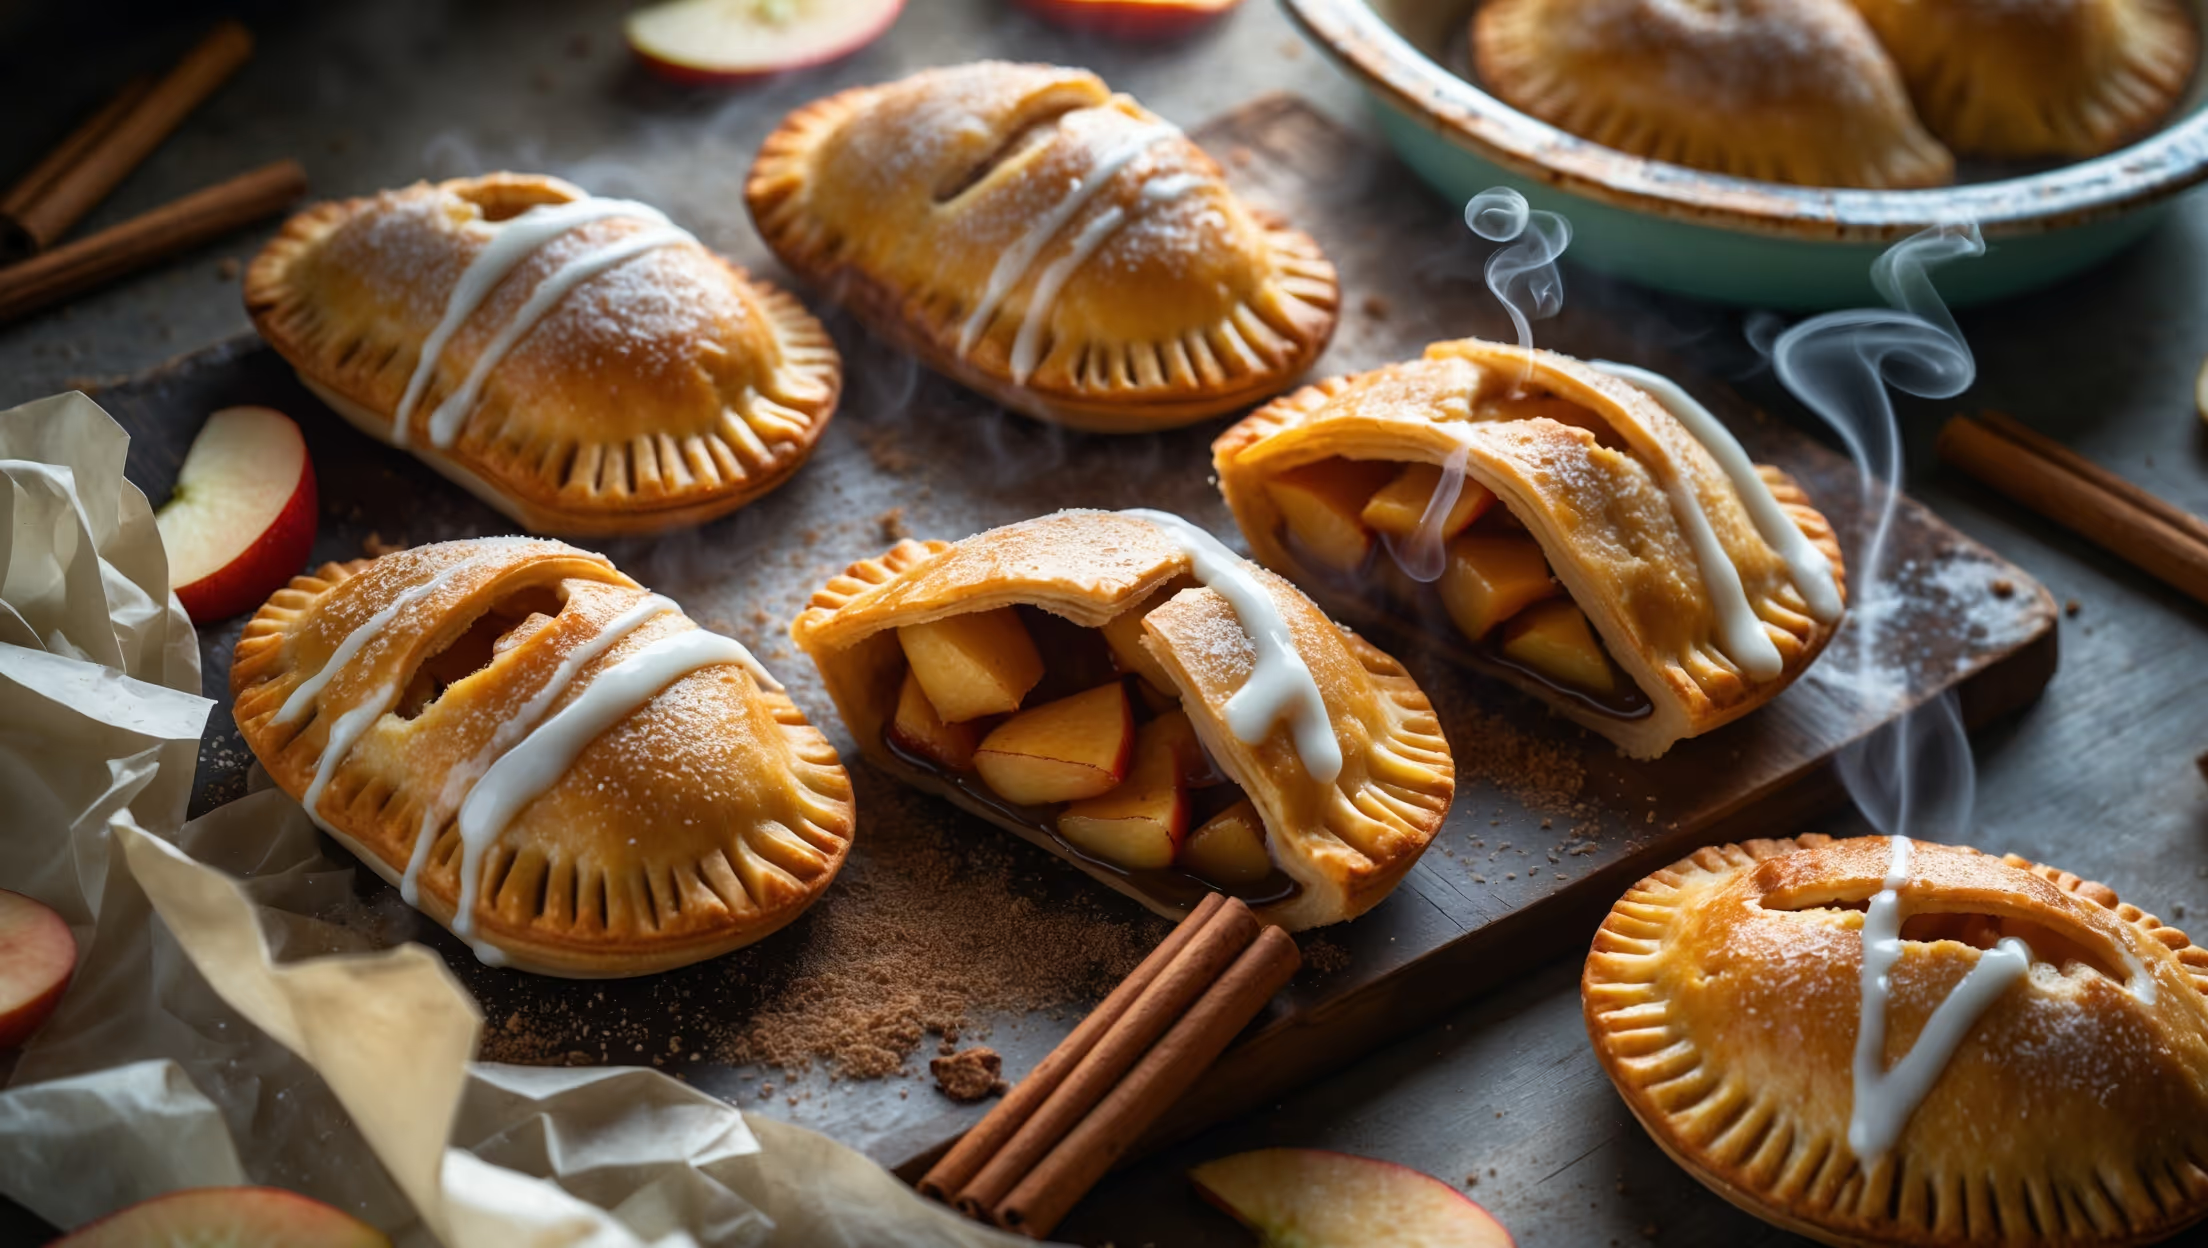
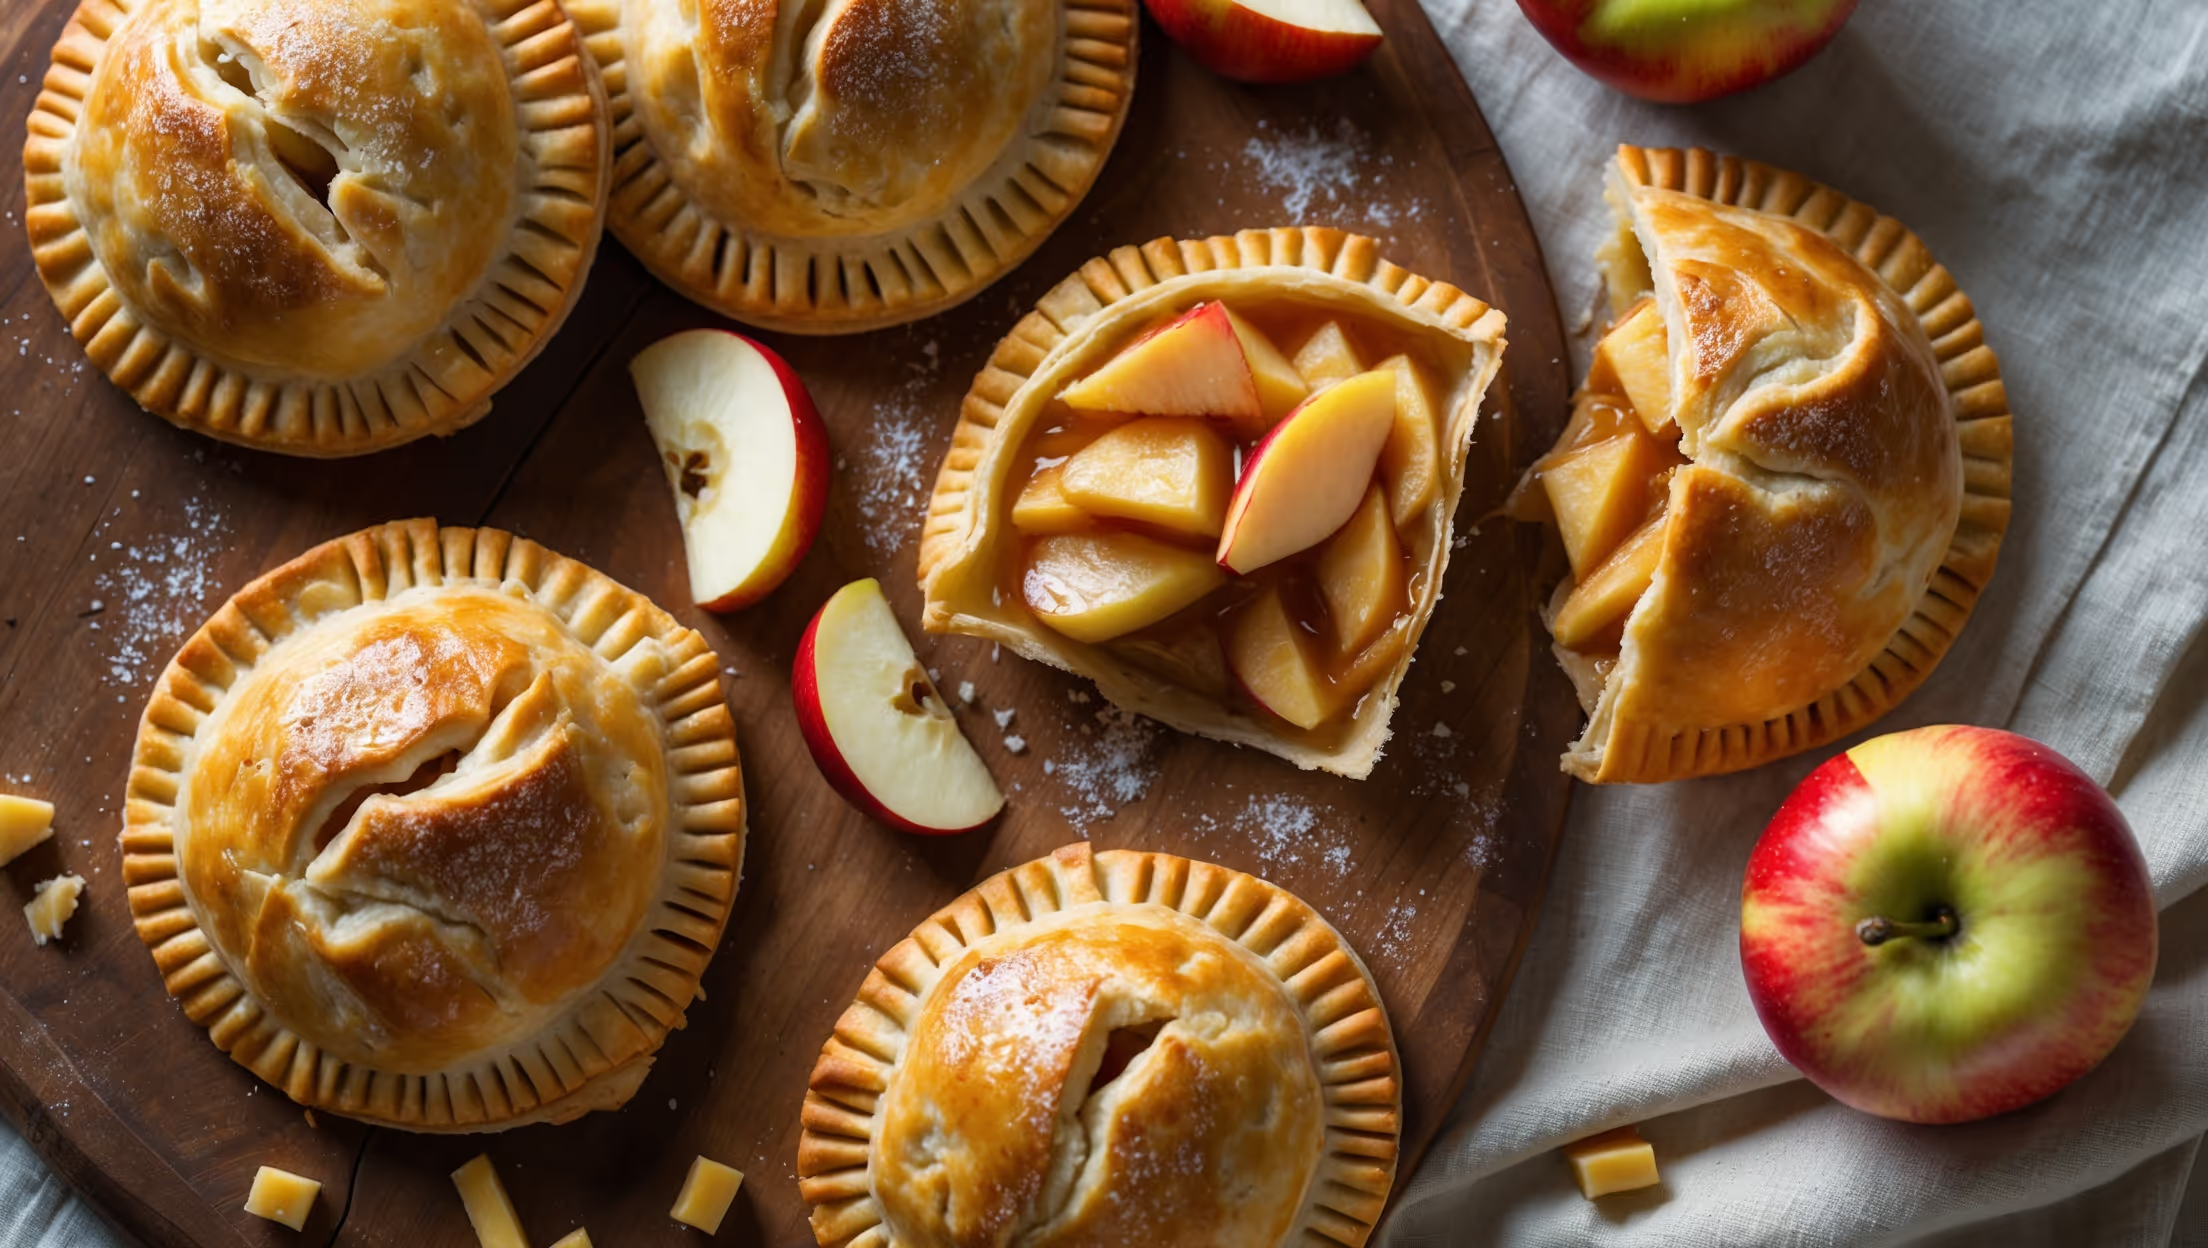
An overhead shot capturing golden-brown hand pies arranged on a rustic wooden board, with one pie broken open to reveal the steaming apple-cheddar filling. Soft natural light highlights the flaky, butter-speckled pastry layers and the glistening apple pieces intertwined with melted cheddar strands. A light dusting of sugar crystals sparkles on the crusts, while a few fresh apple slices and small chunks of aged cheddar are artfully scattered nearby. The warm amber tones of the baked pastry contrast beautifully with the red-green apple filling, all photographed against a neutral linen backdrop that emphasizes the homemade charm of these hand-held treats.

Ingredients

<ul class="ingredients-main-list"><li class="ingredients-single-item">280g all-purpose flour</li><li class="ingredients-single-item">1/4 tsp salt</li><li class="ingredients-single-item">1 tbsp granulated sugar</li><li class="ingredients-single-item">170g cold unsalted butter, cubed</li><li class="ingredients-single-item">60-75ml ice water</li><li class="ingredients-single-item">500g tart apples (like Granny Smith), peeled and diced into 1cm pieces</li><li class="ingredients-single-item">50g brown sugar</li><li class="ingredients-single-item">1 tbsp lemon juice</li><li class="ingredients-single-item">1 tsp ground cinnamon</li><li class="ingredients-single-item">1/4 tsp ground nutmeg</li><li class="ingredients-single-item">1/8 tsp ground cloves</li><li class="ingredients-single-item">Pinch of salt</li><li class="ingredients-single-item">1 tbsp cornstarch</li><li class="ingredients-single-item">120g sharp cheddar cheese, grated</li><li class="ingredients-single-item">1 egg, beaten (for egg wash)</li><li class="ingredients-single-item">2 tbsp coarse sugar (for sprinkling)</li></ul>

Equipment

<ul class="equipment-main-list"><li class="equipment-single-item">Food processor (optional for pastry)</li><li class="equipment-single-item">Pastry cutter (if not using food processor)</li><li class="equipment-single-item">Rolling pin</li><li class="equipment-single-item">10cm round pastry cutter or bowl</li><li class="equipment-single-item">Baking sheets</li><li class="equipment-single-item">Parchment paper</li></ul>
BAKE SMARTER

Kitchen Converter

Quickly switch between common baking units without leaving the recipe.

Convert
Result—

Volume uses US cups, tablespoons, and teaspoons. Converting weight to volume depends on the ingredient.

Directions

<ol class="no-list-style"><li class="MethodStepper"><h4 class="step-title">Step 1</h4>Make the pastry first to allow chilling time. In a large bowl or food processor, combine the flour, salt, and granulated sugar. Add the cold cubed butter and pulse or cut with a pastry cutter until the mixture resembles coarse breadcrumbs with some pea-sized pieces of butter still visible. These butter pieces are crucial for creating flaky layers in your pastry.</li><li class="MethodStepper"><h4 class="step-title">Step 2</h4>Gradually add ice water, 1 tablespoon at a time, mixing gently until the dough just begins to come together. You may not need all the water - stop when the dough holds together when pinched. The dough should feel slightly tacky but not wet or sticky.</li><li class="MethodStepper"><h4 class="step-title">Step 3</h4>Turn the dough onto a lightly floured surface and gather into a ball. Divide in half, shape each portion into a disk, wrap in plastic wrap, and refrigerate for at least 1 hour. Cold dough is essential for flaky pastry as it keeps the butter from melting too quickly before creating steam pockets in the oven.</li><li class="MethodStepper"><h4 class="step-title">Step 4</h4>Meanwhile, prepare the apple filling. In a medium saucepan, combine the diced apples, brown sugar, lemon juice, cinnamon, nutmeg, cloves, and salt. Cook over medium heat for about 8-10 minutes until the apples begin to soften but still hold their shape. They'll continue cooking in the oven, so don't overcook them now.</li><li class="MethodStepper"><h4 class="step-title">Step 5</h4>In a small bowl, mix cornstarch with 1 tablespoon of water to create a slurry. Add to the apple mixture and cook for another 1-2 minutes until the mixture thickens. The cornstarch helps bind excess moisture, preventing soggy pies. Remove from heat and let cool completely.</li><li class="MethodStepper"><h4 class="step-title">Step 6</h4>Preheat your oven to 190°C. Line two baking sheets with parchment paper. Working with one disk of dough at a time (keeping the other refrigerated), roll out on a lightly floured surface to about 3mm thickness. Using a 10cm round cutter or small bowl, cut out as many circles as possible. Re-roll scraps once to cut additional circles.</li><li class="MethodStepper"><h4 class="step-title">Step 7</h4>Place about 1 tablespoon of cooled apple filling in the center of each dough circle, leaving a 1.5cm border. Sprinkle a generous pinch of grated cheddar (about 1 tablespoon) over the apple filling. The cheese will melt and create a delicious savory contrast to the sweet apples.</li><li class="MethodStepper"><h4 class="step-title">Step 8</h4>Brush the edges of each circle with beaten egg, fold in half to create a semi-circle, and press firmly to seal. Use a fork to crimp the edges decoratively and ensure they're well-sealed. The egg acts as glue to prevent filling leakage during baking.</li><li class="MethodStepper"><h4 class="step-title">Step 9</h4>Transfer the hand pies to the prepared baking sheets, spacing them about 5cm apart. Cut a small vent in the top of each pie to allow steam to escape (preventing burst pies). Brush the tops with beaten egg and sprinkle with coarse sugar for a beautiful caramelized finish.</li><li class="MethodStepper"><h4 class="step-title">Step 10</h4>Bake for 22-25 minutes, rotating the pans halfway through, until the pies are deeply golden brown. The rich color indicates proper caramelization of the pastry, which provides both flavor and texture. Look for bubbling filling through the vents as a sign they're done.</li><li class="MethodStepper"><h4 class="step-title">Step 11</h4>Allow the hand pies to cool on the baking sheets for 5 minutes before transferring to a wire rack. These are delicious served warm when the cheese is still melty, but they're also wonderful at room temperature. Store any leftovers in an airtight container for up to 3 days, or freeze for up to 3 months.</li></ol>

Nutrition Facts (per serving)

🍽️ Serving Size: 1 serving
🔥 Calories: 325 calories
🥑 Fat: 19 g
🧈 Saturated Fat: 11 g
🍞 Carbohydrates: 34 g
🍭 Sugar: 15 g
🍗 Protein: 6 g
🫀 Cholesterol: 75 mg
🧂 Sodium: 210 mg

Chef’s Notes

A few helpful details for making this recipe.

Why pair apples with cheddar cheese in pastry?

Apples and cheddar create a classic sweet-savory combination that balances perfectly. The tart sweetness of the apples complements the sharp, salty notes of the cheese, while the fats in the cheddar enhance the apple flavour and add a creamy, melty texture to the filling.

Can these hand pies be frozen for later?

Yes! These hand pies freeze beautifully. Either freeze them unbaked (after shaping but before egg wash) for up to 3 months and bake from frozen, adding 5-7 minutes to the baking time, or freeze fully baked pies and reheat in a 150°C oven until warmed through.

What's the secret to achieving truly flaky pastry for hand pies?

The key is keeping everything cold! Use butter straight from the fridge, ice-cold water, and chill the dough between steps. Leave visible butter pieces in the dough—these create steam pockets during baking that form the flaky layers. Handle the dough minimally to avoid activating gluten.

Want to try something else in ...

More recipes you might like

Keep exploring with more recipes from What's Baking.