Temperature-Gradient Chocolate Hand Pies with Mirror Glaze Recipe
Ingredients
Equipment
Directions
FAQs
Find answers to your most pressing questions about this delicious recipe right here.
This recipe requires flour, cold butter, sugar and salt for the pastry; dark, milk and white chocolate for the fillings; heavy cream and butter for the ganaches; and sugar, water, condensed milk, white chocolate and gelatin for the spectacular mirror glaze.
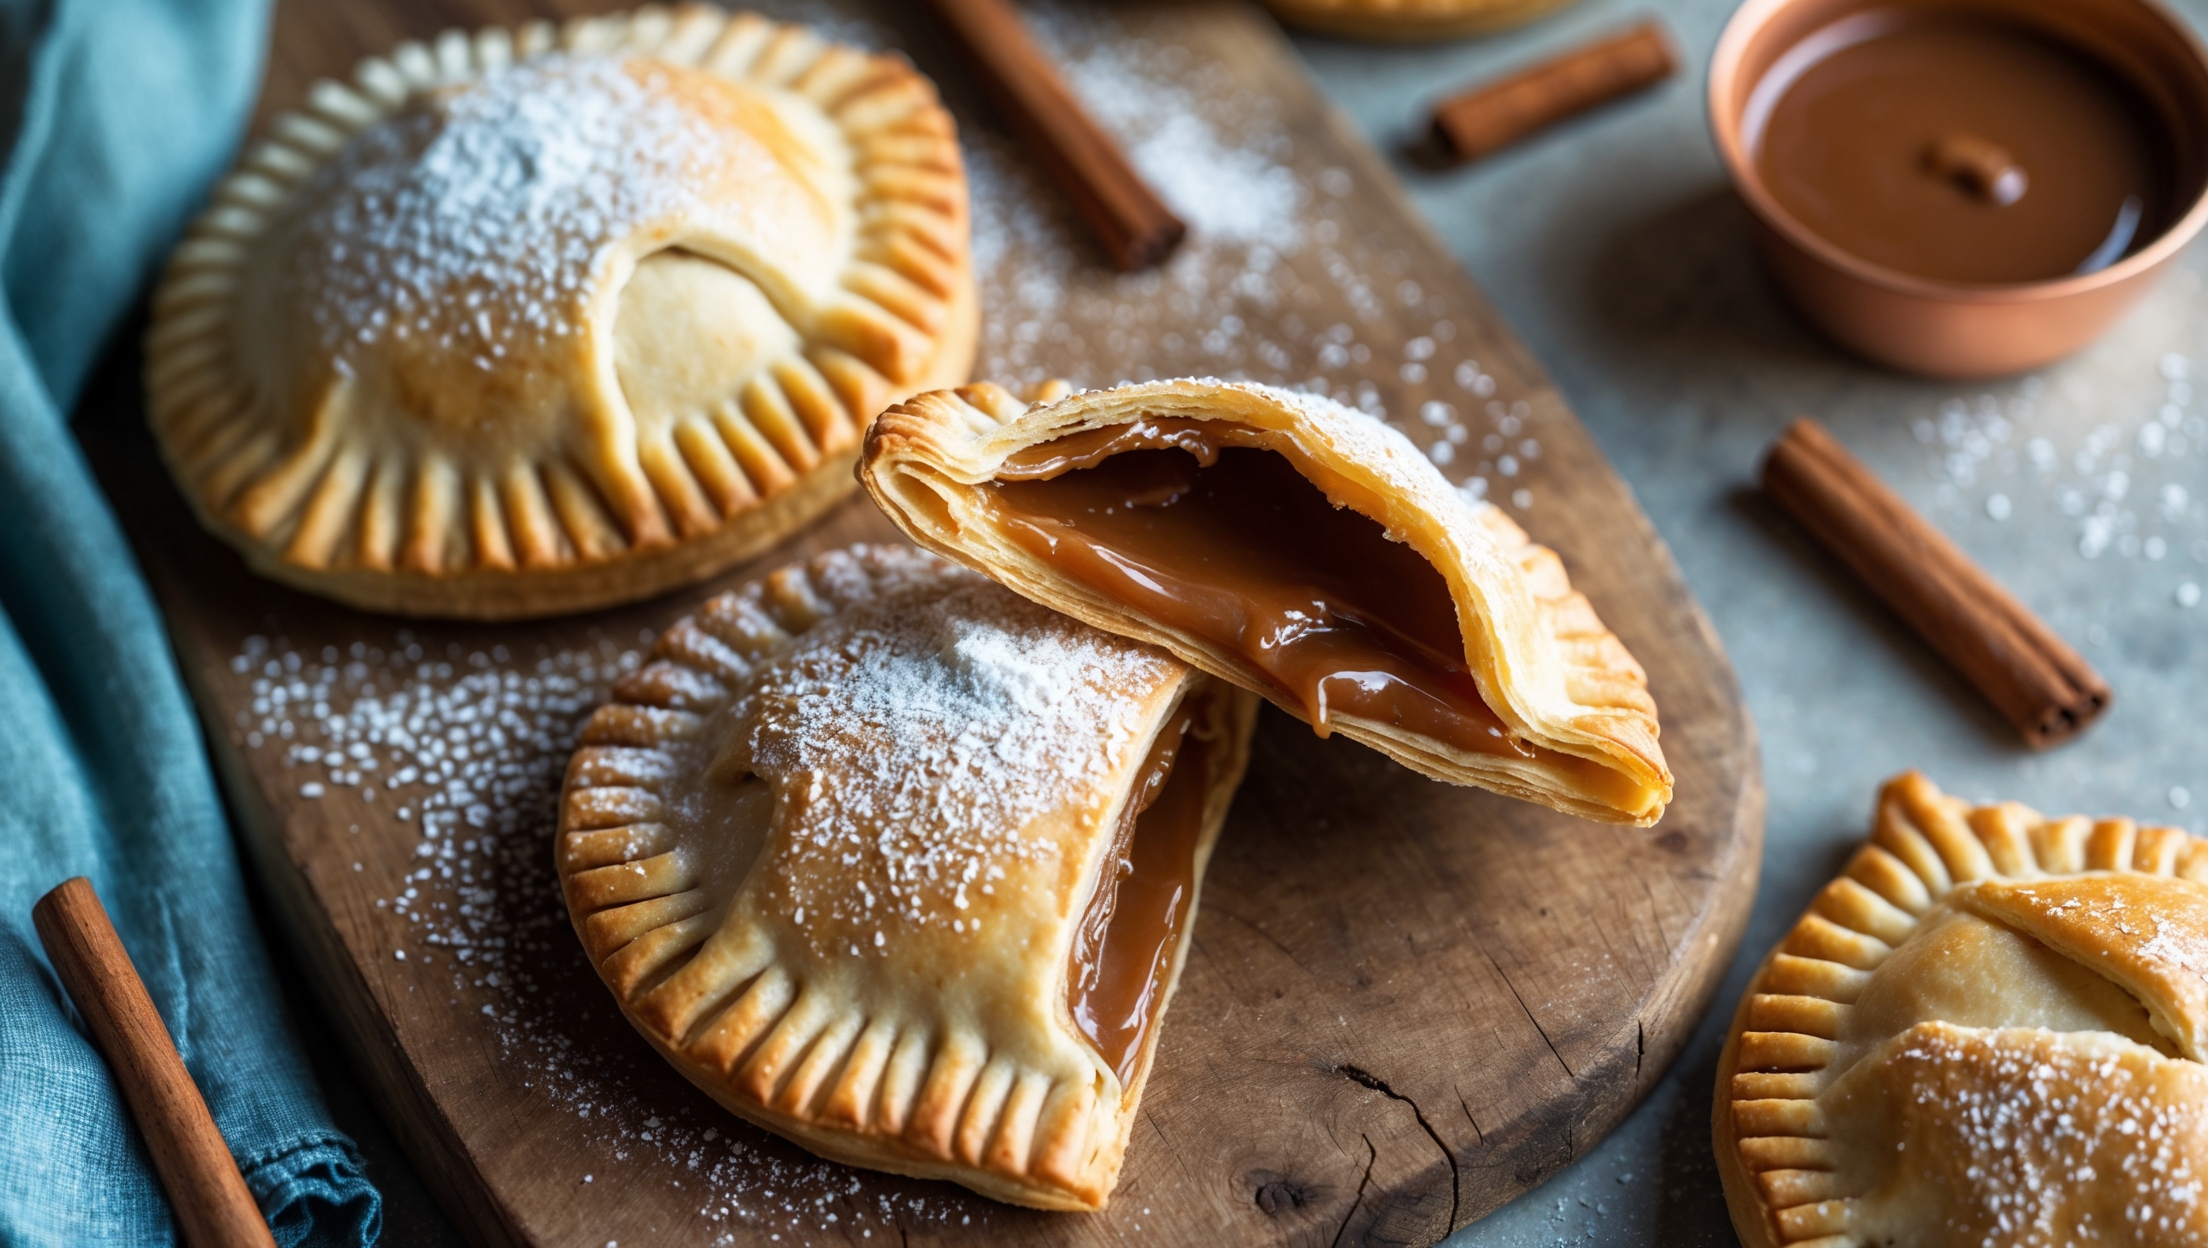
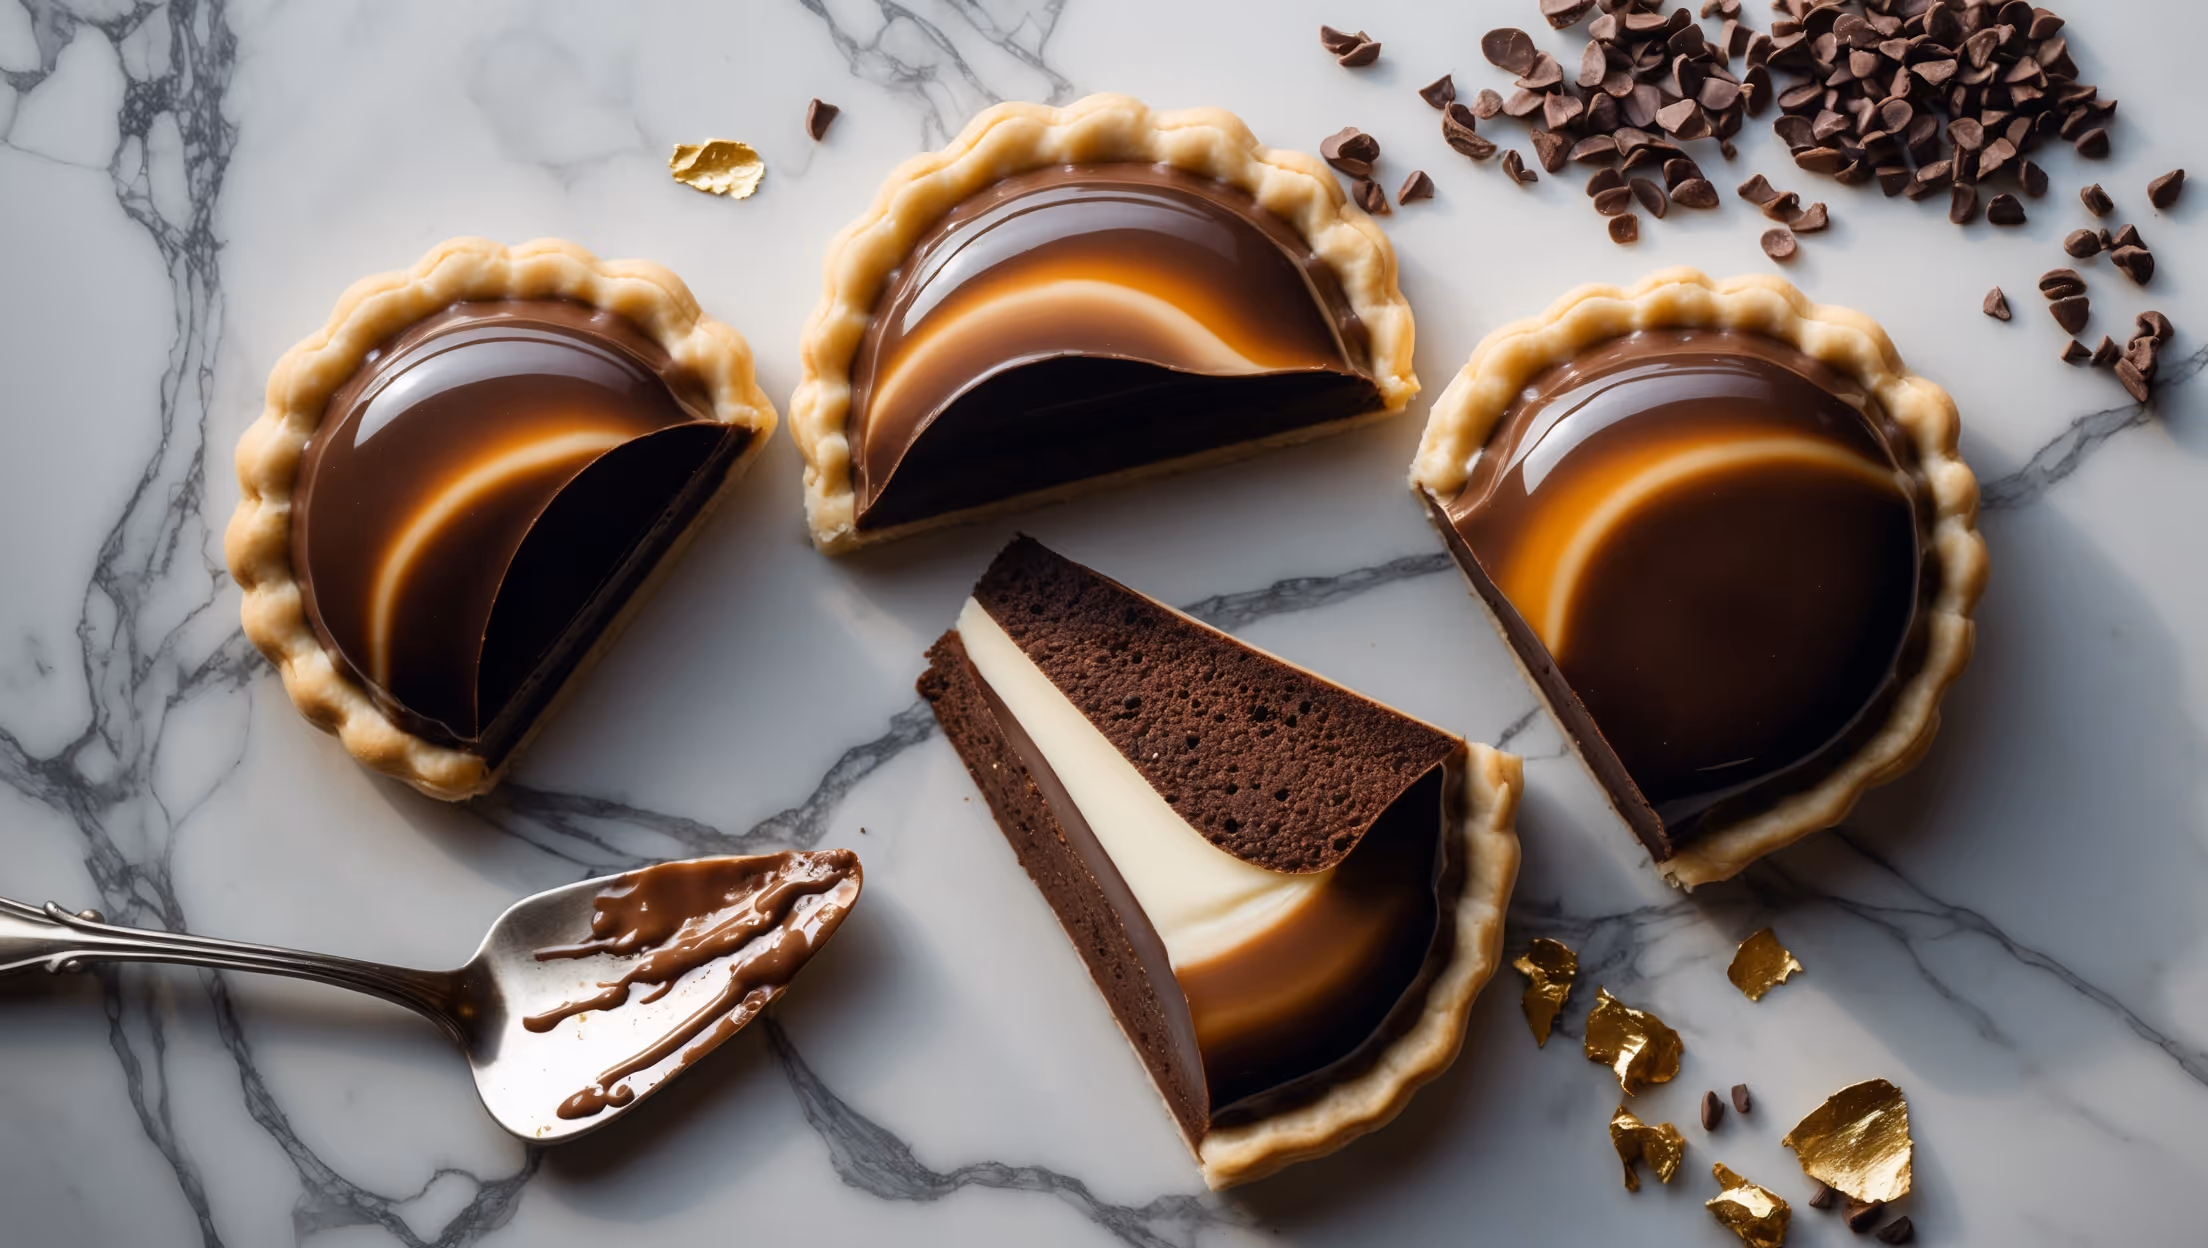
Learn how to cook Temperature-Gradient Chocolate Hand Pies with Mirror Glaze by first preparing a buttery pastry, then creating three distinct chocolate ganache layers. After assembling and baking the hand pies, finish with a professional mirror glaze that creates a stunning gradient effect, transforming these treats into edible works of art with impressive visual appeal.
Yes! Beginners can start with a single-colour glaze by omitting the gradient effect. Simply prepare the mirror glaze as directed, add one food colouring, and ensure it's at the correct temperature (32-35°C) before pouring. This still creates an impressive glossy finish without the complexity.
The key is proper cooling times for each ganache layer: refrigerate dark chocolate for 15 minutes, milk chocolate for 30 minutes, and white chocolate for 45 minutes. This creates different consistencies that prevent mixing. Also, work quickly when assembling and keep the pastry cold throughout.
Three common culprits: incorrect temperature (glaze must be 32-35°C when applied), air bubbles (strain or use an immersion blender without incorporating air), or condensation (avoid refrigerating after glazing if possible). Always ensure pies are completely cool before glazing.
Hand Pies
Try following recommended recipes