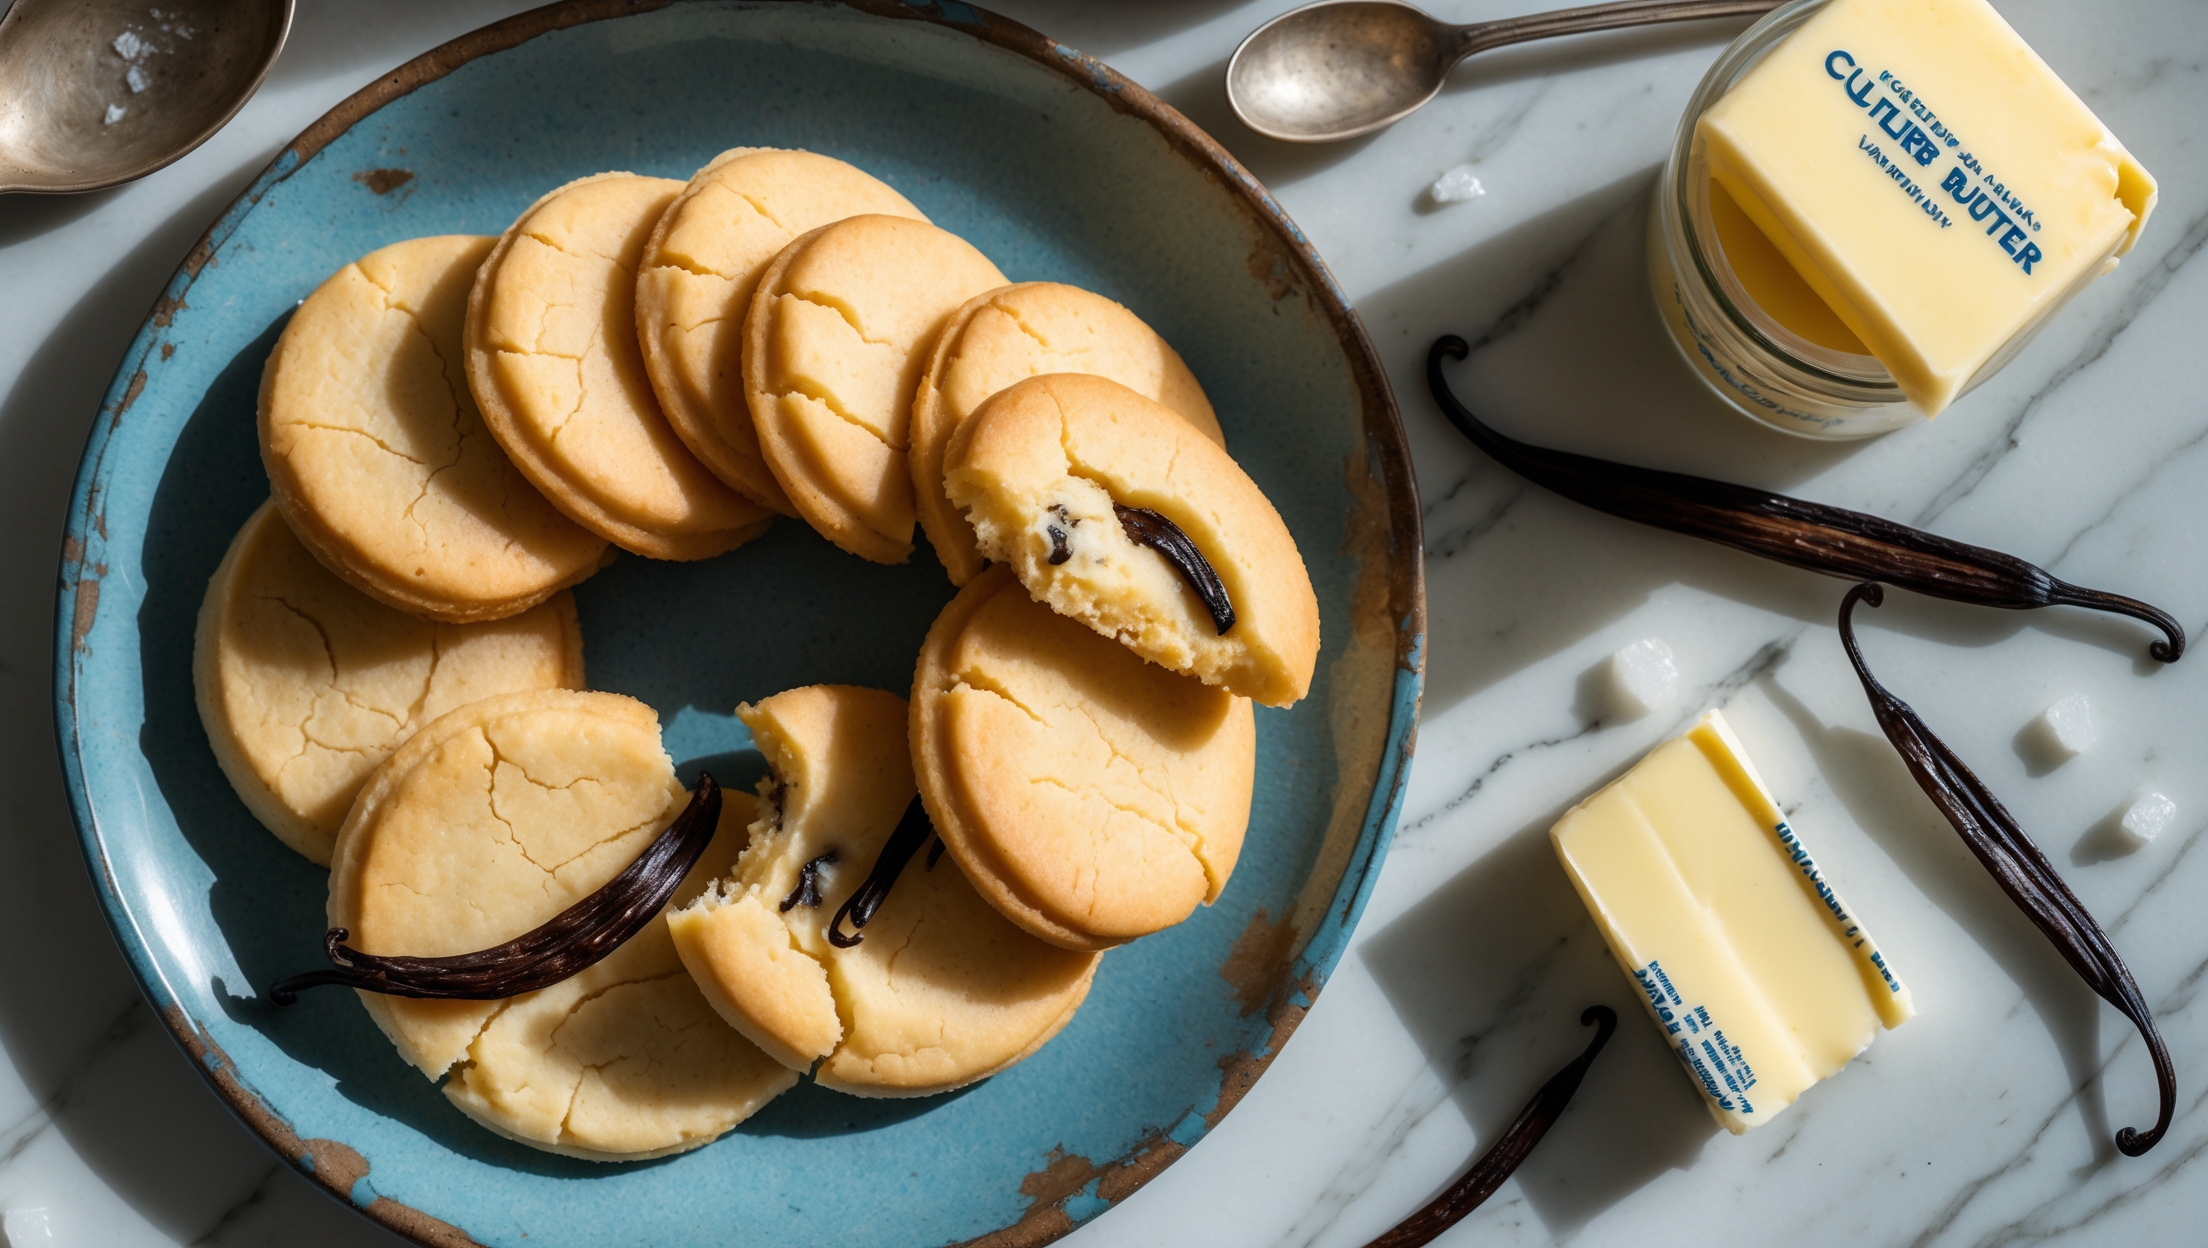
Directions
<ol class="no-list-style"><li class="MethodStepper"><h4 class="step-title">Step 1</h4>Begin by ensuring all your ingredients are properly chilled. The butter should be cold but just slightly softened so it's not rock hard. Cut it into 1cm cubes and place in the bowl of your stand mixer. Let it sit for exactly 5 minutes to reach 8-10°C (46-50°F) – the ideal temperature for creating the perfect crystal structure. This temperature precision is crucial as it allows the butter to form the right-sized fat crystals that will provide structure to your cookies.</li><li class="MethodStepper"><h4 class="step-title">Step 2</h4>Attach the paddle attachment to your mixer and beat the butter on medium speed for exactly 2 minutes. The butter should look slightly creamed but still hold its shape. Add the sugar and continue to beat for 3 minutes until just combined but not overly fluffy. We're aiming for a smooth but dense mixture that appears slightly matte rather than extremely fluffy – excessive air incorporation will disrupt our crystal structure.</li><li class="MethodStepper"><h4 class="step-title">Step 3</h4>Add the cold egg yolk, vanilla extract, and salt. Mix on low speed just until incorporated, about 30 seconds. Scrape down the sides of the bowl with a spatula. The mixture should remain cool to the touch (under 18°C/65°F); if it's warming up, place the bowl in the refrigerator for 5 minutes before continuing.</li><li class="MethodStepper"><h4 class="step-title">Step 4</h4>Whisk together the chilled flour and cornstarch in a separate bowl. With the mixer on low speed, add the dry ingredients all at once. Mix only until the dough just begins to come together and no dry flour remains – about 20-30 seconds. Overmixing will develop gluten and warm the dough, both enemies of our desired crystal structure.</li><li class="MethodStepper"><h4 class="step-title">Step 5</h4>Turn the dough out onto a lightly floured work surface and gently press it together with your hands. Form it into a disc about 2cm thick. The dough should feel firm but pliable, not sticky or crumbly. Wrap the disc tightly in plastic wrap and refrigerate for exactly 30 minutes. This rest period allows the butter crystals to set in their optimal formation while the flour fully hydrates.</li><li class="MethodStepper"><h4 class="step-title">Step 6</h4>Preheat your oven to 170°C (335°F) – the precise temperature that allows for proper cookie development without melting the butter too quickly. Position racks in the upper and lower thirds of the oven. Line your baking sheets with silicone mats or parchment paper.</li><li class="MethodStepper"><h4 class="step-title">Step 7</h4>Remove the dough from the refrigerator and place it between two sheets of parchment paper. Roll it to an even 5mm thickness, using guide rings on your rolling pin if available. The uniform thickness ensures even baking and perfect crystal structure development. If the dough becomes too soft at any point (above 15°C/59°F), return it to the refrigerator for 10 minutes.</li><li class="MethodStepper"><h4 class="step-title">Step 8</h4>Using your cookie cutters (preferably metal as they conduct cold better), cut shapes from the dough. Transfer cookies to prepared baking sheets, spacing them 3cm apart. Gather scraps, re-roll once between parchment paper, and cut additional cookies. For optimal results, place the filled baking sheets in the freezer for exactly 5 minutes before baking – this final cold shock helps set the crystal structure.</li><li class="MethodStepper"><h4 class="step-title">Step 9</h4>If desired, sprinkle cookies lightly with sugar crystals or flaky sea salt. Bake for 11-13 minutes, rotating sheets halfway through. The cookies should barely begin to turn golden at the edges while remaining pale in the center. Don't wait for them to brown – this indicates overbakin which will destroy our carefully cultivated crystal structure.</li><li class="MethodStepper"><h4 class="step-title">Step 10</h4>Allow cookies to cool on the baking sheets for exactly 3 minutes (they're still crystallizing!), then transfer to wire racks to cool completely. You'll notice they feel slightly soft when warm but develop their signature snap as they cool and the crystal structure fully sets. Store in an airtight container at room temperature for up to 5 days, or freeze for longer storage.</li></ol>