Brown Butter Laminated Cookies with 36 Alternating Layers Recipe
Ingredients
Equipment
Directions
FAQs
Find answers to your most pressing questions about this delicious recipe right here.
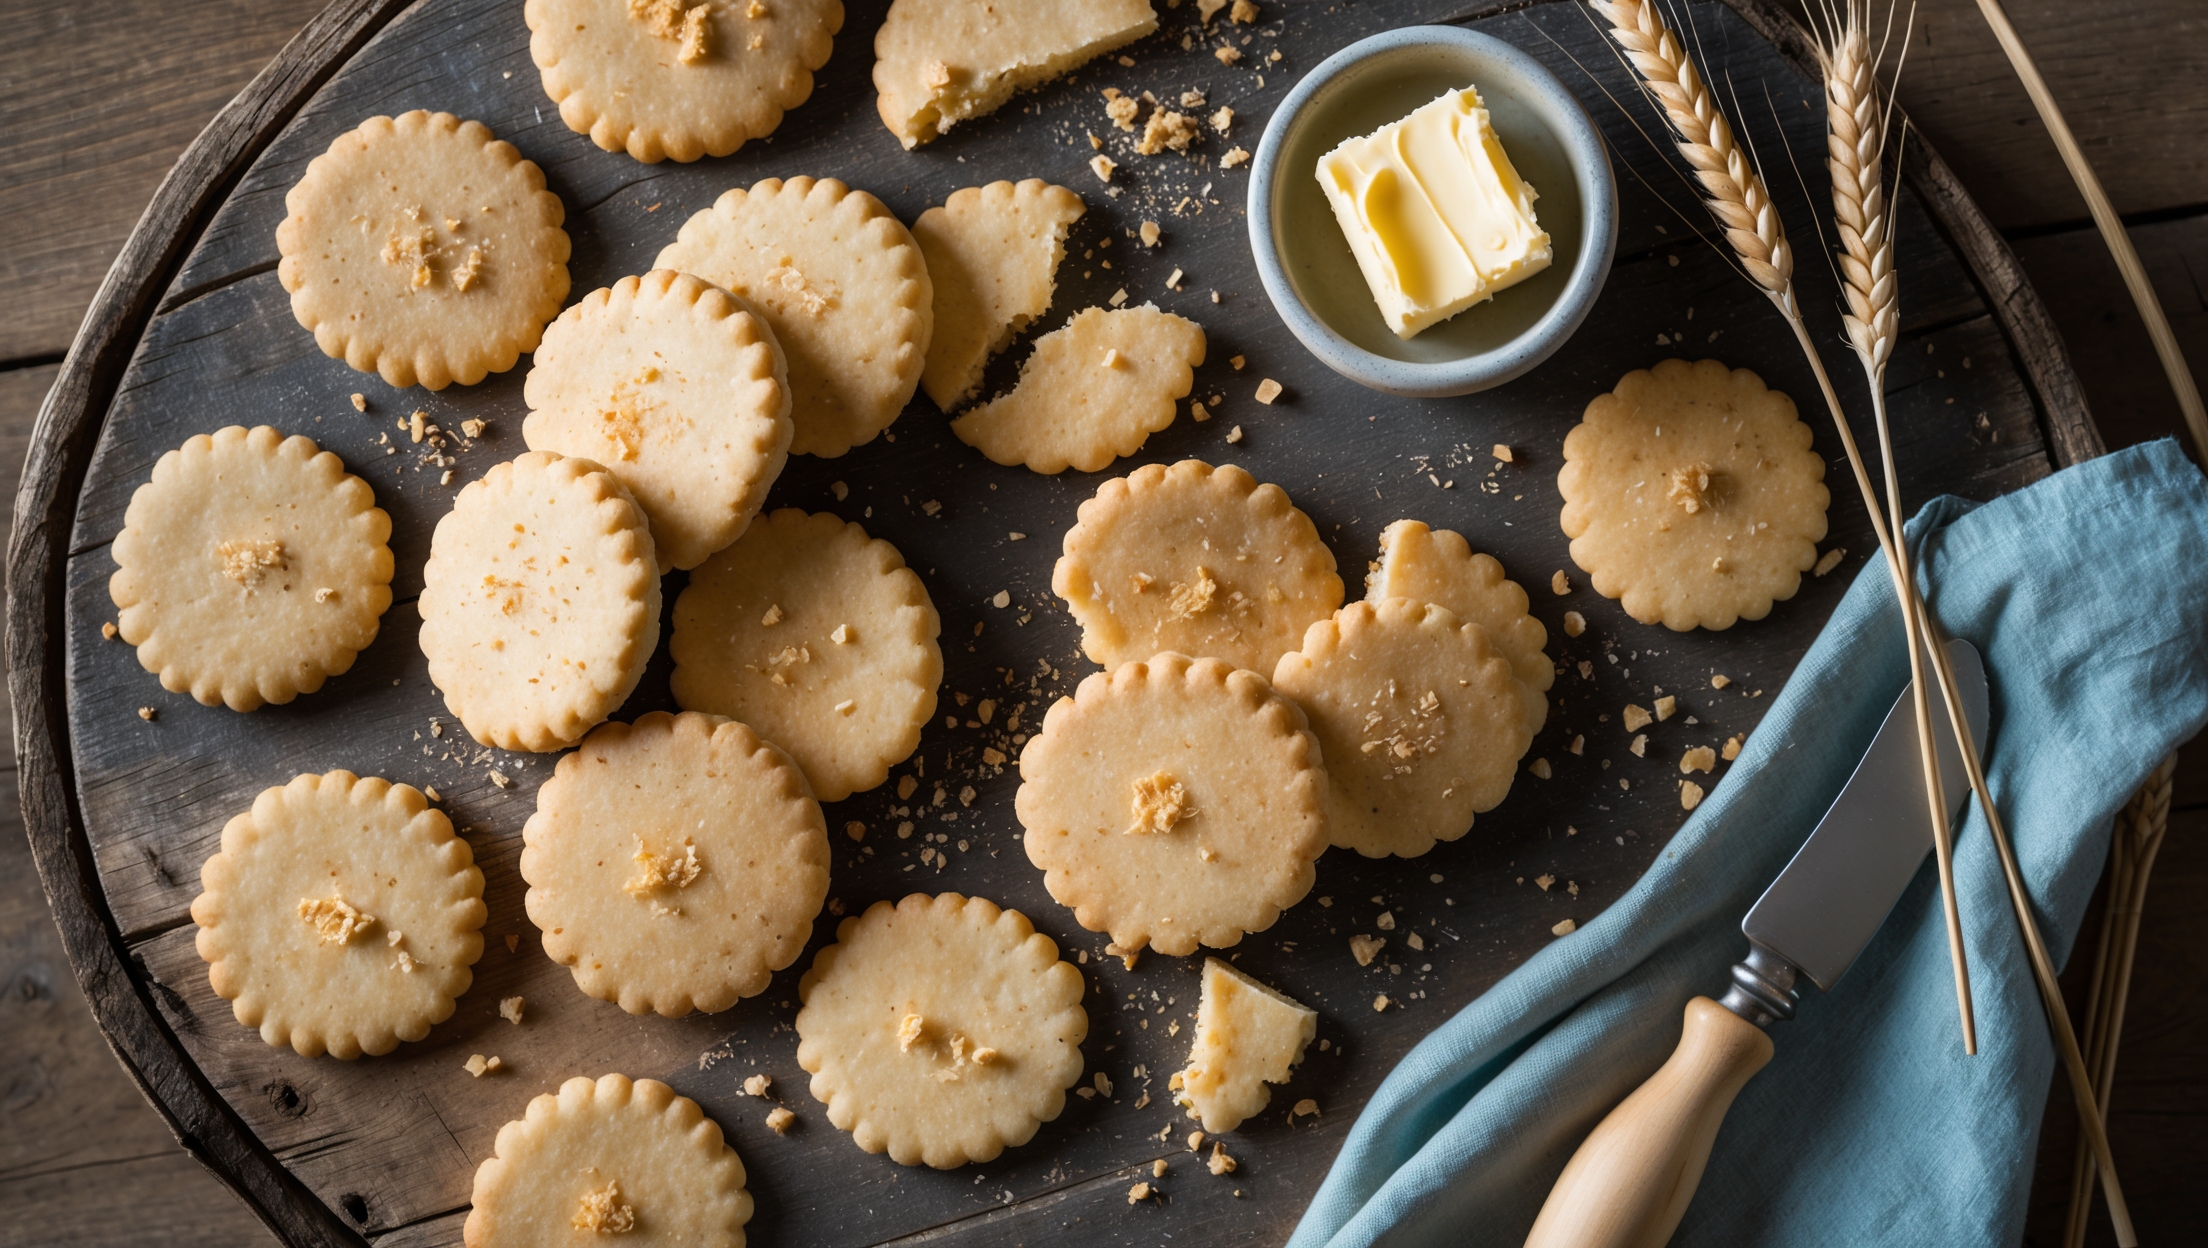
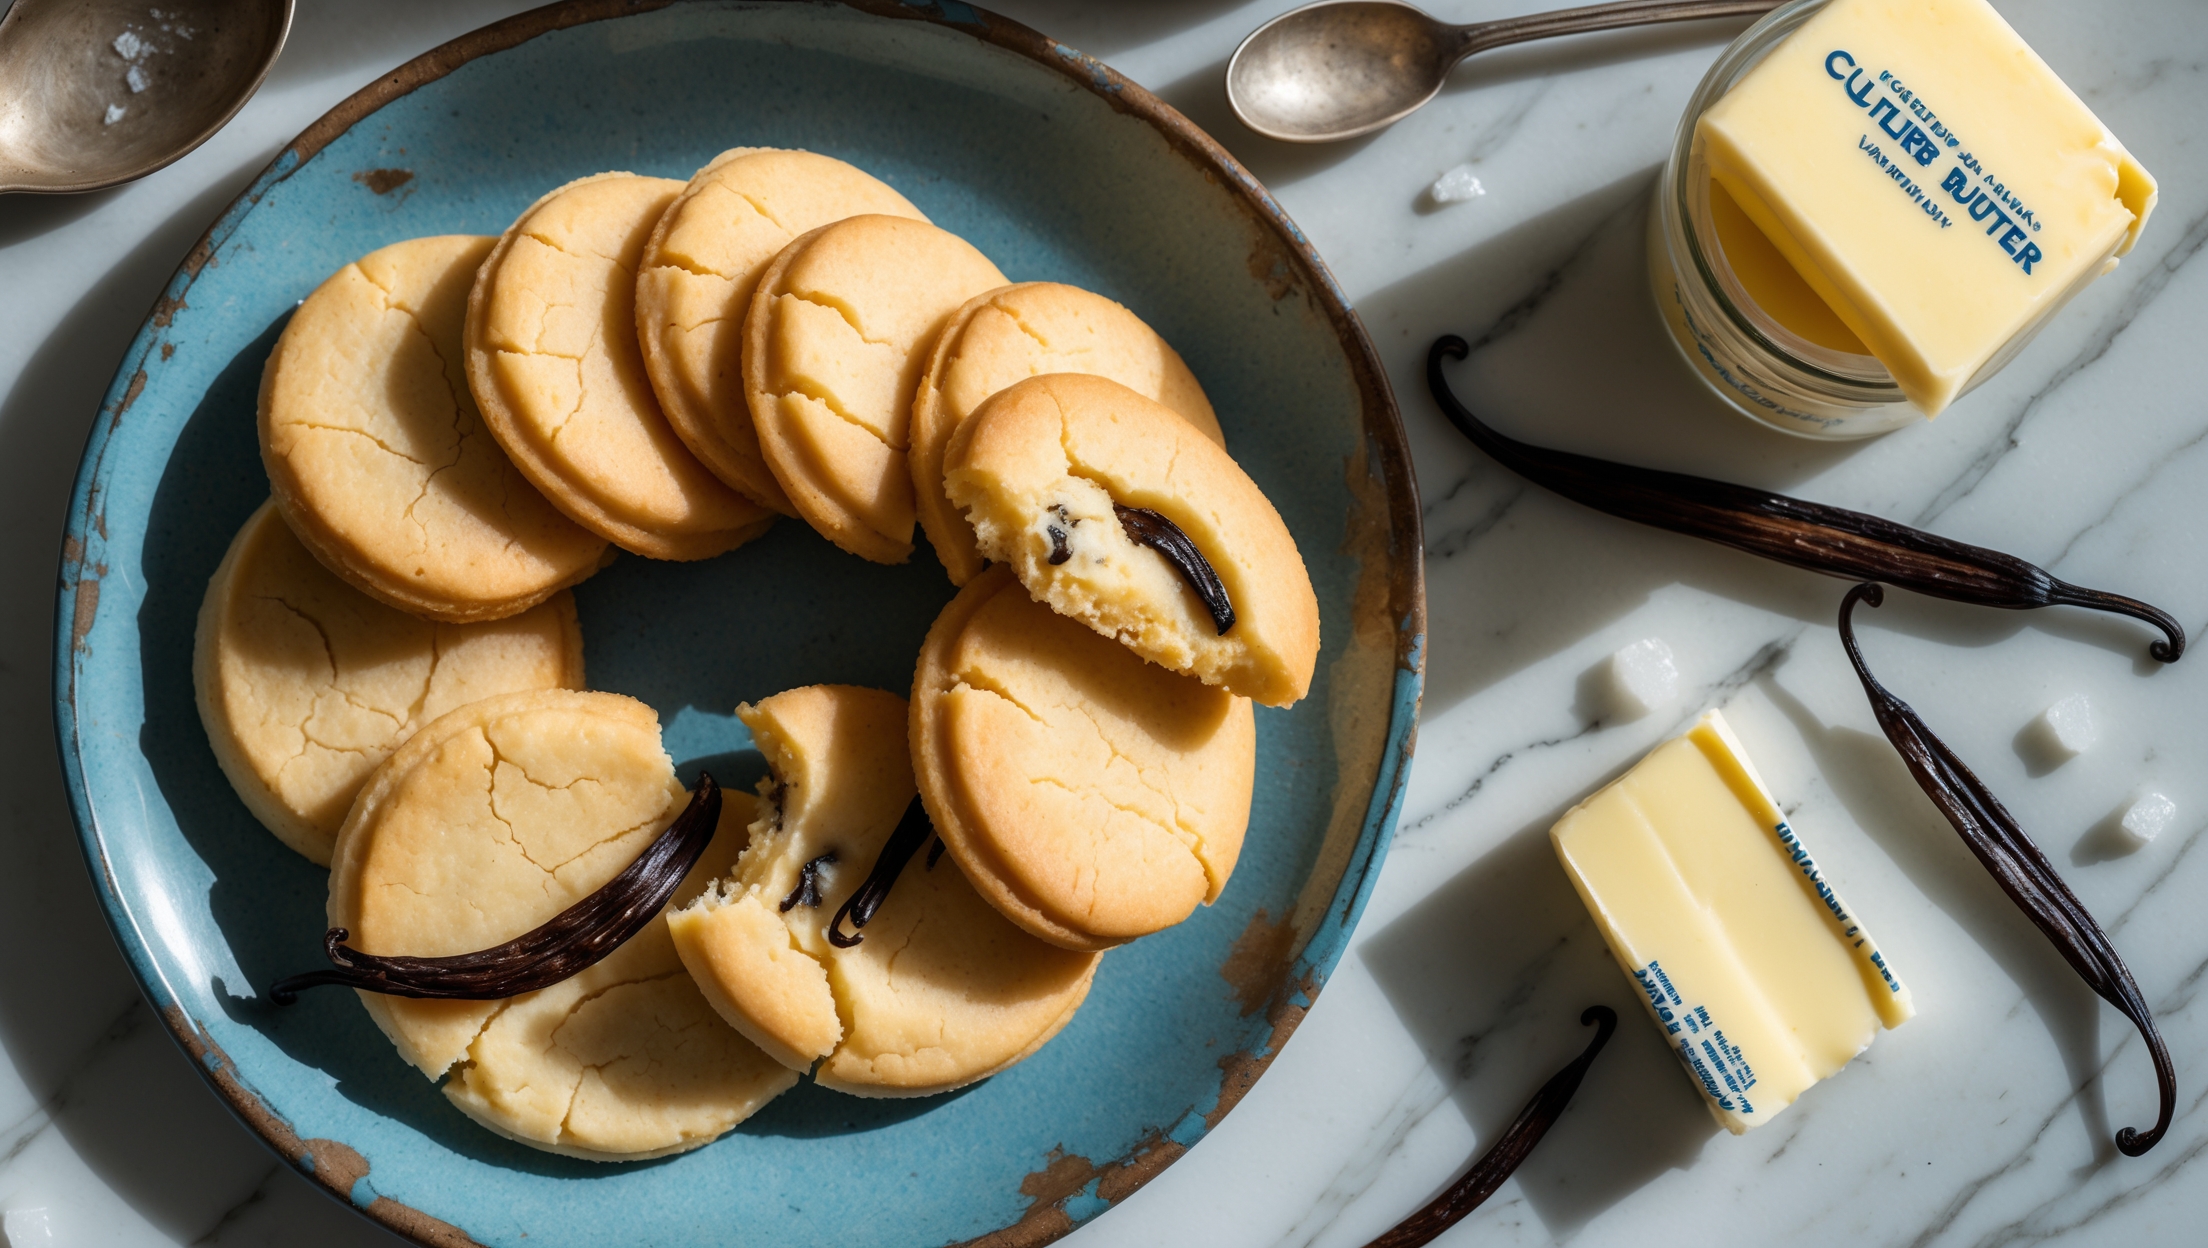
These gourmet cookies require unsalted butter (divided for browning and lamination), granulated and light brown sugars, eggs, vanilla extract, all-purpose flour, baking soda, salt, and flaky sea salt for topping. The magic happens through the butter lamination technique.
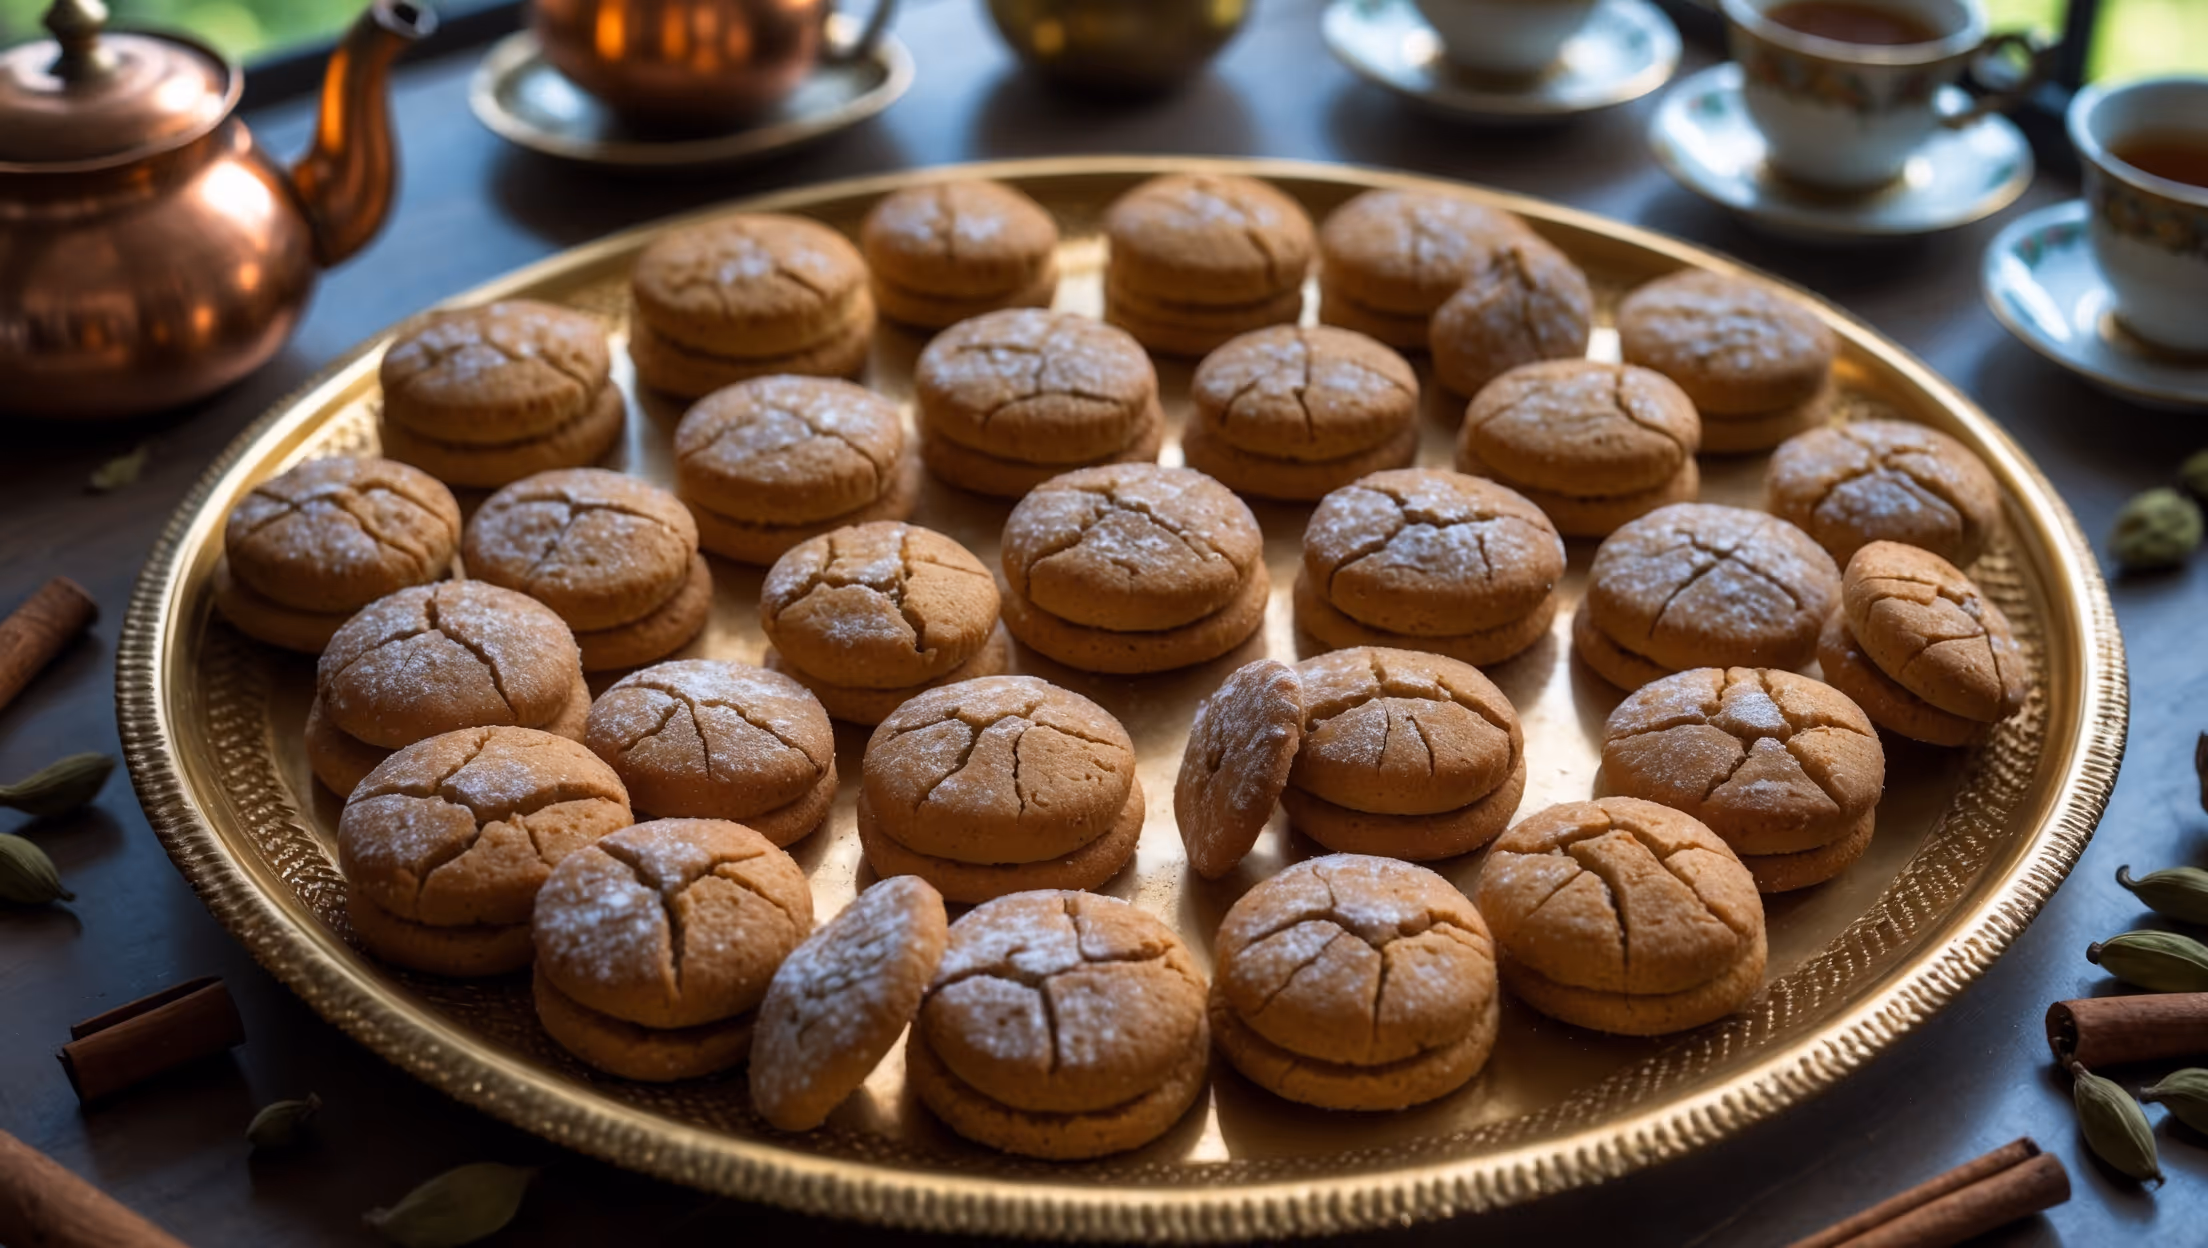
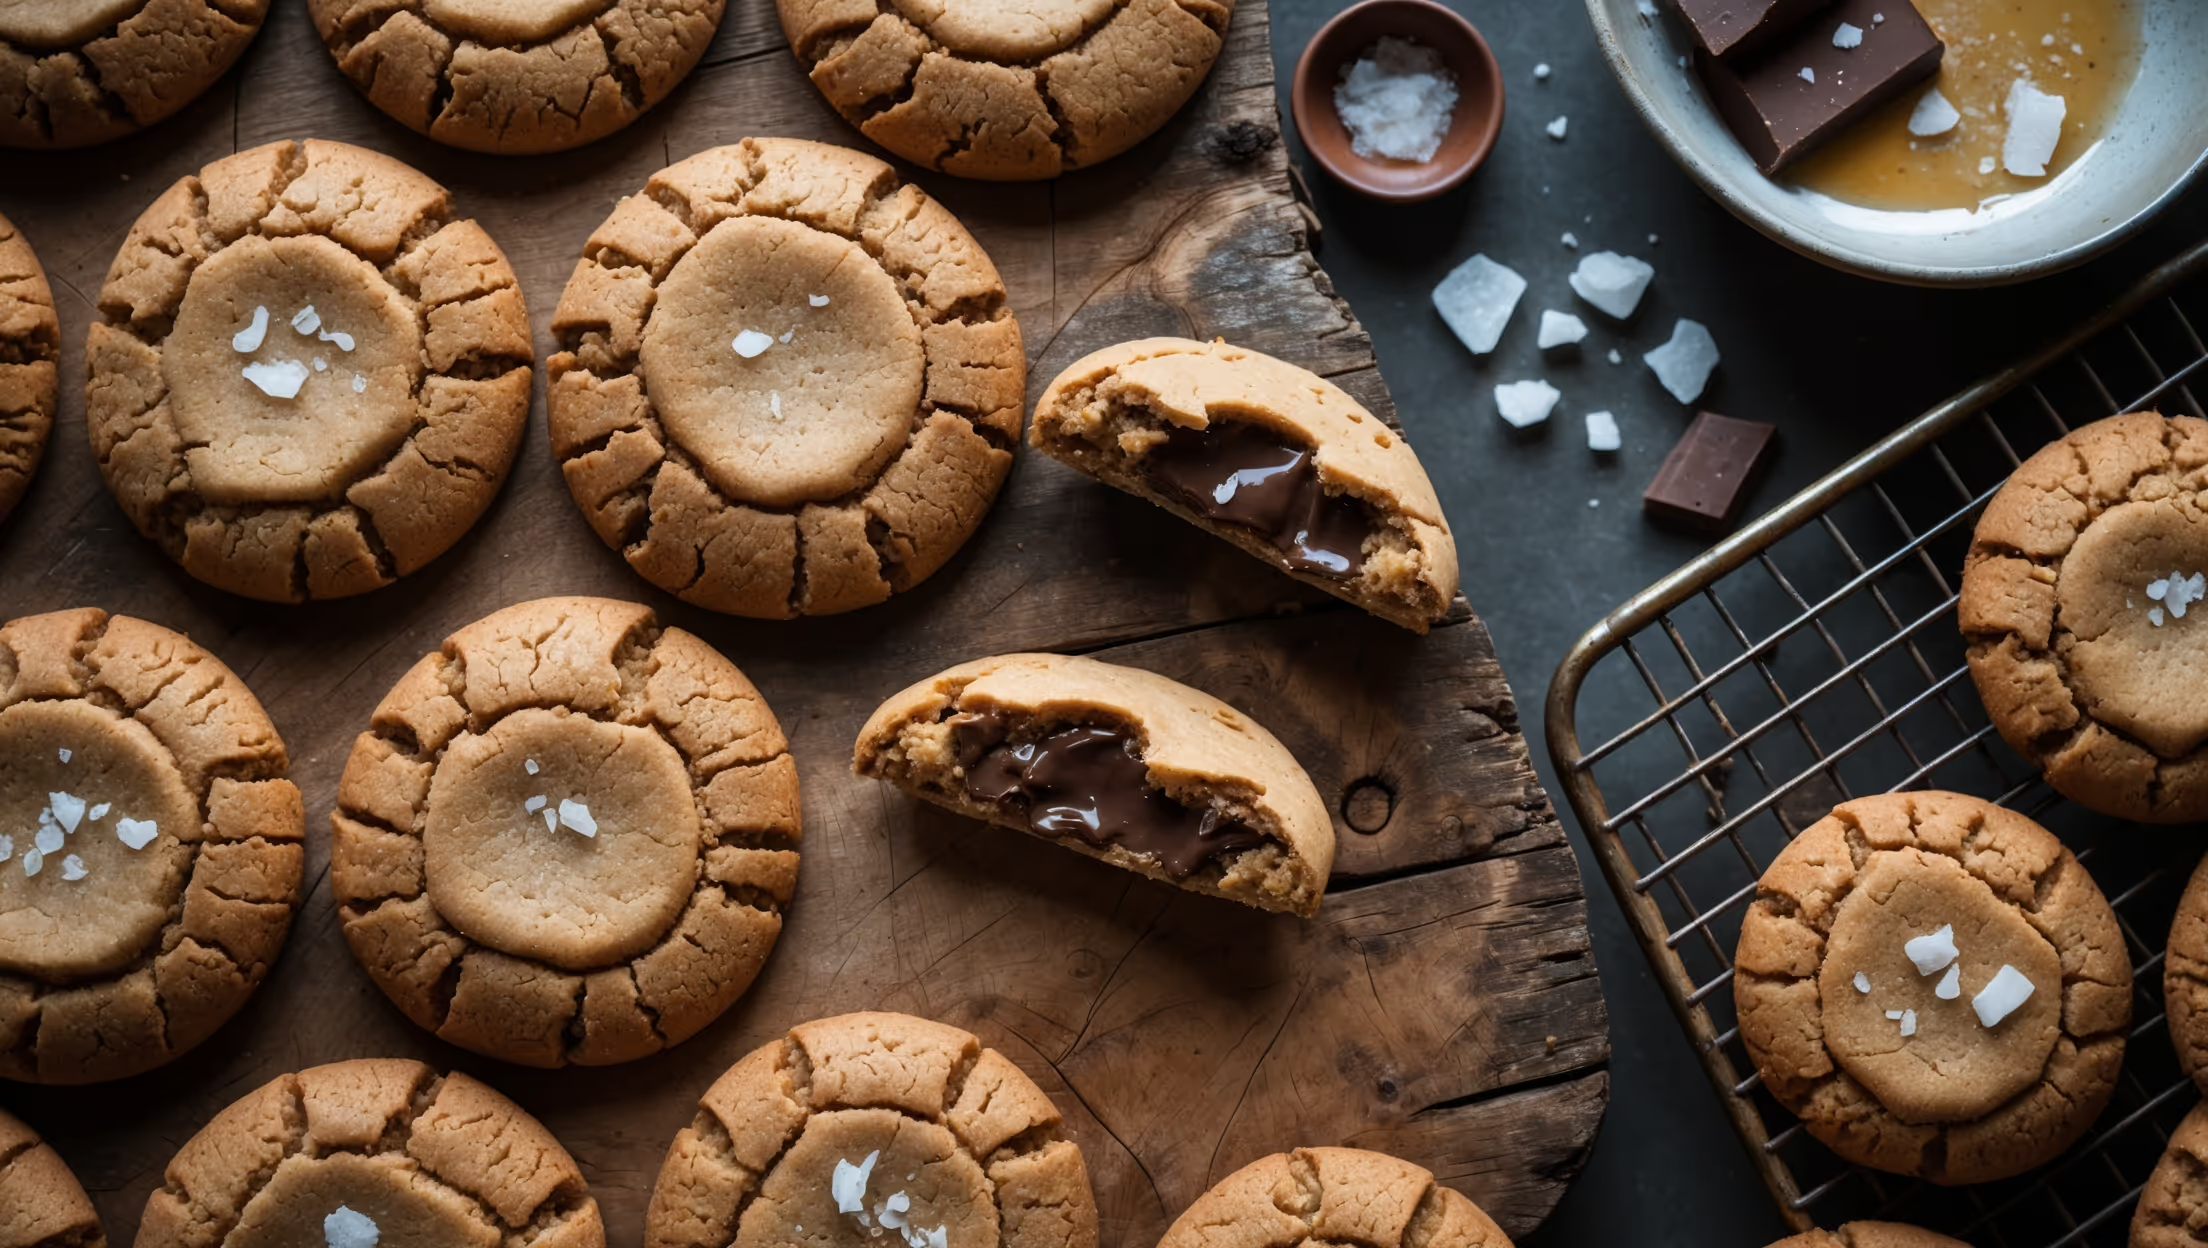
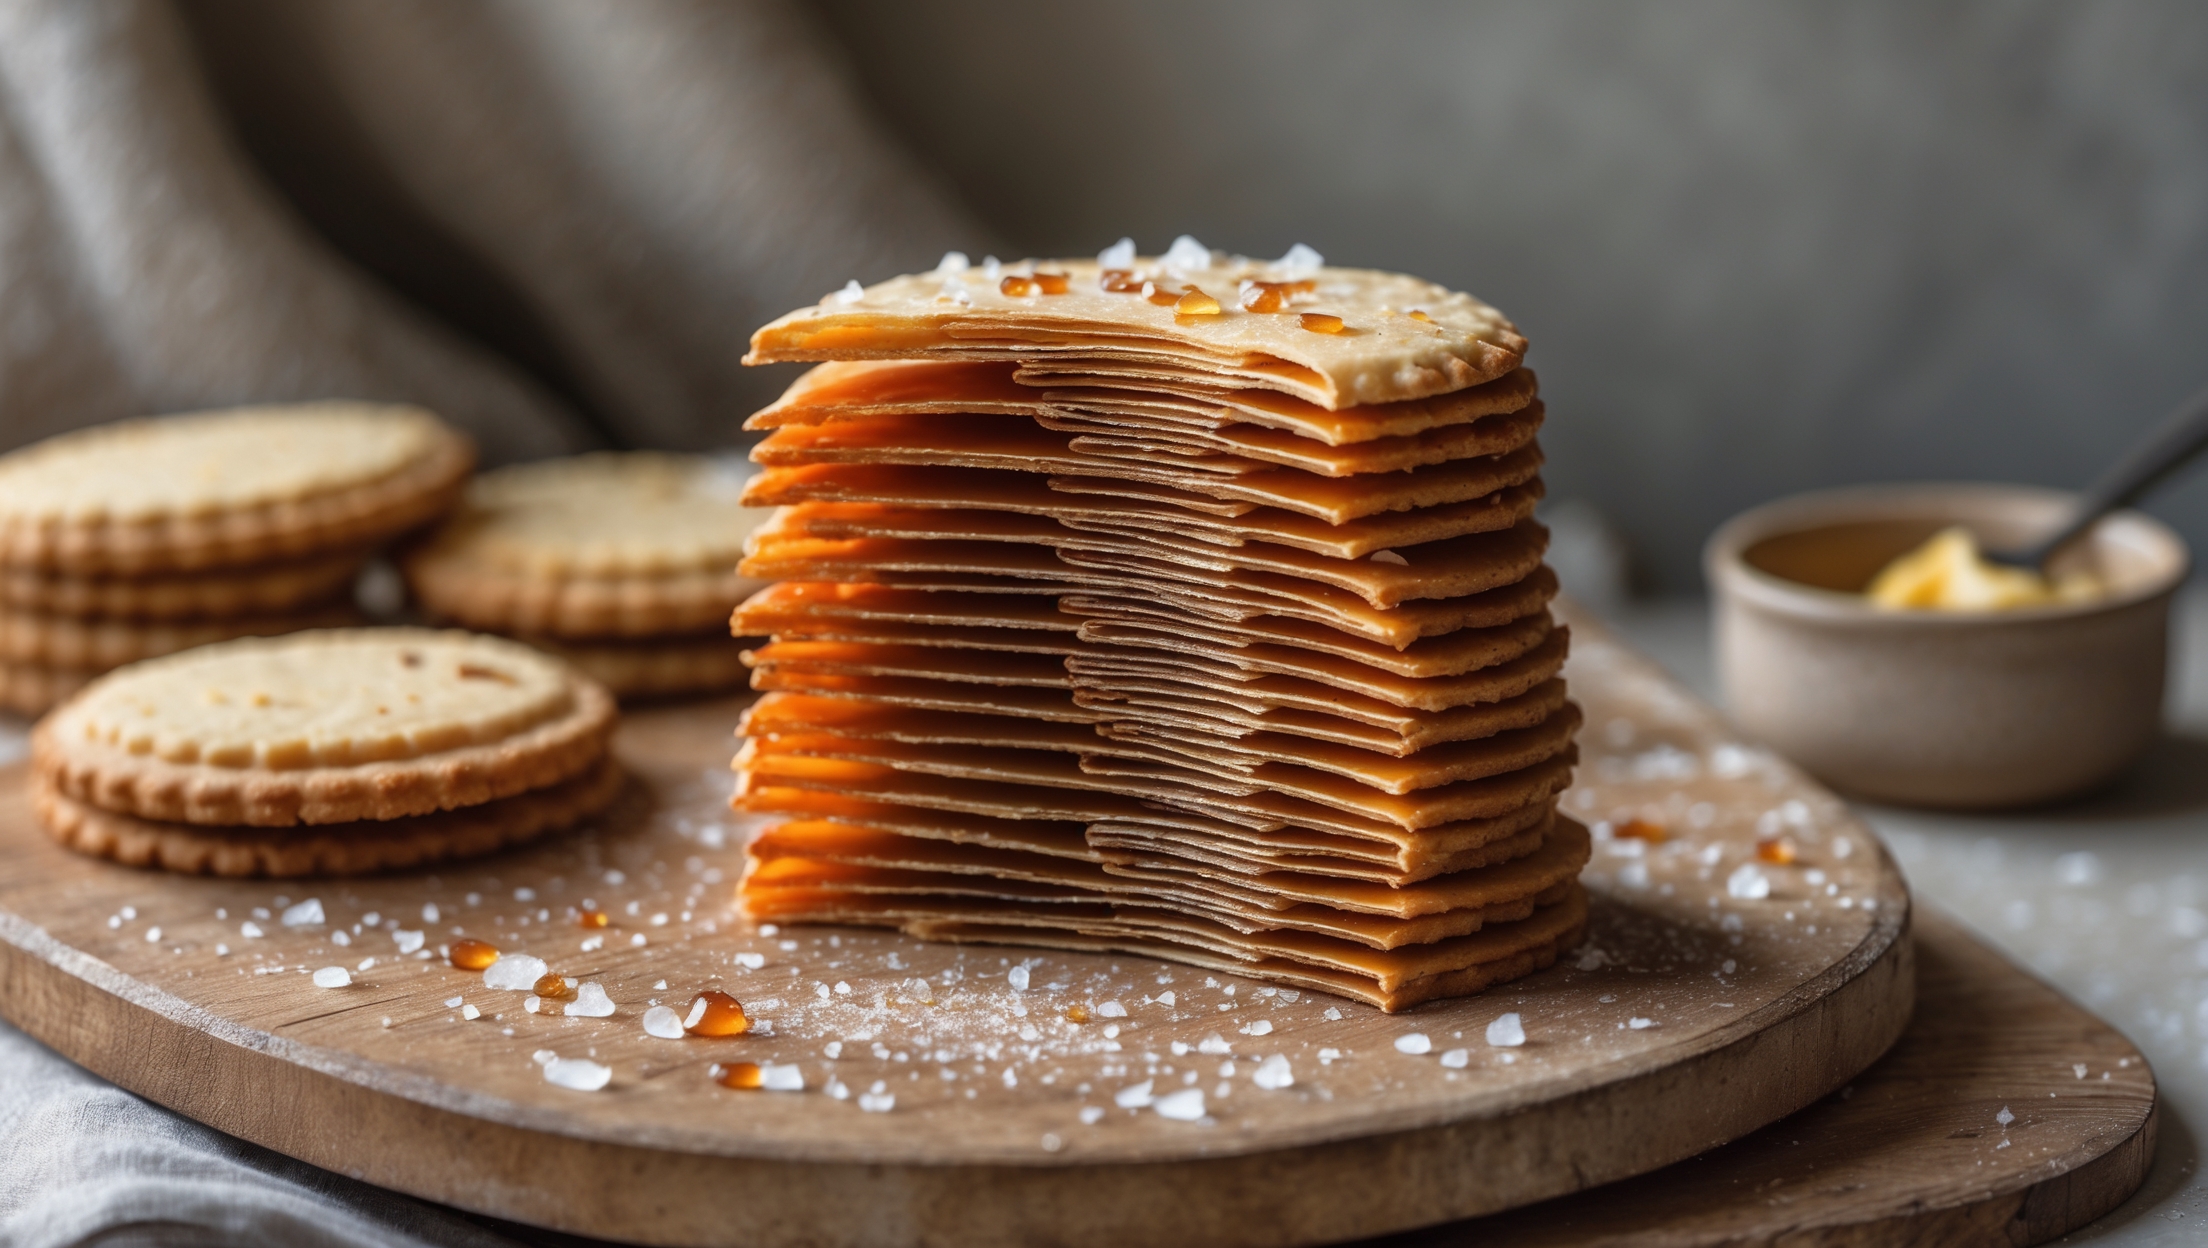
Learn how to cook Brown Butter Laminated Cookies with 36 Alternating Layers by first browning butter for rich flavour, then creating a laminated dough through a series of precise folds (similar to croissant technique). The dough needs proper chilling between folds before being cut into rounds, topped with sea salt, and baked until golden, resulting in beautiful flaky layers.
Distinct layers in laminated cookies require properly chilled butter between folds, maintaining cold temperatures throughout the process, and minimal handling. If your butter melts into the dough rather than staying separate, or if you overwork the dough, the layers will blend together instead of remaining distinct.
Yes! Laminated cookie dough freezes beautifully. Complete all folding steps, wrap tightly in plastic wrap and foil, then freeze for up to 1 month. Thaw in the refrigerator overnight before rolling, cutting, and baking. This actually helps maintain distinct layers as the butter stays properly chilled.
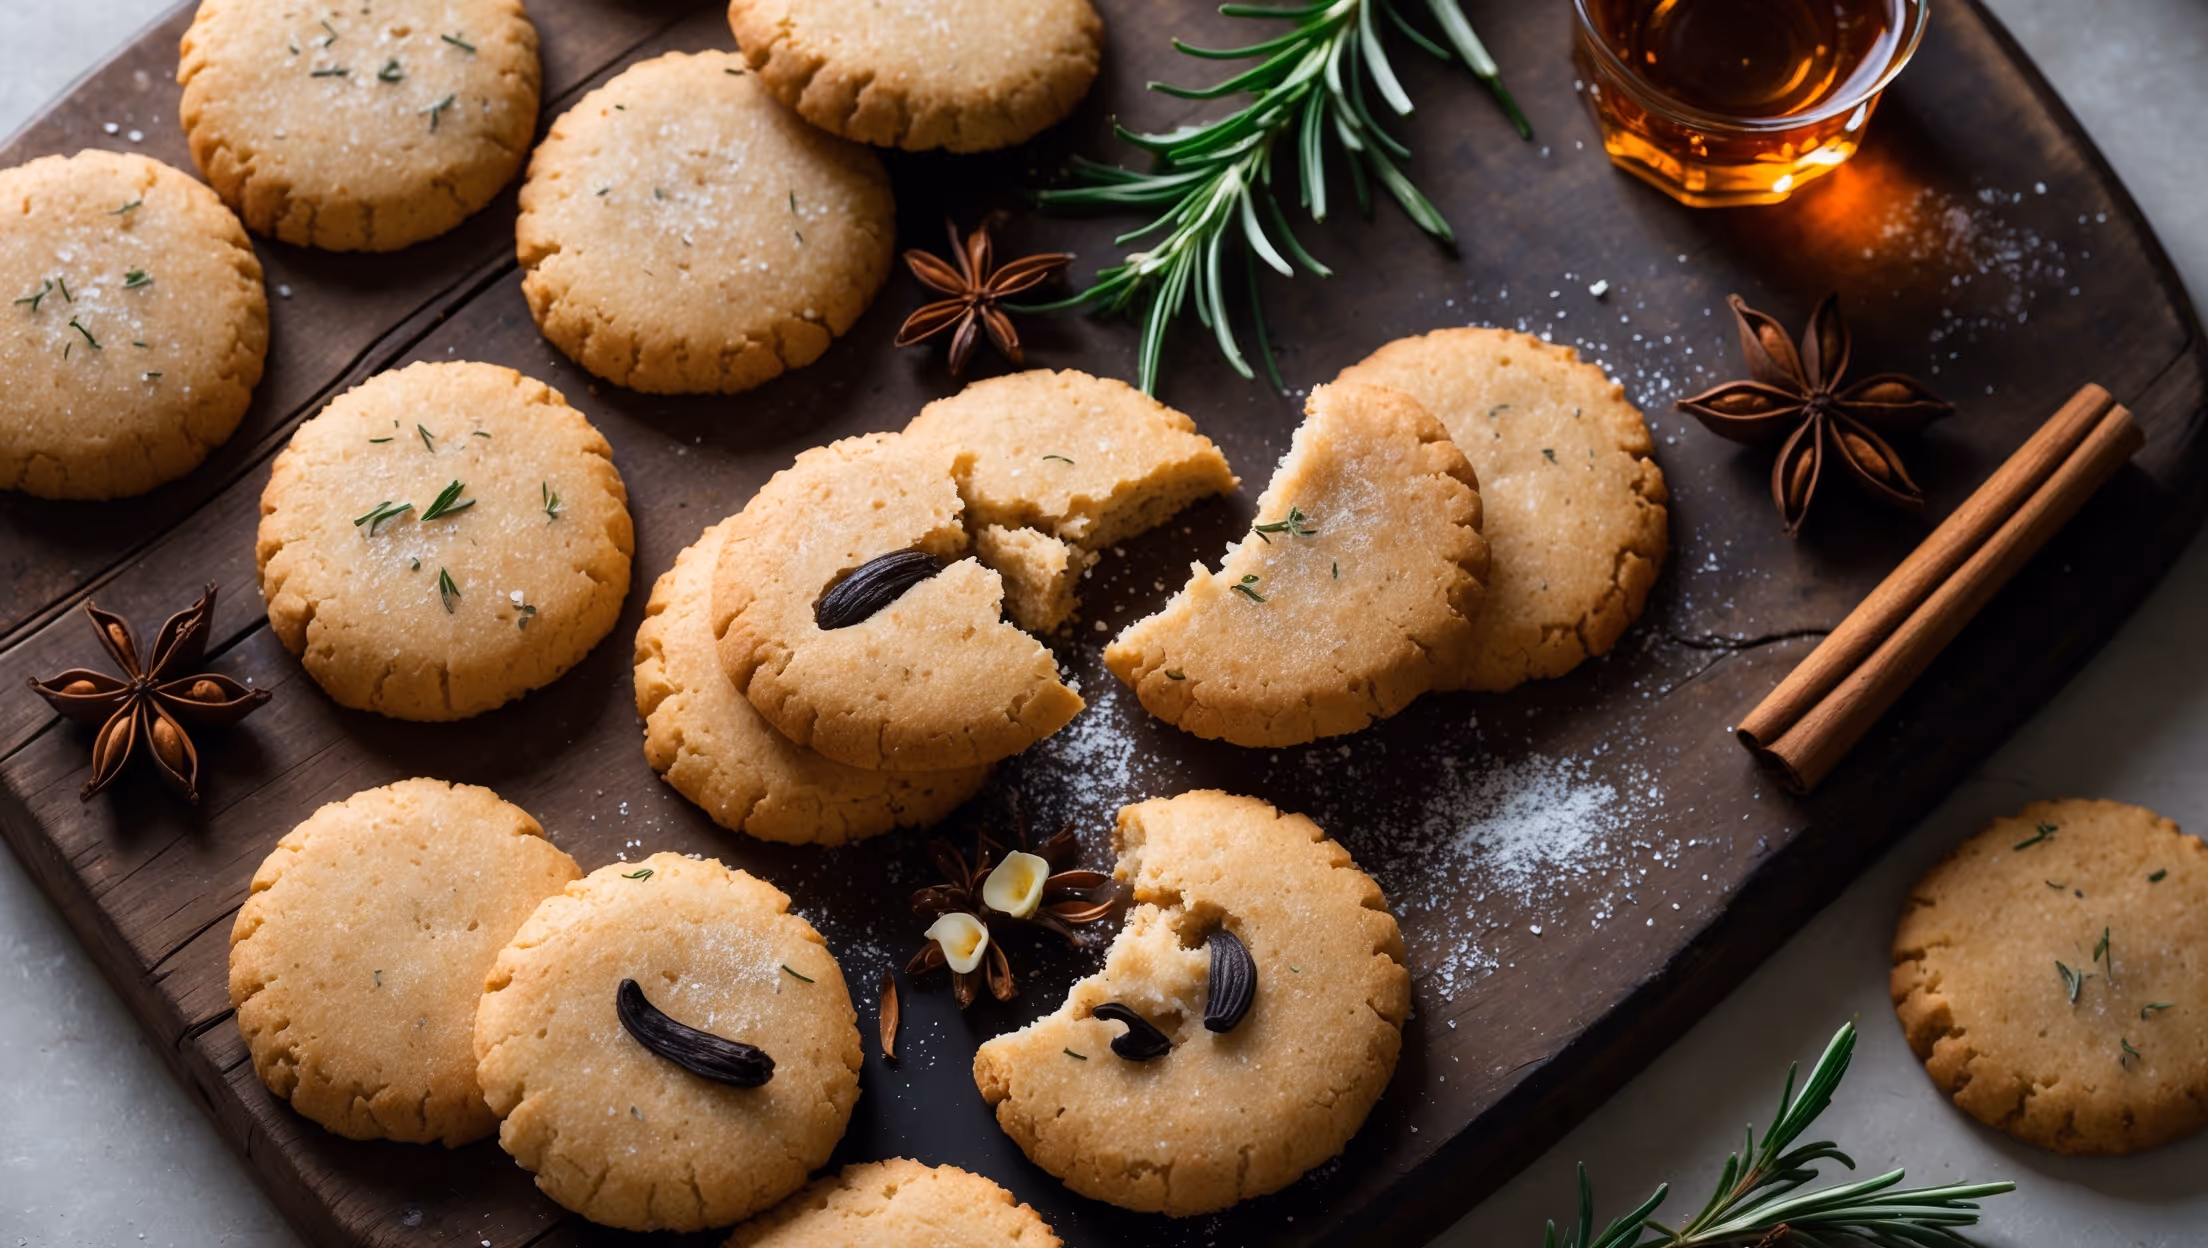
Brown butter undergoes a cooking process that caramelises milk solids, creating a nutty, toasty flavour with complex toffee-like notes that regular butter lacks. This transformation adds remarkable depth to baked goods, particularly cookies, making them more aromatic with a richer taste profile.
Butter Biscuits
Try following recommended recipes