72-Hour Cold-Fermented Butter Cookie Dough with Malted Milk Recipe

Rich, caramel-noted butter cookies with complex flavors developed through extended cold fermentation and the nostalgic warmth of malted milk powder.
Difficulty:
Intermediate
Prep Time:
30 mins
Cook Time:
12 mins
Serves:
24 cookies
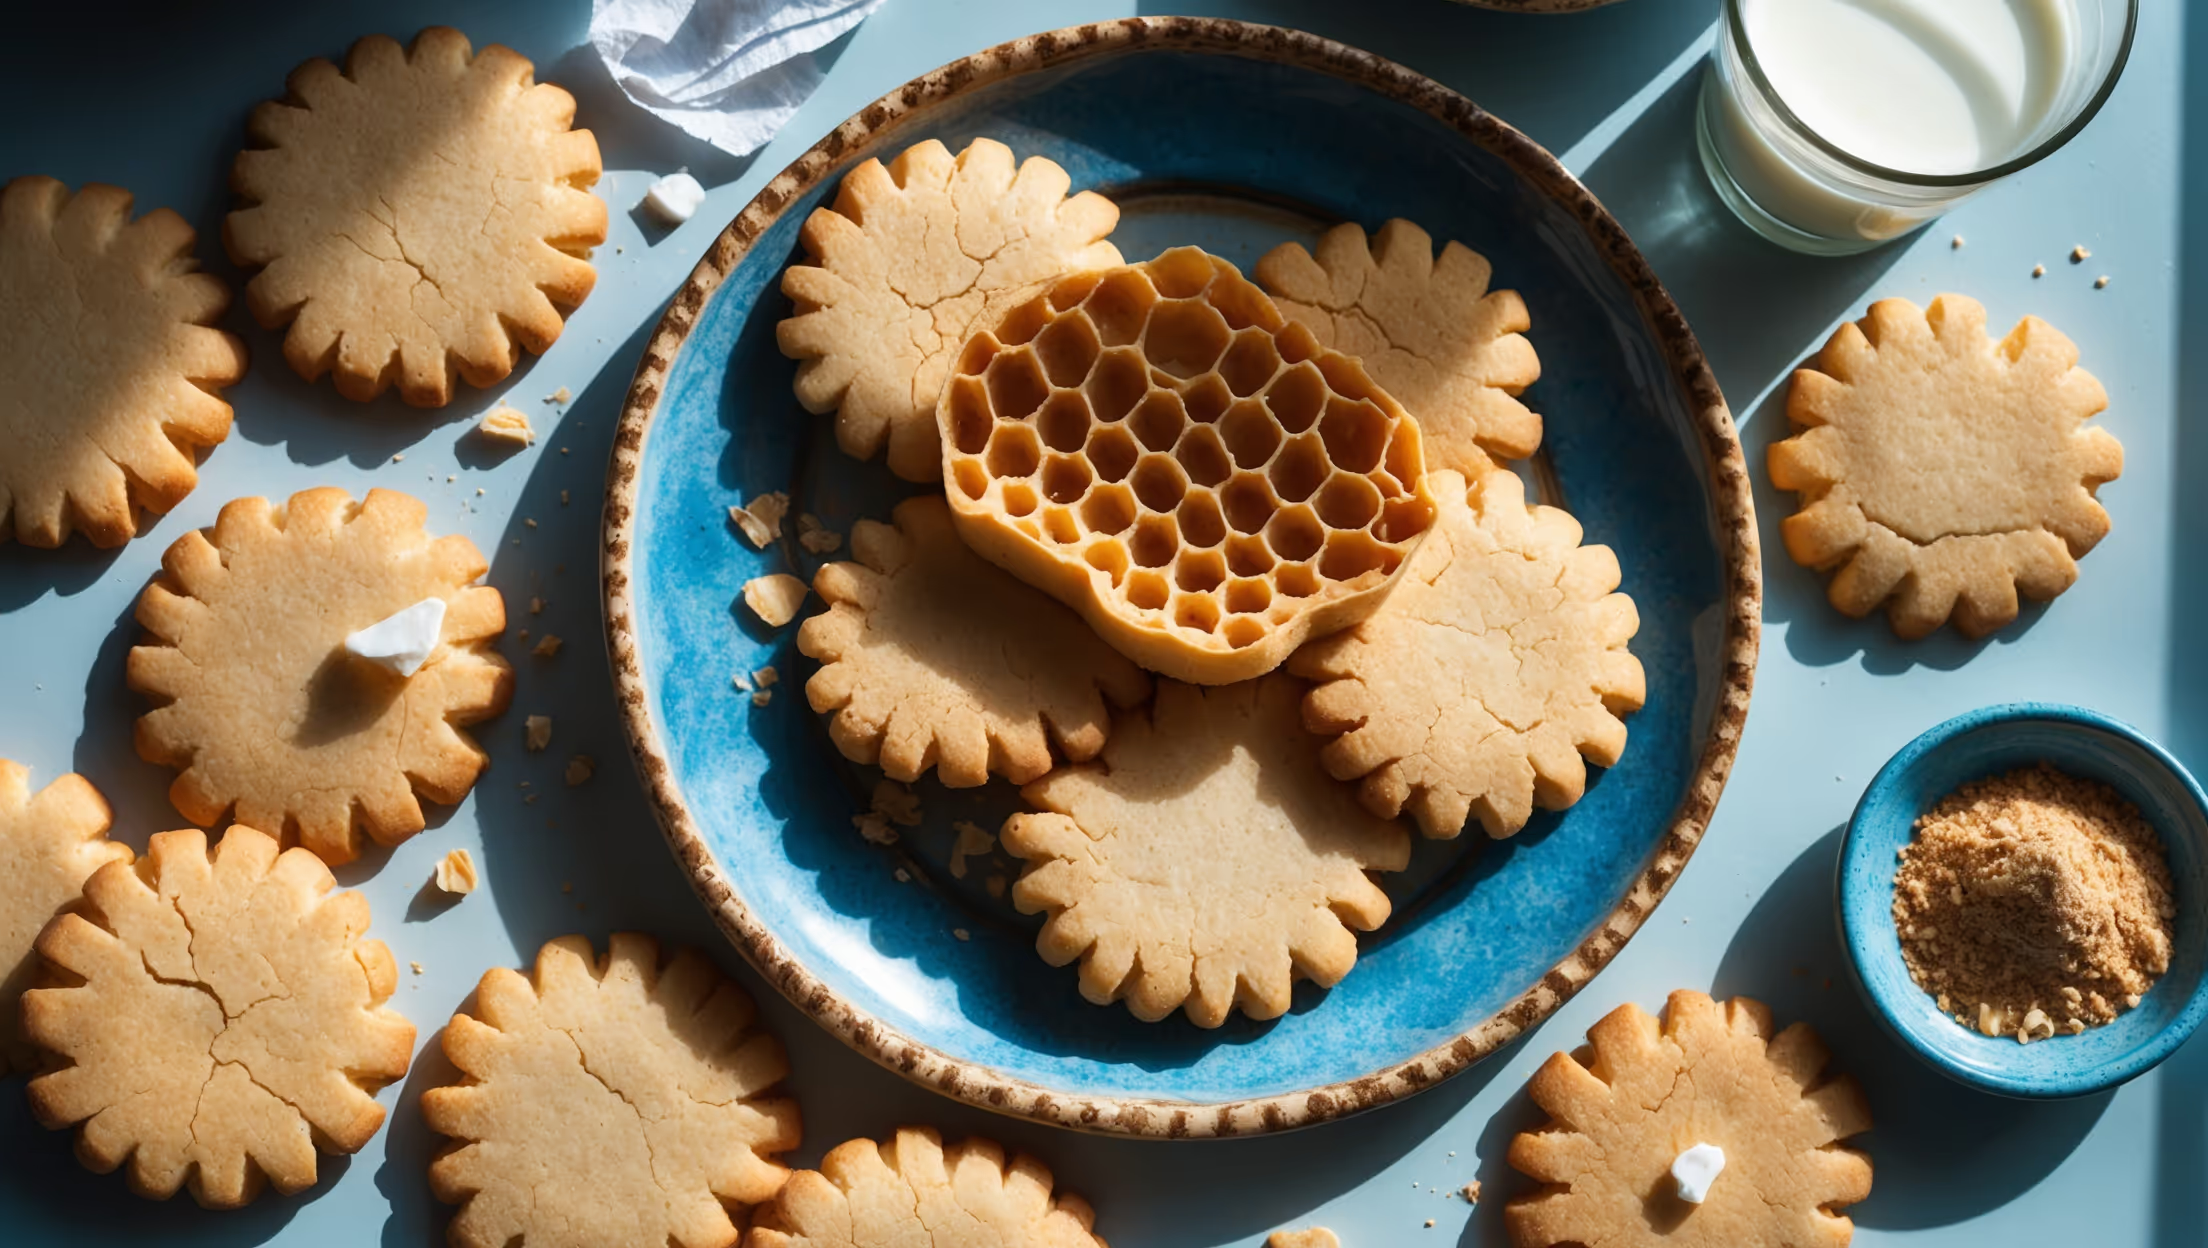
Overhead shot of perfectly golden cookies with crisp edges and slightly chewy centers arranged on a vintage blue ceramic plate. A cross-section view reveals the intricate honeycomb structure inside, while a close-up captures the delicate crackling on the surface. Natural window light casts gentle shadows, highlighting the cookies' caramelized edges and subtle variations in color from pale blonde to amber. A glass of milk sits nearby alongside a small bowl of malted milk powder, and a few scattered sea salt flakes glisten atop select cookies. The sophisticated texture contrast between the crisp exterior and tender interior is evident, with the distinctive rippled edges that developed during the extended fermentation process.

Ingredients

<ul class="ingredients-main-list"><li class="ingredients-single-item">225g unsalted European-style butter, cold and cut into small cubes</li><li class="ingredients-single-item">150g granulated sugar</li><li class="ingredients-single-item">150g light brown sugar, packed</li><li class="ingredients-single-item">2 large eggs, cold from refrigerator</li><li class="ingredients-single-item">1 tsp vanilla extract</li><li class="ingredients-single-item">350g all-purpose flour</li><li class="ingredients-single-item">55g malted milk powder (such as Horlicks or Ovaltine)</li><li class="ingredients-single-item">1 tsp baking soda</li><li class="ingredients-single-item">1 tsp fine sea salt</li><li class="ingredients-single-item">Flaky sea salt for finishing (optional)</li></ul>

Equipment

<ul class="equipment-main-list"><li class="equipment-single-item">Stand mixer with paddle attachment</li><li class="equipment-single-item">Silicone spatula</li><li class="equipment-single-item">Baking sheets</li><li class="equipment-single-item">Parchment paper</li><li class="equipment-single-item">Ice cream scoop or cookie scoop</li></ul>
BAKE SMARTER

Kitchen Converter

Quickly switch between common baking units without leaving the recipe.

Convert
Result—

Volume uses US cups, tablespoons, and teaspoons. Converting weight to volume depends on the ingredient.

Directions

<ol class="no-list-style"><li class="MethodStepper"><h4 class="step-title">Step 1</h4>Place the cold cubed butter in the bowl of your stand mixer fitted with the paddle attachment. Beat on medium speed for about 1 minute until the butter starts to break down but isn't fully softened. Keeping the butter cool helps create a cookie with distinct layers rather than a completely homogeneous texture.</li><li class="MethodStepper"><h4 class="step-title">Step 2</h4>Add both sugars to the butter and mix on medium speed for just 2 minutes. Unlike traditional cookies where we cream until fluffy, we're looking for a coarse, grainy mixture with visible sugar crystals and small butter pieces. This incomplete incorporation is key to the texture development during cold fermentation.</li><li class="MethodStepper"><h4 class="step-title">Step 3</h4>Add the cold eggs one at a time, mixing for only 15 seconds after each addition. The mixture will look slightly curdled – this is perfect! Add the vanilla extract and mix for another 5 seconds. The cold eggs help maintain the cool temperature of the dough, slowing enzyme activity for more complex flavor development.</li><li class="MethodStepper"><h4 class="step-title">Step 4</h4>In a separate bowl, whisk together the flour, malted milk powder, baking soda, and salt until evenly combined. The malted milk powder not only adds flavor but also contributes to caramelization during baking due to its sugar and protein content.</li><li class="MethodStepper"><h4 class="step-title">Step 5</h4>Add the dry ingredients to the mixer bowl and run on low speed for just 20-30 seconds until barely combined with streaks of flour still visible. Immediately stop the mixer and use a spatula to gently fold in any remaining dry ingredients. Minimal mixing prevents gluten development, ensuring tender cookies.</li><li class="MethodStepper"><h4 class="step-title">Step 6</h4>Transfer the dough to an airtight container or divide into two portions and wrap tightly in plastic wrap. Refrigerate for exactly 72 hours. This extended cold fermentation allows enzymes in the flour to break down starches into simpler sugars, developing complex flavors and improving browning potential. The dough's structure also changes, creating a cookie with crisp edges and a chewy center.</li><li class="MethodStepper"><h4 class="step-title">Step 7</h4>After 72 hours, preheat your oven to 180°C and line baking sheets with parchment paper. Remove the dough from refrigeration and let it sit at room temperature for 10 minutes – just long enough to make it scoopable but still very cold.</li><li class="MethodStepper"><h4 class="step-title">Step 8</h4>Using a cookie scoop, portion the dough into 50g balls and place on prepared baking sheets, leaving 8cm between each cookie to allow for spreading. If desired, press gently to flatten slightly and sprinkle each with a few flakes of sea salt, which will enhance the caramel notes developed during fermentation.</li><li class="MethodStepper"><h4 class="step-title">Step 9</h4>Bake for 10-12 minutes, rotating the pan halfway through. Look for deeply golden edges with centers that appear slightly underbaked – they'll continue cooking on the hot sheet. The exact time depends on your oven, so watch carefully for that perfect visual cue of caramelized edges.</li><li class="MethodStepper"><h4 class="step-title">Step 10</h4>Allow cookies to cool on the baking sheet for 5 minutes (during which time they'll continue to set) before transferring to a wire rack to cool completely. The flavor will continue to develop as they cool, with the malted milk notes becoming more pronounced. Store in an airtight container for up to 5 days.</li></ol>
Nutrition Facts (per serving)

🍽️ Serving Size: 1 cookie
🔥 Calories: 195 calories
🥑 Fat: 11 g
🧈 Saturated Fat: 6.5 g
🍞 Carbohydrates: 23 g
🍭 Sugar: 14 g
🍗 Protein: 2 g
🫀 Cholesterol: 35 mg
🧂 Sodium: 120 mg

Chef’s Notes

A few helpful details for making this recipe.

Why does cold fermentation improve cookie flavour and texture?

Cold fermentation allows enzymes in the flour to break down starches into simpler sugars, developing complex flavours and improving browning. The slow process also modifies the dough structure, creating distinct textural contrast – crispy edges with chewy centres that can't be achieved otherwise.

Can I substitute or omit the malted milk powder in these cookies?

While malted milk powder adds distinctive caramel notes and enhances browning, you can substitute it with non-diastatic malt powder or omit it entirely. Without it, consider adding 1 teaspoon of espresso powder or additional vanilla to maintain flavour complexity.

Is it possible to freeze this cookie dough after fermentation?

Yes, after the 72-hour fermentation, the dough can be portioned into balls and frozen for up to 3 months. Bake directly from frozen, adding 1-2 minutes to the baking time. This makes it convenient to enjoy freshly baked cookies whenever the craving strikes.

Want to try something else in ...

More recipes you might like

Keep exploring with more recipes from What's Baking.