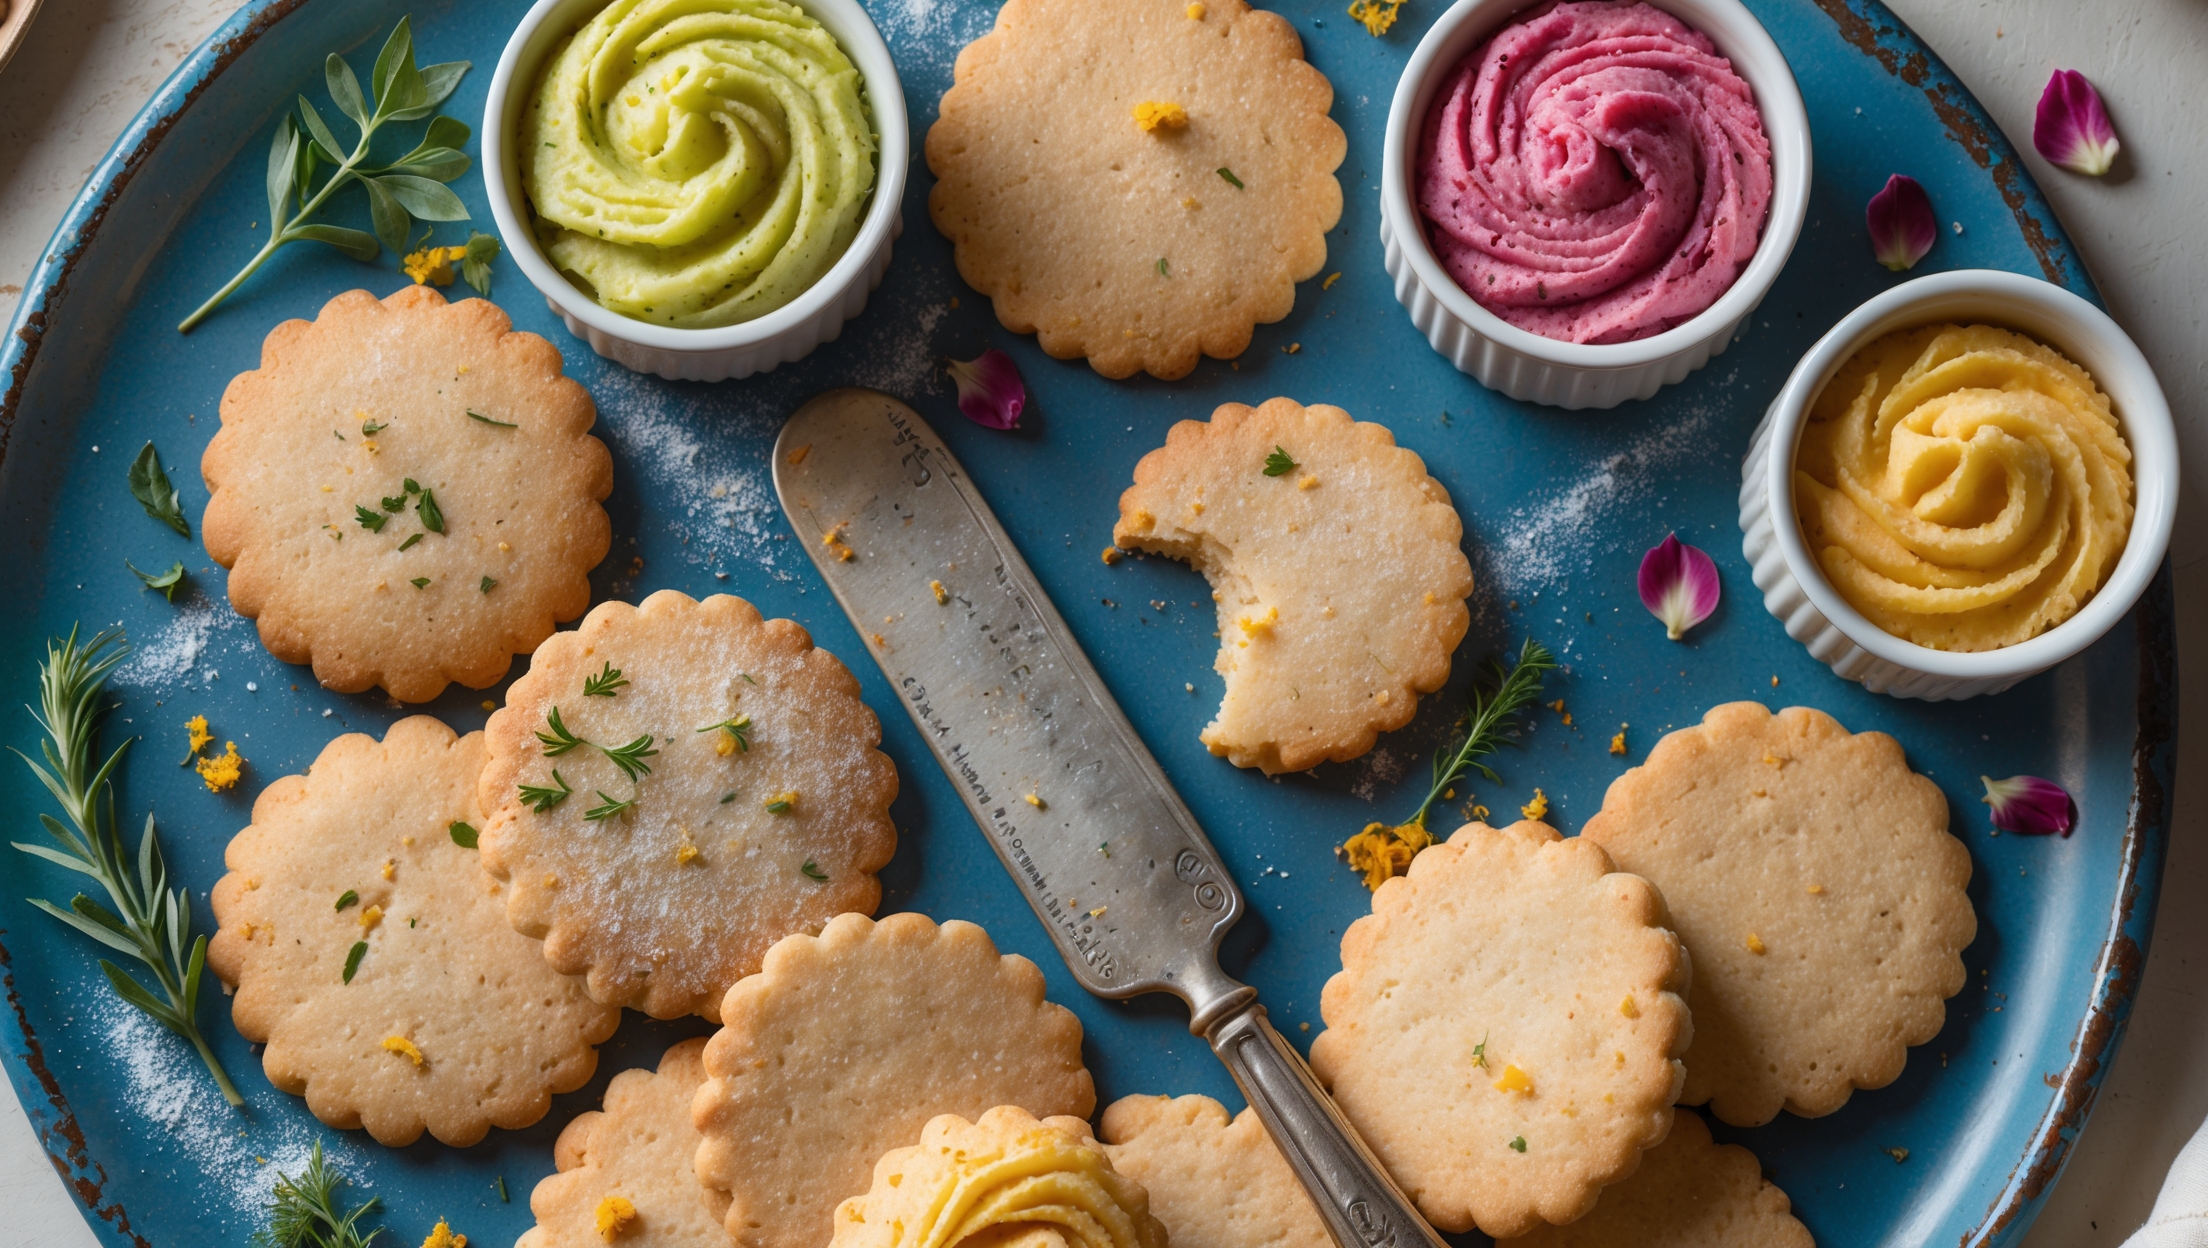
Directions
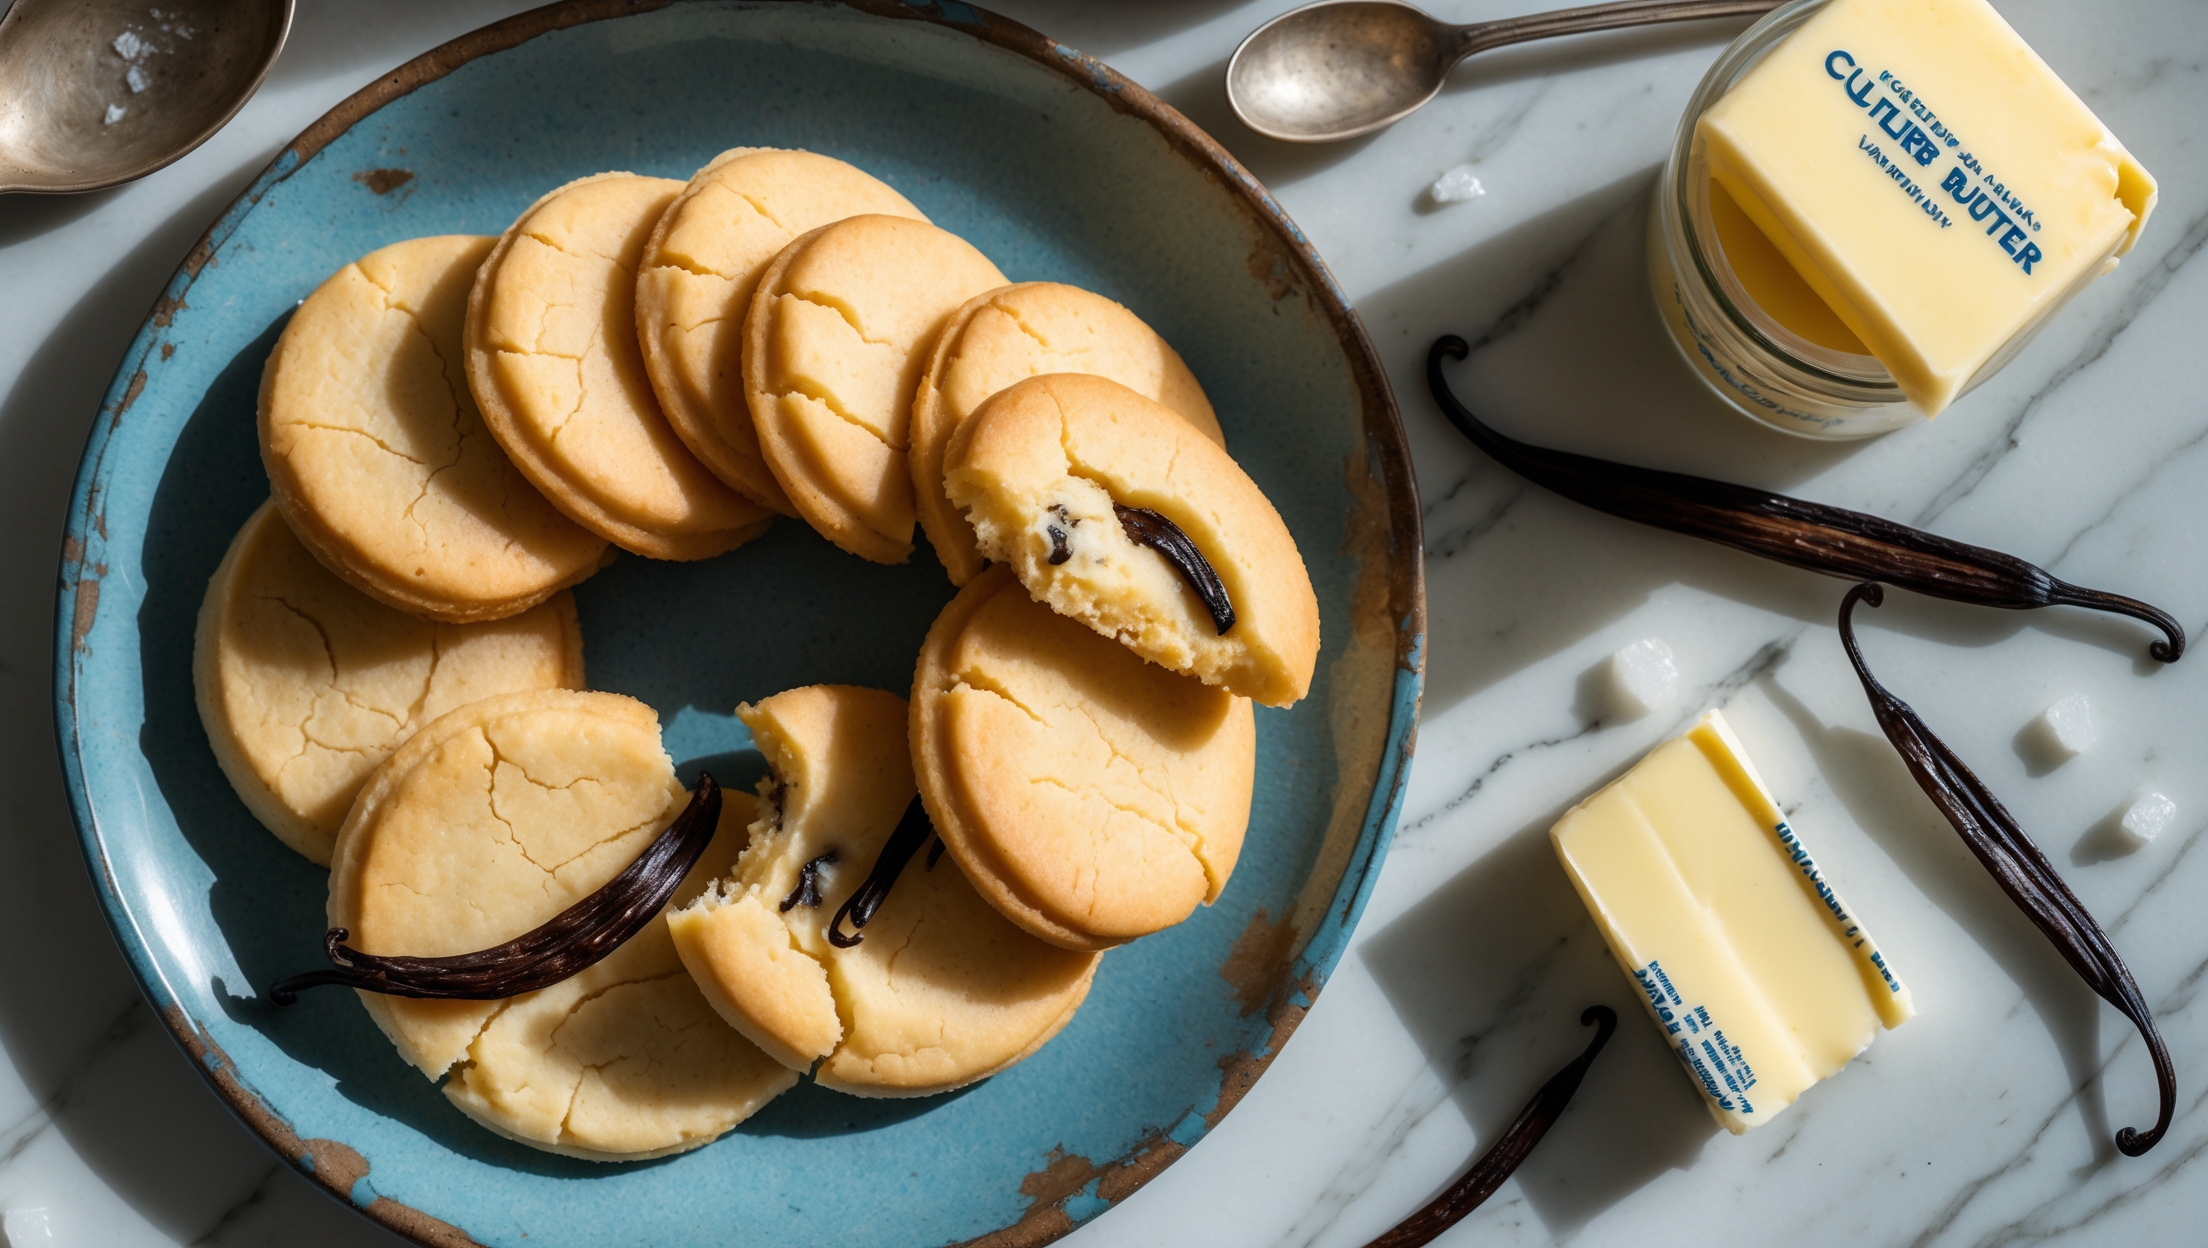
<ol class="no-list-style"><li class="MethodStepper"><h4 class="step-title">Step 1</h4>Place the cultured butter in the bowl of your stand mixer. Allow it to soften at room temperature until it reaches a consistency where it gives slightly when pressed but isn't melting (about 20°C/68°F). Properly softened butter is crucial for incorporating air during creaming, which creates the cookies' delicate texture.</li><li class="MethodStepper"><h4 class="step-title">Step 2</h4>Using a small sharp knife, split the vanilla beans lengthwise and scrape out the seeds with the back of your knife. These tiny black specks contain intense vanilla flavor compounds that will distribute throughout your dough.</li><li class="MethodStepper"><h4 class="step-title">Step 3</h4>In your stand mixer fitted with the paddle attachment, cream the softened cultured butter, vanilla bean seeds, and granulated sugar on medium speed for 3-4 minutes until light and fluffy. The mixture should transform from yellow to almost white in color. This extended creaming incorporates air bubbles that create your cookies' tender structure.</li><li class="MethodStepper"><h4 class="step-title">Step 4</h4>Add the egg and vanilla extract to the butter mixture and mix on medium speed until completely incorporated, scraping down the sides of the bowl as needed. The mixture may look slightly curdled at first, but will come together with continued mixing.</li><li class="MethodStepper"><h4 class="step-title">Step 5</h4>In a separate bowl, whisk together the flour, baking powder, and sea salt. Add the dry ingredients to the butter mixture and mix on low speed just until combined. Overmixing at this stage develops gluten, which can make your cookies tough rather than tender.</li><li class="MethodStepper"><h4 class="step-title">Step 6</h4>Cover the dough and refrigerate for at least 1 hour (or up to 48 hours). This resting period allows the flour to fully hydrate and the butter to firm up, which prevents excessive spreading during baking and intensifies the flavor development.</li><li class="MethodStepper"><h4 class="step-title">Step 7</h4>When ready to bake, preheat your oven to 175°C (350°F) and line two baking sheets with parchment paper. Remove the dough from the refrigerator and let it sit for 5-10 minutes to slightly soften.</li><li class="MethodStepper"><h4 class="step-title">Step 8</h4>Using a cookie scoop or tablespoon measure, portion the dough into 24 equal balls (about 28g each) and place them on the prepared baking sheets, spacing them about 5cm (2 inches) apart to allow for spreading.</li><li class="MethodStepper"><h4 class="step-title">Step 9</h4>For a decorative finish, gently press the tops of the cookies with a fork to create a crosshatch pattern. If desired, sprinkle a few flakes of sea salt on top of each cookie – this will enhance the complex flavors of the cultured butter and vanilla.</li><li class="MethodStepper"><h4 class="step-title">Step 10</h4>Bake the cookies one sheet at a time in the center of the oven for 10-12 minutes, or until the edges are just beginning to turn golden while the centers remain pale. The cookies will look slightly underdone in the center – this ensures they'll have that perfect tender interior once cooled.</li><li class="MethodStepper"><h4 class="step-title">Step 11</h4>Allow the cookies to cool on the baking sheet for 5 minutes (they'll continue cooking from residual heat). Then transfer to a wire rack to cool completely. As they cool, the cookies will develop their final texture – crisp at the edges and tender in the middle.</li><li class="MethodStepper"><h4 class="step-title">Step 12</h4>Store cooled cookies in an airtight container at room temperature for up to 5 days, or freeze for up to 3 months. The flavor of these cookies actually improves after 24 hours as the vanilla notes continue to develop and meld with the cultured butter.</li></ol>