Danish-Style Butter Cookies with Intricate Piping Designs Recipe
Ingredients
Equipment
Directions
FAQs
Find answers to your most pressing questions about this delicious recipe right here.
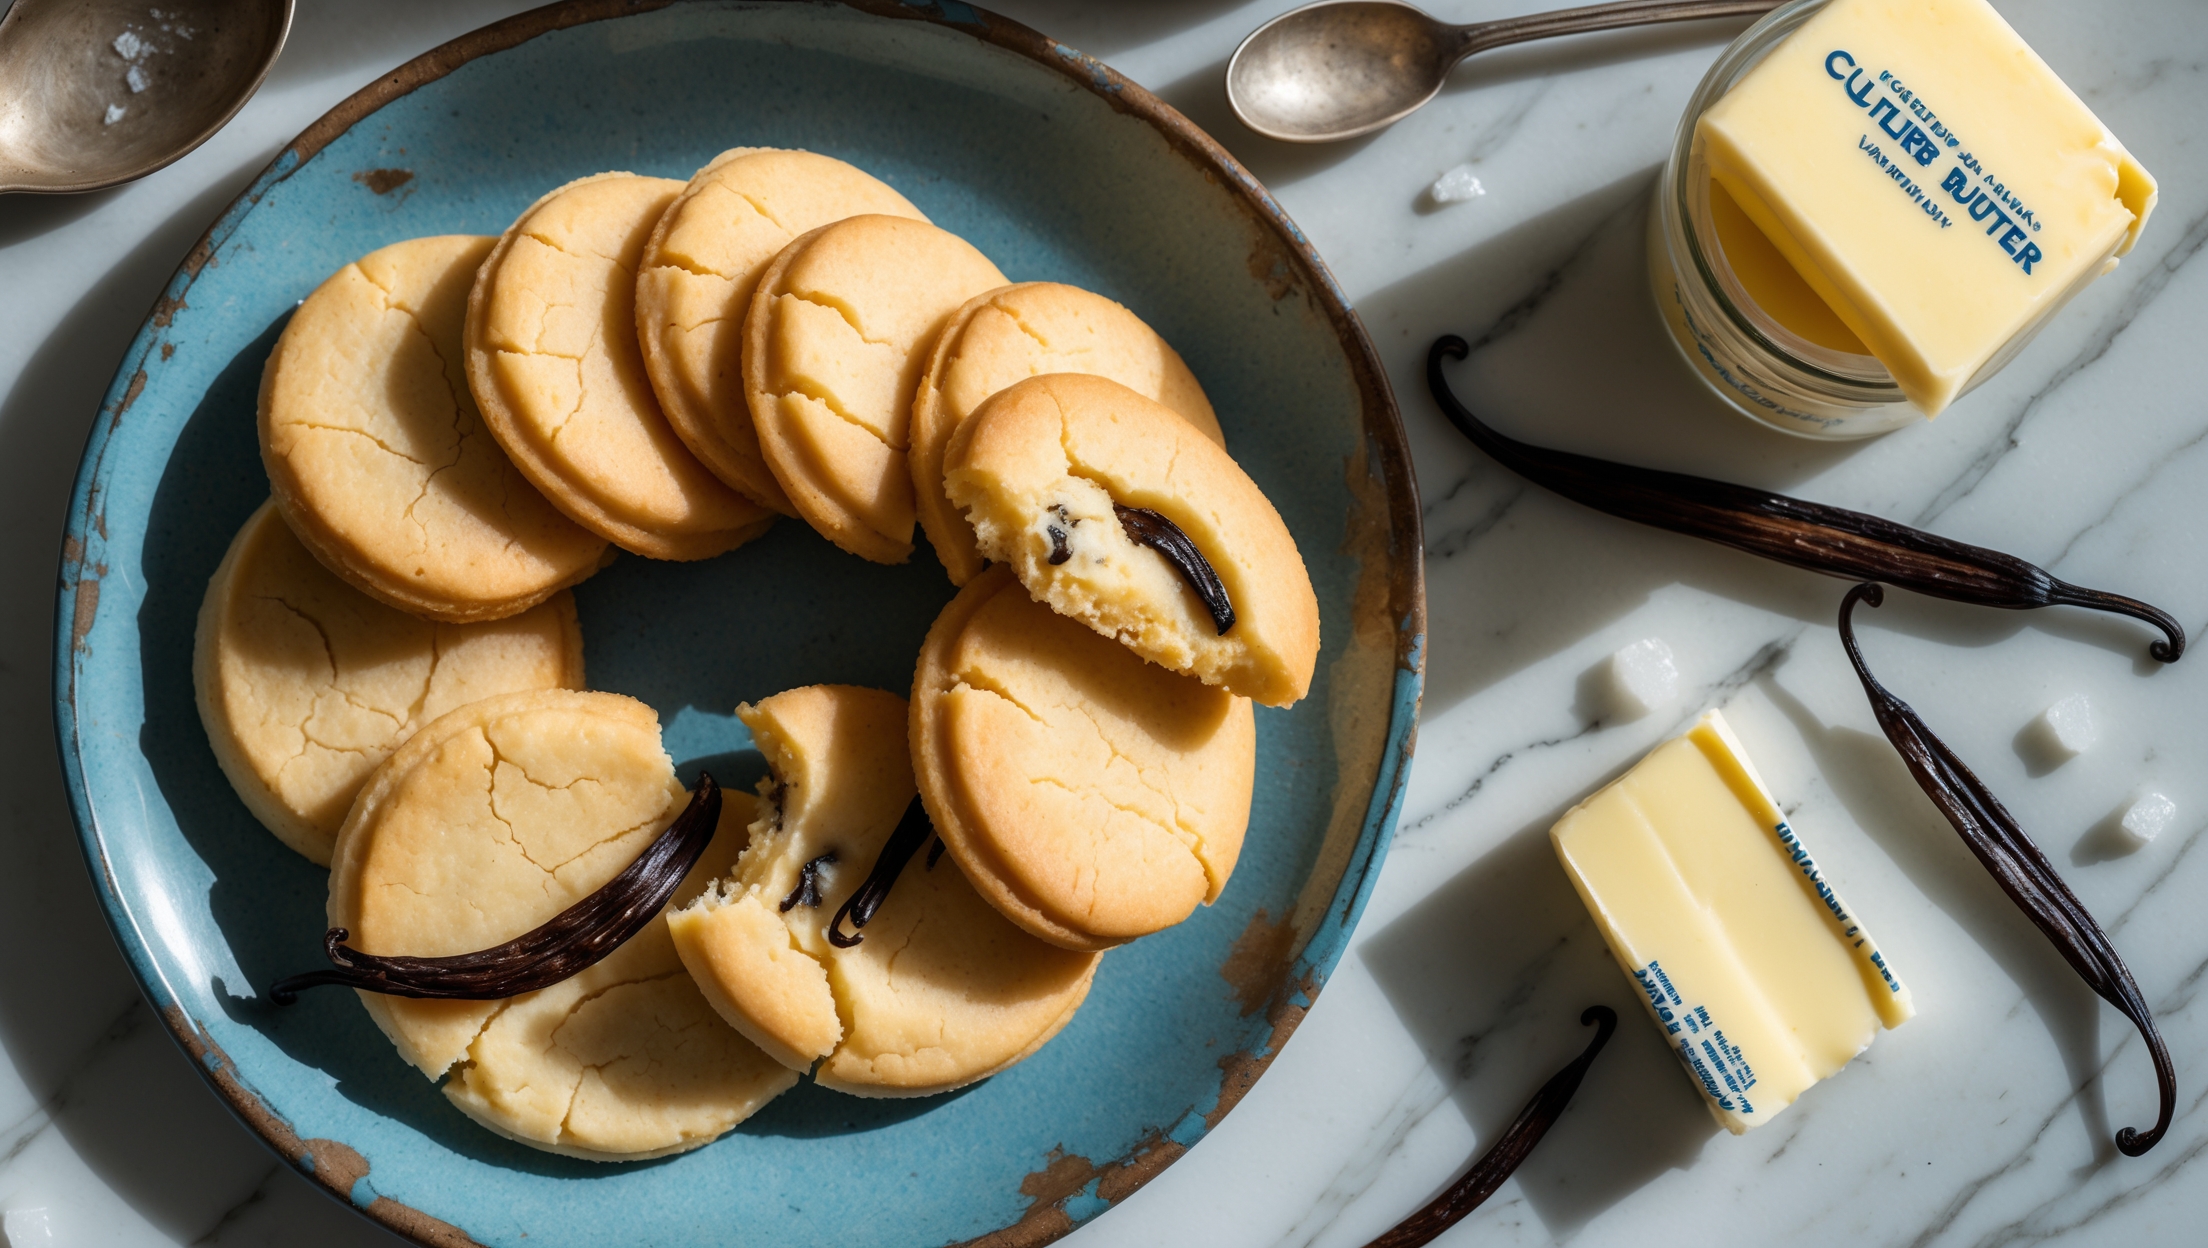
These classic Danish butter cookies require unsalted butter, powdered sugar, eggs, vanilla bean paste, salt, all-purpose flour, and cornstarch. For decoration, you can add melted chocolate and coloured sugar or sprinkles to enhance their visual appeal.
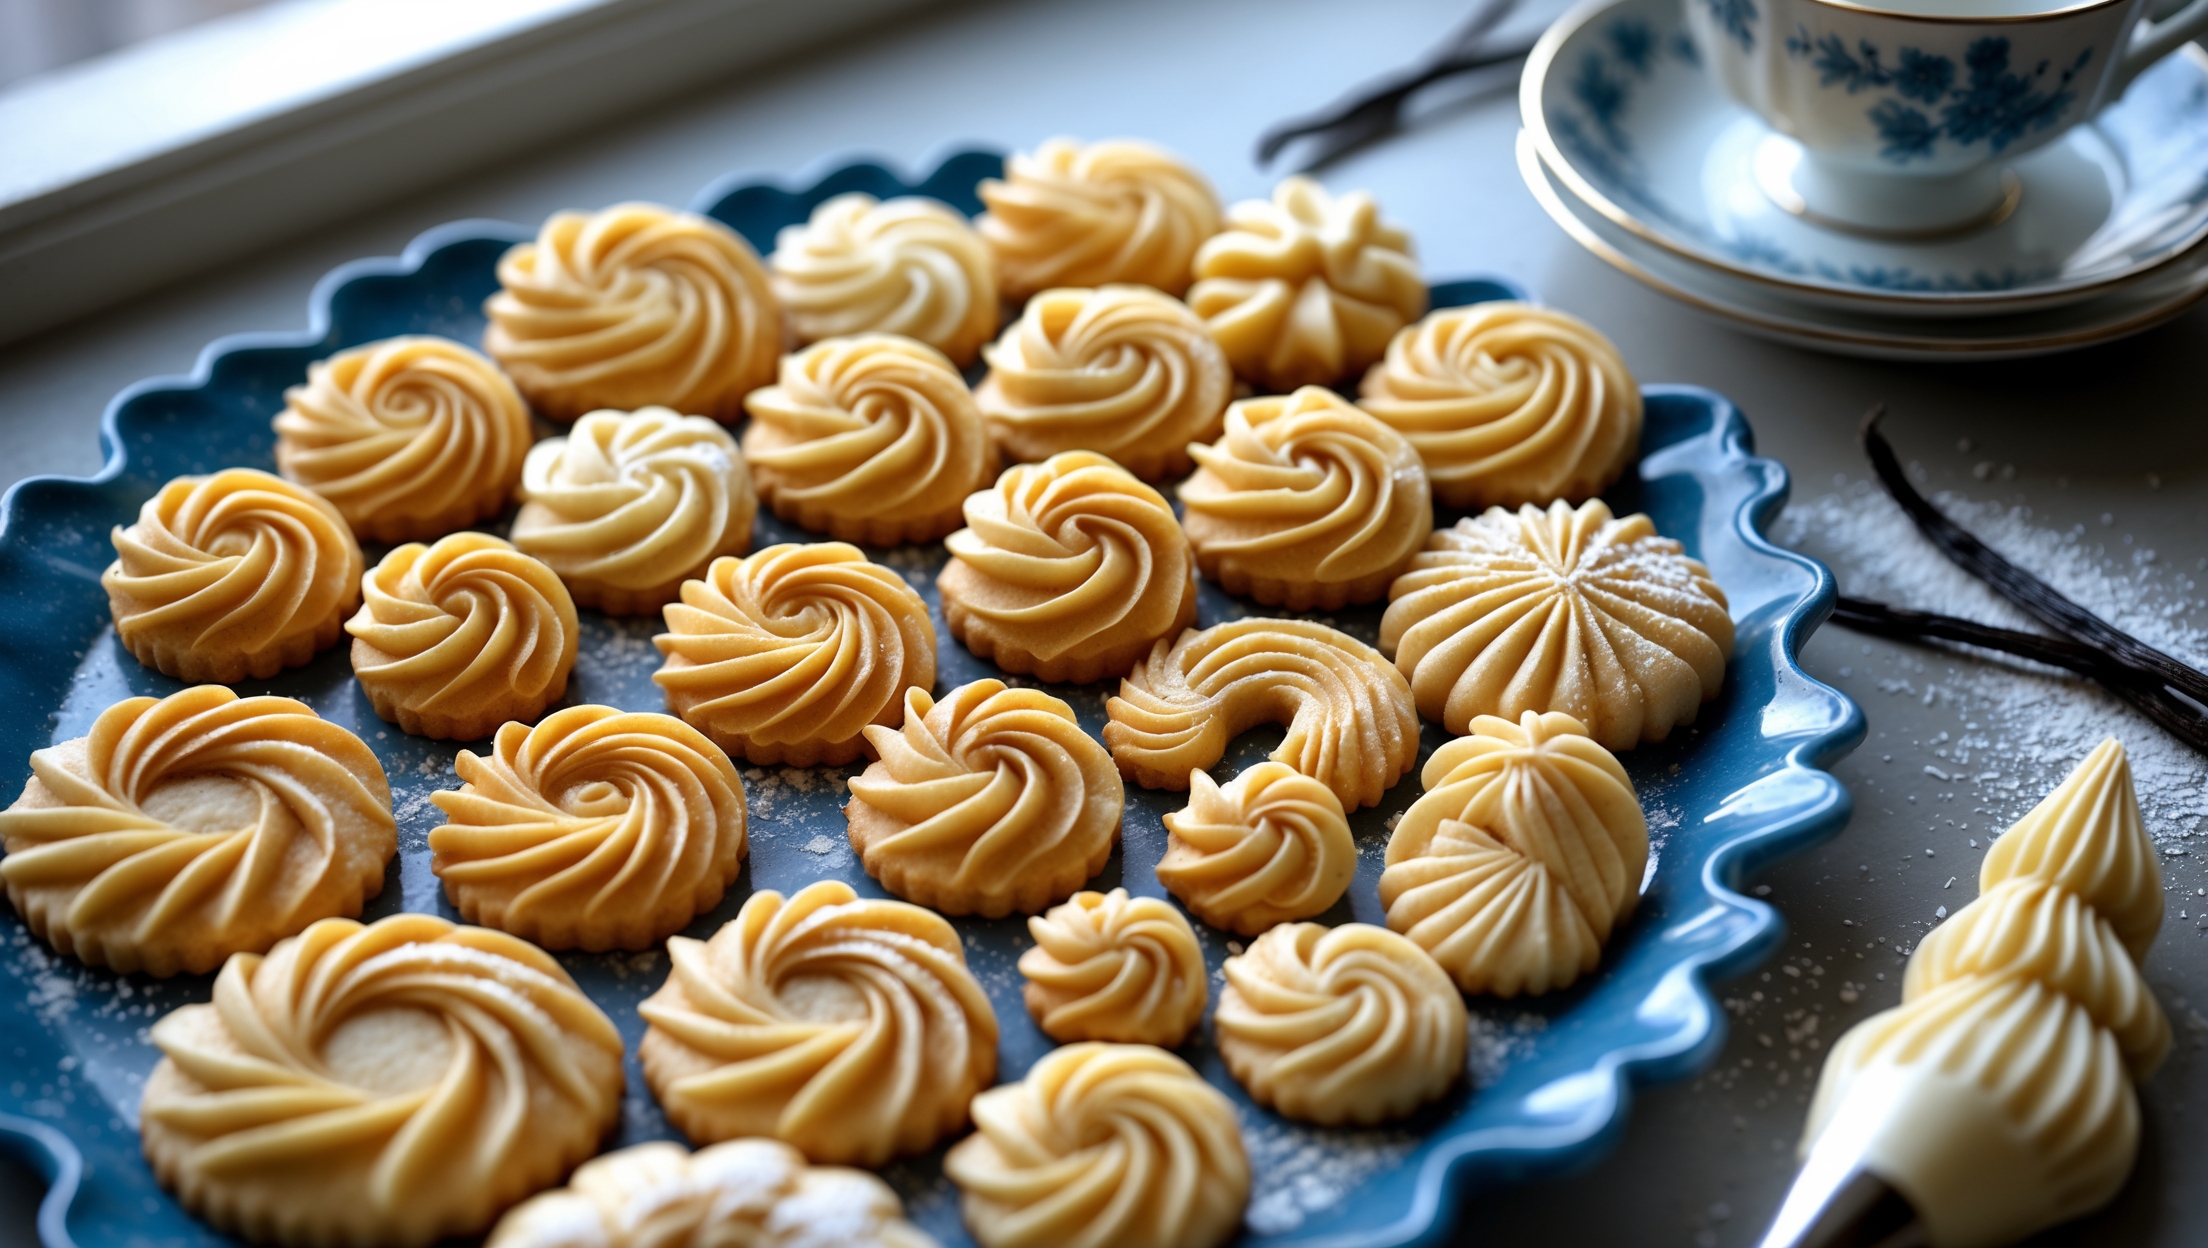
Learn how to cook Danish-Style Butter Cookies with Intricate Piping Designs by creaming softened butter with powdered sugar until light and fluffy, adding egg and vanilla, then incorporating flour and cornstarch. Pipe intricate designs onto baking sheets, chill briefly, then bake at 170°C for 10-12 minutes until edges are just golden while centres remain pale.
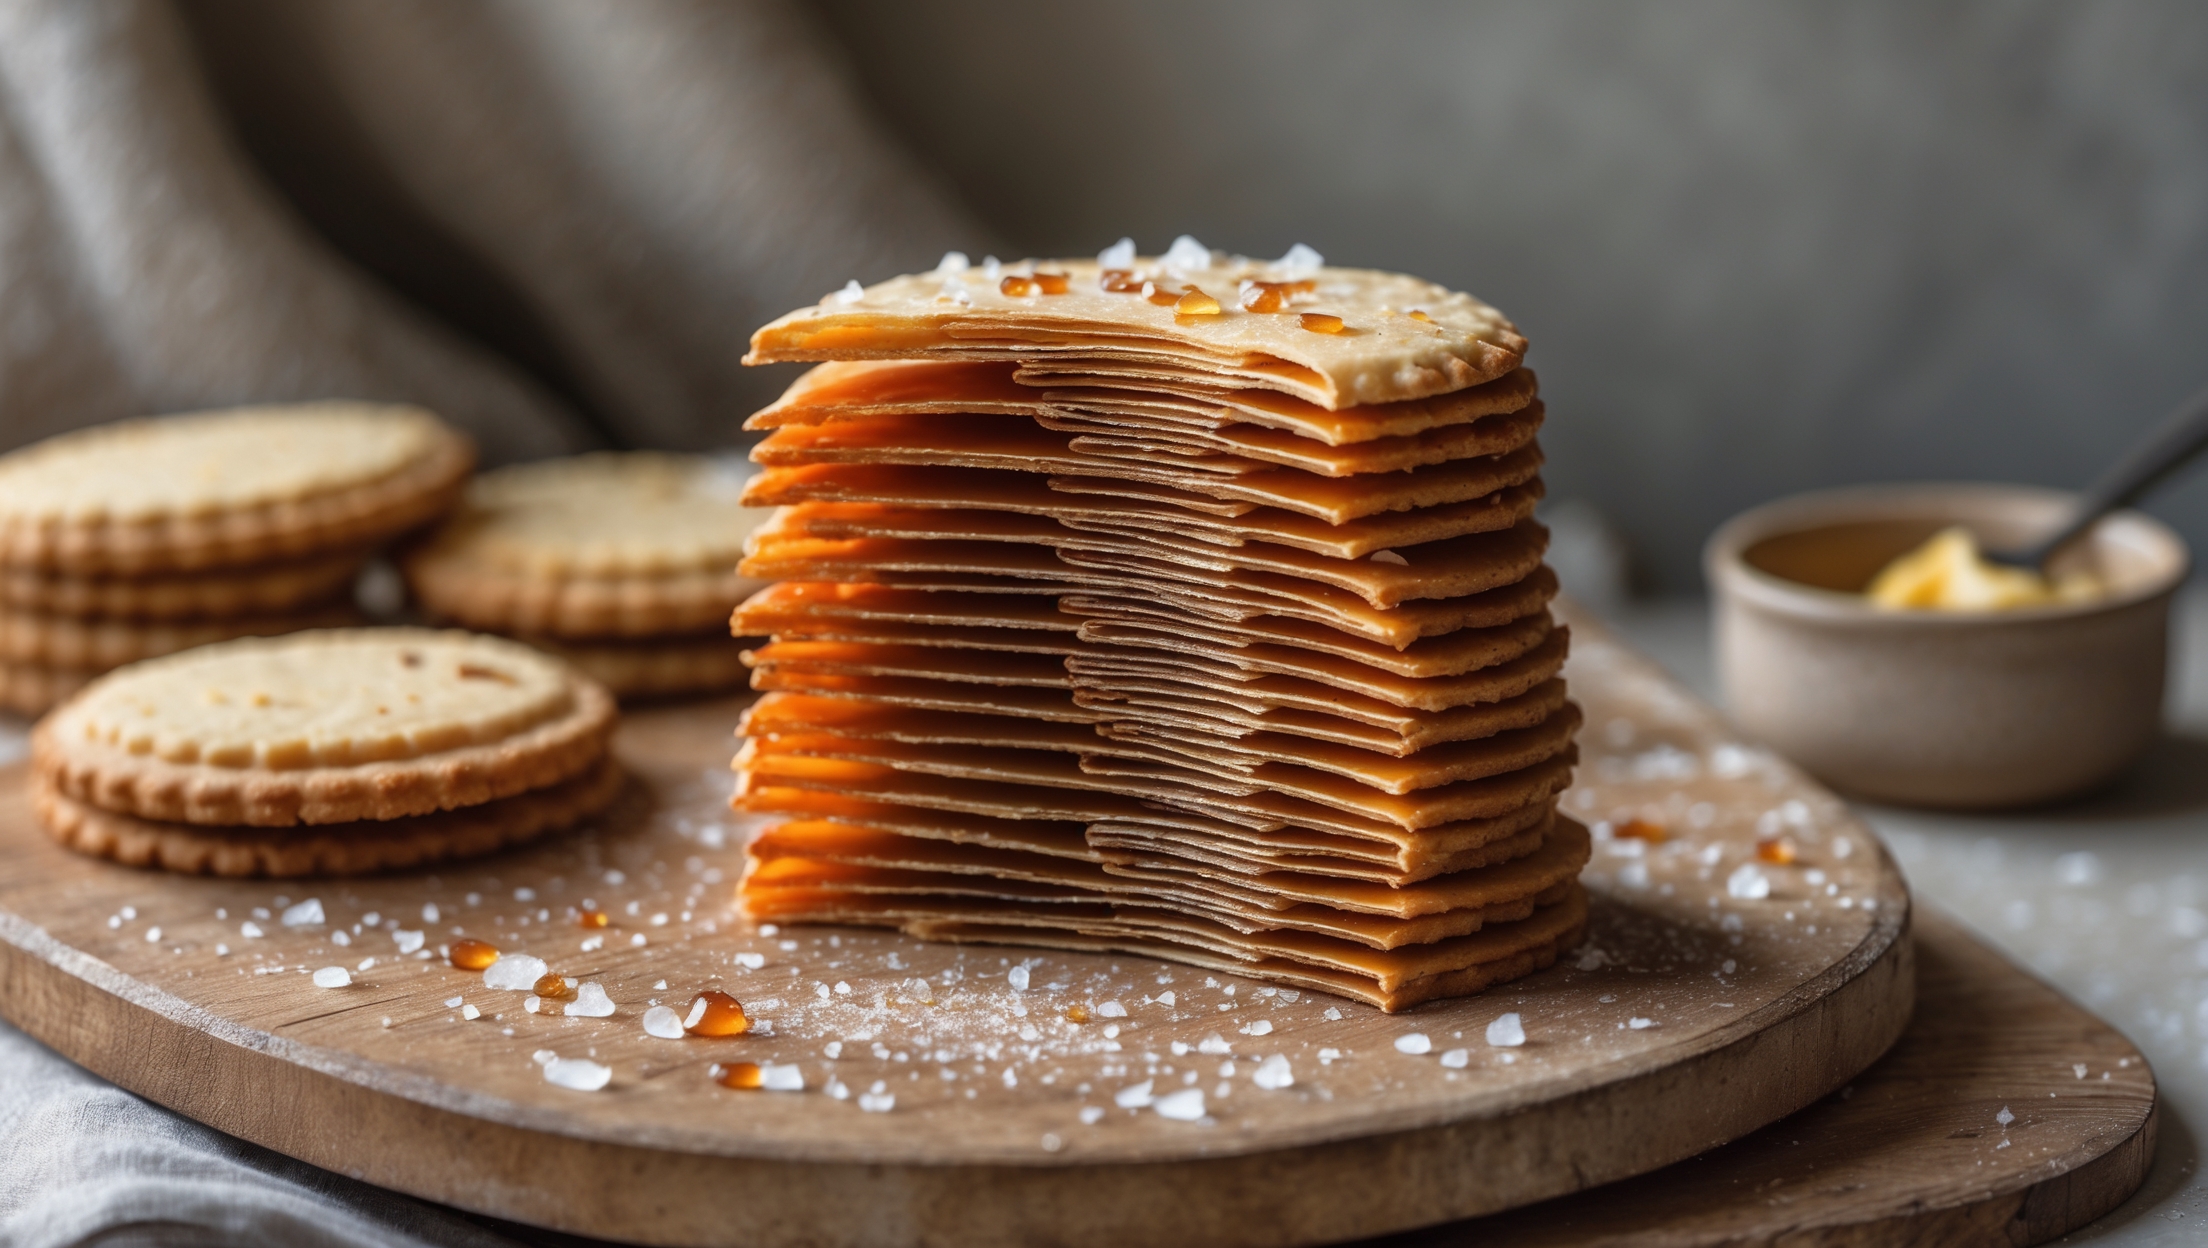
Butter cookies losing their shape is often due to warm dough or skipping the chilling step. Always refrigerate piped cookies for 15 minutes before baking to firm up the butter. Also ensure your butter is properly softened but not melted, and avoid overmixing the dough which can soften it too much.
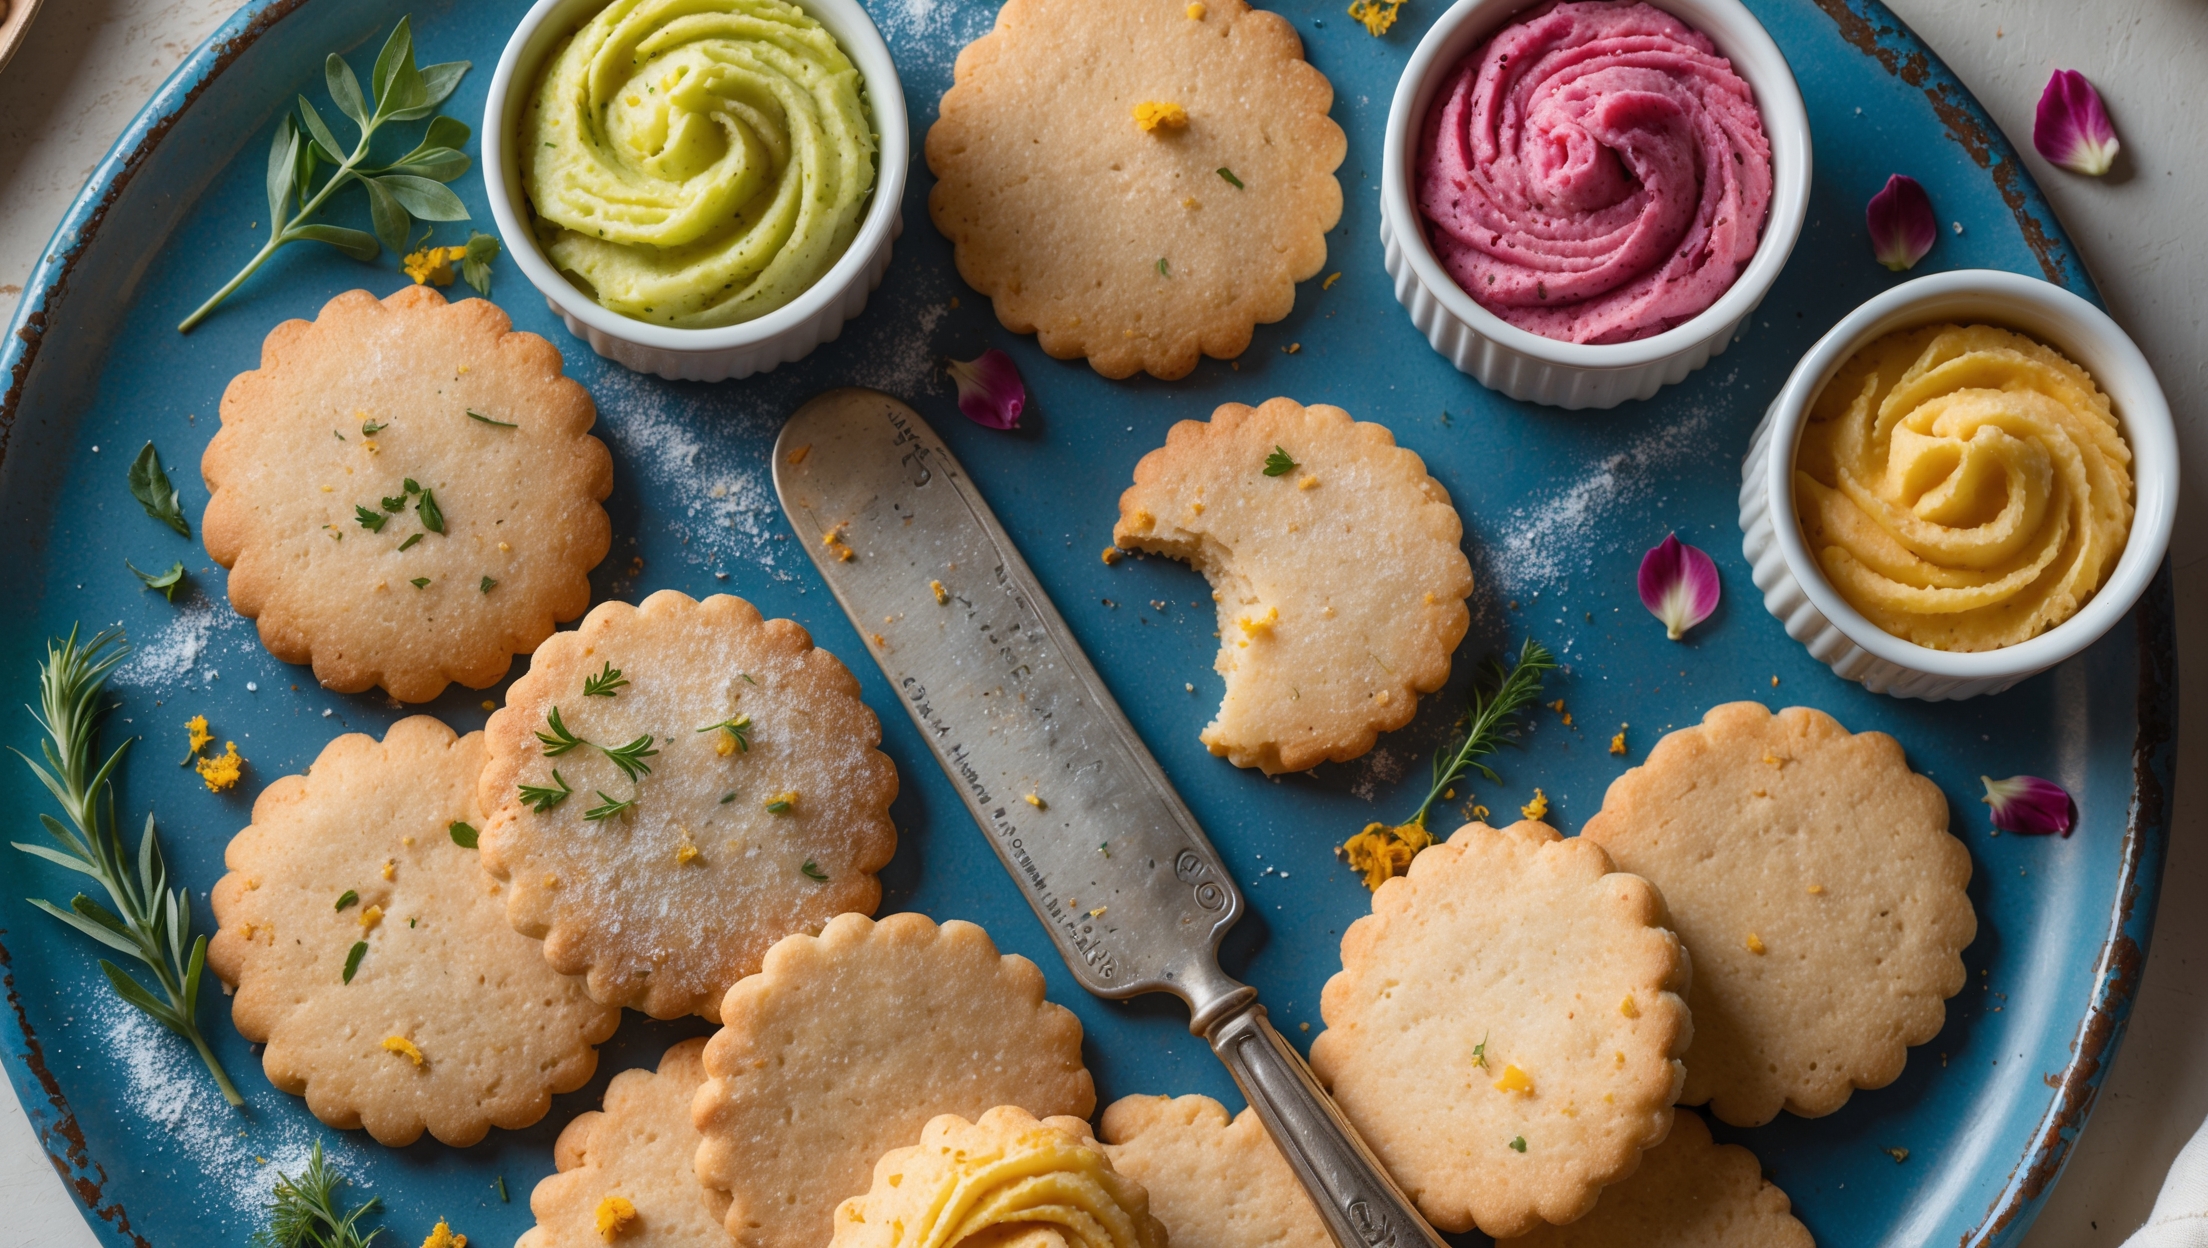
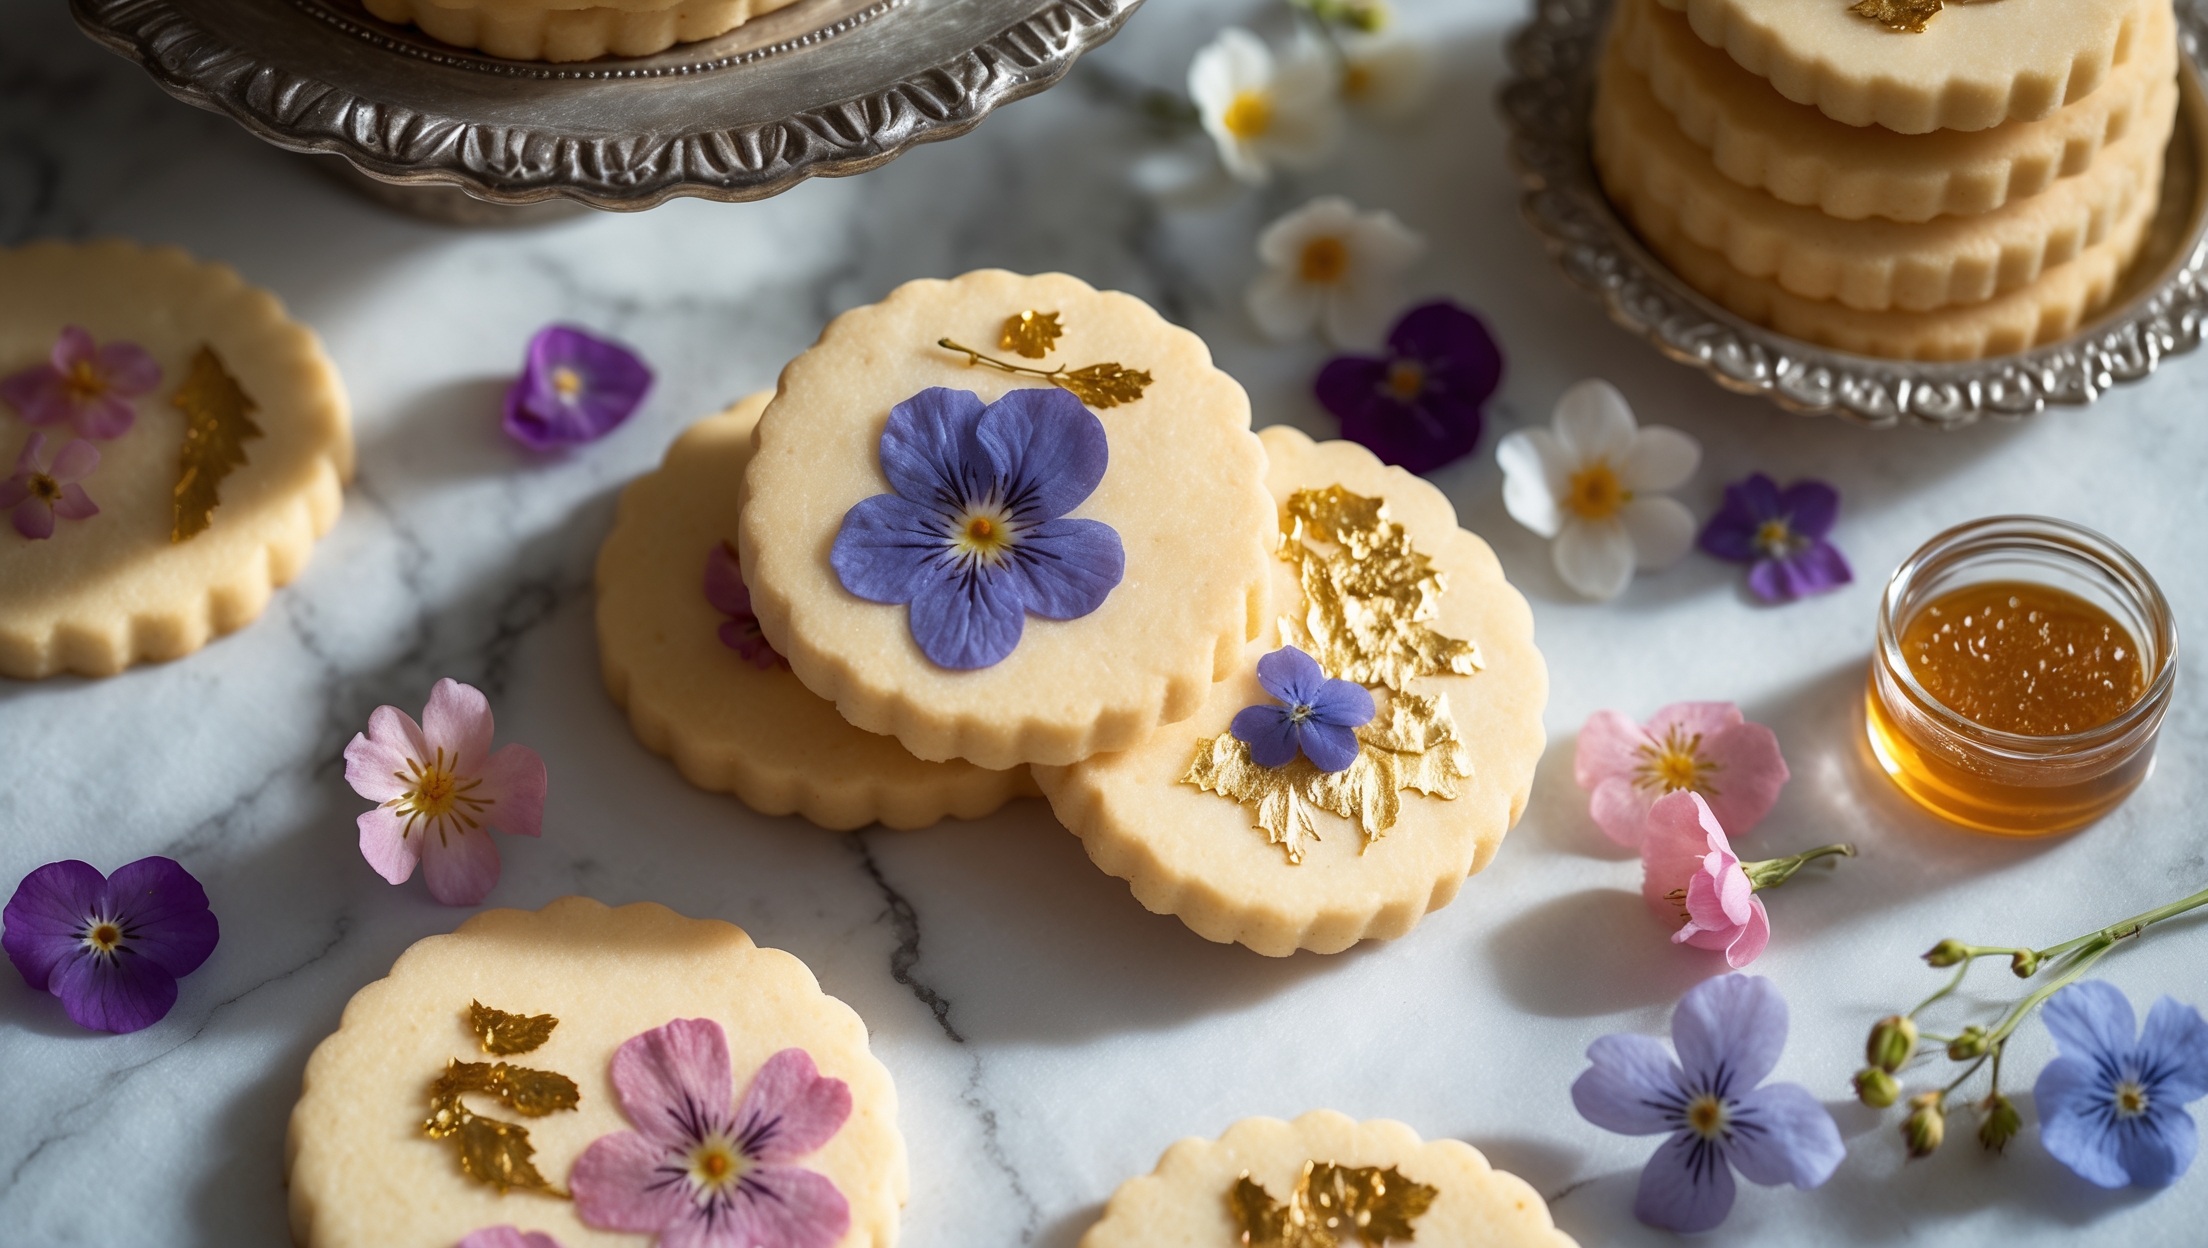
Large open star tips like Wilton 1M, 2D, and 8B produce the most defined designs for butter cookies. These tips create beautiful ridges that crisp nicely during baking. For variety, combine different tips - use closed star tips for rosettes and open tips for rings and swirls.
Absolutely! These buttery treats are perfect for holiday gifting as they stay fresh in airtight containers for up to 2 weeks at room temperature. You can also freeze them for up to 3 months. For gift presentations, layer them carefully with parchment paper to preserve their beautiful designs.
Butter Biscuits
Try following recommended recipes