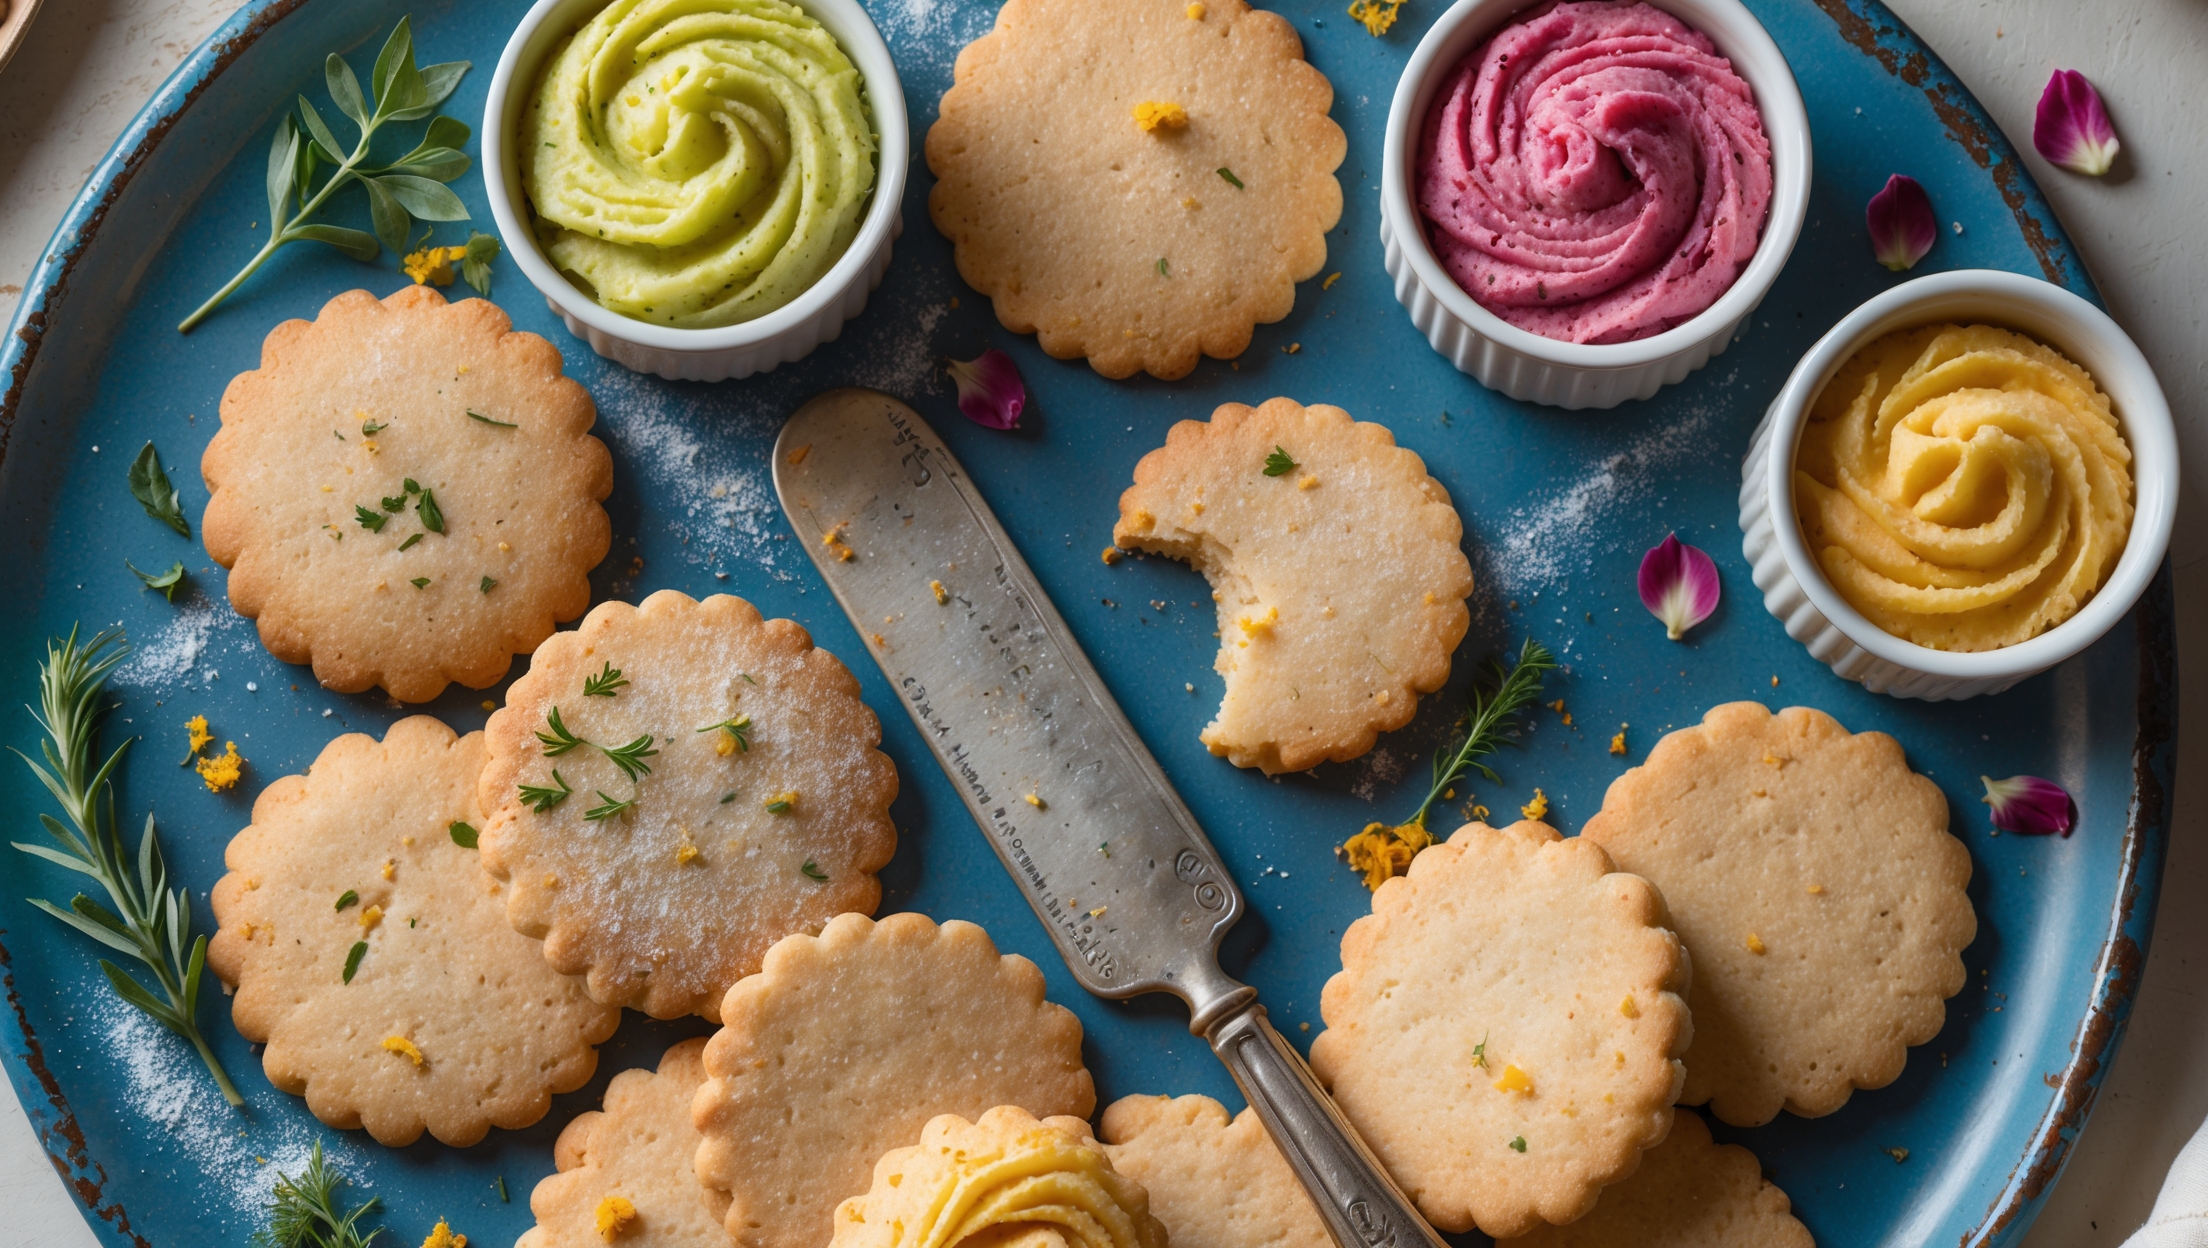
Directions
<ol class="no-list-style"><li class="MethodStepper"><h4 class="step-title">Step 1</h4>Prepare your workspace by ensuring all surfaces are clean and free from drafts, as gold leaf is extremely delicate. Place edible flowers between two pieces of parchment paper and press gently with a book to flatten them. Set aside until needed.</li><li class="MethodStepper"><h4 class="step-title">Step 2</h4>In a stand mixer fitted with the paddle attachment, cream the softened butter and caster sugar together on medium speed for 3-4 minutes until pale and fluffy. This extended creaming creates tiny air pockets that give your cookies their perfect texture.</li><li class="MethodStepper"><h4 class="step-title">Step 3</h4>Add the vanilla extract and egg yolk, beating until fully incorporated. Scrape down the sides of the bowl to ensure even mixing.</li><li class="MethodStepper"><h4 class="step-title">Step 4</h4>In a separate bowl, whisk together the flour and salt. With the mixer on low speed, gradually add the flour mixture to the butter mixture until just combined. Be careful not to overmix, as this will develop gluten and make your cookies tough rather than tender and crumbly.</li><li class="MethodStepper"><h4 class="step-title">Step 5</h4>Divide the dough into two portions, form each into a disc shape, wrap in cling film and refrigerate for at least 1 hour, or up to 2 days. Chilling the dough relaxes the gluten and firms the butter, ensuring your cookies hold their shape during baking.</li><li class="MethodStepper"><h4 class="step-title">Step 6</h4>Preheat your oven to 170°C (150°C fan) and line two baking sheets with parchment paper.</li><li class="MethodStepper"><h4 class="step-title">Step 7</h4>Remove one disc of dough from the refrigerator and let it sit for about 5 minutes to slightly soften. On a lightly floured surface, roll the dough to 5mm thickness. Use your round cookie cutter to cut shapes, placing them on the prepared baking sheets about 2.5cm apart.</li><li class="MethodStepper"><h4 class="step-title">Step 8</h4>For cookies with pressed flowers: Place your prepared flat edible flowers on half of the cut cookies, gently pressing them into the dough. Cover with a piece of parchment paper and lightly roll over with a rolling pin to ensure the flowers adhere well.</li><li class="MethodStepper"><h4 class="step-title">Step 9</h4>Refrigerate the prepared cookies on the baking sheets for 15 minutes before baking. This extra chilling time prevents the cookies from spreading during baking.</li><li class="MethodStepper"><h4 class="step-title">Step 10</h4>Bake for 10-12 minutes, or until the edges are just beginning to turn golden. The cookies should remain pale in the center for the perfect texture. Allow to cool on the baking sheets for 5 minutes before transferring to a wire rack to cool completely.</li><li class="MethodStepper"><h4 class="step-title">Step 11</h4>Once the cookies are completely cool, apply gold leaf to the remaining cookies. Using your food-safe paintbrush, apply a very thin layer of honey or corn syrup to the areas where you want the gold leaf. With tweezers, carefully pick up small pieces of gold leaf and gently place onto the sticky areas. The gold leaf will adhere immediately, so place it carefully. Use the clean, dry paintbrush to gently tap down any loose edges.</li><li class="MethodStepper"><h4 class="step-title">Step 12</h4>Allow the decorated cookies to set for 30 minutes before carefully storing in a single layer in an airtight container, with parchment paper between layers. For best results and to preserve the decorations, consume within 5 days. The cookies will taste freshest within the first 2-3 days.</li></ol>