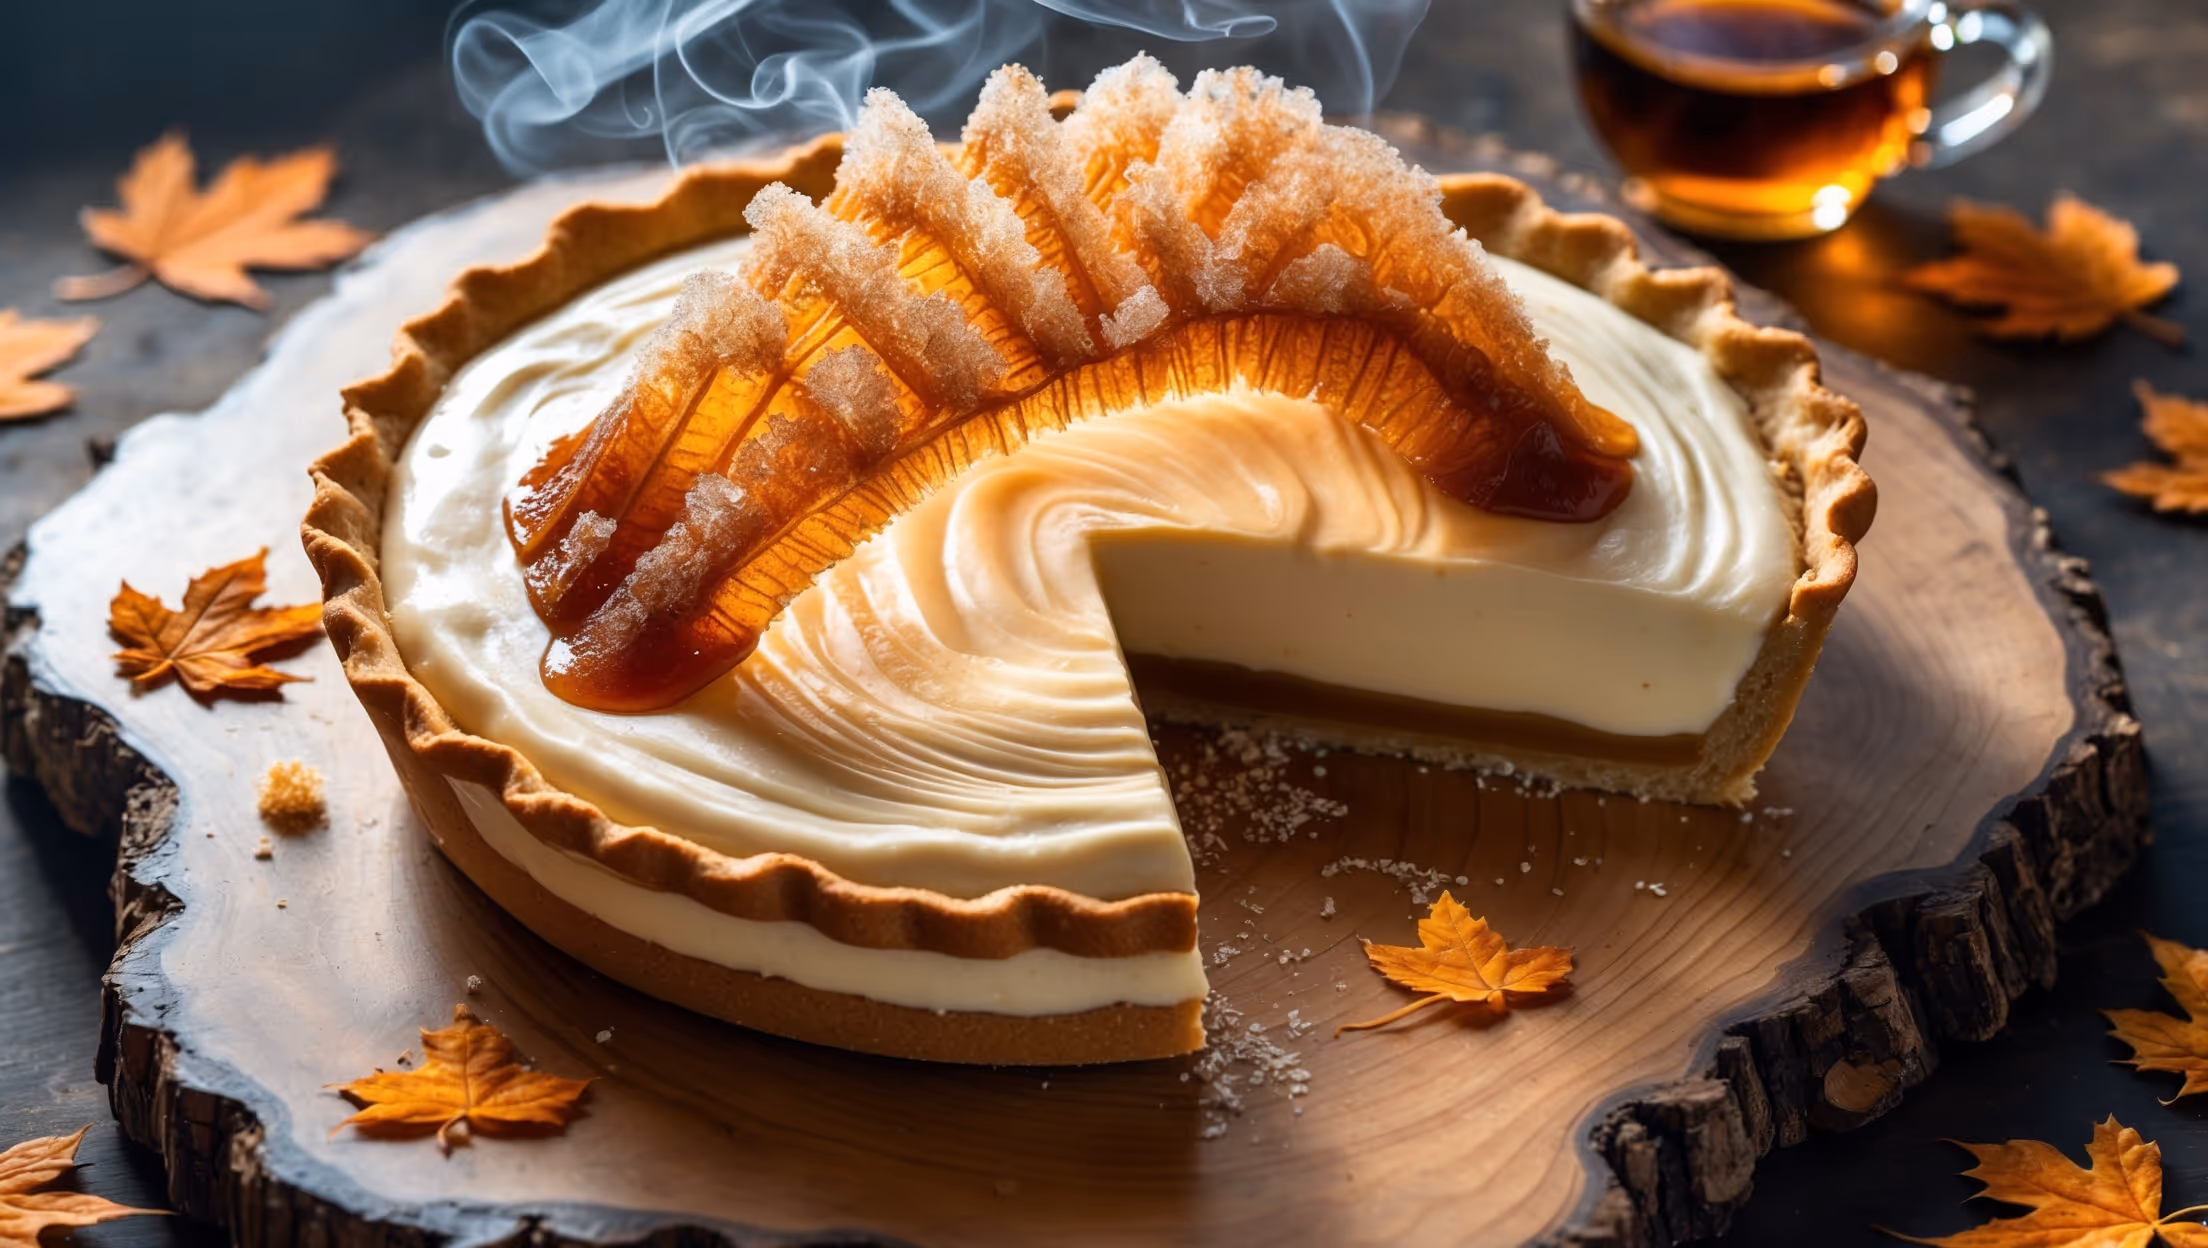
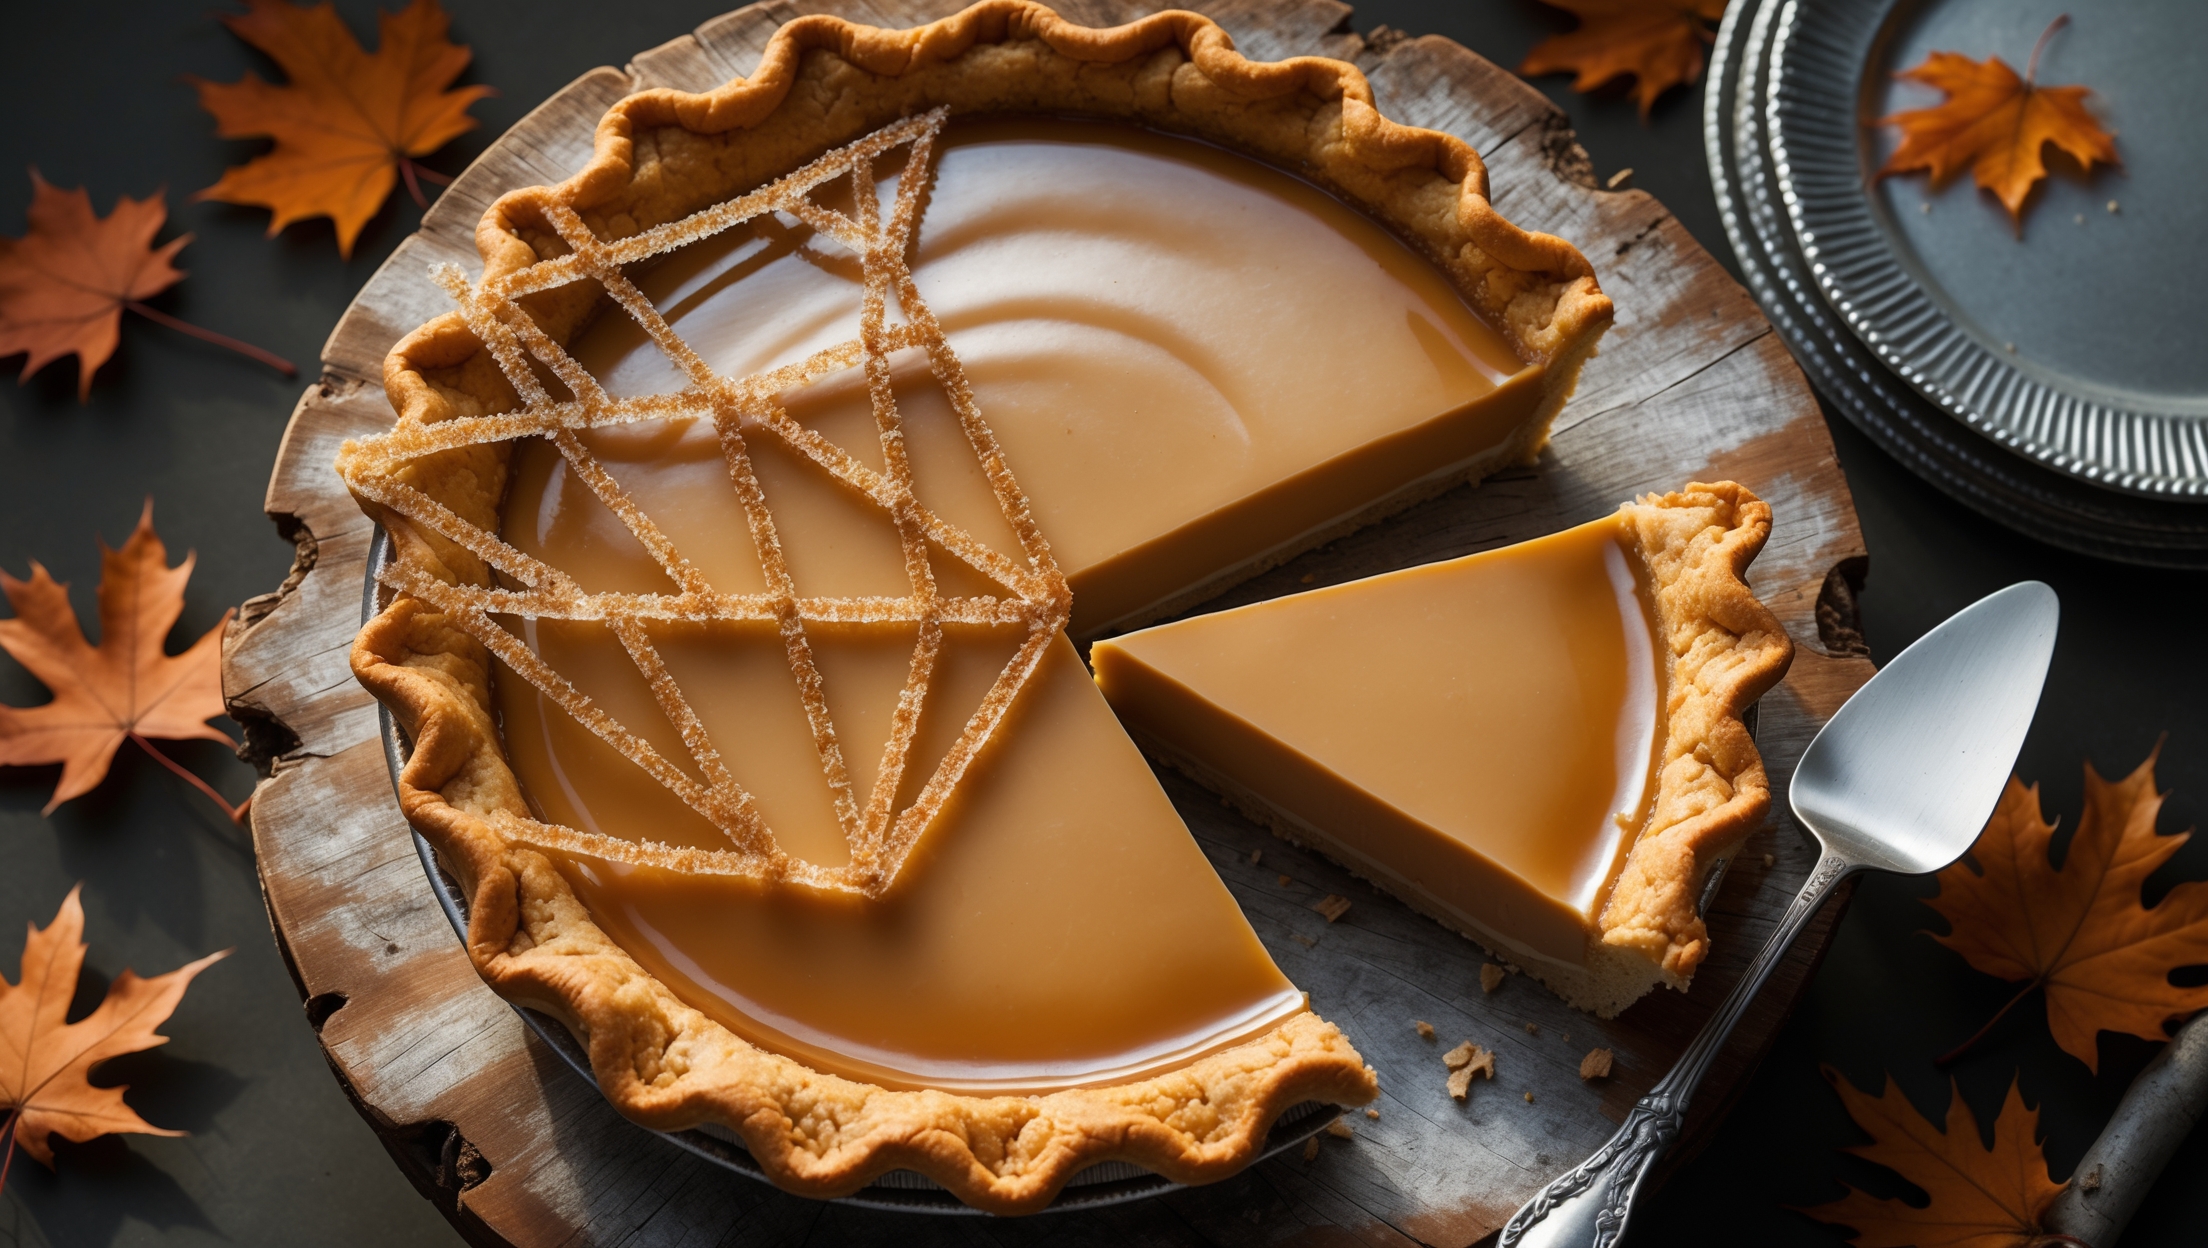
Taro Cream Pie Recipe
Ingredients
Equipment
Directions
FAQs
Find answers to your most pressing questions about this delicious recipe right here.
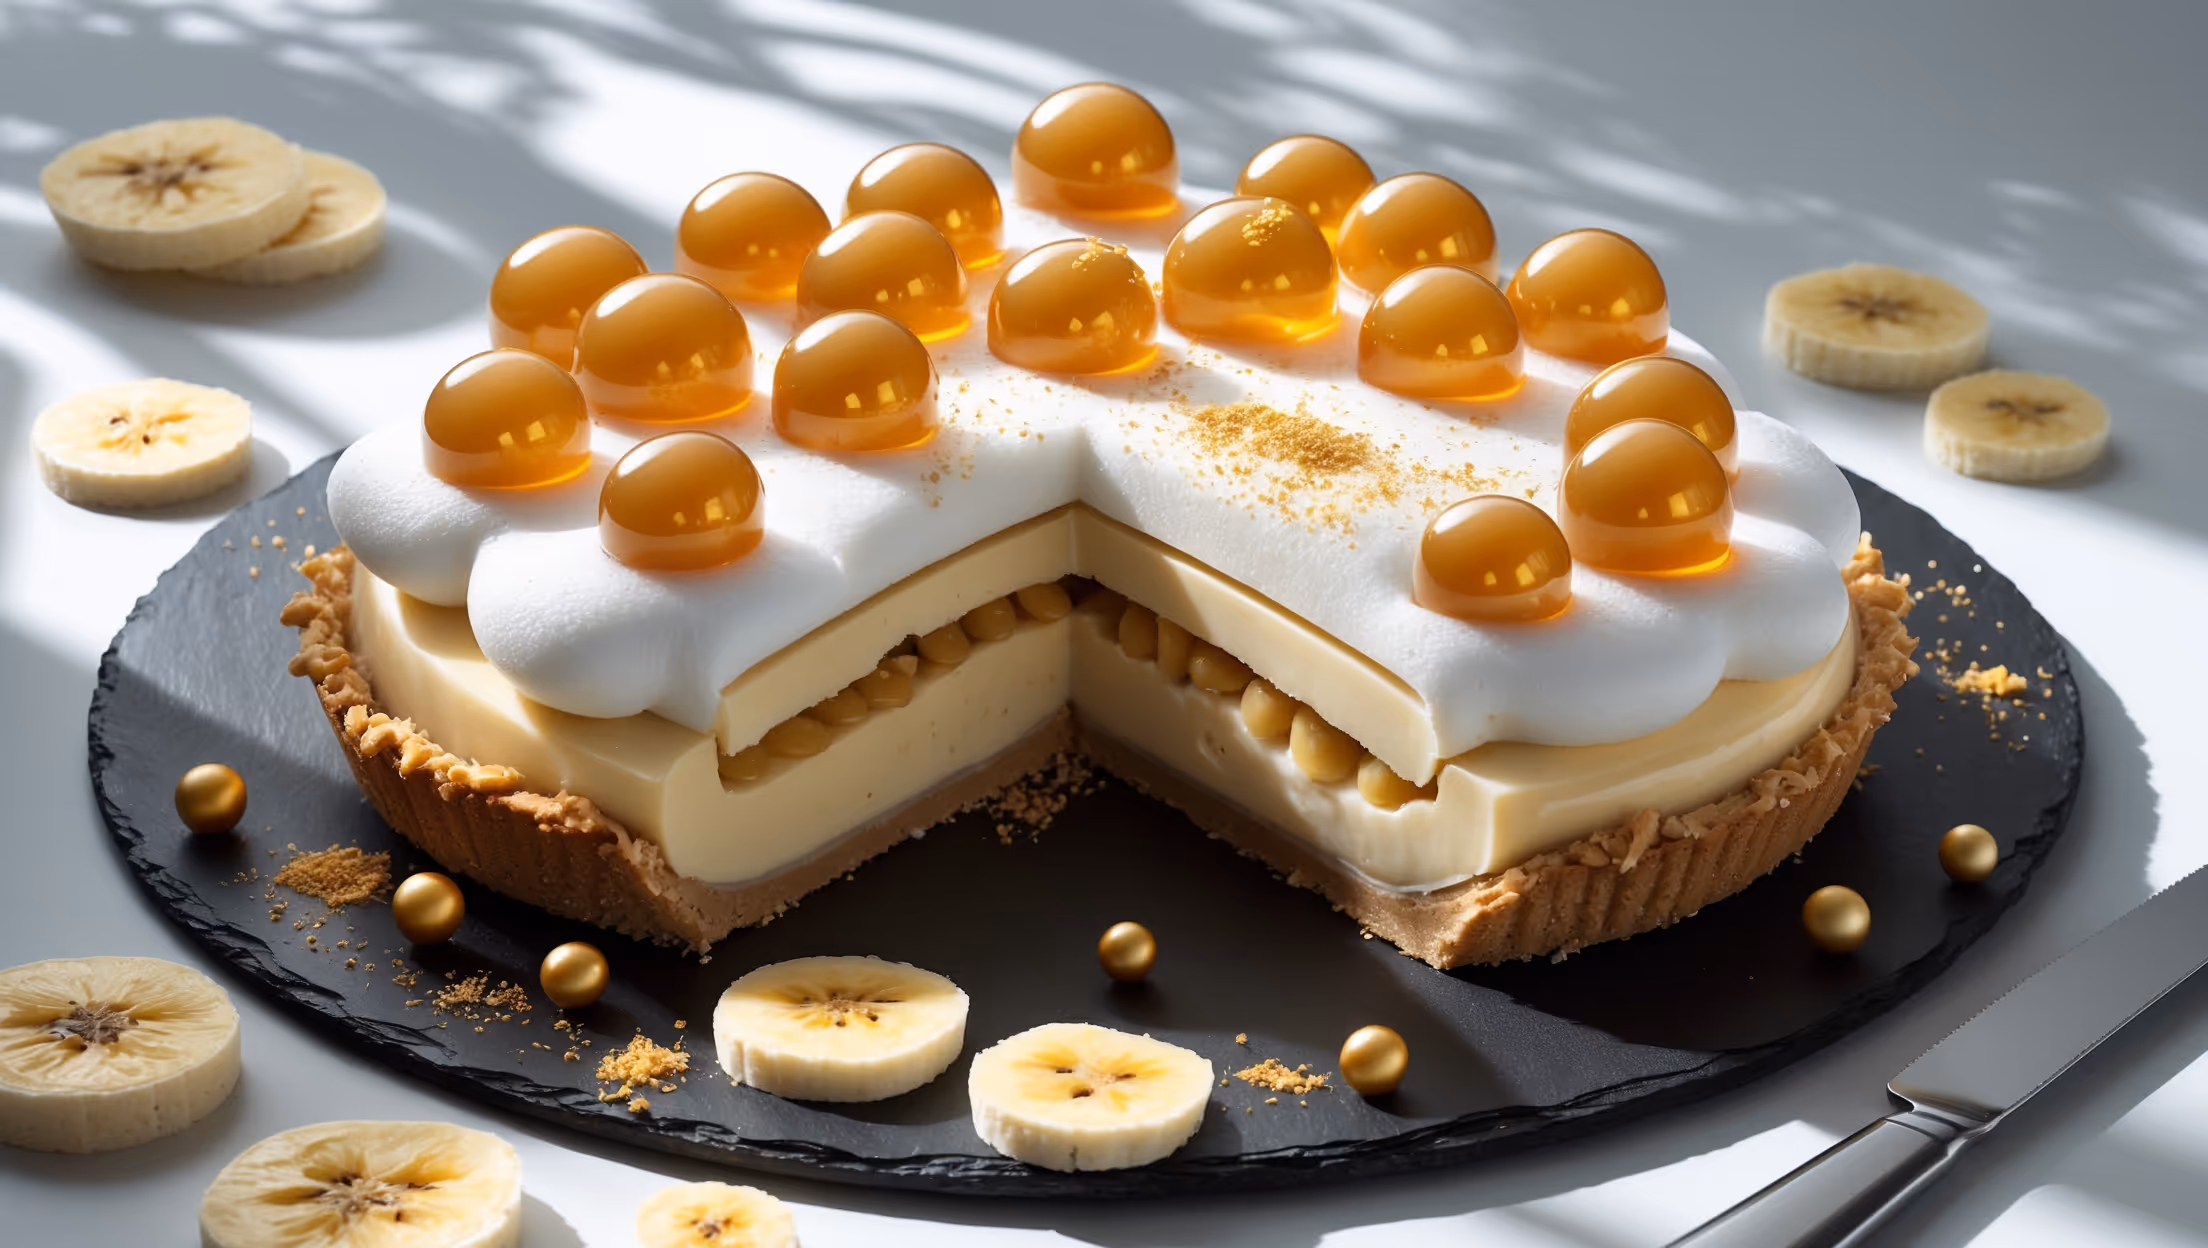
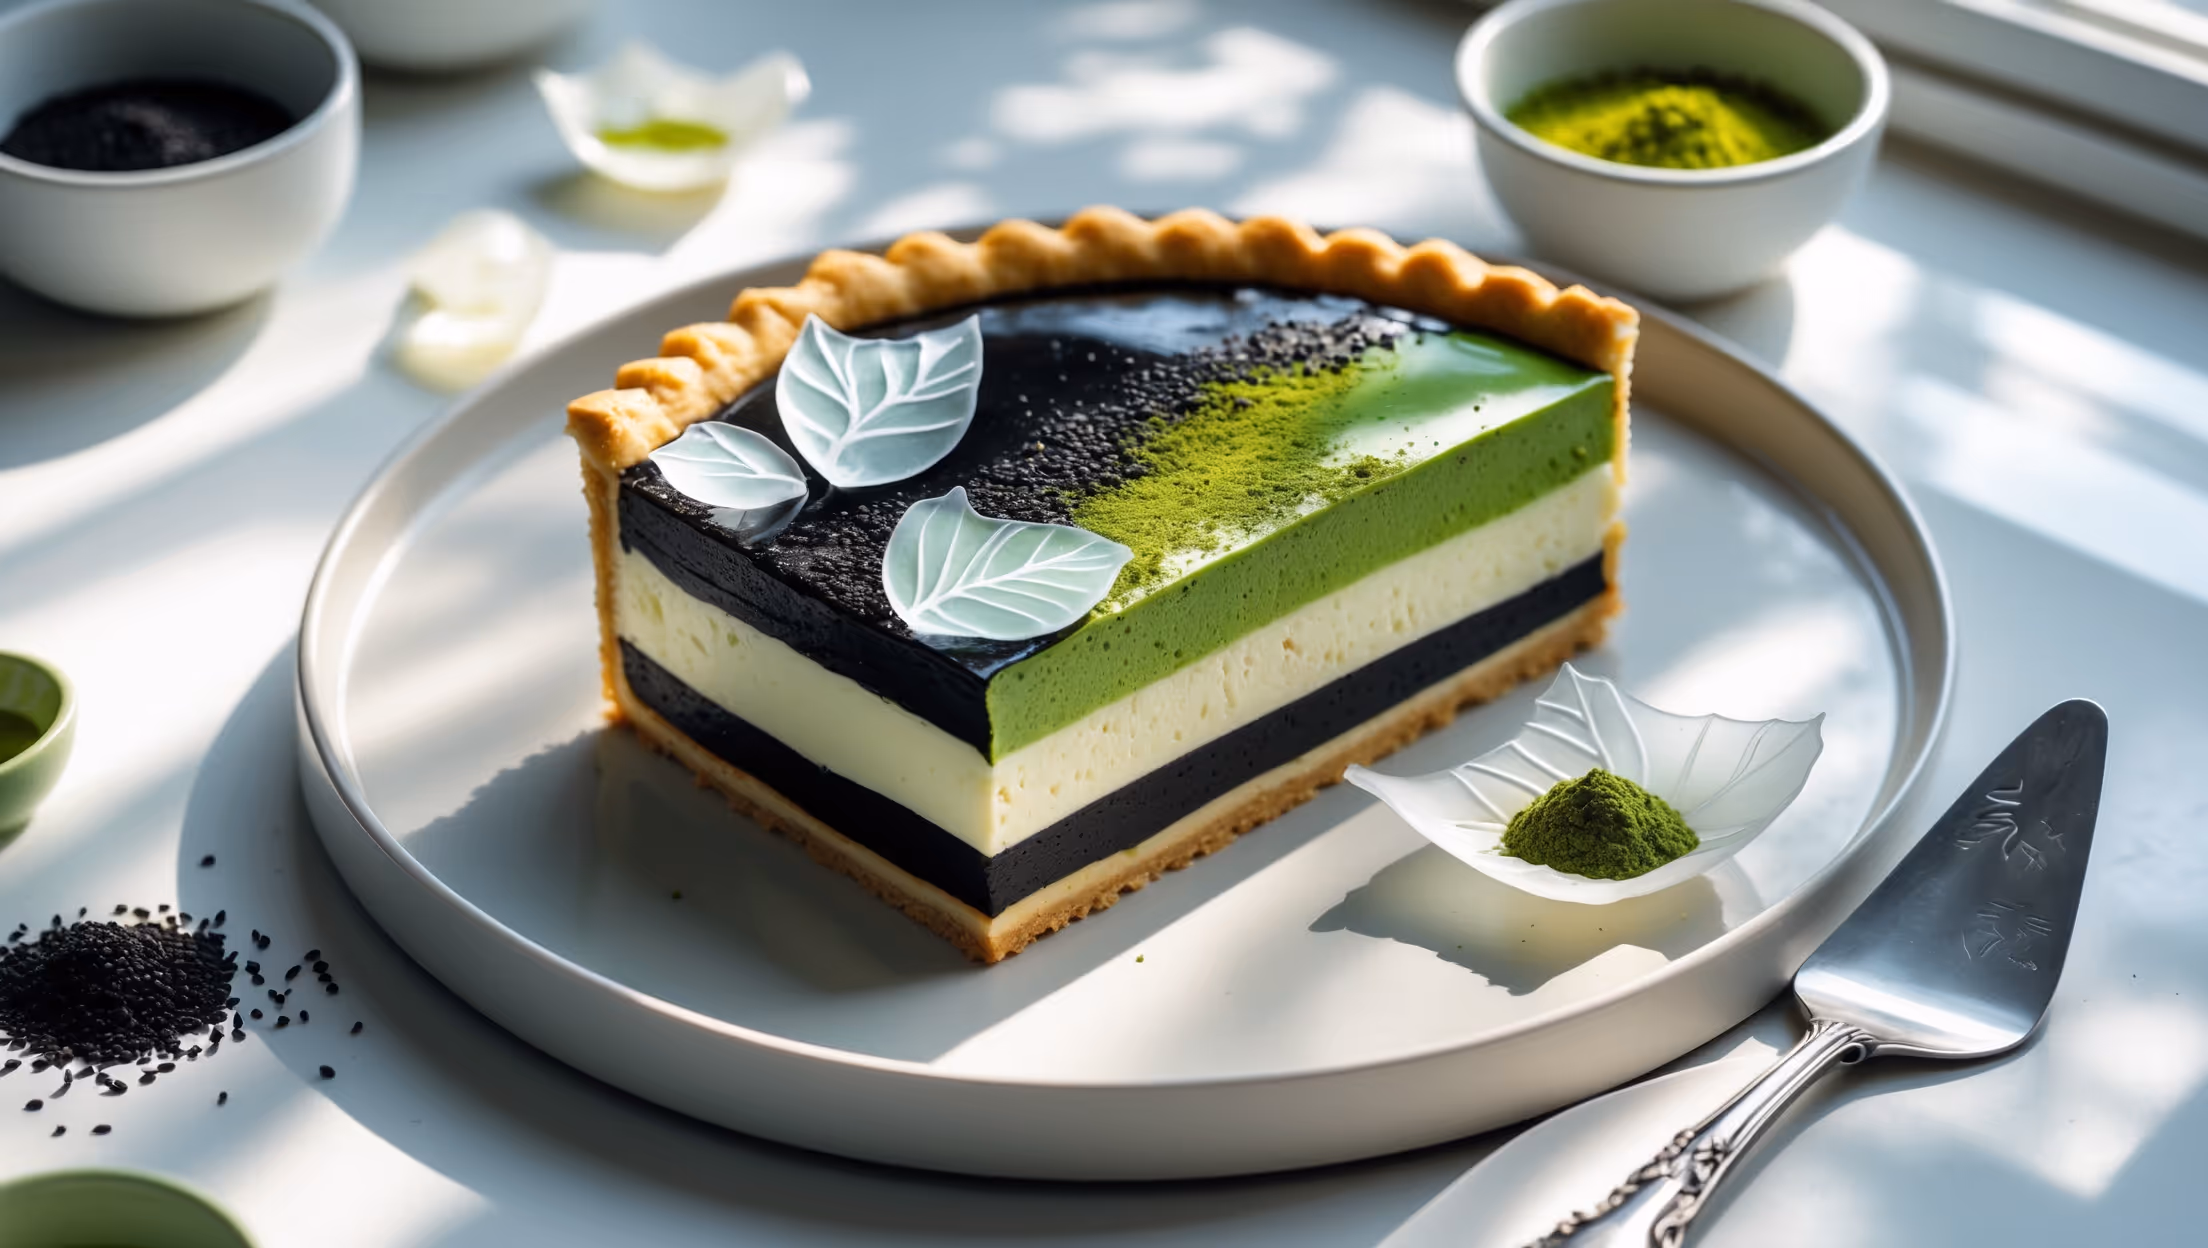
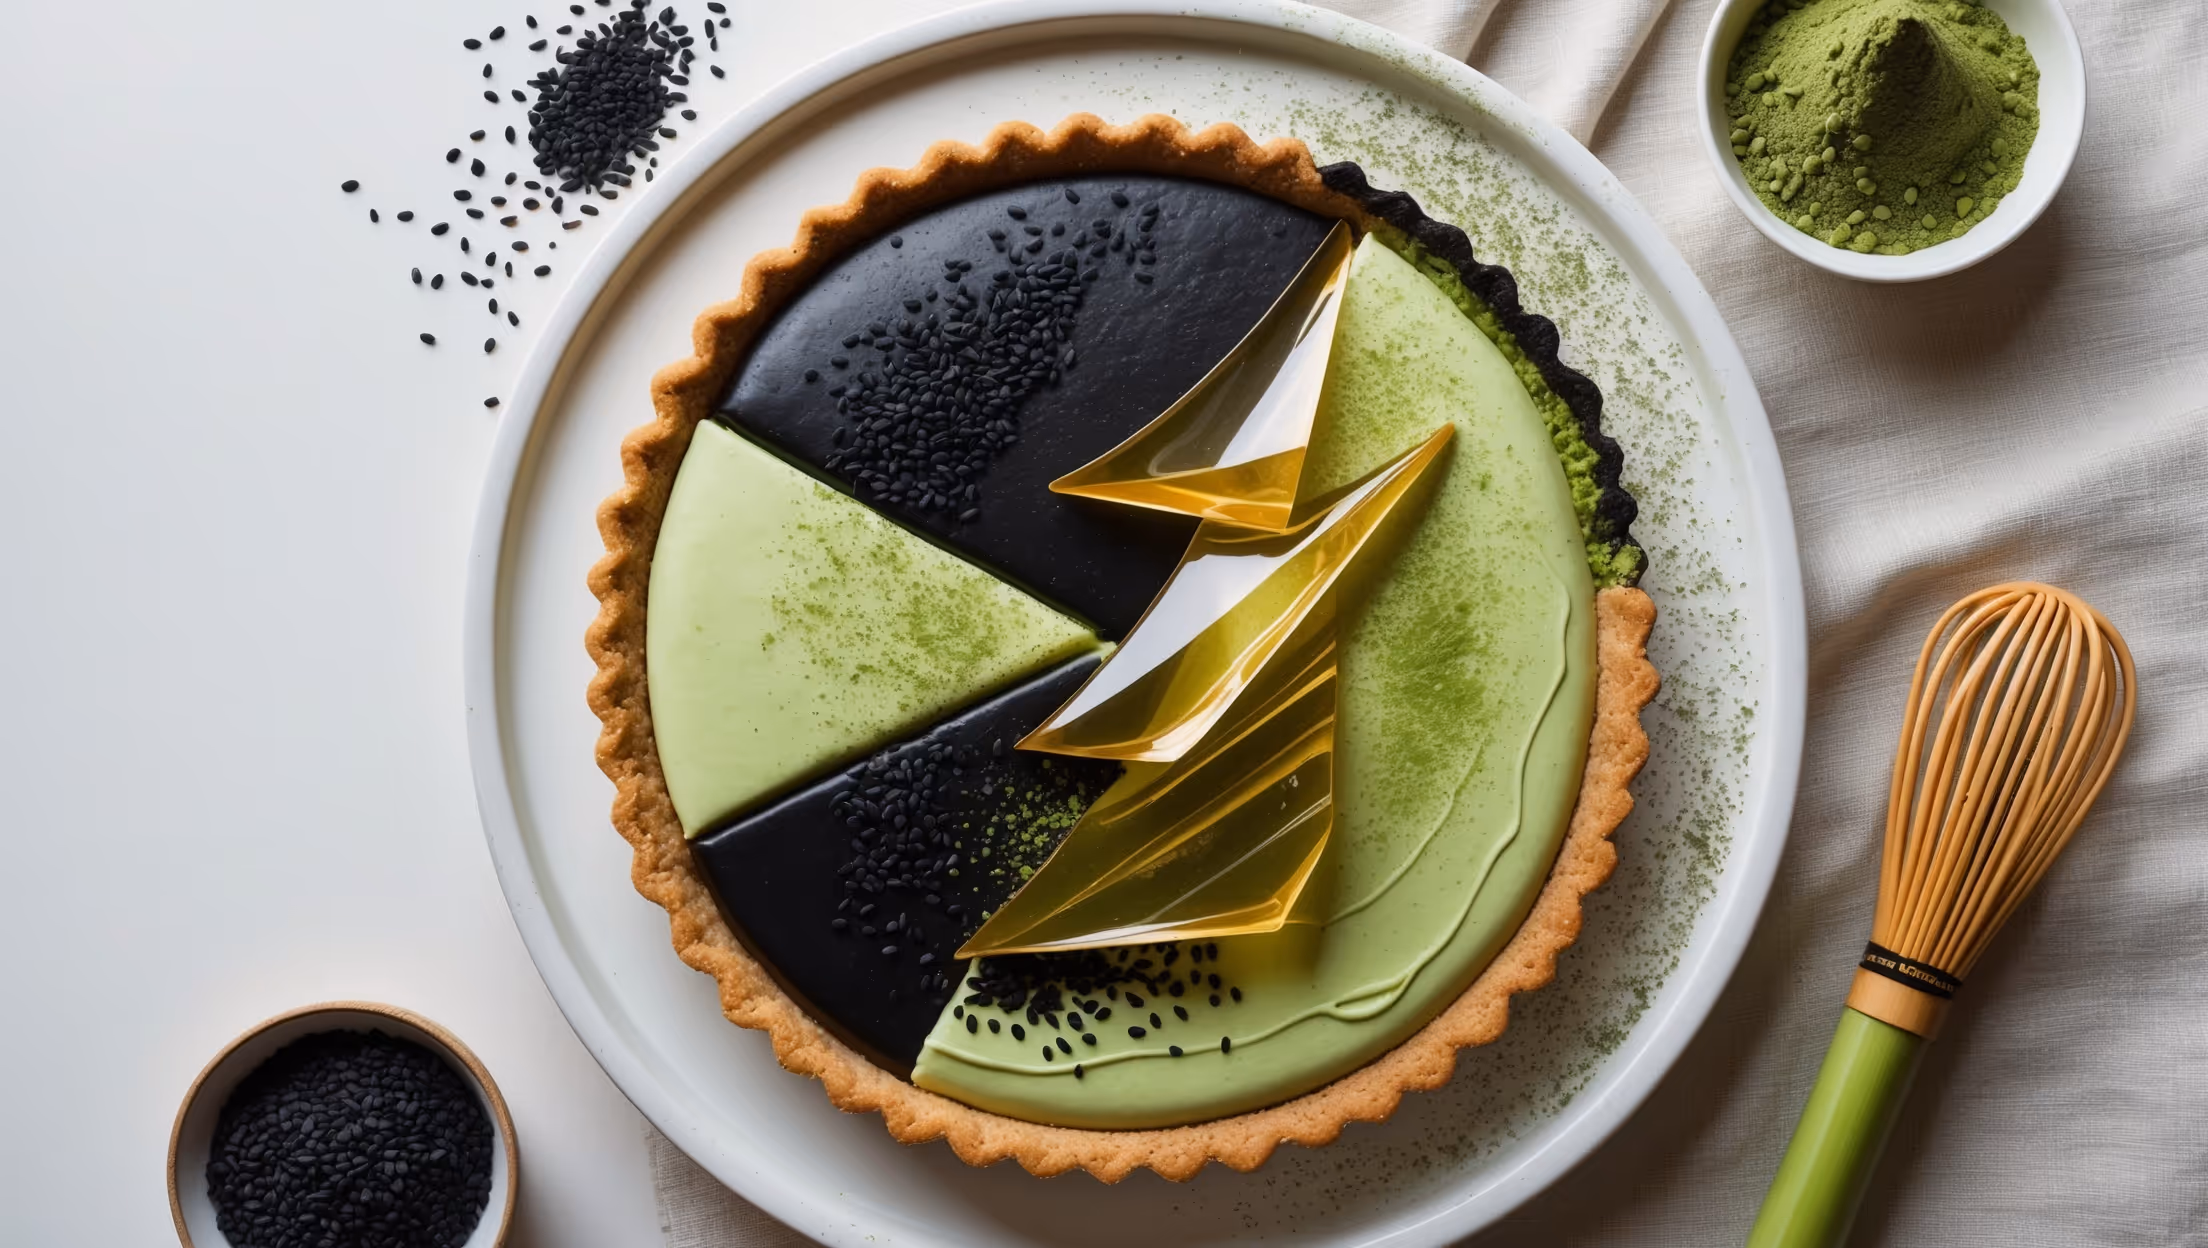
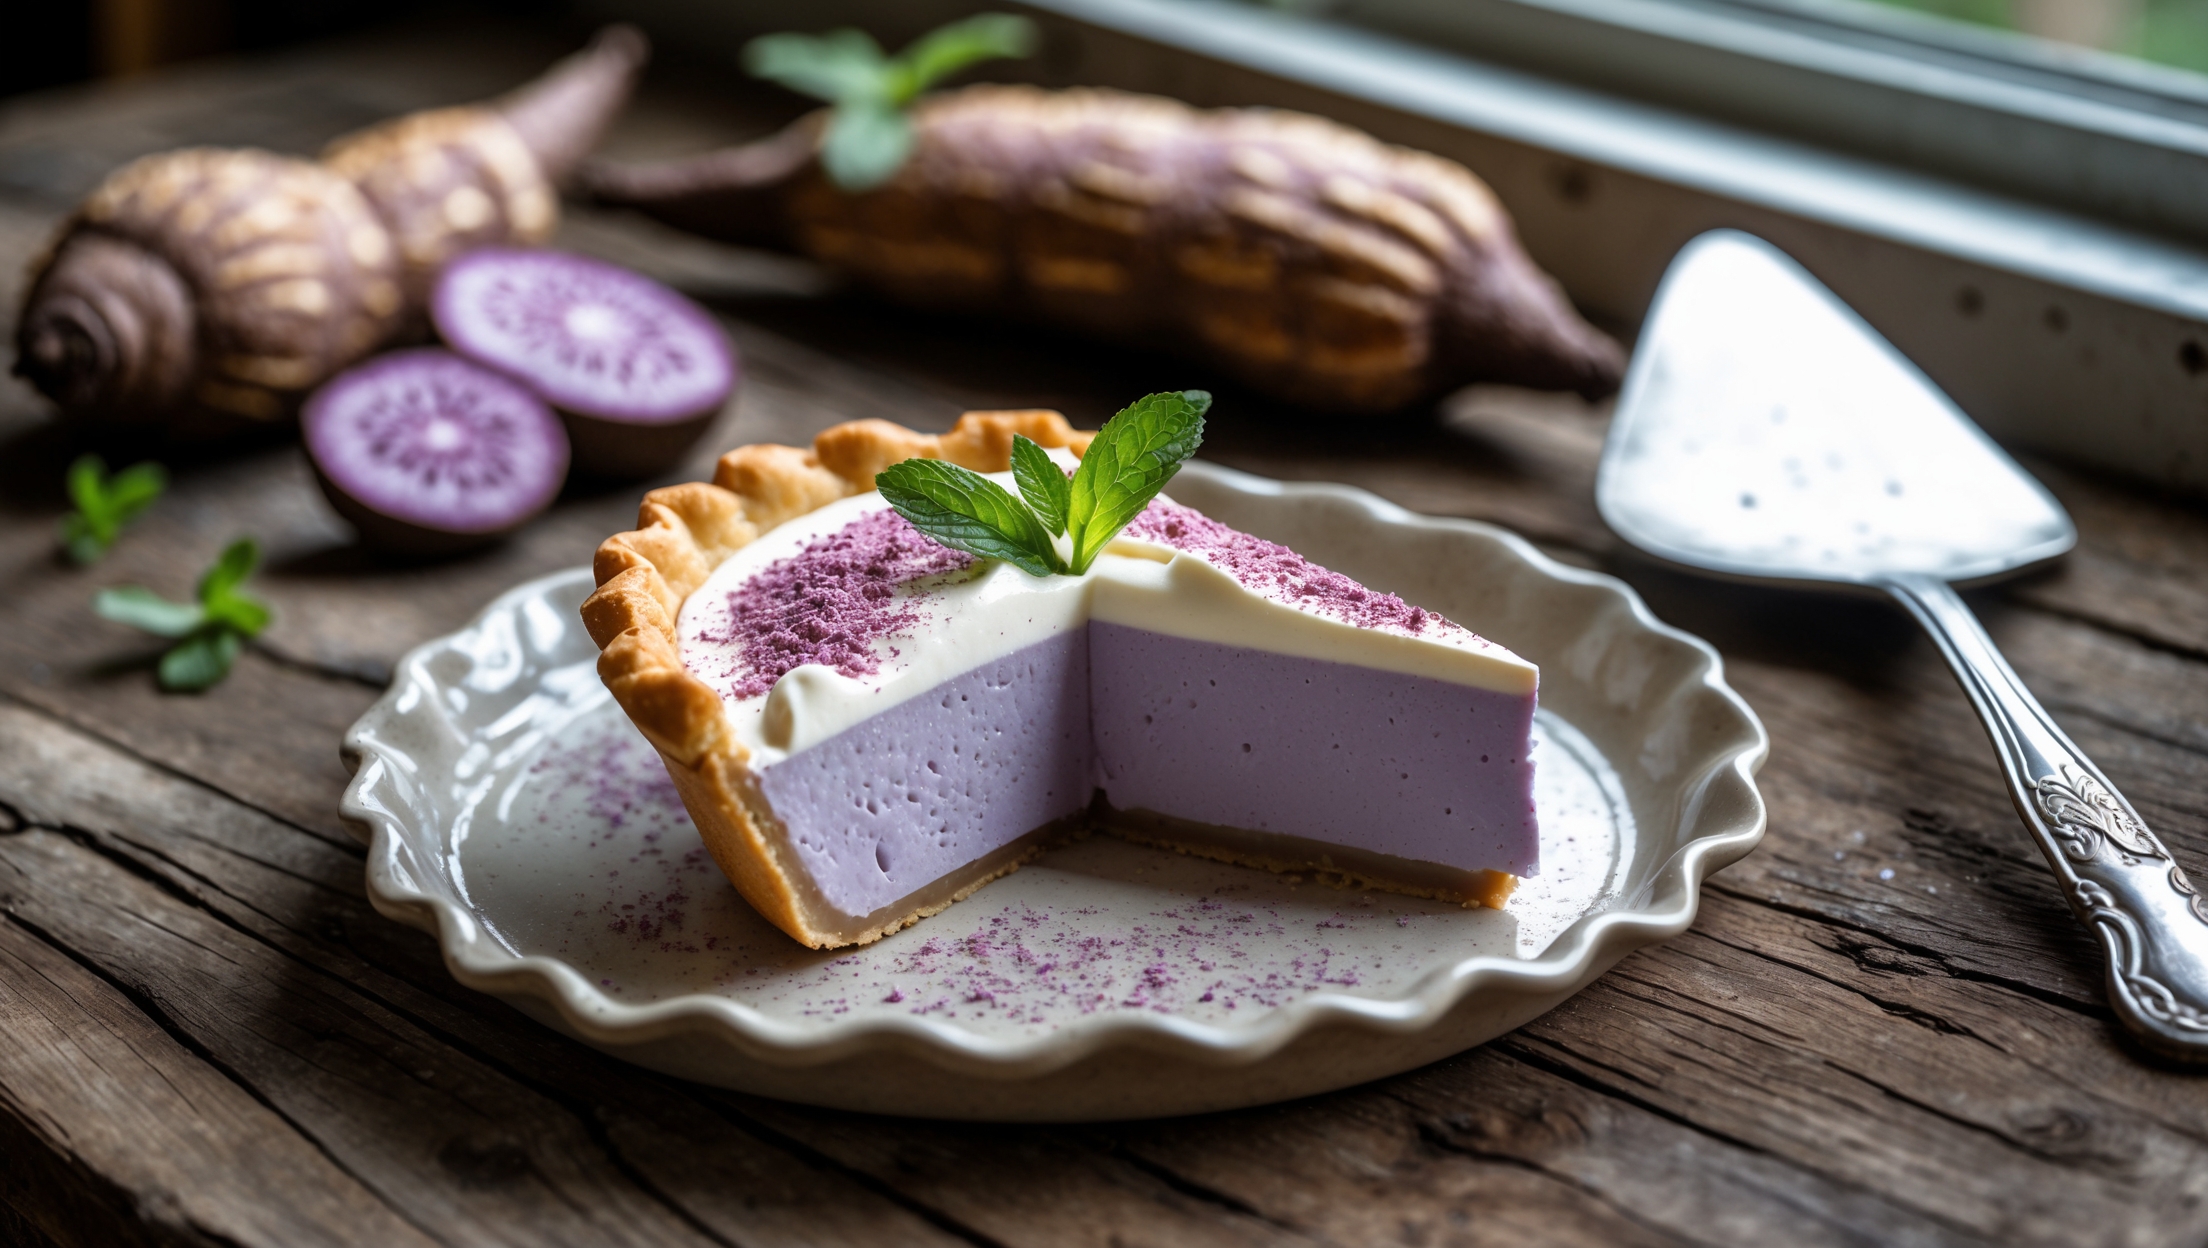
Taro Cream Pie requires fresh taro root, coconut milk, heavy cream, eggs, sugar, cornstarch, vanilla, and a buttery pie crust made with flour, butter, salt, and sugar. The optional topping uses whipped cream and taro powder for garnish.
Learn how to cook Taro Cream Pie by first steaming fresh taro until tender, then blending it with coconut milk until silky smooth. The custard base is made by tempering eggs with a hot coconut-cream mixture, combining with the taro puree, then pouring into a blind-baked crust and chilling until set. Top with whipped cream before serving.
Taro varieties differ greatly in colour intensity. For a vibrant purple, choose young Chinese taro with visible purple speckling when cut. Some bakeries add food colouring, but for a natural boost, you can add a tiny bit of purple sweet potato or ube extract to enhance the colour.
Yes, frozen taro works well and often saves preparation time as it's usually pre-peeled and chunked. Thaw completely before steaming, and you may need to steam it for a few minutes less than fresh taro. Ensure it's completely soft before blending for a silky-smooth filling.
Grainy filling usually results from undercooked taro or inadequate blending. Ensure taro is fork-tender before blending, then process thoroughly with liquid until completely smooth. Straining the final mixture through a fine-mesh sieve removes any remaining fibrous bits for perfect silkiness.
Cream Pies
Try following recommended recipes