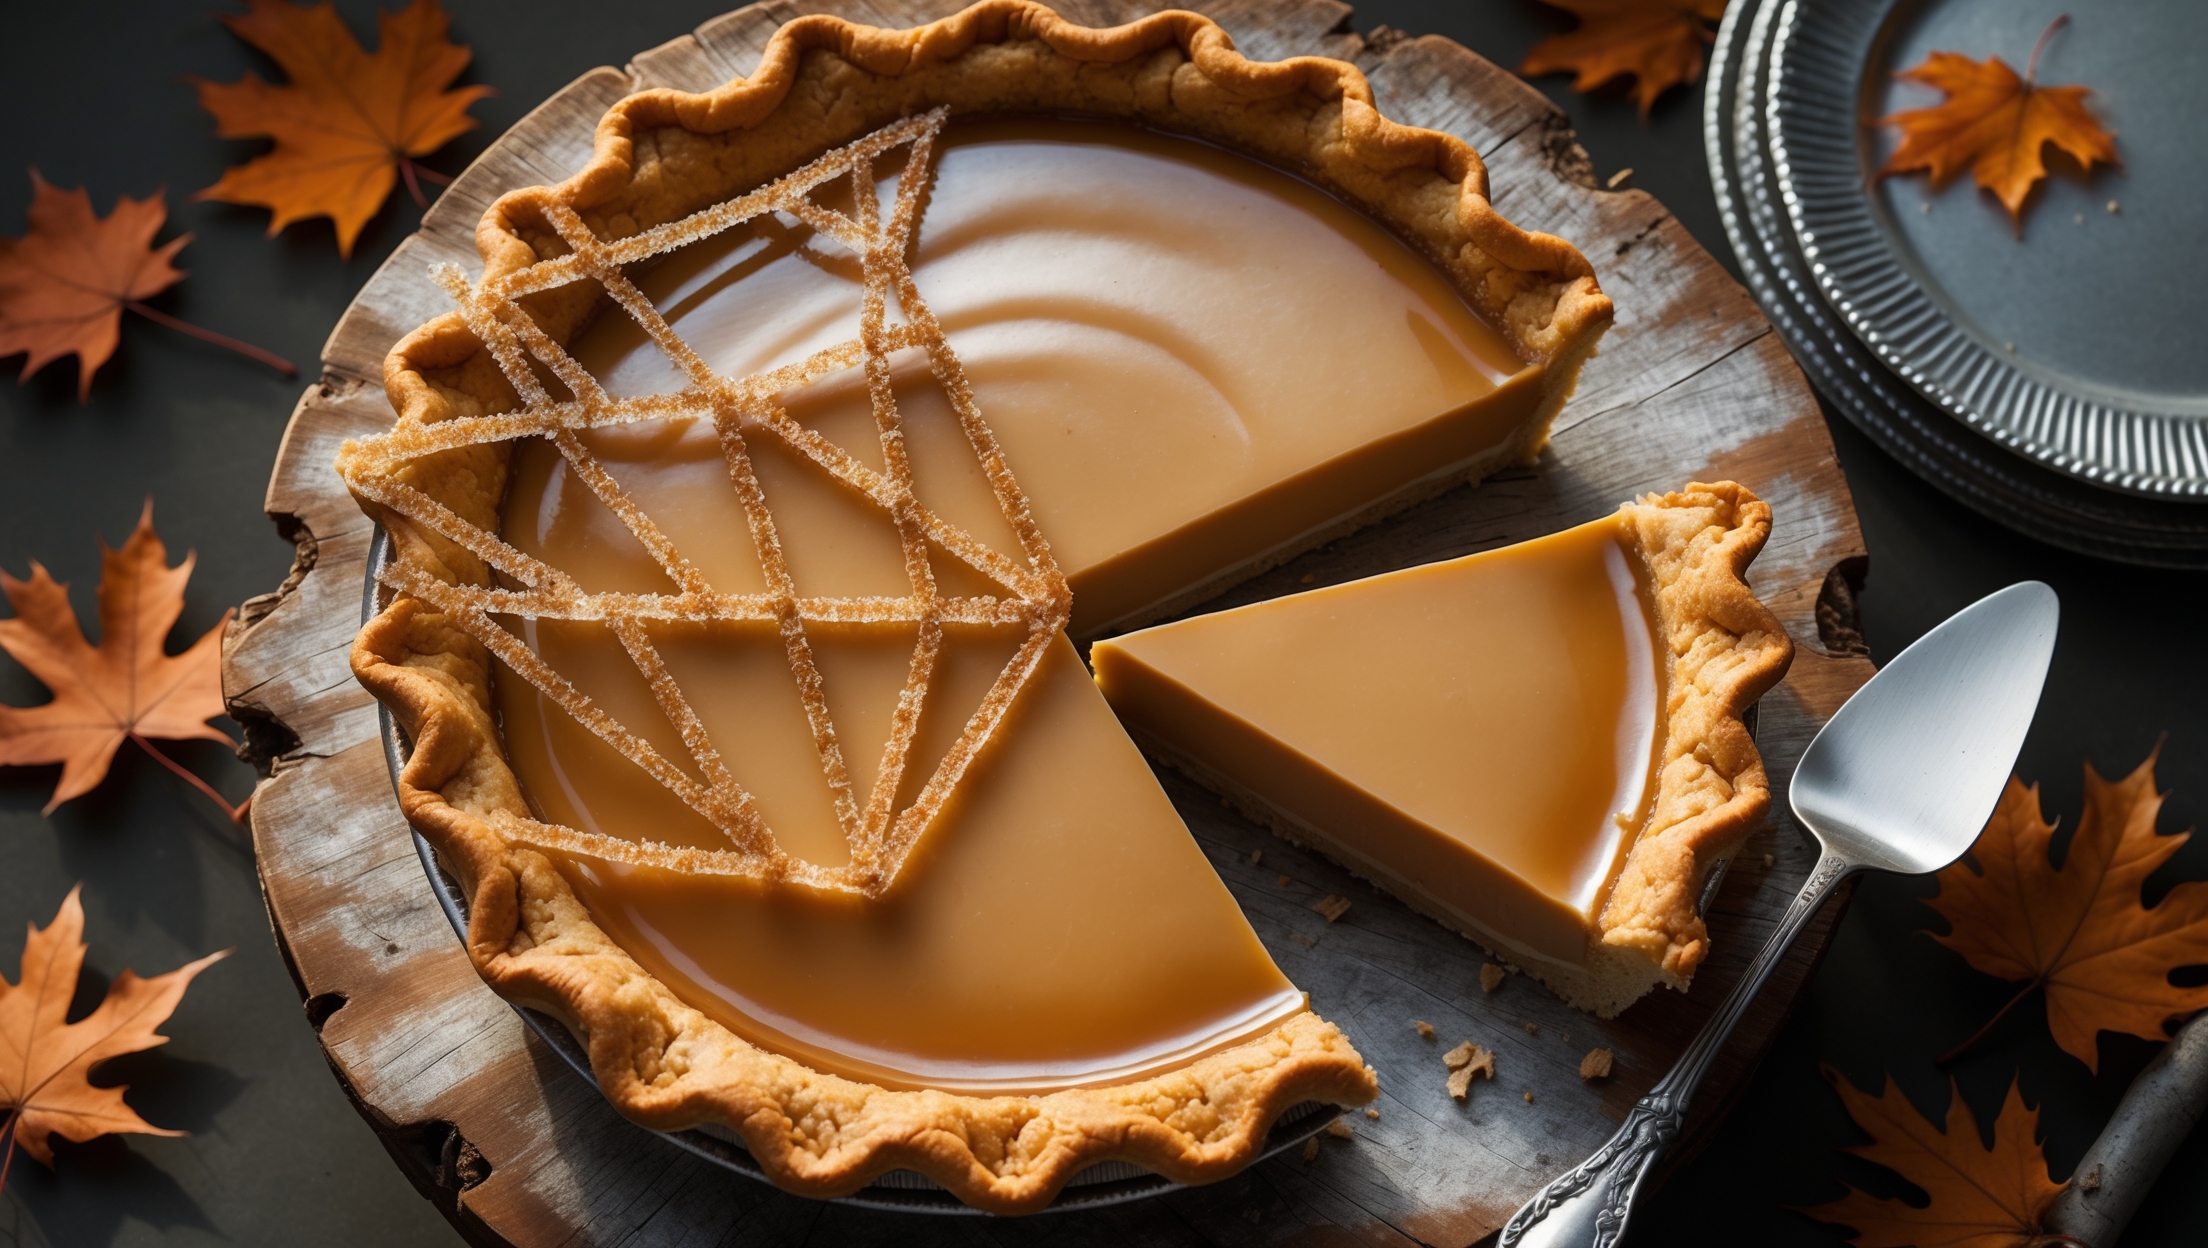
Directions
<ol class="no-list-style"><li class="MethodStepper"><h4 class="step-title">Step 1</h4>Begin with the pastry. In a food processor, pulse the flour, icing sugar and salt to combine. Add the cold cubed butter and pulse until the mixture resembles coarse breadcrumbs (this creates pockets of butter that will make your pastry flaky). Add the egg yolk and 2 tablespoons of ice water, pulsing until the dough just comes together – it should hold when pinched but not be sticky. Add the remaining tablespoon of water only if needed.</li><li class="MethodStepper"><h4 class="step-title">Step 2</h4>Turn the dough onto a lightly floured surface, shape into a disc without overworking (overhandling develops gluten, making the pastry tough), wrap in cling film and refrigerate for at least 30 minutes. Cold dough is crucial for a flaky crust as it prevents the butter from melting before baking.</li><li class="MethodStepper"><h4 class="step-title">Step 3</h4>Preheat your oven to 190°C (170°C fan). Roll the chilled pastry to about 3mm thickness on a floured surface, making it large enough to line your pie dish with overhang. Carefully lift the pastry using your rolling pin and drape it over the dish. Gently press it into the corners without stretching (stretching causes shrinkage). Trim the excess leaving a 2cm overhang, then fold and crimp the edges decoratively.</li><li class="MethodStepper"><h4 class="step-title">Step 4</h4>Line the pastry case with parchment paper and fill with pie weights. Blind bake for 15 minutes, then remove the weights and paper and bake for another 8-10 minutes until the base is lightly golden and no longer raw-looking. The partial baking ensures your crust won't become soggy when filled. Cool completely.</li><li class="MethodStepper"><h4 class="step-title">Step 5</h4>For the maple cream filling, combine the cream, milk, and vanilla in a medium saucepan and bring to a gentle simmer over medium heat. In a separate heatproof bowl, whisk together the egg yolks, cornflour, and 50ml of the maple syrup until smooth and pale yellow.</li><li class="MethodStepper"><h4 class="step-title">Step 6</h4>When the cream mixture is simmering (look for small bubbles around the edge), slowly pour about half into the egg mixture, whisking constantly to prevent curdling (this is called tempering). Pour this mixture back into the saucepan with the remaining cream and cook over medium heat, whisking continuously, until it thickens significantly – it should coat the back of a spoon and hold a line when you run your finger through it.</li><li class="MethodStepper"><h4 class="step-title">Step 7</h4>Remove from heat and whisk in the remaining maple syrup, butter, and liquid smoke (or smoked salt). The residual heat will melt the butter, creating a silky smooth texture. If you notice any lumps, pass the mixture through a fine sieve. Cover the surface directly with cling film to prevent a skin forming and let cool for 15 minutes.</li><li class="MethodStepper"><h4 class="step-title">Step 8</h4>Pour the slightly cooled filling into the baked pastry shell and smooth the top. Refrigerate for at least 4 hours or preferably overnight to set completely. The filling needs to be thoroughly chilled before adding the sugar cage.</li><li class="MethodStepper"><h4 class="step-title">Step 9</h4>For the crystallized sugar cage, prepare your workspace before starting as you'll need to work quickly. Cover your work surface with a silicone mat and lightly oil the outside of a metal bowl that's slightly smaller than your pie. In a clean, heavy-bottomed saucepan, combine the sugar, water, and cream of tartar (which prevents crystallization).</li><li class="MethodStepper"><h4 class="step-title">Step 10</h4>Heat the sugar mixture over medium heat without stirring until it reaches 149-154°C (300-310°F) on a candy thermometer (hard crack stage). The mixture will initially bubble vigorously then become clearer and slightly amber. Watch carefully as it can quickly burn at this stage. Once it reaches temperature, remove from heat and let the bubbles subside for about 30 seconds.</li><li class="MethodStepper"><h4 class="step-title">Step 11</h4>Working quickly but carefully, dip a fork or spoon into the hot caramel and drizzle thin streams over and around the inverted bowl, creating a lacy pattern. Continue until you've achieved the desired density of sugar strands. Allow to cool completely until hardened and carefully lift the cage off the bowl – it's extremely fragile, so use a gentle touch.</li><li class="MethodStepper"><h4 class="step-title">Step 12</h4>Just before serving, remove the chilled pie from the refrigerator and gently position the sugar cage on top. The contrast between the cool, creamy filling and the delicate, crunchy cage creates a spectacular textural experience. Serve immediately, as the sugar cage will begin to soften in humidity. For the most dramatic presentation, bring the whole pie to the table before cutting to allow guests to admire your creation.</li></ol>