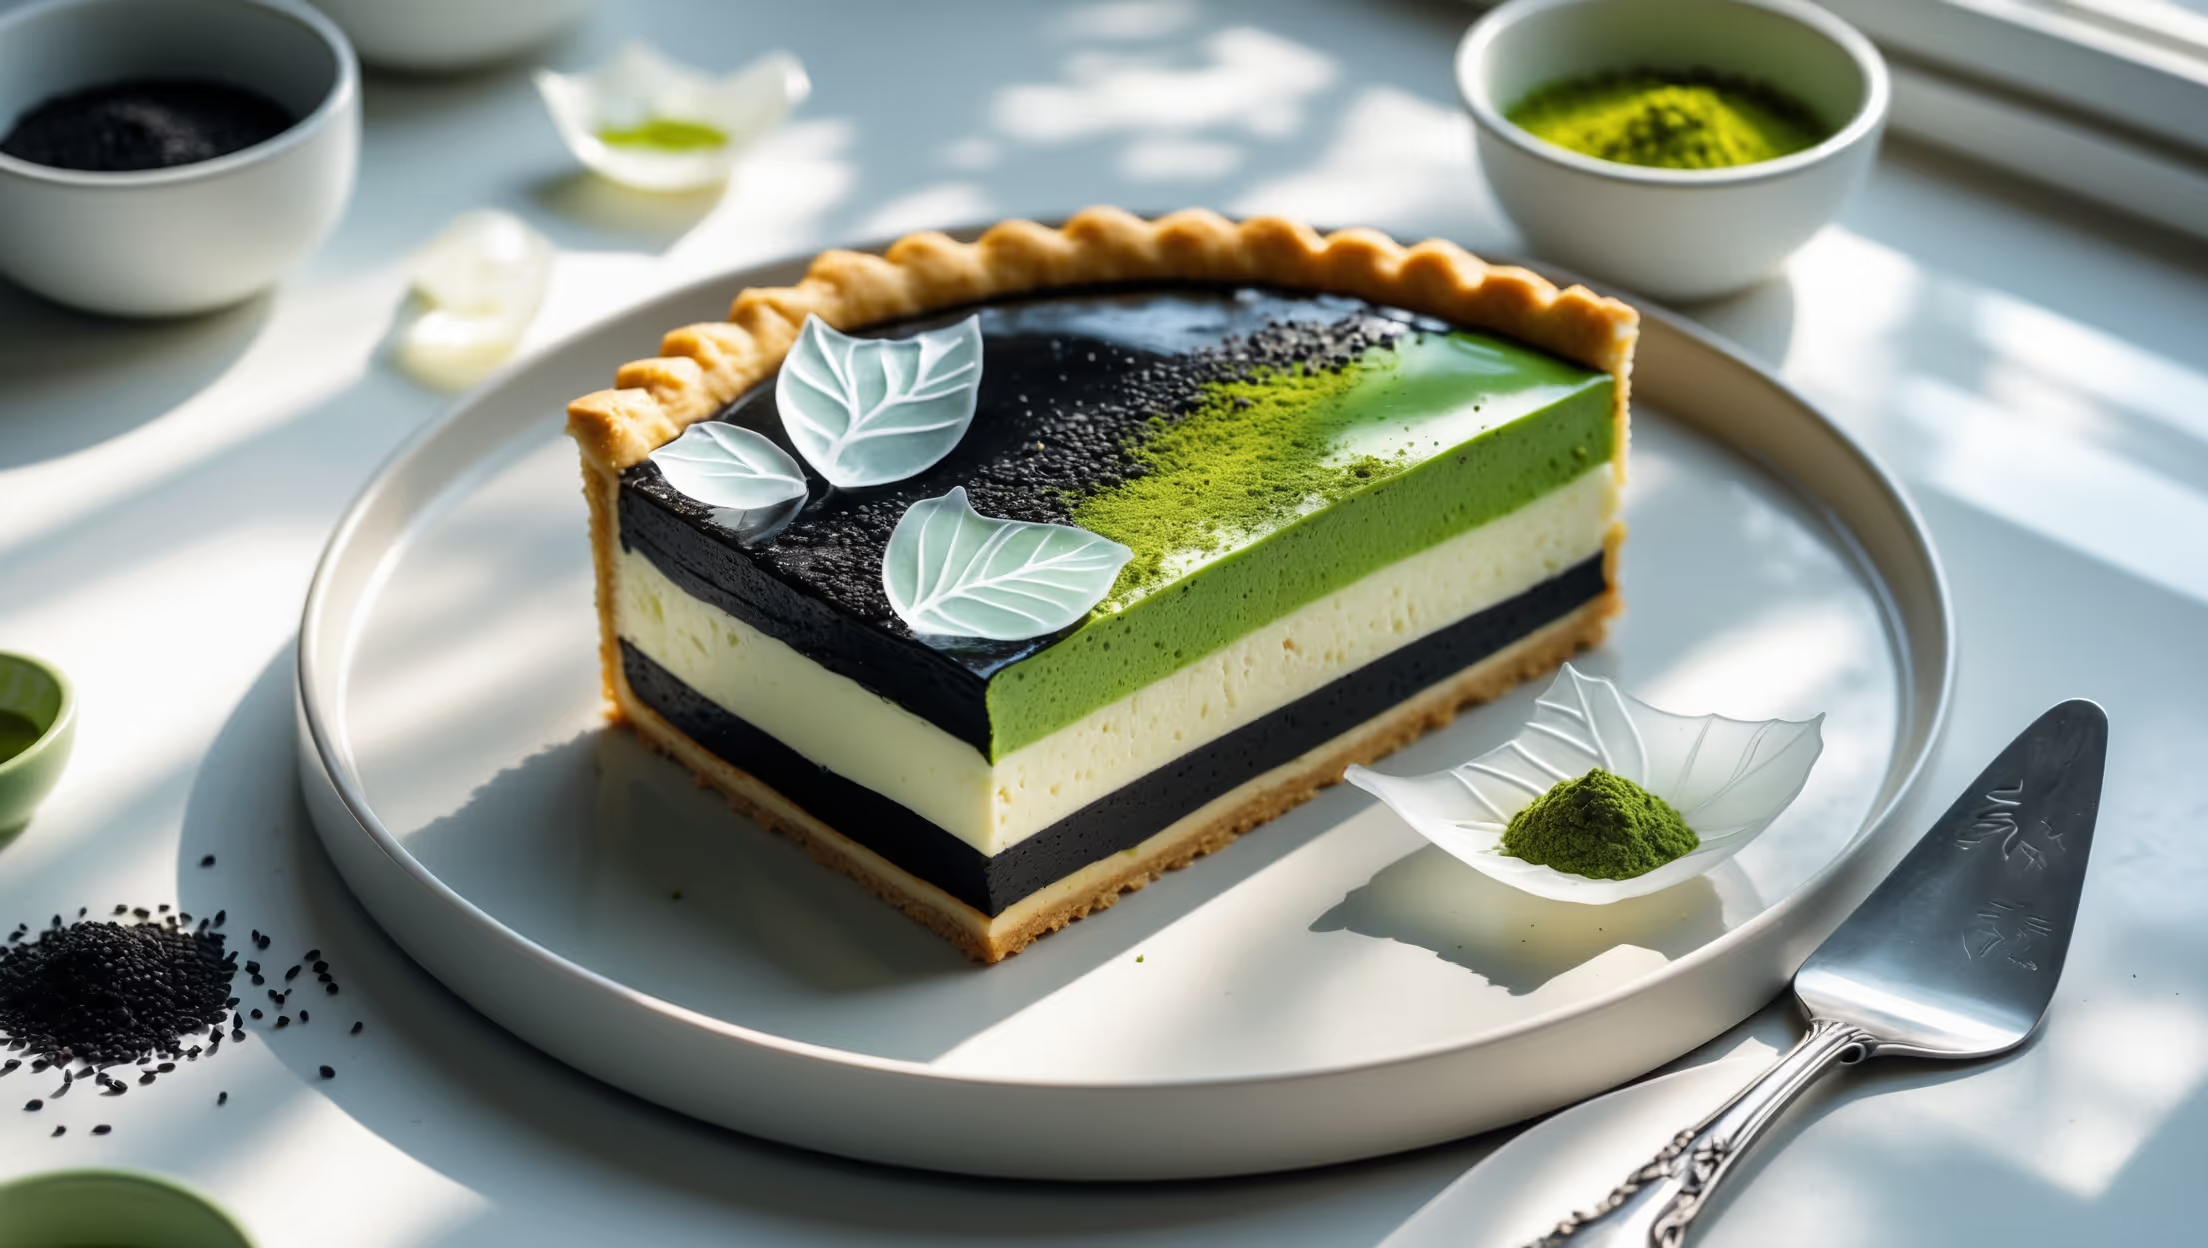
Directions
<ol class="no-list-style"><li class="MethodStepper"><h4 class="step-title">Step 1</h4>Start by preparing the crust. Place digestive biscuits in a food processor and pulse until they form fine crumbs. Transfer to a bowl and mix in melted butter, granulated sugar, and salt until the mixture resembles wet sand. The butter acts as a binder, ensuring your crust holds together when sliced.</li><li class="MethodStepper"><h4 class="step-title">Step 2</h4>Press the crumb mixture firmly and evenly into the bottom and slightly up the sides of your springform pan. Use the flat bottom of a measuring cup to compact the crust firmly – this prevents a crumbly crust later. Refrigerate for at least 30 minutes to set while you prepare the fillings.</li><li class="MethodStepper"><h4 class="step-title">Step 3</h4>Bloom the gelatin by sprinkling it over cold water in a small bowl. Let it stand for 5 minutes until it becomes spongy. Gelatin is crucial for creating a stable cream filling that holds its shape when sliced, especially with our layered design.</li><li class="MethodStepper"><h4 class="step-title">Step 4</h4>Heat the bloomed gelatin in the microwave for 10-15 seconds or over a double boiler until completely dissolved. Be careful not to boil it as this can reduce its setting power. Set aside to cool slightly but don't let it set.</li><li class="MethodStepper"><h4 class="step-title">Step 5</h4>In a stand mixer with the whisk attachment, beat the cream cheese until completely smooth and free of lumps, about 2 minutes. Gradually add 80g of the powdered sugar and vanilla extract, continuing to beat until light and fluffy. Scrape down the sides of the bowl frequently to ensure even mixing.</li><li class="MethodStepper"><h4 class="step-title">Step 6</h4>In a separate chilled bowl, whip the heavy cream until it begins to thicken. Gradually add the remaining 40g powdered sugar and continue whipping until soft peaks form. Be careful not to overwhip, as this can make your filling grainy instead of silky smooth.</li><li class="MethodStepper"><h4 class="step-title">Step 7</h4>Gently fold the whipped cream into the cream cheese mixture until just combined. Now slowly stream in the dissolved gelatin while continuing to fold. Divide this mixture equally into two bowls.</li><li class="MethodStepper"><h4 class="step-title">Step 8</h4>For the black sesame layer, fold the black sesame paste and toasted sesame seeds into one bowl of cream mixture. The oils in the sesame paste will slightly loosen the mixture, which is normal. For the matcha layer, sift the matcha powder into the second bowl to remove any lumps before folding it in thoroughly. Sifting prevents bitter matcha clumps in your final dessert.</li><li class="MethodStepper"><h4 class="step-title">Step 9</h4>Remove the chilled crust from the refrigerator. Pour the black sesame cream mixture onto the crust first, smoothing it into an even layer with an offset spatula. Refrigerate for 15-20 minutes until the surface is set enough to support the next layer.</li><li class="MethodStepper"><h4 class="step-title">Step 10</h4>Once the black sesame layer has set slightly, gently pour the matcha cream mixture on top, carefully smoothing it with an offset spatula. Try to work quickly but gently to avoid disturbing the bottom layer. Refrigerate the pie for at least 4 hours or preferably overnight to set completely.</li><li class="MethodStepper"><h4 class="step-title">Step 11</h4>For the sugar art decoration, line a baking sheet with a silicone mat or parchment paper. In a medium saucepan, combine the sugar, water, and cream of tartar. The cream of tartar prevents crystallization, giving you clear, glass-like sugar art.</li><li class="MethodStepper"><h4 class="step-title">Step 12</h4>Heat the sugar mixture over medium heat without stirring until it reaches 149-154°C (300-310°F) on a candy thermometer. The mixture will gradually turn into a clear syrup and begin to take on a very slight amber color. Immediately remove from heat when it reaches temperature.</li><li class="MethodStepper"><h4 class="step-title">Step 13</h4>Let the hot sugar syrup cool for about 30 seconds until it becomes slightly thicker but still pourable. Using a spoon or small heatproof bowl, carefully drizzle thin streams of syrup onto the prepared surface in decorative shapes like leaves, swirls, or abstract designs. Work quickly as the sugar will harden rapidly.</li><li class="MethodStepper"><h4 class="step-title">Step 14</h4>Allow the sugar art to cool completely until hard and clear, about 5-10 minutes. Carefully peel the delicate pieces from the mat – they should release easily if your surface was properly prepared.</li><li class="MethodStepper"><h4 class="step-title">Step 15</h4>When ready to serve, carefully remove the sides of the springform pan. Arrange your sugar art pieces decoratively on top of the matcha layer. For the best presentation and flavor, serve the pie chilled but not frozen, allowing it to sit at room temperature for 5-10 minutes before slicing with a warm, clean knife.</li></ol>