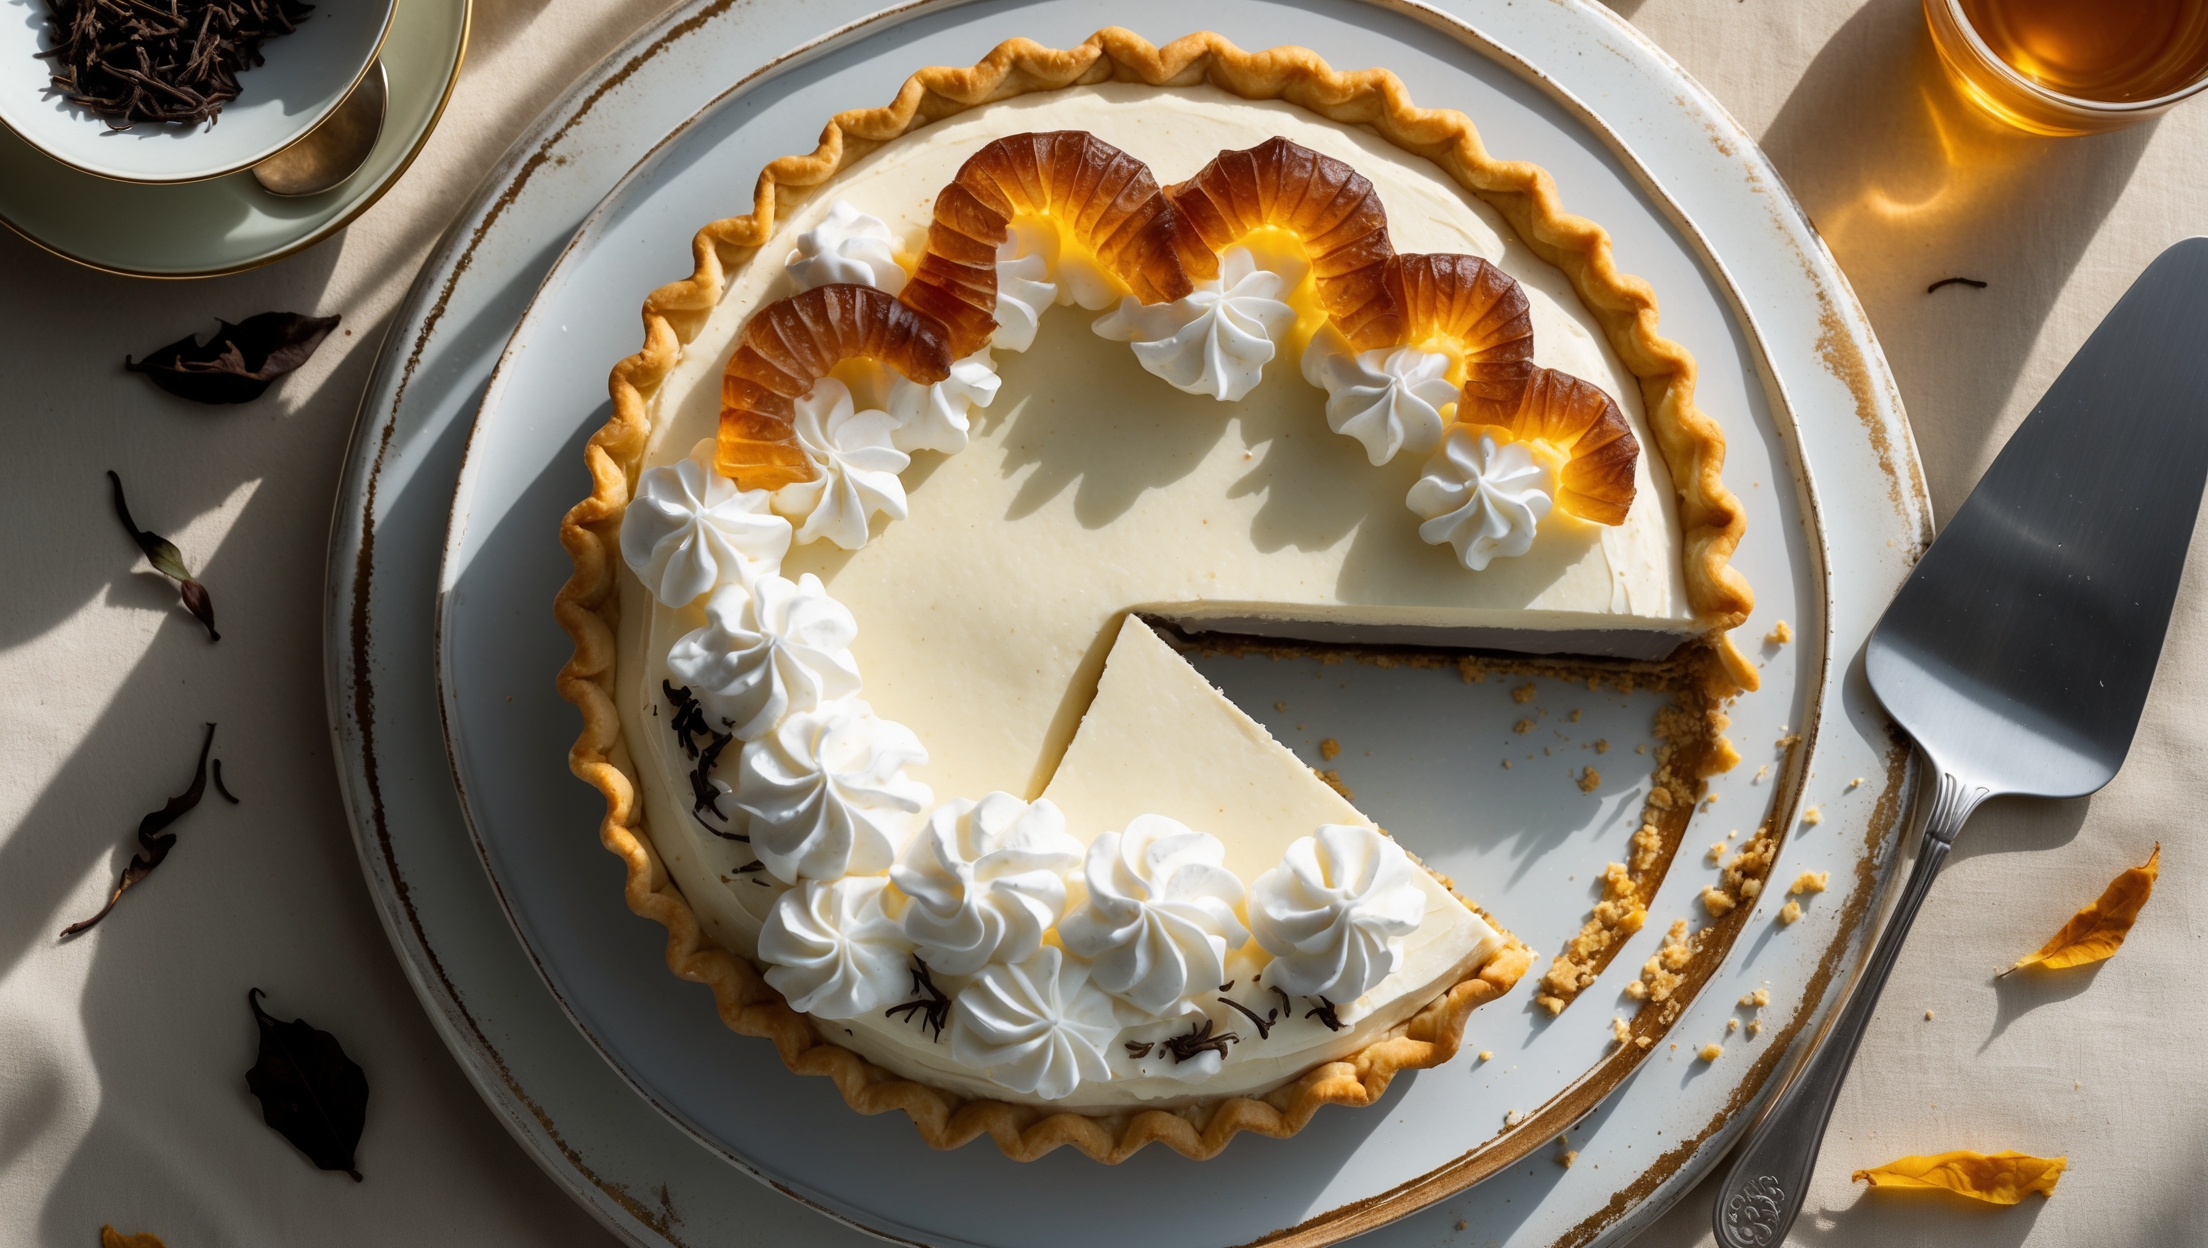
<ol class="no-list-style"><li class="MethodStepper"><h4 class="step-title">Step 1</h4>Start with the shortcrust pastry. Place the flour, salt, and icing sugar in a food processor and pulse to combine. Add the cold cubed butter and pulse until the mixture resembles breadcrumbs (keeping the butter cold creates pockets of steam during baking, resulting in a flaky crust). Add the egg yolk and 2 tbsp of ice water, pulsing just until the dough begins to come together, adding the remaining water only if needed. The dough should hold together when pressed but not be sticky.</li><li class="MethodStepper"><h4 class="step-title">Step 2</h4>Turn the dough onto a lightly floured surface, form into a disc, wrap in cling film and refrigerate for at least 30 minutes. This resting period allows the gluten to relax, preventing shrinkage during baking. Meanwhile, preheat your oven to 190°C.</li><li class="MethodStepper"><h4 class="step-title">Step 3</h4>Roll the chilled pastry on a lightly floured surface to about 3mm thickness and a diameter large enough to line your pie dish with some overhang. Carefully transfer the pastry to the dish, pressing it gently into the corners. Trim the excess leaving a 2cm overhang, then fold and crimp the edges. Prick the base with a fork, line with parchment paper, and fill with baking beans. Blind bake for 15 minutes, then remove the beans and paper and bake for another 5-7 minutes until the base is golden and crisp. Set aside to cool completely.</li><li class="MethodStepper"><h4 class="step-title">Step 4</h4>For the Earl Grey custard, heat the milk in a saucepan until just below simmering. Remove from heat, add the tea and bergamot zest, cover, and steep for 15 minutes. The warm milk will extract the tea's aromatic compounds, including bergamot oil, which gives Earl Grey its distinctive flavor. Strain the milk, pressing on the tea leaves to extract maximum flavor, then reheat gently.</li><li class="MethodStepper"><h4 class="step-title">Step 5</h4>In a medium bowl, whisk together the egg yolks, sugar, cornstarch, and salt until pale and slightly thickened. Gradually whisk in the hot tea-infused milk (doing this slowly prevents the eggs from scrambling). Return the mixture to the saucepan and cook over medium heat, whisking constantly, until the custard thickens and begins to bubble, about 5-7 minutes. The cornstarch needs to reach at least 95°C to fully activate its thickening properties.</li><li class="MethodStepper"><h4 class="step-title">Step 6</h4>Remove from heat and whisk in the butter until melted and fully incorporated. The fat from the butter gives the custard a silky mouthfeel and prevents a skin from forming. Strain through a fine-mesh sieve into a bowl, press plastic wrap directly onto the surface to prevent a skin from forming, and refrigerate until completely chilled, at least 3 hours or overnight.</li><li class="MethodStepper"><h4 class="step-title">Step 7</h4>For the tea-infused cream, heat 100ml of the double cream until just warm, add the tea, cover, and let steep for 20 minutes. Strain, pressing on the tea leaves, then refrigerate until completely cold. This tea-infused cream base will add depth of flavor to your whipped topping.</li><li class="MethodStepper"><h4 class="step-title">Step 8</h4>When ready to assemble, whip the remaining 200ml cream with the chilled tea-infused cream, icing sugar, and vanilla until soft peaks form. Don't overwhip or the cream will become grainy and potentially separate.</li><li class="MethodStepper"><h4 class="step-title">Step 9</h4>For the pulled sugar decoration, line a work surface with a silicone mat and have heat-resistant gloves ready. In a heavy-bottomed saucepan, combine sugar, water, and cream of tartar (which prevents crystallization). Without stirring, heat to 150°C (hard crack stage) on a candy thermometer. The cream of tartar is crucial here—it breaks down sucrose into glucose and fructose, preventing crystallization that would make your sugar decoration cloudy instead of clear.</li><li class="MethodStepper"><h4 class="step-title">Step 10</h4>Remove from heat, stir in food coloring if using, and let the bubbles subside. Pour onto the silicone mat and let cool just until you can handle it comfortably with gloves (but don't wait too long or it will harden). Working quickly, pull pieces of the sugar with both hands, stretch and fold repeatedly until it develops a satin-like sheen and becomes opaque. This pulling aerates the sugar and creates the characteristic shiny finish.</li><li class="MethodStepper"><h4 class="step-title">Step 11</h4>When the sugar is pliable but not too hot, pull and twist into decorative shapes—try thin strands, curls, or abstract forms. You can carefully drape them over oiled rolling pins or spoons to create curves. Work swiftly as the sugar hardens quickly. If it becomes too hard, you can briefly warm it under a heat lamp or with a hairdryer. Set the finished pieces aside to harden completely.</li><li class="MethodStepper"><h4 class="step-title">Step 12</h4>To assemble the pie, spoon the chilled custard into the cooled pastry case, smoothing the top with an offset spatula. Dollop and swirl the tea-infused whipped cream over the custard. Finally, carefully arrange your pulled sugar decorations on top, placing them gently so they don't sink into the cream. For the most beautiful presentation, add the sugar decorations just before serving to prevent them from absorbing moisture and losing their shine.</li><li class="MethodStepper"><h4 class="step-title">Step 13</h4>Serve the pie immediately, or refrigerate for up to 4 hours before serving. The sugar decorations are extremely sensitive to humidity and will begin to dissolve if left too long, so consider this the magnificent finale to your creation—beautiful but ephemeral. Slice with a sharp knife dipped in hot water and wiped clean between cuts for the cleanest presentation.</li></ol>