Taco Hand Pies Recipe

Flaky, golden pastry pockets filled with spiced ground beef, melted cheese, and classic taco seasonings create an irresistible handheld twist on traditional tacos.
Difficulty:
Intermediate
Prep Time:
45 mins
Cook Time:
25 mins
Serves:
10 hand pies
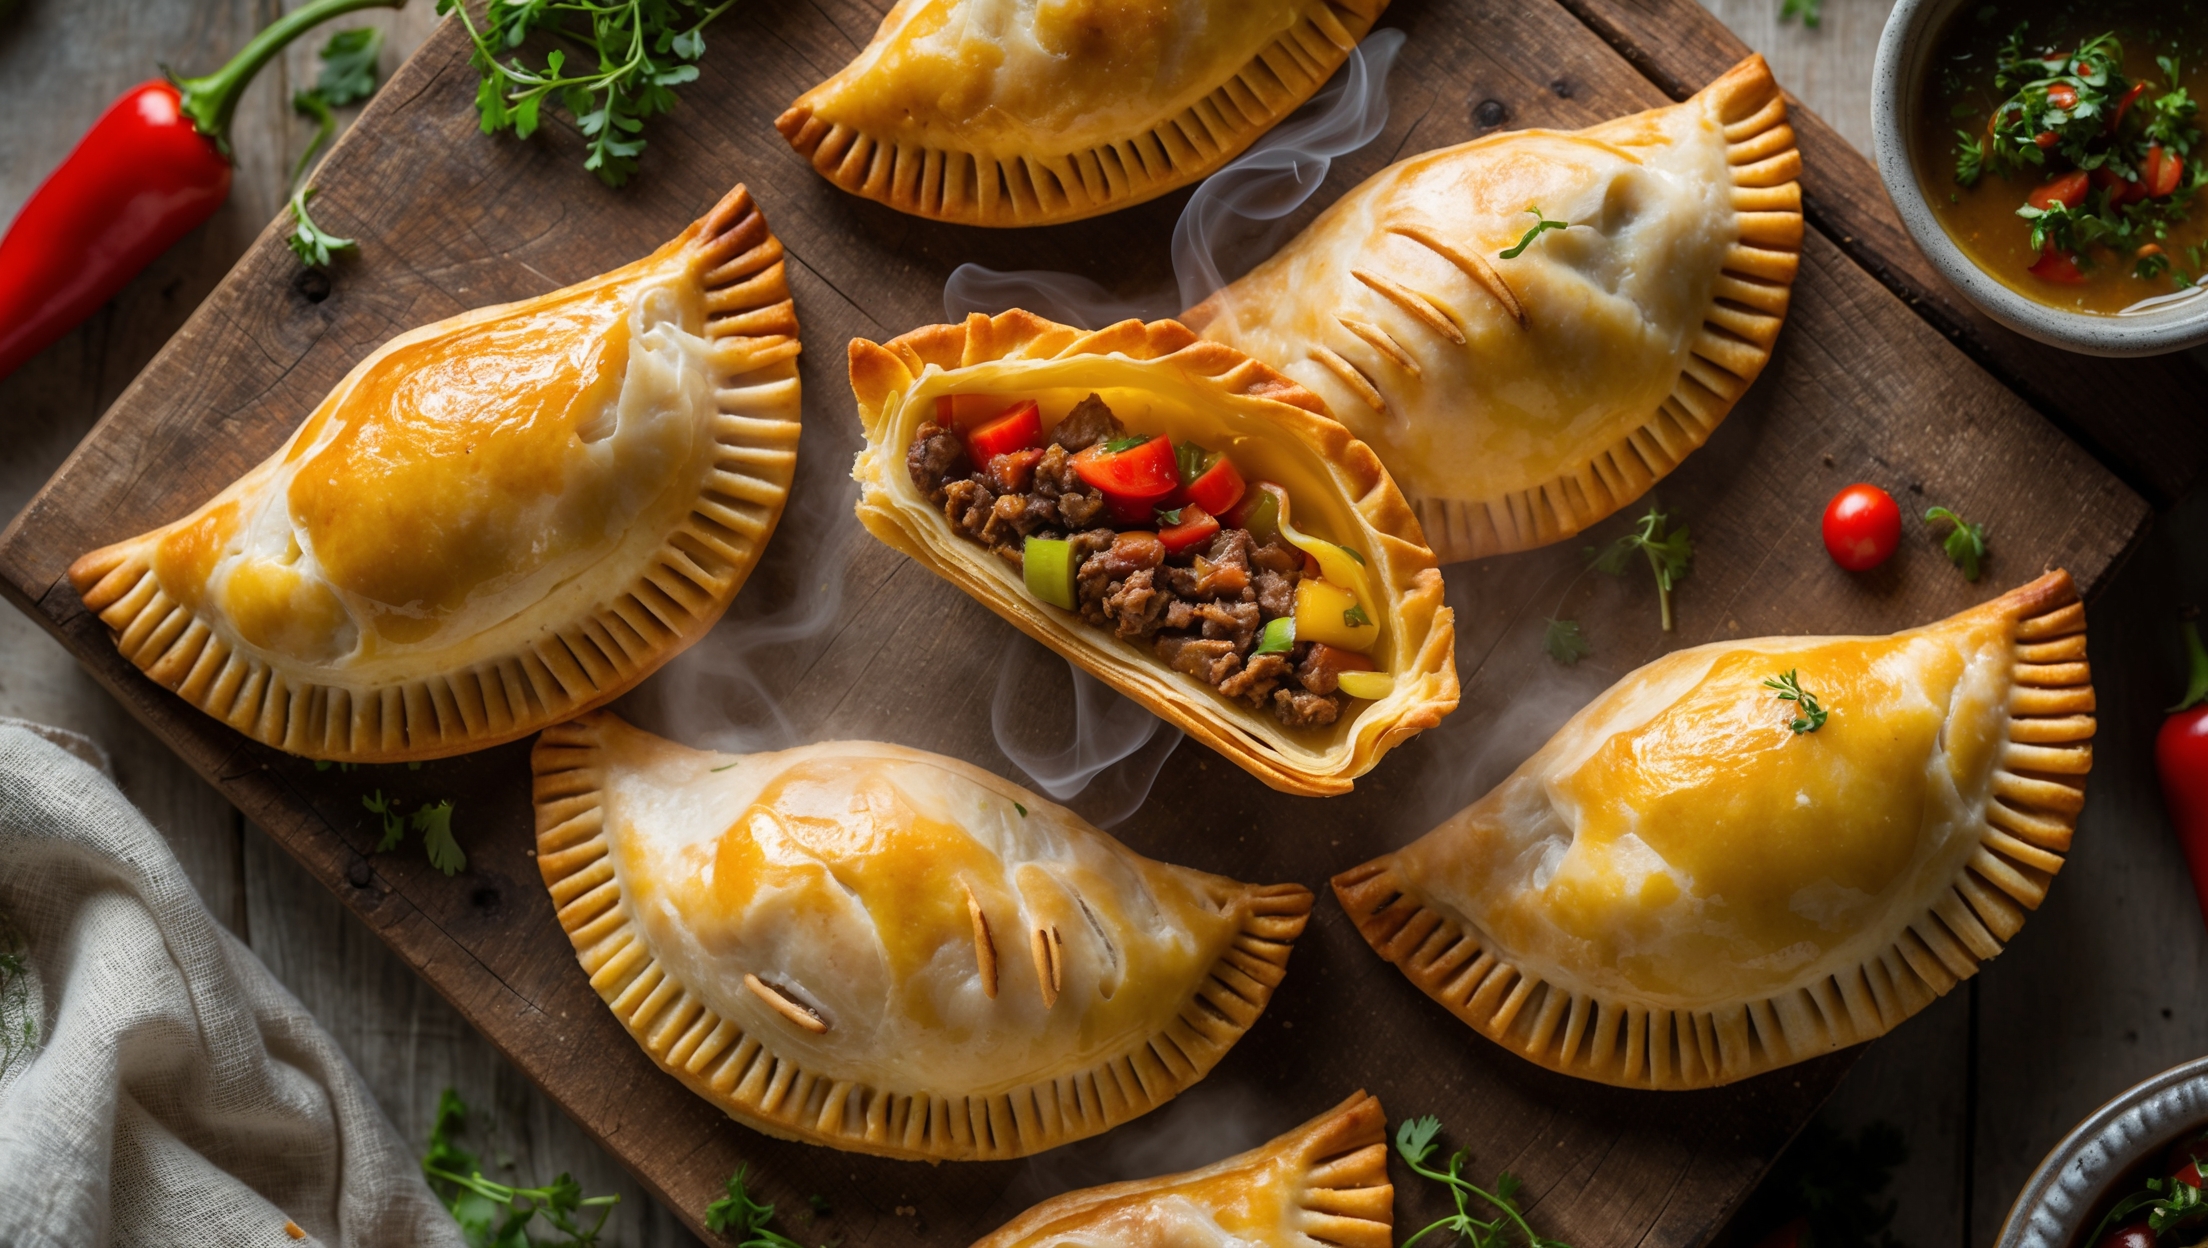
Overhead shot of golden-brown taco hand pies arranged on a rustic wooden serving board, with one broken open to reveal the savory beef and cheese filling speckled with colorful specks of red tomatoes and green cilantro. The natural afternoon light highlights the flaky pastry layers and creates appetizing shadows around the perfectly crimped edges. Scattered around the board are lime wedges, a small ramekin of sour cream, fresh cilantro sprigs, and a light dusting of chili powder, creating a vibrant Mexican-inspired tableau against the warm wooden backdrop.

Ingredients

<ul class="ingredients-main-list"><li class="ingredients-single-item">For the pastry:</li><li class="ingredients-single-item">350g all-purpose flour</li><li class="ingredients-single-item">225g unsalted butter, very cold and cubed</li><li class="ingredients-single-item">1 tsp salt</li><li class="ingredients-single-item">1 tbsp granulated sugar</li><li class="ingredients-single-item">120ml ice-cold water</li><li class="ingredients-single-item">1 egg, beaten (for egg wash)</li><li class="ingredients-single-item">For the filling:</li><li class="ingredients-single-item">450g lean ground beef</li><li class="ingredients-single-item">1 medium onion, finely diced</li><li class="ingredients-single-item">2 garlic cloves, minced</li><li class="ingredients-single-item">1 small red bell pepper, diced</li><li class="ingredients-single-item">1 tbsp olive oil</li><li class="ingredients-single-item">30g tomato paste</li><li class="ingredients-single-item">2 tbsp taco seasoning (or make your own with cumin, chili powder, paprika, oregano)</li><li class="ingredients-single-item">120ml beef stock</li><li class="ingredients-single-item">150g grated cheddar cheese (or Mexican cheese blend)</li><li class="ingredients-single-item">60g black beans, drained and rinsed (optional)</li><li class="ingredients-single-item">2 tbsp fresh cilantro, chopped</li><li class="ingredients-single-item">Salt and pepper to taste</li></ul>

Equipment

<ul class="equipment-main-list"><li class="equipment-single-item">Food processor (optional for pastry)</li><li class="equipment-single-item">Rolling pin</li><li class="equipment-single-item">10cm round pastry cutter or bowl</li><li class="equipment-single-item">Baking sheets</li><li class="equipment-single-item">Pastry brush</li><li class="equipment-single-item">Fork (for crimping edges)</li></ul>
BAKE SMARTER

Kitchen Converter

Quickly switch between common baking units without leaving the recipe.

Convert
Result—

Volume uses US cups, tablespoons, and teaspoons. Converting weight to volume depends on the ingredient.

Directions

<ol class="no-list-style"><li class="MethodStepper"><h4 class="step-title">Step 1</h4>Start by making the pastry. In a large bowl or food processor, combine flour, salt, and sugar. Add the cold cubed butter and pulse or use your fingertips to rub it into the flour until the mixture resembles coarse breadcrumbs with some pea-sized pieces of butter remaining. These butter pieces are crucial for creating flaky layers in your pastry.</li><li class="MethodStepper"><h4 class="step-title">Step 2</h4>Gradually add the ice-cold water, 1 tablespoon at a time, mixing gently until the dough just comes together. You might not need all the water - stop adding when the dough holds together when pressed. Cold ingredients and minimal handling are key to achieving flaky pastry, as they prevent the butter from melting before baking.</li><li class="MethodStepper"><h4 class="step-title">Step 3</h4>Divide the dough into two equal portions, shape each into a disc, wrap in plastic wrap, and refrigerate for at least 1 hour or up to overnight. This resting period allows the gluten to relax (preventing tough pastry) and keeps the butter cold.</li><li class="MethodStepper"><h4 class="step-title">Step 4</h4>While the dough chills, prepare your filling. Heat olive oil in a large skillet over medium heat. Add the onions and cook for 3-4 minutes until softened. Add the garlic and cook for another 30 seconds until fragrant, being careful not to burn it.</li><li class="MethodStepper"><h4 class="step-title">Step 5</h4>Add the ground beef, breaking it up with a wooden spoon. Cook until browned, about 5-7 minutes. Add the bell pepper, tomato paste, and taco seasoning, stirring well to combine. Pour in the beef stock, bring to a simmer, and cook for 8-10 minutes until most of the liquid has evaporated but the mixture is still moist. You want a relatively dry filling to prevent soggy pastry.</li><li class="MethodStepper"><h4 class="step-title">Step 6</h4>Remove from heat and stir in the black beans if using. Allow the mixture to cool completely to room temperature, then fold in the grated cheese and chopped cilantro. Season with salt and pepper to taste. A hot filling would melt the butter in your pastry prematurely, so patience here is important.</li><li class="MethodStepper"><h4 class="step-title">Step 7</h4>Preheat your oven to 200°C (390°F) and line two baking sheets with parchment paper. Remove one disc of dough from the refrigerator. On a lightly floured surface, roll it out to about 3mm (1/8 inch) thickness. Using a 10cm round cutter or a small bowl as a guide, cut out as many circles as possible.</li><li class="MethodStepper"><h4 class="step-title">Step 8</h4>Place about 1-2 tablespoons of filling onto one half of each circle, leaving a 1cm border around the edge. Be careful not to overfill, as this can cause the pastry to burst during baking. Brush the edges with beaten egg, then fold the empty half over to form a half-moon shape. Press the edges firmly to seal.</li><li class="MethodStepper"><h4 class="step-title">Step 9</h4>Crimp the edges with a fork to ensure a good seal, or fold the edge over itself to create a decorative rope pattern if you're feeling fancy. Transfer to the prepared baking sheets. Repeat the process with the remaining dough and filling, rerolling scraps as needed.</li><li class="MethodStepper"><h4 class="step-title">Step 10</h4>Cut a small vent in the top of each hand pie to allow steam to escape during baking. Brush the tops generously with beaten egg for a beautiful golden finish. Sprinkle with a tiny pinch of flaky salt if desired.</li><li class="MethodStepper"><h4 class="step-title">Step 11</h4>Bake for 20-25 minutes, rotating the pans halfway through, until the pies are deeply golden brown. The high initial heat creates steam that helps develop flaky layers, while the extended baking time ensures the bottom crust is fully cooked.</li><li class="MethodStepper"><h4 class="step-title">Step 12</h4>Allow the hand pies to cool on the baking sheets for 5 minutes before transferring to a wire rack. These can be served warm or at room temperature. They're absolutely delicious with a side of sour cream, guacamole, or salsa for dipping. Store any leftovers in an airtight container in the refrigerator for up to 3 days, or freeze for up to 2 months.</li></ol>

Nutrition Facts (per serving)

🍽️ Serving Size: 1 mocktail
🔥 Calories: 95 calories
🥑 Fat: 0 g
🧈 Saturated Fat: 0 g
🍞 Carbohydrates: 24 g
🍭 Sugar: 20 g
🍗 Protein: 0 g
🫀 Cholesterol: 0 mg
🧂 Sodium: 8 mg

Chef’s Notes

A few helpful details for making this recipe.

Can I freeze these hand pies for later use?

Yes, these taco hand pies freeze brilliantly! You can freeze them either before or after baking. If freezing unbaked, do so on a baking sheet until solid, then transfer to freezer bags. Bake from frozen, adding 5-7 minutes to the cooking time. Baked pies can be reheated in a 180°C oven for 10-15 minutes.

What are the best fillings for savoury hand pies besides beef?

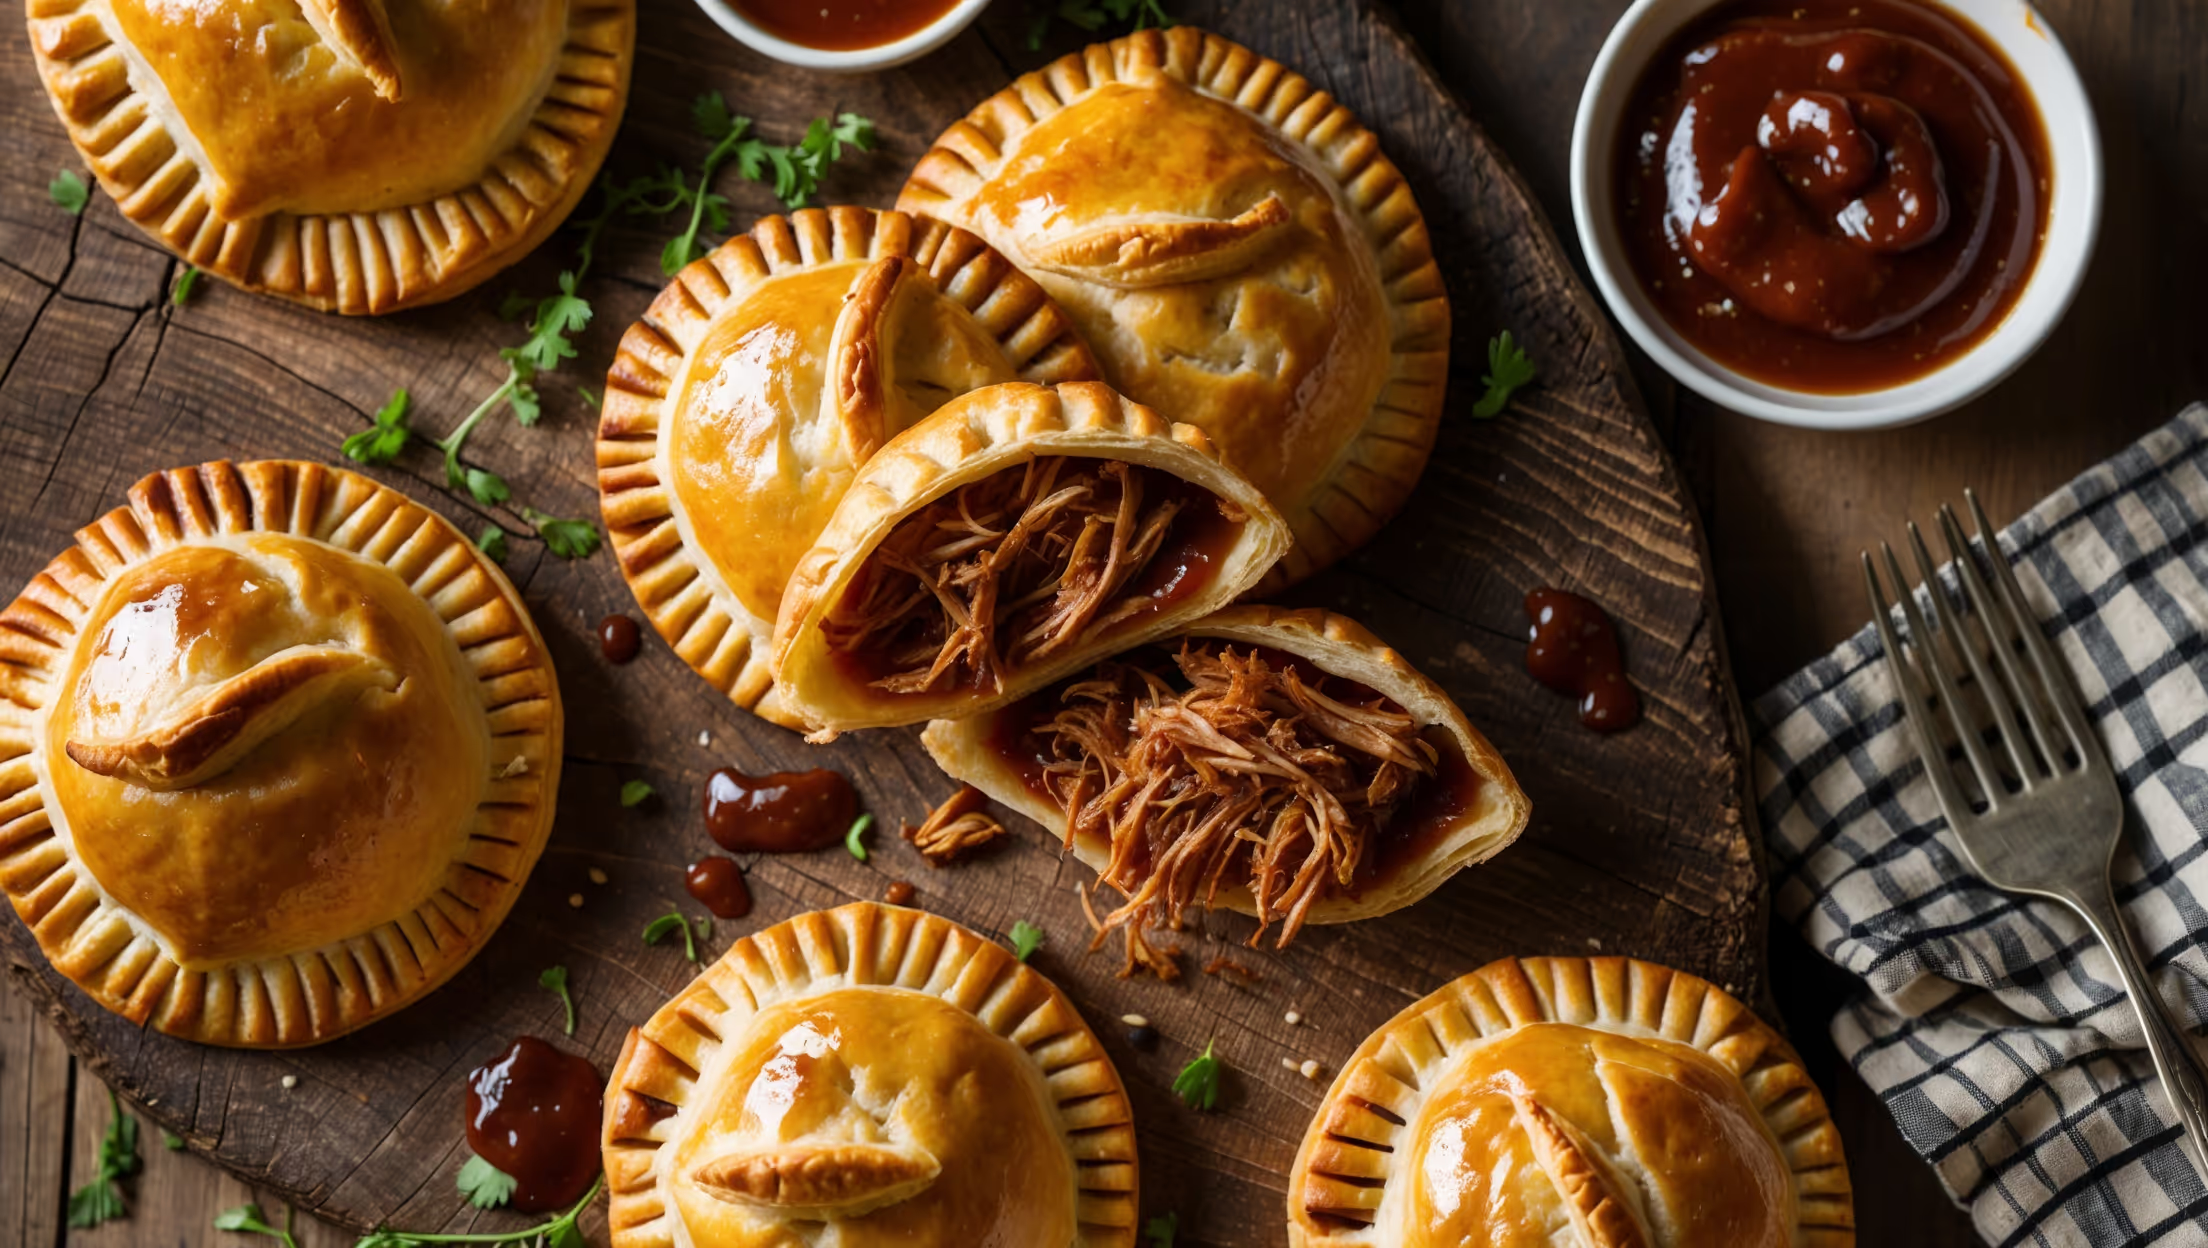
Excellent alternatives include shredded chicken with salsa verde, pulled pork with barbecue sauce, vegetarian options with beans and corn, or breakfast versions with scrambled eggs and chorizo. The key is ensuring fillings aren't too wet and are completely cooled before assembling to maintain the flaky pastry texture.

How do I prevent my hand pies from becoming soggy?

To prevent soggy hand pies, ensure your filling is completely cooled and not too wet before assembling. Cook off excess moisture in your meat filling, allow cheese to be added at room temperature, cut steam vents in the top of each pie, and bake at a high temperature to quickly set the pastry before moisture can affect it.

Want to try something else in ...

More recipes you might like

Keep exploring with more recipes from What's Baking.