Directions
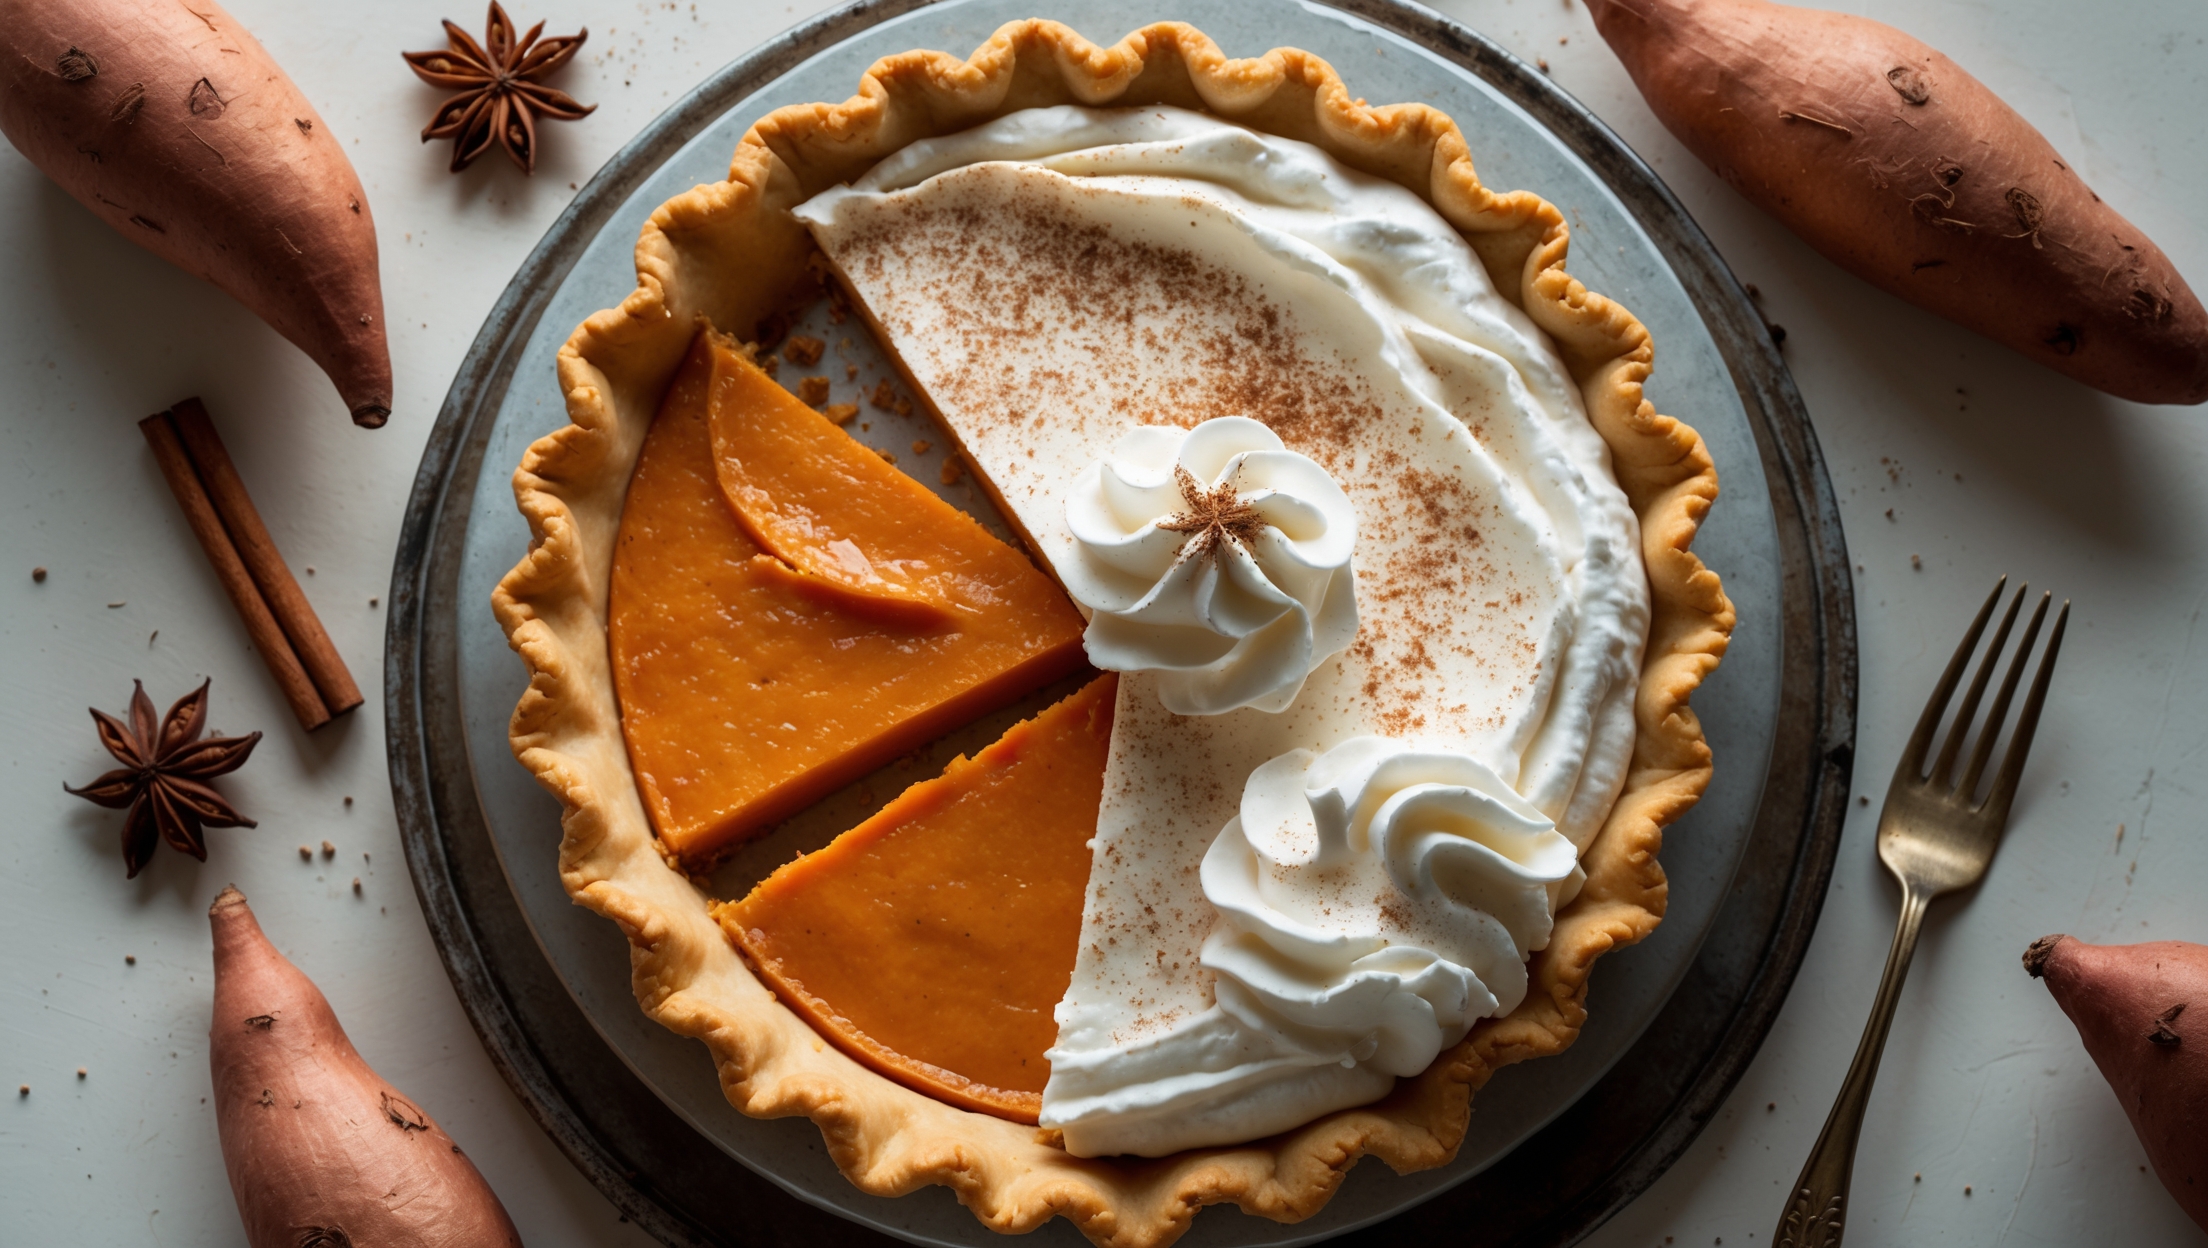
<ol class="no-list-style"><li class="MethodStepper"><h4 class="step-title">Step 1</h4>Begin with the pie crust. In a large bowl or food processor, combine 200g flour, 1/2 tsp salt, and 1 tbsp sugar. Add the cold cubed butter and pulse or use a pastry cutter until the mixture resembles coarse breadcrumbs with some pea-sized butter pieces still visible. These butter pockets will create flaky layers as they melt during baking.</li><li class="MethodStepper"><h4 class="step-title">Step 2</h4>Gradually add the ice-cold water, 1 tablespoon at a time, mixing until the dough just comes together when pinched (you may not need all the water). Cold ingredients and minimal handling prevent gluten development, ensuring a tender crust.</li><li class="MethodStepper"><h4 class="step-title">Step 3</h4>Shape the dough into a disc, wrap in plastic wrap, and refrigerate for at least 1 hour or up to 2 days. This rest period allows the gluten to relax and the butter to firm up, preventing crust shrinkage.</li><li class="MethodStepper"><h4 class="step-title">Step 4</h4>While the dough chills, prepare the sweet potatoes. Preheat your oven to 200°C. Wash and prick the sweet potatoes several times with a fork. Place directly on the oven rack and bake for 45-60 minutes until completely tender when pierced with a knife. The slow roasting develops their natural sweetness.</li><li class="MethodStepper"><h4 class="step-title">Step 5</h4>When the sweet potatoes are cool enough to handle, peel off the skins and place the flesh in a large bowl. Mash thoroughly until no lumps remain, then measure out 450g of mashed sweet potato for the filling.</li><li class="MethodStepper"><h4 class="step-title">Step 6</h4>Roll out the chilled dough on a lightly floured surface to a 30cm circle about 3mm thick. Transfer to your pie dish, gently pressing it into the corners without stretching the dough. Trim the excess, leaving a 2cm overhang, then fold and crimp the edges decoratively. Refrigerate for 30 minutes to prevent shrinkage.</li><li class="MethodStepper"><h4 class="step-title">Step 7</h4>Preheat the oven to 190°C. Line your chilled pie crust with parchment paper and fill with baking beans or weights. Blind bake for 15 minutes, then remove the weights and parchment and bake for an additional 5-7 minutes until the bottom is just beginning to color. This partial baking ensures the crust won't become soggy from the wet filling.</li><li class="MethodStepper"><h4 class="step-title">Step 8</h4>Reduce the oven temperature to 180°C. In a large bowl, whisk together the mashed sweet potato, heavy cream, milk, brown sugar, eggs, vanilla extract, and all the spices until completely smooth. For the silkiest texture, pass the mixture through a fine-mesh sieve to remove any fibrous bits.</li><li class="MethodStepper"><h4 class="step-title">Step 9</h4>Pour the sweet potato filling into the par-baked crust. If your crust edges are browning too quickly, cover them with aluminum foil or a pie shield. Bake for 45-50 minutes, until the filling is mostly set but still has a slight wobble in the center (like gelatin). The internal temperature should reach 74°C.</li><li class="MethodStepper"><h4 class="step-title">Step 10</h4>Allow the pie to cool completely on a wire rack for at least 2 hours or overnight. The residual heat will continue cooking the filling as it cools, and the texture will set properly.</li><li class="MethodStepper"><h4 class="step-title">Step 11</h4>When ready to serve, prepare the whipped cream topping. In a well-chilled bowl, combine the cold heavy cream, powdered sugar, vanilla extract, and cinnamon. Beat on medium speed until soft peaks form, then increase to high speed just until stiff peaks form. Be careful not to overwhip as the cream can quickly turn grainy.</li><li class="MethodStepper"><h4 class="step-title">Step 12</h4>Spread or pipe the whipped cream over the completely cooled pie. For an extra touch, dust lightly with additional cinnamon or garnish with candied pecans. Serve immediately or refrigerate until ready to enjoy. This pie tastes even better after the flavors have had time to meld, so making it a day ahead is perfect!</li></ol>