Sushi Rolls Recipe
Ingredients
Equipment
Directions
FAQs
Find answers to your most pressing questions about this delicious recipe right here.
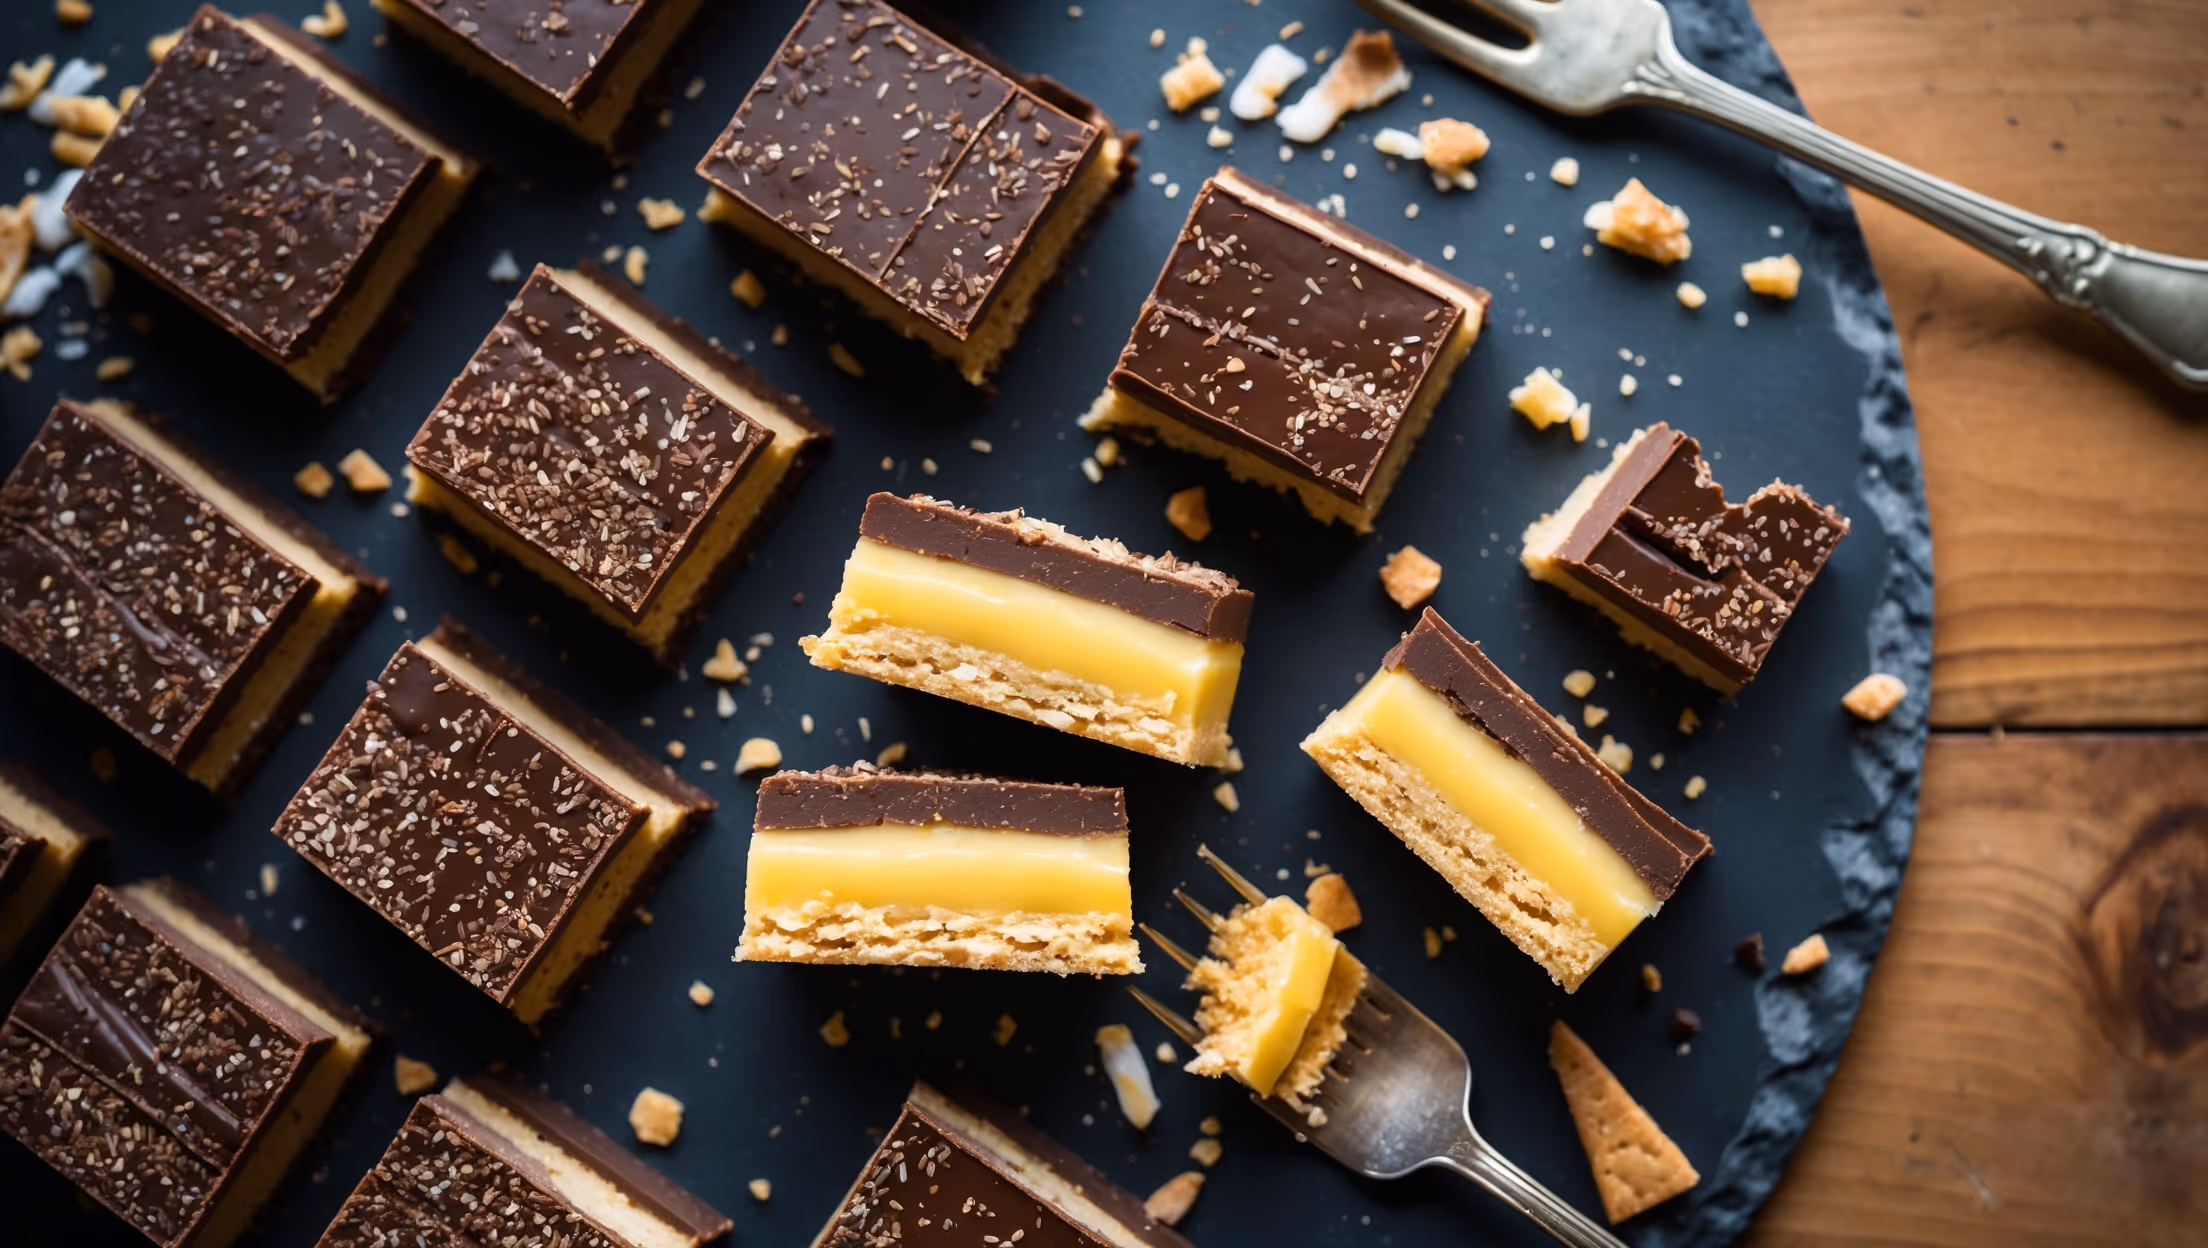
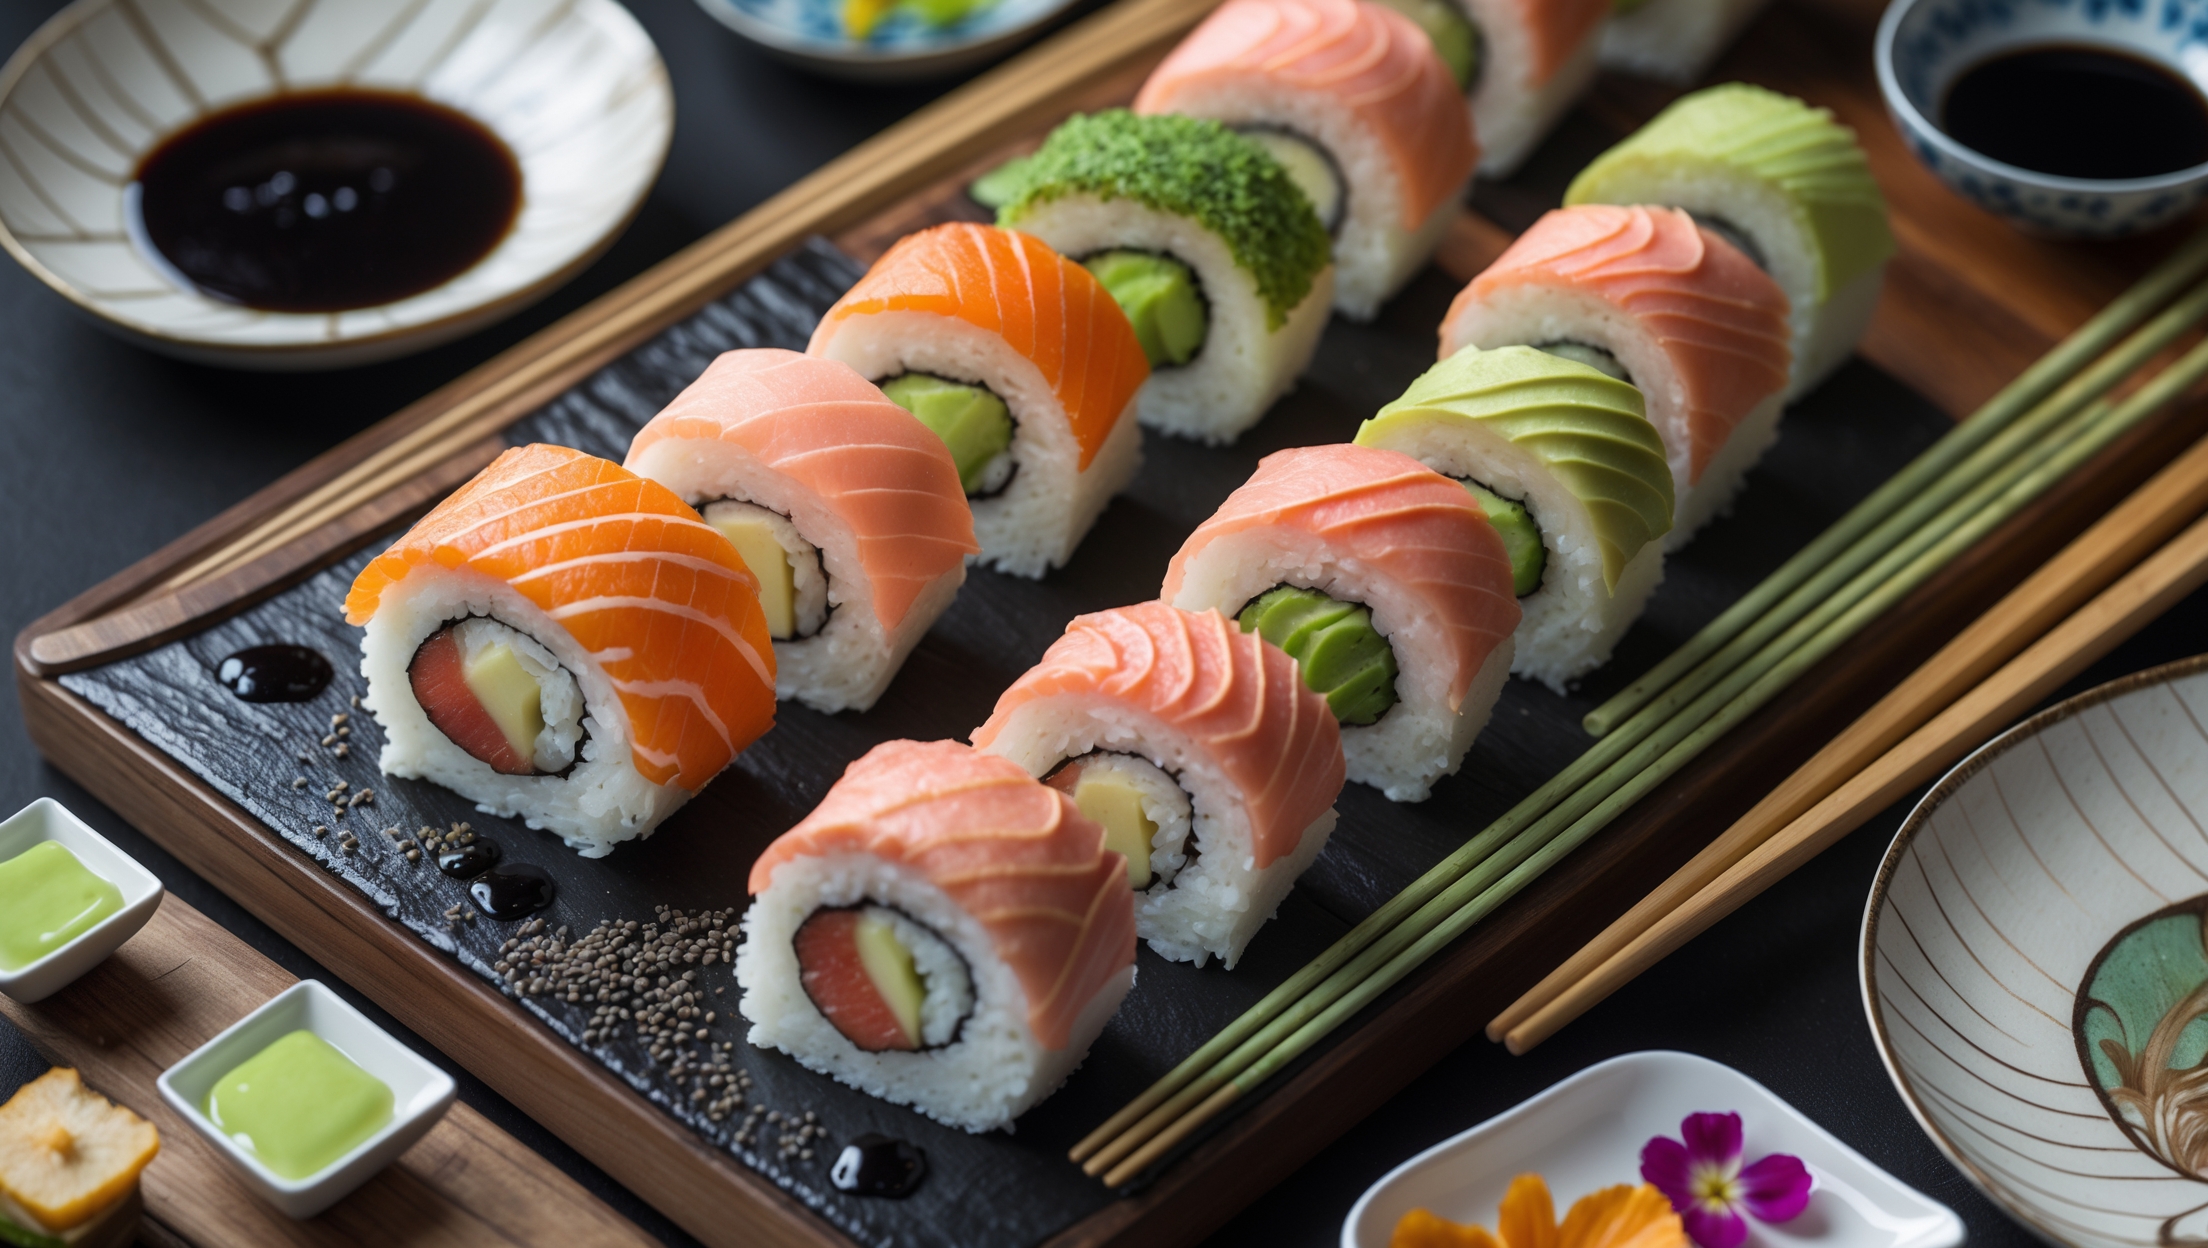
This sushi-inspired cake uses eggs, caster sugar, self-raising flour, mascarpone cheese, double cream, matcha powder for green "avocado" filling, red food coloring for "salmon" filling, poppy seeds to mimic sesame, and chocolate sauce as "soy sauce."
Learn how to cook Sushi Rolls Recipe by making a light sponge cake, carefully rolling it while warm to prevent cracking, then filling with cream cheese mixtures coloured to resemble sushi ingredients. The technique involves precise temperature control and gentle handling to achieve the perfect spiral effect when sliced.
Cracking usually occurs when the cake is rolled after cooling. Always roll your sponge while still warm from the oven, which keeps it flexible. Don't overbake as this dries the cake, and ensure you've beaten the eggs sufficiently to incorporate air, creating a more elastic texture.
Yes, you can prepare these cake rolls up to 48 hours in advance. After assembly, wrap tightly in cling film and refrigerate. For best presentation, slice just before serving. The rolled cake actually benefits from chilling time as flavours meld and the filling firms up.
Try chocolate sponge with peanut butter filling, citrus cake with berry cream, or coffee sponge with tiramisu filling. You can decorate with fruit leather "nori," coloured coconut "fish roe," or thin slices of mango for "egg." Match your serving accessories with chopsticks and bamboo mats.
International Dishes & Appetizers
Try following recommended recipes