Directions
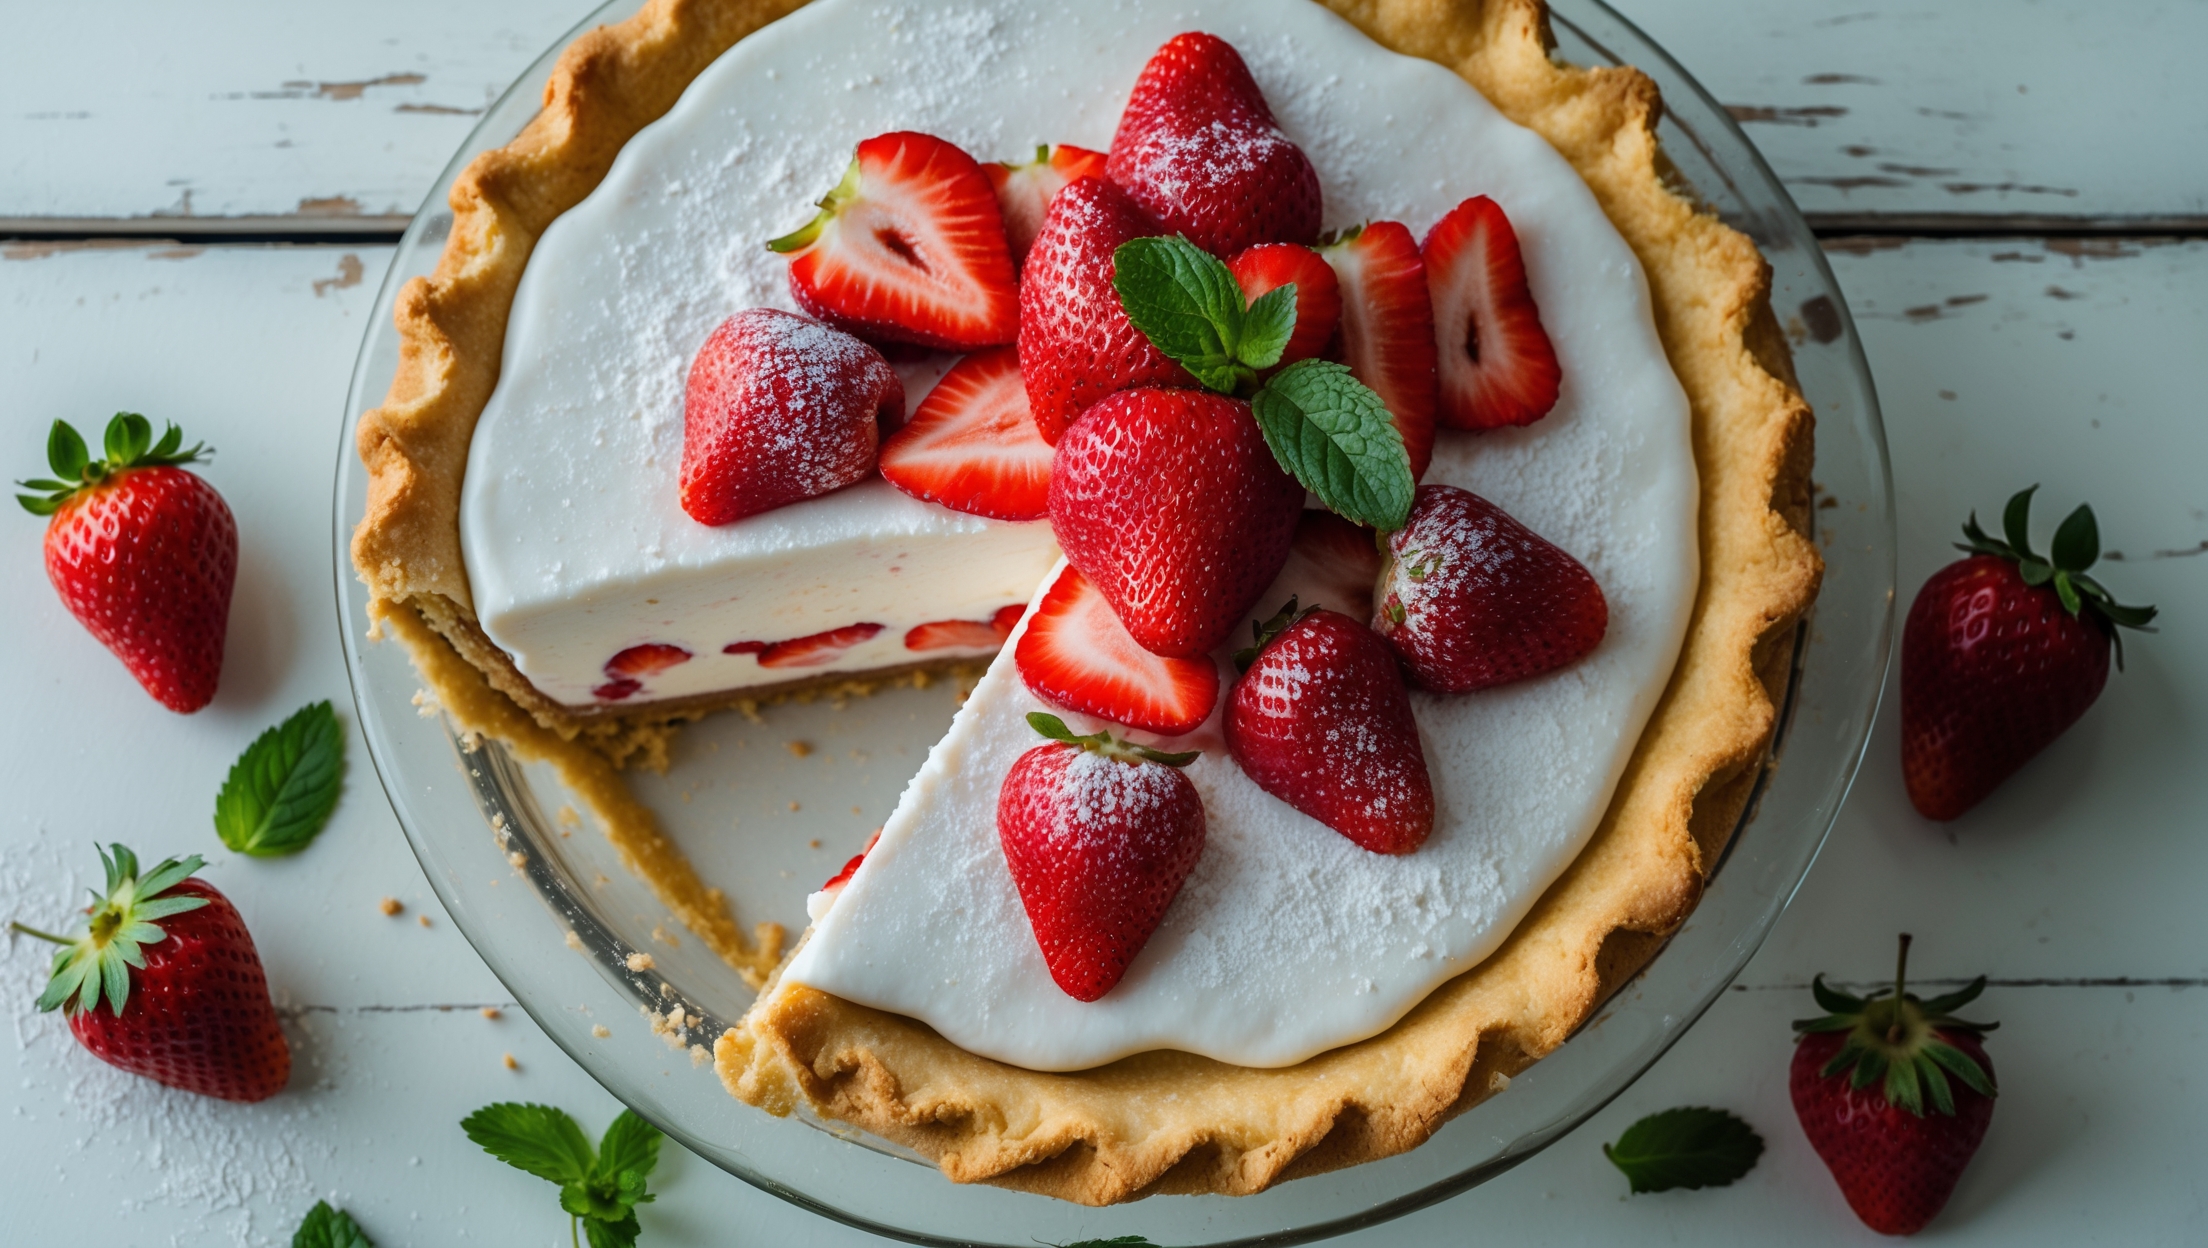
<ol class="no-list-style"><li class="MethodStepper"><h4 class="step-title">Step 1</h4>Preheat your oven to 180°C (350°F). Lightly grease a 23cm (9-inch) pie dish with butter and set aside.</li><li class="MethodStepper"><h4 class="step-title">Step 2</h4>For the shortbread crust, combine the flour, sugar, and salt in a food processor (or large bowl if mixing by hand). Add the cold cubed butter and vanilla extract, then pulse until the mixture resembles coarse breadcrumbs. The cold butter creates pockets of steam during baking, resulting in a tender, flaky crust.</li><li class="MethodStepper"><h4 class="step-title">Step 3</h4>Press the mixture firmly and evenly into the prepared pie dish, bringing it up the sides about 4cm. Use the bottom of a measuring cup to compact the crust - this prevents a crumbly texture after baking. Prick the bottom several times with a fork to prevent the crust from puffing up.</li><li class="MethodStepper"><h4 class="step-title">Step 4</h4>Line the crust with parchment paper and fill with pie weights or dried beans. Bake for 15 minutes, then carefully remove the weights and parchment and bake for an additional 10-12 minutes until the crust is golden. The perfect crust should be lightly browned but not dark. Allow to cool completely on a wire rack.</li><li class="MethodStepper"><h4 class="step-title">Step 5</h4>While the crust cools, prepare the cream filling. In a large mixing bowl, beat the softened cream cheese until smooth and fluffy. This step is crucial for preventing lumps in your final cream filling. Set aside.</li><li class="MethodStepper"><h4 class="step-title">Step 6</h4>In another bowl, whip the heavy cream with powdered sugar and vanilla until stiff peaks form. Be careful not to overwhip, which can cause the cream to become grainy. The powdered sugar contains cornstarch that helps stabilize the whipped cream, allowing it to hold its shape longer.</li><li class="MethodStepper"><h4 class="step-title">Step 7</h4>Gently fold the whipped cream into the cream cheese in three additions, using a large spatula and a light hand. Folding rather than stirring maintains the air incorporated during whipping, keeping your filling light and mousse-like.</li><li class="MethodStepper"><h4 class="step-title">Step 8</h4>Spread the cream filling evenly in the cooled crust, creating a slight dome in the center. Refrigerate for at least 1 hour to set while you prepare the strawberry topping.</li><li class="MethodStepper"><h4 class="step-title">Step 9</h4>For the strawberry topping, place half the sliced strawberries in a bowl with the sugar and lemon juice. The acid in the lemon juice helps draw out the strawberry juices while the sugar creates a glossy syrup. Let stand for 15 minutes until juicy.</li><li class="MethodStepper"><h4 class="step-title">Step 10</h4>In a small saucepan, warm the strawberry jam until it becomes liquid. Fold this into the macerated strawberries along with the remaining fresh strawberry slices. This combination gives you both glazed berries and fresh berries for the best texture and flavor contrast.</li><li class="MethodStepper"><h4 class="step-title">Step 11</h4>Remove the pie from the refrigerator and arrange the strawberry topping over the cream filling, starting from the outside and working your way in for a professional appearance. Be gentle to avoid pressing into the cream layer.</li><li class="MethodStepper"><h4 class="step-title">Step 12</h4>Refrigerate the completed pie for at least 2 hours, or ideally overnight, to allow the flavors to meld and the pie to set completely. The patience will be rewarded with clean, beautiful slices!</li><li class="MethodStepper"><h4 class="step-title">Step 13</h4>Just before serving, garnish with fresh mint leaves if desired. For the cleanest slices, dip your knife in hot water and wipe dry between cuts. Serve chilled within 24 hours for the best texture and flavor. The pie is at its most delicious when enjoyed on the same day it's completed.</li></ol>