Directions
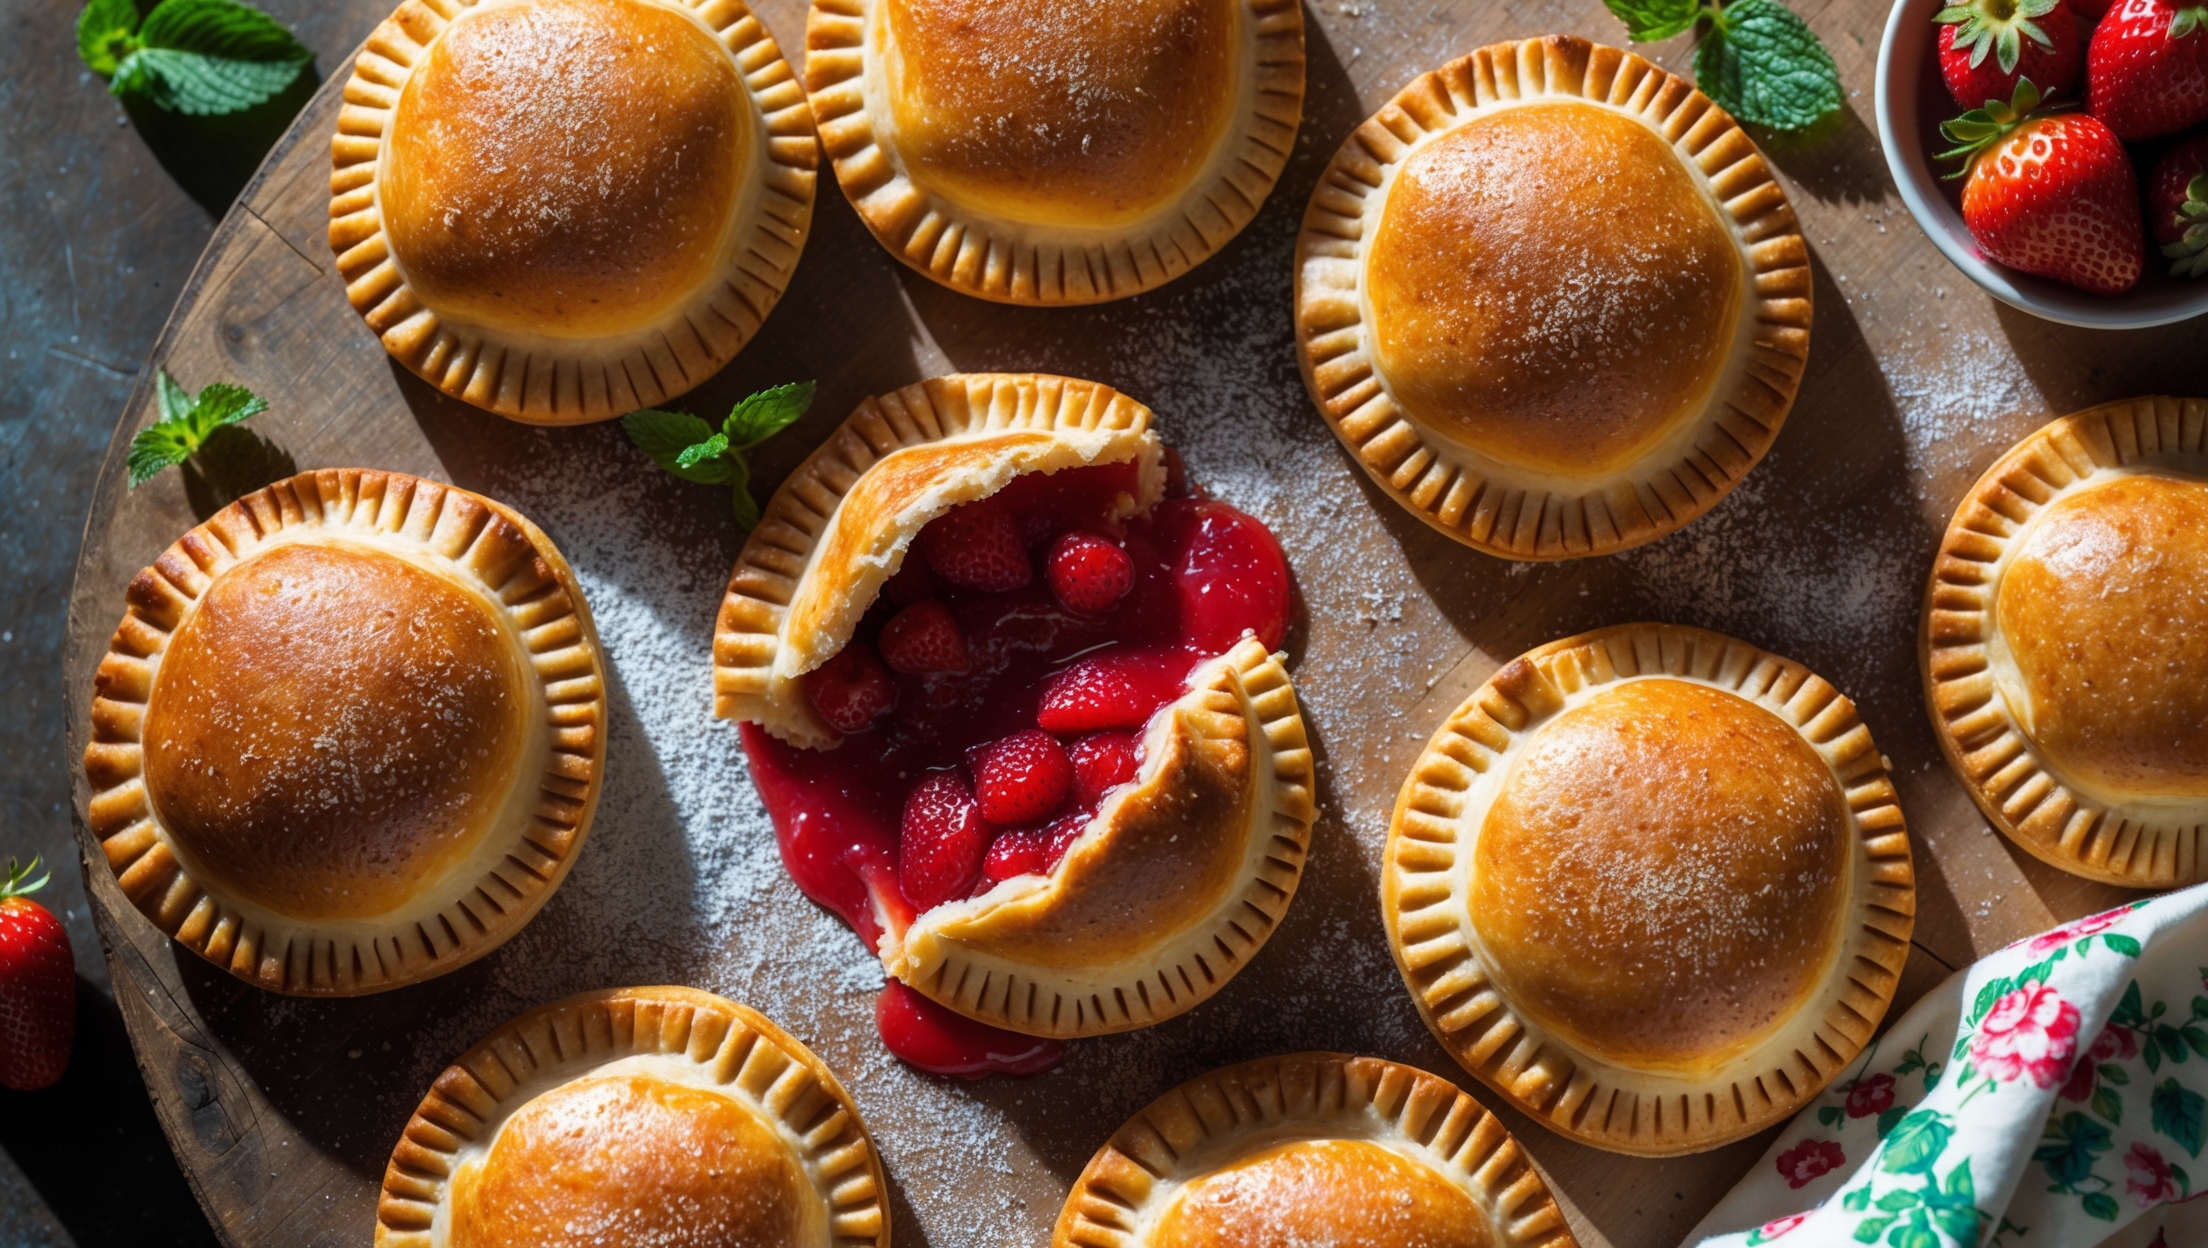
<ol class="no-list-style"><li class="MethodStepper"><h4 class="step-title">Step 1</h4>For the pastry, combine the flour, sugar, and salt in a large bowl or food processor. Add the cold cubed butter and pulse or use a pastry cutter to incorporate until the mixture resembles coarse crumbs with some pea-sized pieces of butter still visible. These butter pockets will create steam during baking, resulting in flaky layers.</li><li class="MethodStepper"><h4 class="step-title">Step 2</h4>Mix the ice water and lemon juice together. The acidity helps inhibit gluten development for a more tender crust. Gradually add the liquid to the flour mixture, 1 tablespoon at a time, mixing gently until the dough just comes together when pinched. You may not need all the water.</li><li class="MethodStepper"><h4 class="step-title">Step 3</h4>Turn the dough onto a lightly floured surface and gather into a ball. Divide in half, shape each portion into a flat disc, and wrap tightly in plastic wrap. Chill in the refrigerator for at least 1 hour or up to 2 days. Cold dough is crucial for flaky pastry as it prevents the butter from melting before baking.</li><li class="MethodStepper"><h4 class="step-title">Step 4</h4>While the dough chills, prepare the filling. In a medium saucepan, combine the diced strawberries, sugar, cornstarch, lemon juice, vanilla, and salt. Cook over medium heat, stirring frequently, until the mixture comes to a simmer and thickens, about 5-7 minutes. The cornstarch activates with heat to thicken the juices, preventing soggy pies.</li><li class="MethodStepper"><h4 class="step-title">Step 5</h4>Transfer the strawberry filling to a bowl and refrigerate until completely cooled, at least 30 minutes. Cold filling helps maintain the integrity of your pastry during assembly.</li><li class="MethodStepper"><h4 class="step-title">Step 6</h4>Preheat your oven to 190°C (375°F) and line two baking sheets with parchment paper. Working with one disc at a time, roll the chilled dough on a lightly floured surface to about 3mm (1/8 inch) thickness. Keep the second disc refrigerated while working with the first.</li><li class="MethodStepper"><h4 class="step-title">Step 7</h4>Using your round cutter or template, cut as many circles as possible from the dough. Re-roll scraps once to cut additional circles. You should have approximately 16 circles total (8 from each dough disc).</li><li class="MethodStepper"><h4 class="step-title">Step 8</h4>Place 8 dough circles on your prepared baking sheets. Spoon about 1-2 tablespoons of cooled filling into the center of each, leaving a 1cm (1/2 inch) border around the edges. Avoid overfilling, which can cause the pies to leak during baking.</li><li class="MethodStepper"><h4 class="step-title">Step 9</h4>Lightly brush the borders with beaten egg, then top with the remaining dough circles. Press the edges firmly to seal, then crimp with a fork. The egg acts as glue to help seal your pies.</li><li class="MethodStepper"><h4 class="step-title">Step 10</h4>Cut a small vent in the top of each pie to allow steam to escape. Brush the tops with beaten egg and sprinkle generously with coarse sugar for a beautiful sparkle and crunch.</li><li class="MethodStepper"><h4 class="step-title">Step 11</h4>Refrigerate the assembled pies for 15 minutes before baking. This final chill helps set the structure and allows the gluten to relax, preventing the pastry from shrinking.</li><li class="MethodStepper"><h4 class="step-title">Step 12</h4>Bake in the preheated oven for 22-25 minutes, until the pies are golden brown and the filling is bubbling through the vents. If the edges are browning too quickly, cover them loosely with foil.</li><li class="MethodStepper"><h4 class="step-title">Step 13</h4>Allow the pies to cool on the baking sheets for 5 minutes, then transfer to a wire rack to cool completely. As they cool, the filling will set to the perfect consistency. Enjoy warm or at room temperature—these hand pies will stay delicious for 2-3 days stored in an airtight container.</li></ol>