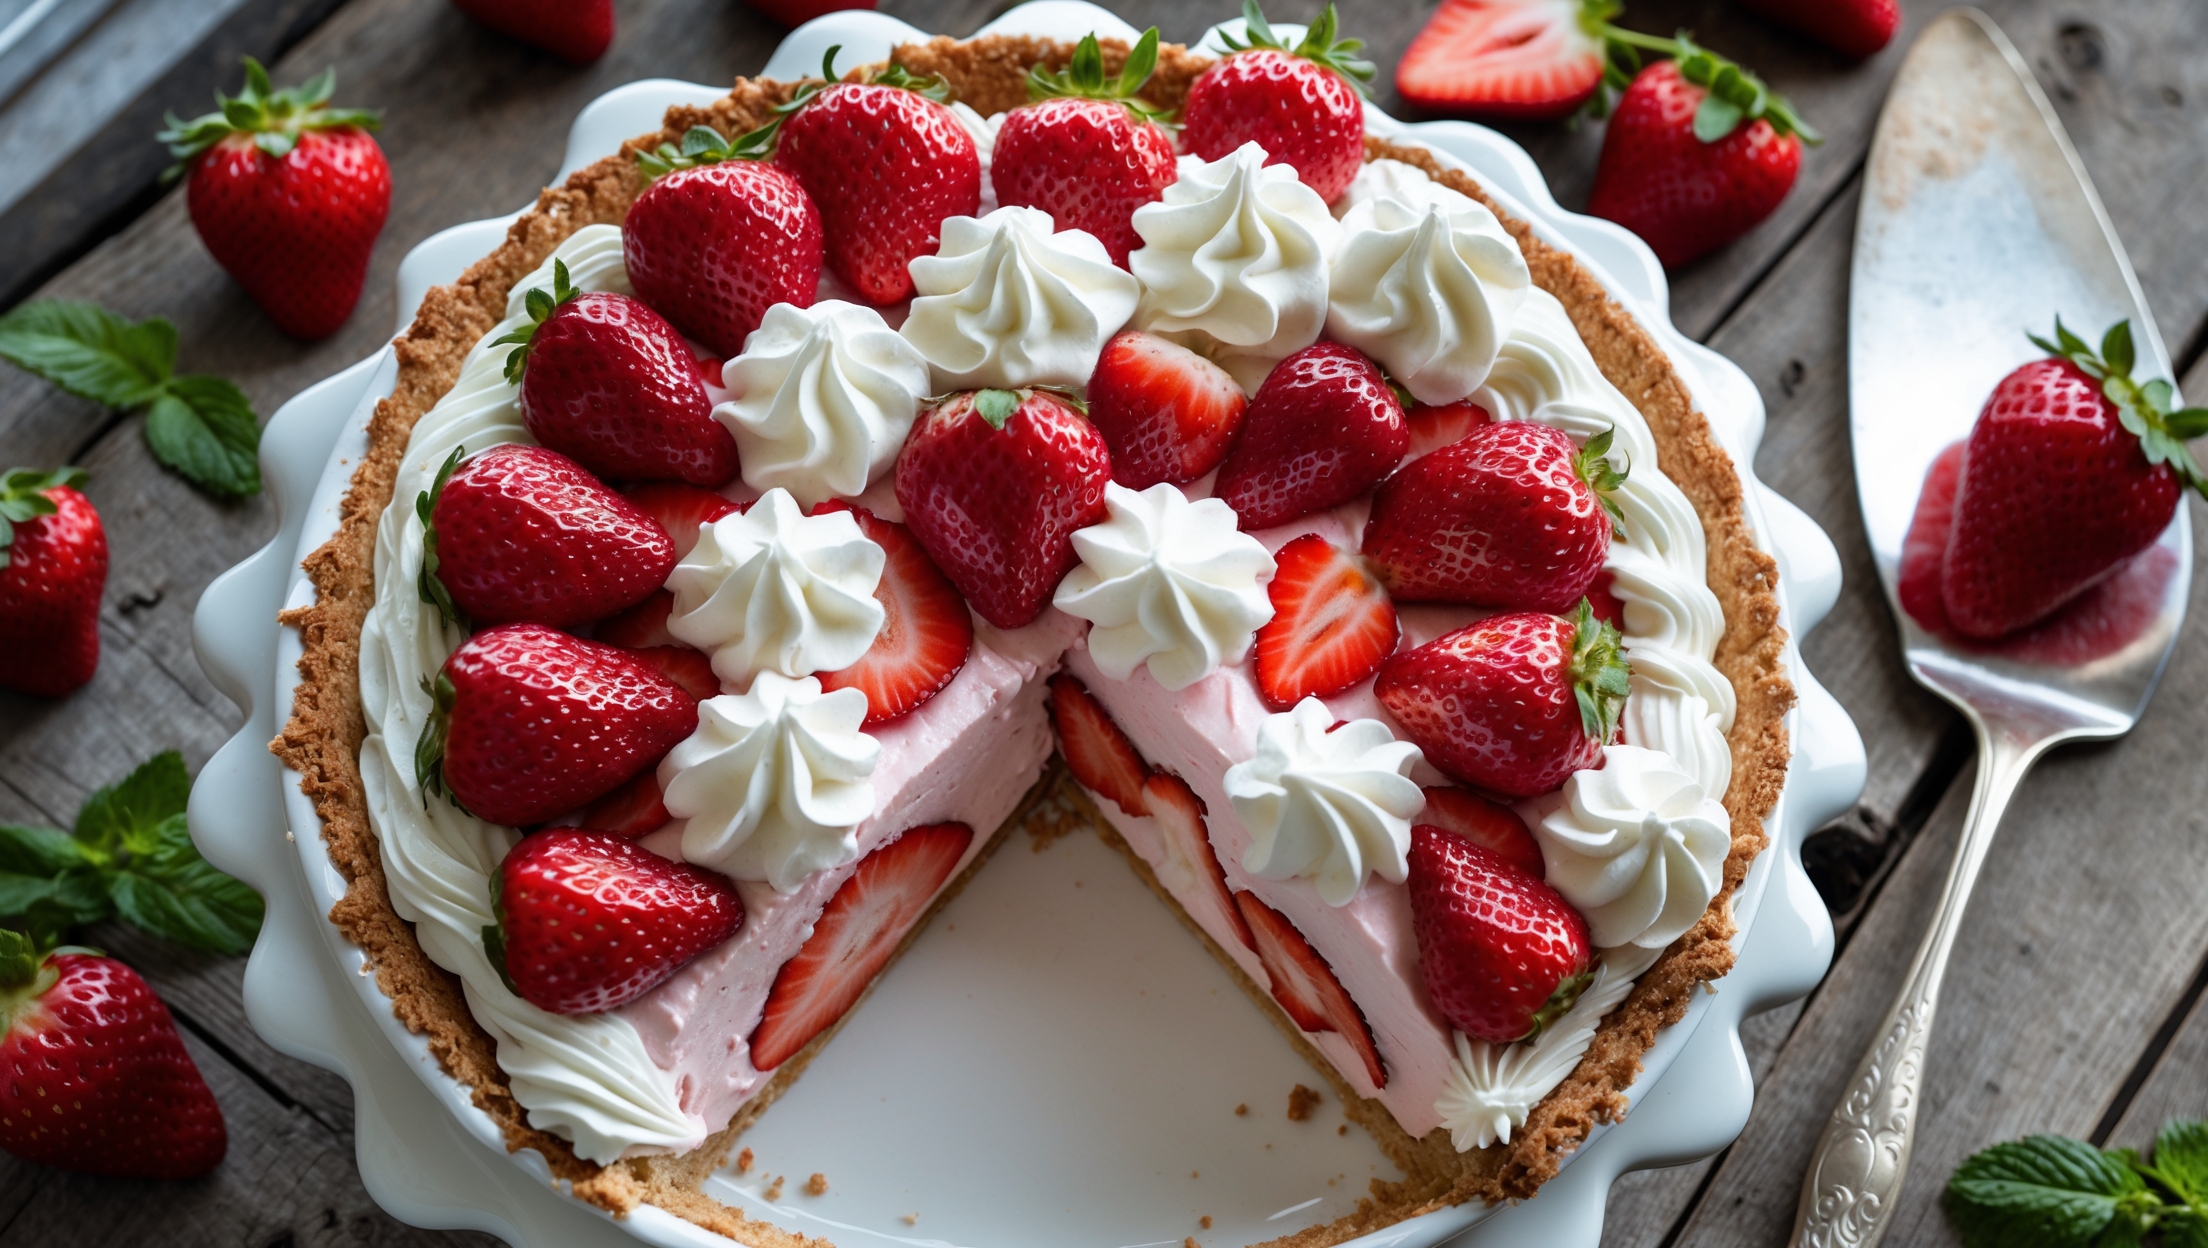
Directions
<ol class="no-list-style"><li class="MethodStepper"><h4 class="step-title">Step 1</h4>Begin by making the pie crust. In a food processor (or large bowl), combine the flour, sugar, and salt with a few pulses. Add the cold cubed butter and pulse until the mixture resembles coarse crumbs with some pea-sized pieces remaining. The cold butter creates steam pockets during baking, resulting in a flaky crust.</li><li class="MethodStepper"><h4 class="step-title">Step 2</h4>Gradually add the ice-cold water, one tablespoon at a time, pulsing briefly between additions, just until the dough begins to come together. You might not need all the water - stop when the dough holds together when pinched. Cold water prevents the butter from melting, which is crucial for a flaky texture.</li><li class="MethodStepper"><h4 class="step-title">Step 3</h4>Turn the dough onto a lightly floured surface and gently form into a disc without overworking it. Wrap in plastic and refrigerate for at least 1 hour or up to 2 days. This resting period allows the gluten to relax and the moisture to distribute evenly.</li><li class="MethodStepper"><h4 class="step-title">Step 4</h4>Preheat your oven to 190°C (375°F). Roll the chilled dough on a floured surface into a circle about 30cm (12 inches) in diameter and 3mm (1/8 inch) thick. Carefully transfer to your pie dish, gently pressing it into the corners without stretching the dough. Trim the excess, leaving a 2cm overhang, then fold under and crimp decoratively.</li><li class="MethodStepper"><h4 class="step-title">Step 5</h4>Line the crust with parchment paper and fill with pie weights or dried beans. Blind bake for 15 minutes, then remove the weights and parchment and bake for another 8-10 minutes until lightly golden. Cool completely on a wire rack. Blind baking ensures your crust won't become soggy once filled.</li><li class="MethodStepper"><h4 class="step-title">Step 6</h4>While the crust cools, prepare the strawberry glaze. Hull and quarter about 200g of the strawberries (the less perfect ones) and place in a saucepan with 75g sugar. Cook over medium heat until the strawberries break down and release their juices, about 5 minutes.</li><li class="MethodStepper"><h4 class="step-title">Step 7</h4>In a small bowl, mix the cornstarch with water until smooth, then stir into the strawberry mixture. Add lemon juice and bring to a boil, stirring constantly until thickened and clear, about 2 minutes. The acid in the lemon juice brightens the strawberry flavor and helps set the glaze.</li><li class="MethodStepper"><h4 class="step-title">Step 8</h4>Strain the mixture through a fine-mesh sieve into a bowl, pressing with a spatula to extract all the juice. Discard the solids and let the glaze cool to room temperature, stirring occasionally to prevent a skin from forming.</li><li class="MethodStepper"><h4 class="step-title">Step 9</h4>For the cream filling, beat the heavy cream with the remaining 25g sugar and vanilla extract until firm peaks form. If using cream cheese for a sturdier filling, beat it separately until smooth, then gently fold into the whipped cream until fully incorporated.</li><li class="MethodStepper"><h4 class="step-title">Step 10</h4>Spread the cream mixture evenly into the cooled pie crust, creating a slight well in the center. Refrigerate for 30 minutes to set the cream layer.</li><li class="MethodStepper"><h4 class="step-title">Step 11</h4>Hull and slice the remaining 300g strawberries. Arrange them decoratively over the cream layer, starting from the outside and working inward. For the most beautiful presentation, choose strawberries of similar size and slice them to an even thickness.</li><li class="MethodStepper"><h4 class="step-title">Step 12</h4>Using a pastry brush, gently coat the arranged strawberries with the cooled glaze. The glaze not only adds shine but preserves the berries and prevents them from releasing juice into the cream.</li><li class="MethodStepper"><h4 class="step-title">Step 13</h4>Refrigerate the pie for at least 2 hours or up to 6 hours before serving. This chilling time allows the flavors to meld and the pie to set properly for clean slicing.</li><li class="MethodStepper"><h4 class="step-title">Step 14</h4>Just before serving, garnish with fresh mint leaves if desired. For the cleanest slices, dip your knife in hot water and wipe dry between cuts. This pie is best enjoyed the day it's assembled, but will keep refrigerated for up to 2 days.</li></ol>