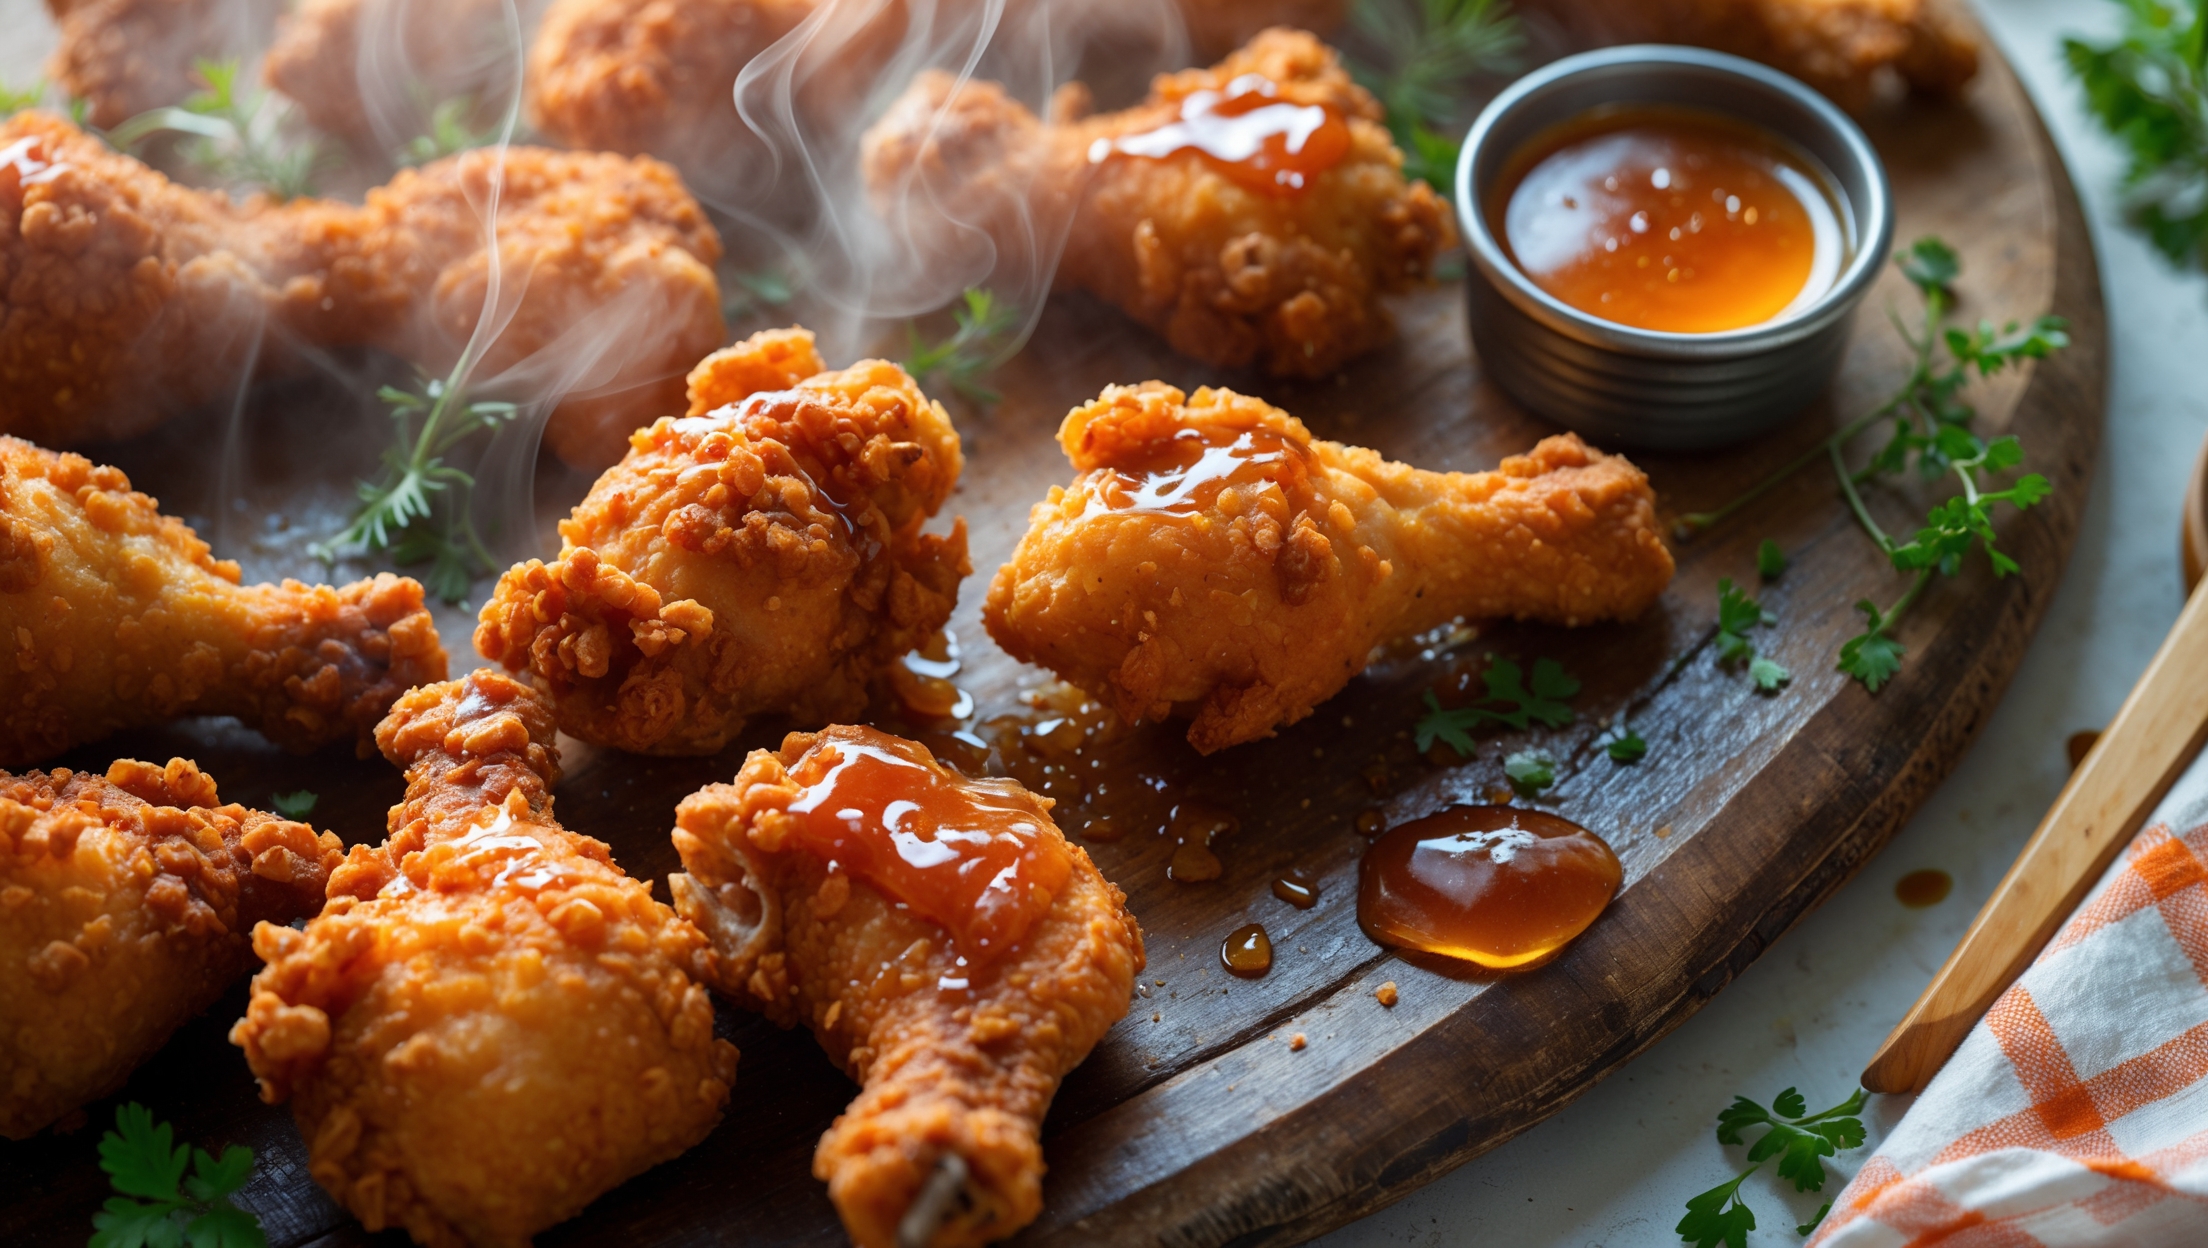
Directions
<ol class="no-list-style"><li class="MethodStepper"><h4 class="step-title">Step 1</h4>In a large bowl, mix the buttermilk with 2 tablespoons of hot sauce and 1 teaspoon of salt. Add the chicken pieces, ensuring they're fully submerged. Cover and refrigerate for at least 4 hours or overnight. This buttermilk marinade not only adds flavor but tenderizes the chicken through its lactic acid content.</li><li class="MethodStepper"><h4 class="step-title">Step 2</h4>When ready to cook, remove the chicken from the refrigerator and let it sit at room temperature for 30 minutes. This allows for more even cooking. Meanwhile, prepare your dredging station by combining the flour, cornstarch, garlic powder, onion powder, paprika, black pepper, remaining salt, and cayenne pepper in a large shallow dish. Mix thoroughly to ensure even distribution of spices.</li><li class="MethodStepper"><h4 class="step-title">Step 3</h4>Set up your frying station: Place a wire rack over a baking sheet near your stove. Fill a heavy-bottomed pot or Dutch oven with vegetable oil to a depth of about 5cm, and heat it to 175°C. The heavy pot helps maintain a consistent temperature, crucial for perfectly crispy chicken.</li><li class="MethodStepper"><h4 class="step-title">Step 4</h4>Remove chicken pieces from the buttermilk mixture, allowing excess to drip off. Dredge each piece in the flour mixture, pressing firmly to create a good coating. Shake off excess, then dip back into the buttermilk briefly, and dredge again in the flour mixture. This double-dredging technique creates those wonderful craggy, crispy bits that make fried chicken irresistible.</li><li class="MethodStepper"><h4 class="step-title">Step 5</h4>Carefully lower 3-4 pieces of chicken into the hot oil, being careful not to overcrowd the pot (which would lower the oil temperature). Fry for 12-15 minutes, turning occasionally, until deeply golden brown and the internal temperature reaches 75°C for dark meat or 70°C for white meat. The chicken should sizzle steadily but not violently in the oil.</li><li class="MethodStepper"><h4 class="step-title">Step 6</h4>Transfer the cooked chicken to the wire rack and continue with remaining pieces. Allow the oil to return to temperature between batches. The wire rack allows excess oil to drip away while maintaining the coating's crispness.</li><li class="MethodStepper"><h4 class="step-title">Step 7</h4>While the last batch of chicken is frying, prepare the spicy honey butter. Melt the butter in a small saucepan over medium-low heat. Once melted, stir in the honey, hot sauce, cayenne pepper, and salt until completely combined and slightly thickened, about 2-3 minutes. Keep warm until all chicken is fried.</li><li class="MethodStepper"><h4 class="step-title">Step 8</h4>Once all chicken is fried, drizzle generously with the warm spicy honey butter or brush it on for more even coverage. For maximum flavor impact, brush once, let it absorb for a minute, then brush again with the remaining sauce. The hot chicken will help the butter sauce cling and partially absorb into the crispy coating.</li><li class="MethodStepper"><h4 class="step-title">Step 9</h4>Serve immediately while still warm and crispy. The contrast between the crunchy exterior, juicy meat, and the sweet-spicy buttery glaze is at its best when fresh. If desired, serve with extra honey butter sauce on the side for dipping.</li></ol>