Directions
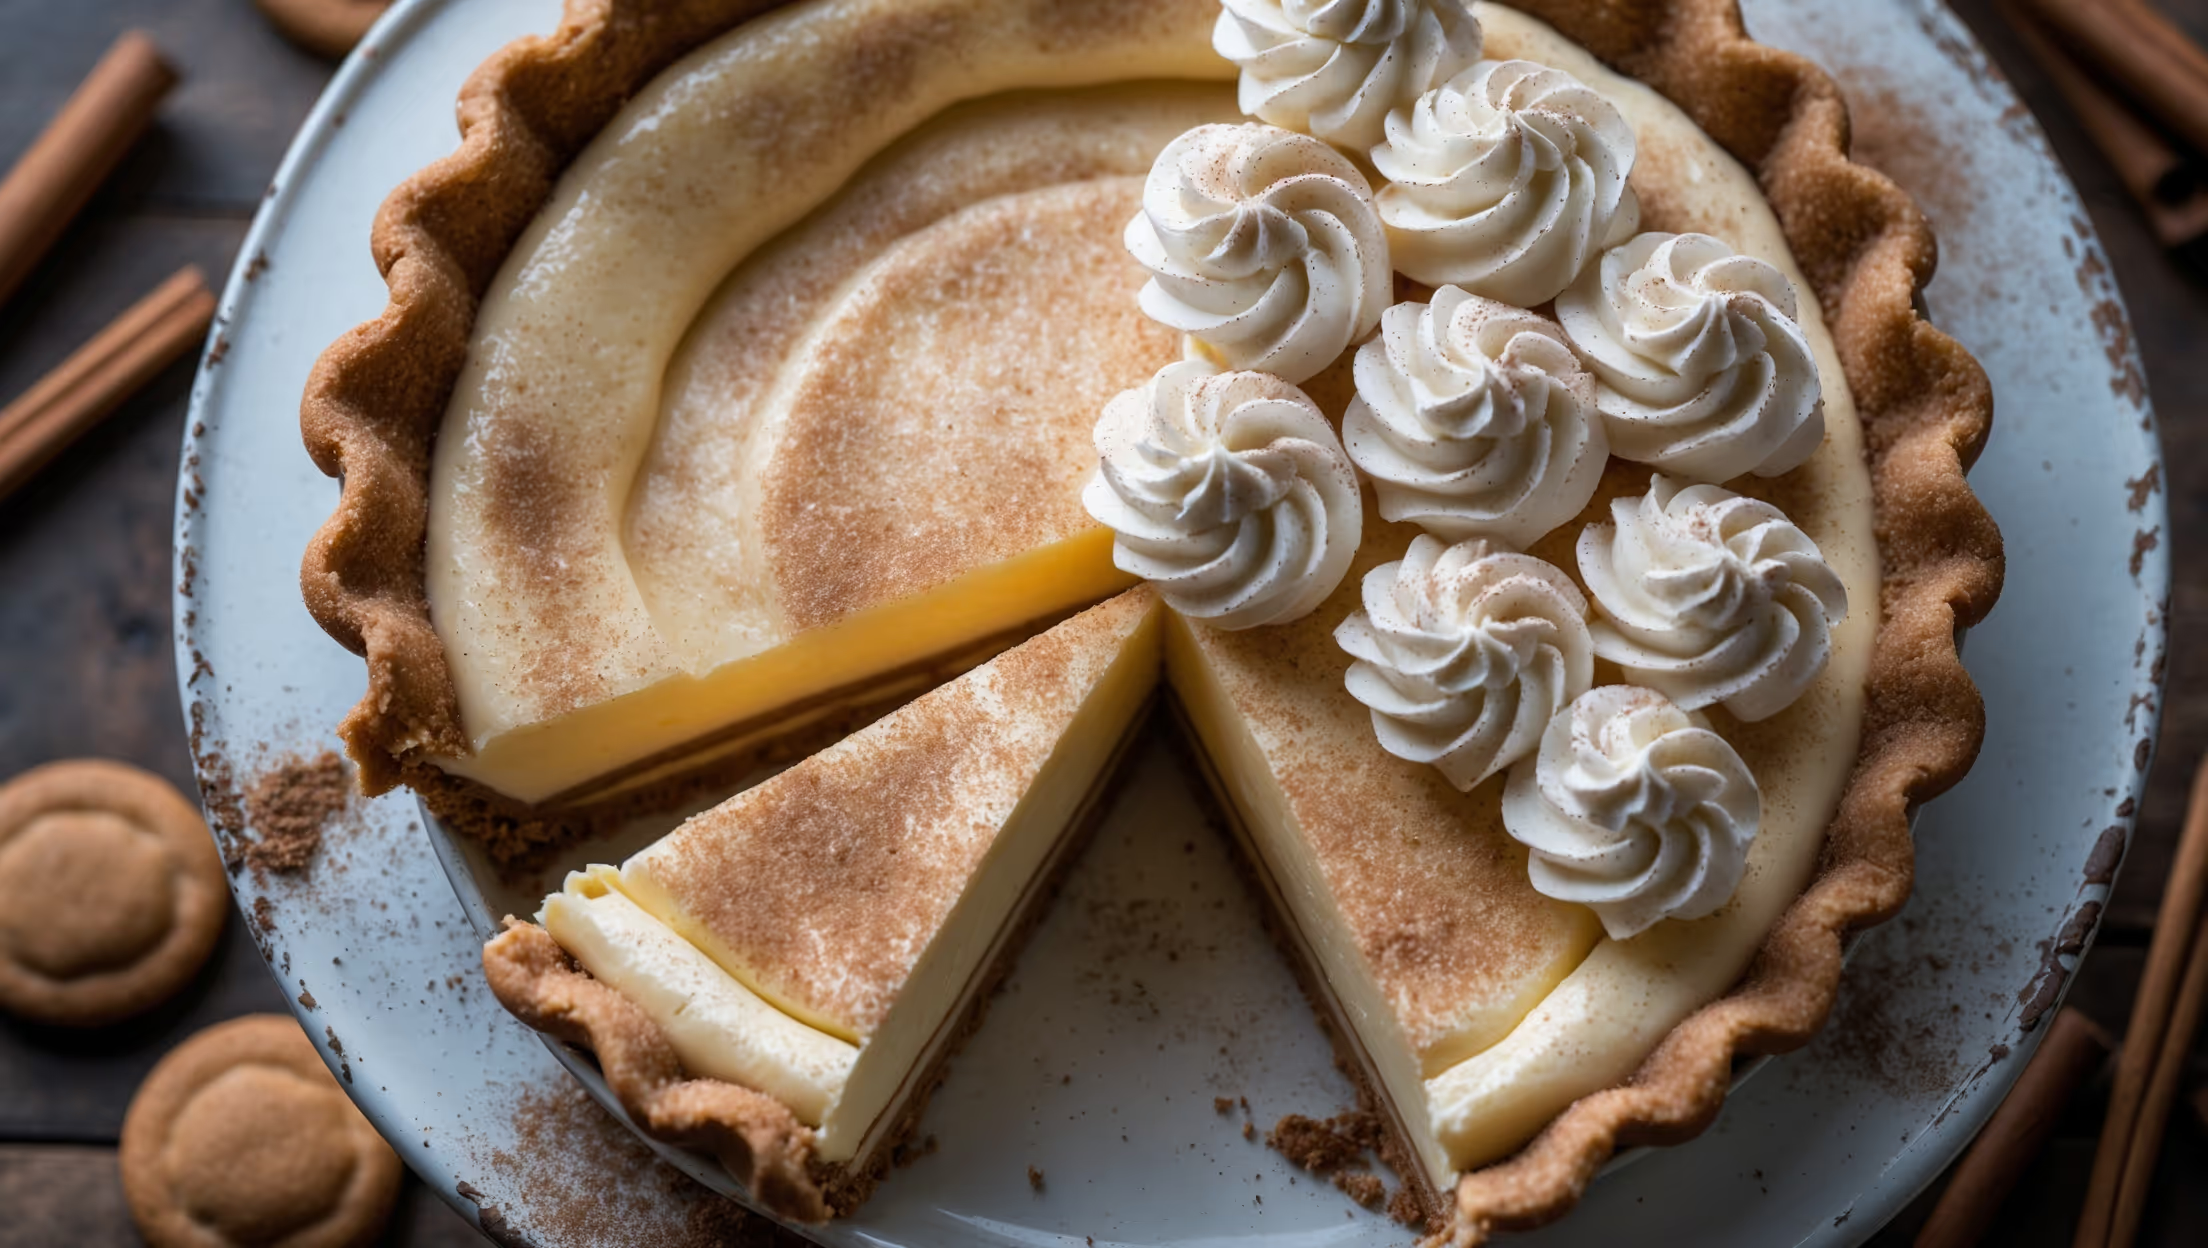
<ol class="no-list-style"><li class="MethodStepper"><h4 class="step-title">Step 1</h4>Preheat your oven to 180°C. In a food processor, pulse the digestive biscuits until they form fine crumbs. If you don't have a food processor, place the biscuits in a sealed plastic bag and crush them with a rolling pin. The finer the crumbs, the more cohesive your crust will be.</li><li class="MethodStepper"><h4 class="step-title">Step 2</h4>Transfer the crumbs to a medium bowl and stir in the sugar and cinnamon until well combined. Pour in the melted butter and mix thoroughly until the mixture resembles wet sand. The butter acts as the binder, so ensure every crumb is coated.</li><li class="MethodStepper"><h4 class="step-title">Step 3</h4>Press the mixture firmly and evenly into the bottom and up the sides of your pie dish. Use the bottom of a measuring cup to compact the crust – this prevents a crumbly crust later. Bake for 8-10 minutes until fragrant and slightly darkened. The pre-baking step ensures your crust won't become soggy once filled. Cool completely on a wire rack.</li><li class="MethodStepper"><h4 class="step-title">Step 4</h4>For the filling, pour the milk into a medium saucepan and add the vanilla extract. Heat over medium heat until steaming but not boiling. Meanwhile, in a heatproof bowl, whisk together the sugar, cornstarch, salt, egg yolks, and cinnamon until smooth. This is your thickening base – the cornstarch will activate with heat to thicken the custard.</li><li class="MethodStepper"><h4 class="step-title">Step 5</h4>When the milk is hot, gradually whisk about 120ml of it into the egg mixture to temper the eggs (this prevents them from scrambling). Then slowly pour the warmed egg mixture back into the saucepan, whisking constantly. This technique is crucial for a smooth custard.</li><li class="MethodStepper"><h4 class="step-title">Step 6</h4>Cook the mixture over medium heat, whisking continuously, until it thickens and begins to bubble, about 5-7 minutes. Once it starts to bubble, continue cooking for 2 more minutes to ensure the cornstarch is fully activated. The custard should coat the back of a spoon and if you run your finger through it, the line should hold.</li><li class="MethodStepper"><h4 class="step-title">Step 7</h4>Remove from heat and whisk in the butter pieces until fully incorporated and the mixture is smooth and glossy. The butter enriches the custard and gives it a silky mouthfeel. Pass the custard through a sieve into a clean bowl to remove any lumps or bits of cooked egg.</li><li class="MethodStepper"><h4 class="step-title">Step 8</h4>Cover the custard with plastic wrap, pressing it directly onto the surface to prevent a skin from forming. Let cool for about 15 minutes, then pour into the cooled crust. Refrigerate for at least 4 hours or overnight until completely set. Patience here results in cleaner slices later.</li><li class="MethodStepper"><h4 class="step-title">Step 9</h4>For the topping, in a chilled bowl, whip the heavy cream, icing sugar, and vanilla extract until stiff peaks form. Keep a close eye on it – overwhipped cream can become grainy and butter-like. The cream should hold its shape but still look smooth and creamy.</li><li class="MethodStepper"><h4 class="step-title">Step 10</h4>Spread or pipe the whipped cream over the chilled filling. For an extra touch, use a piping bag fitted with a star tip to create decorative swirls around the edge of the pie.</li><li class="MethodStepper"><h4 class="step-title">Step 11</h4>Mix the cinnamon and sugar for the garnish and sprinkle it generously over the whipped cream. This final dusting not only adds flavor but visually signals the snickerdoodle character of the pie.</li><li class="MethodStepper"><h4 class="step-title">Step 12</h4>Refrigerate the pie until ready to serve. For the cleanest slices, dip your knife in hot water and wipe it dry between cuts. The pie is best enjoyed within 2 days but will keep refrigerated for up to 4 days. The contrast between the spiced crust, creamy filling, and light topping creates a dessert that truly captures the essence of a snickerdoodle cookie in each luxurious bite.</li></ol>