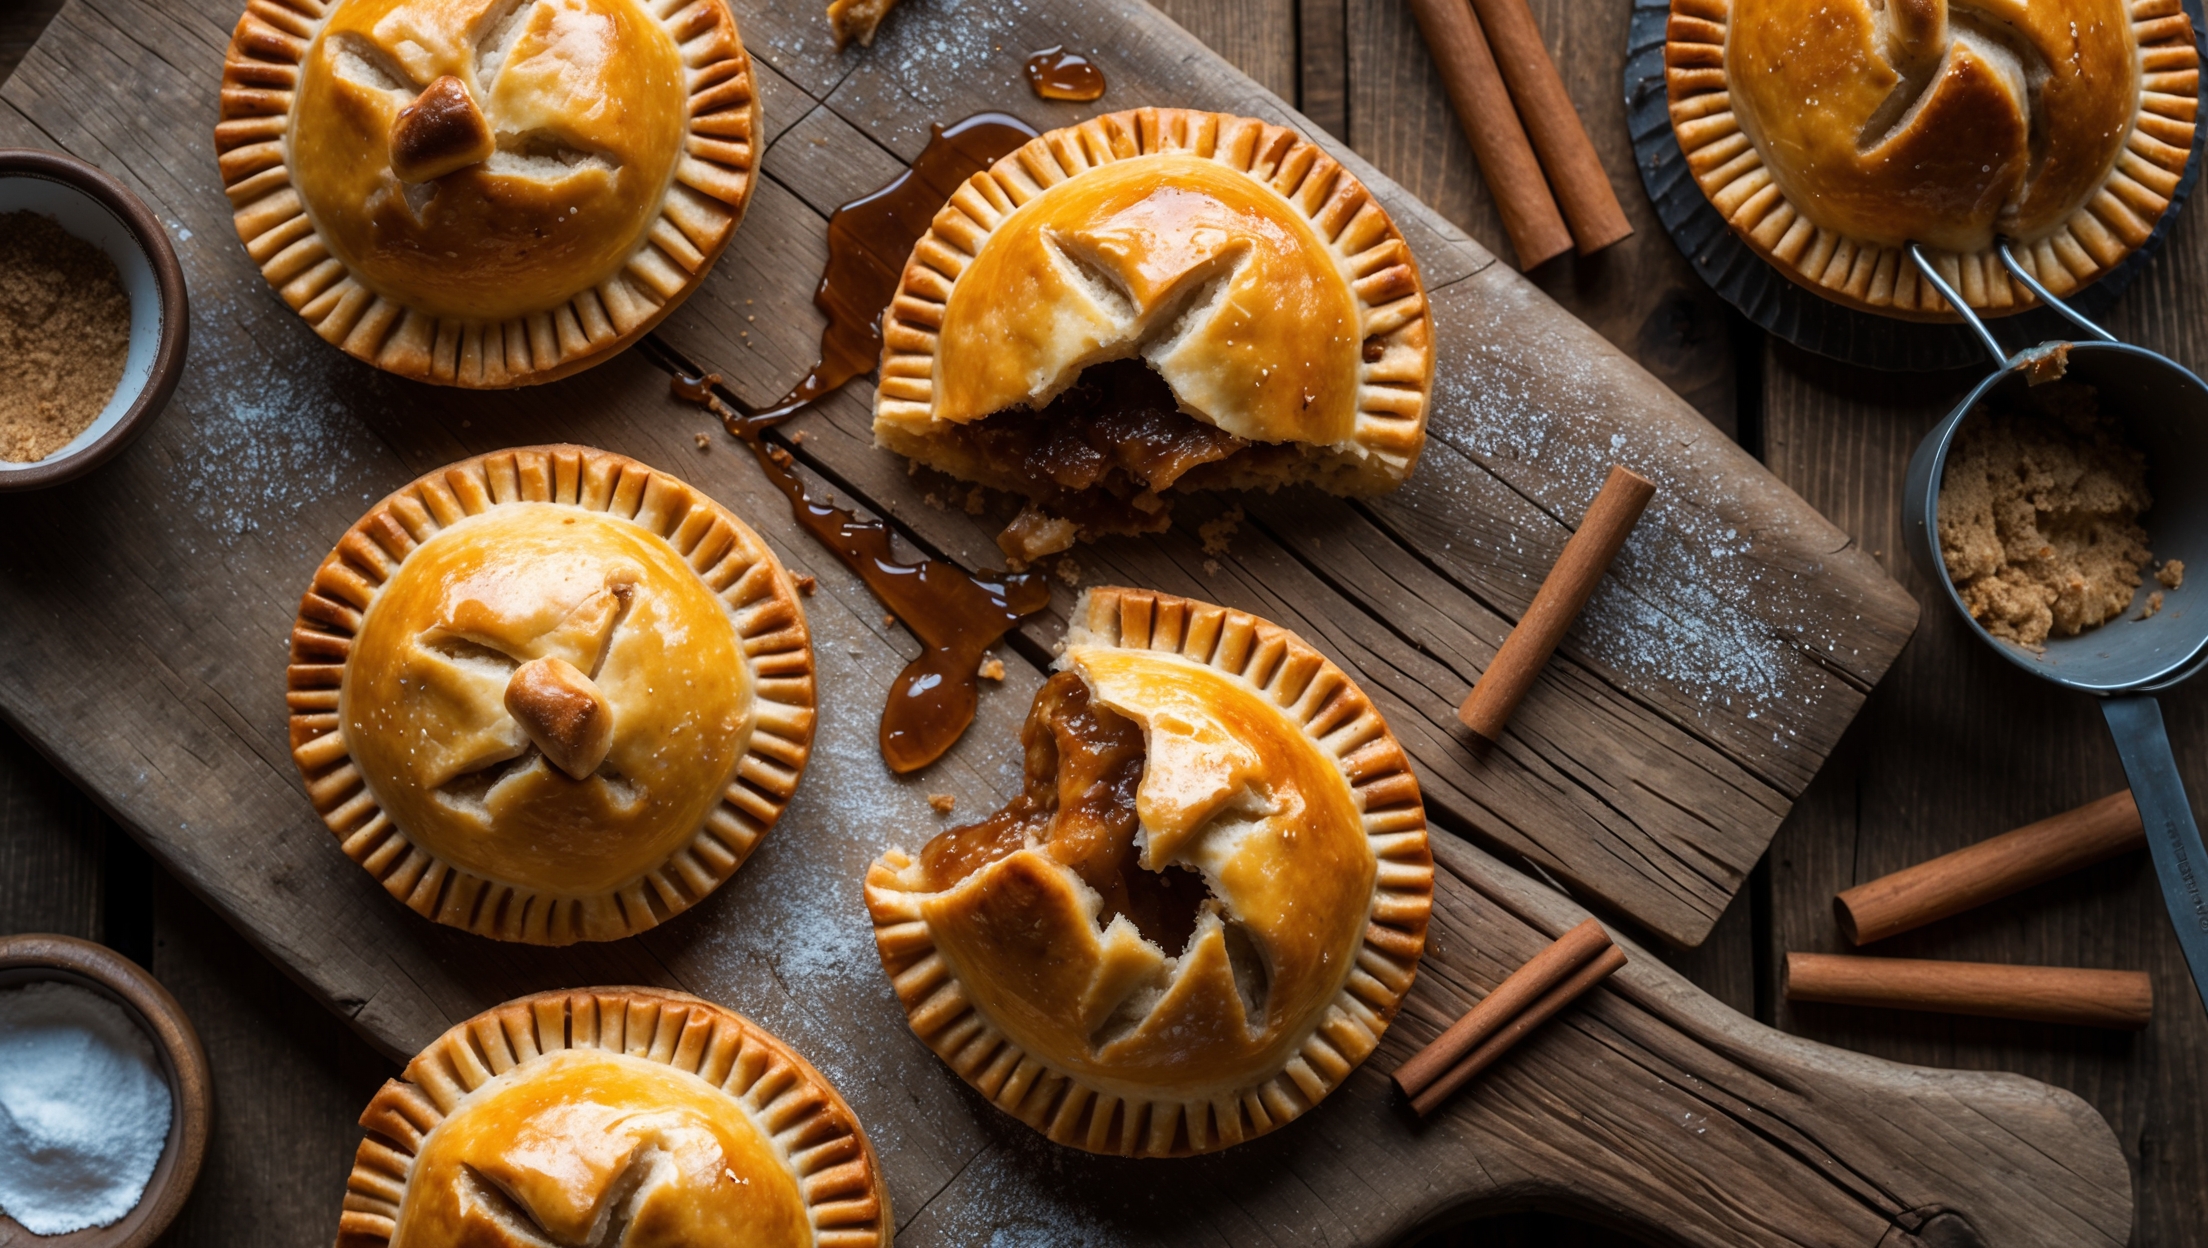
Directions
<ol class="no-list-style"> <li class="MethodStepper"> <h4 class="step-title">Step 1</h4> Make the pastry first by placing the flour, salt, and cold butter cubes in a food processor. Pulse until the mixture resembles breadcrumbs (or rub the butter into the flour by hand). The small pieces of butter will create steam during baking, forming flaky layers in your pastry. </li> <li class="MethodStepper"> <h4 class="step-title">Step 2</h4> Mix the ice water and apple cider vinegar together. The vinegar helps prevent gluten development, ensuring a tender crust. Add to the flour mixture a tablespoon at a time, pulsing until the dough just comes together (you may not need all the liquid). </li> <li class="MethodStepper"> <h4 class="step-title">Step 3</h4> Turn the dough onto a lightly floured surface and gently form into a disc. Wrap in plastic and refrigerate for at least 30 minutes. Cold pastry is easier to handle and will maintain its structure better when baking. </li> <li class="MethodStepper"> <h4 class="step-title">Step 4</h4> Meanwhile, prepare your filling. In a large bowl, combine the pork mince, diced onion, garlic, breadcrumbs, herbs, salt, pepper, and nutmeg. Mix thoroughly but gently with your hands – overmixing can make the filling tough. </li> <li class="MethodStepper"> <h4 class="step-title">Step 5</h4> Preheat your oven to 200°C (180°C fan) and line a baking tray with parchment paper. </li> <li class="MethodStepper"> <h4 class="step-title">Step 6</h4> Remove the chilled pastry from the refrigerator and roll out on a lightly floured surface to about 3-4mm thickness. Cut into 8 equal rectangles, approximately 12cm x 15cm each. </li> <li class="MethodStepper"> <h4 class="step-title">Step 7</h4> Divide the filling into 8 portions and shape each into a sausage shape. Place one portion of filling along the center of each pastry rectangle, leaving a 1cm border around the edges. </li> <li class="MethodStepper"> <h4 class="step-title">Step 8</h4> Brush the pastry edges with a little beaten egg, which will act as a glue. Fold the pastry over the filling and press the edges firmly to seal. You can crimp with a fork for decoration and to ensure a good seal. </li> <li class="MethodStepper"> <h4 class="step-title">Step 9</h4> Transfer the pies to your prepared baking tray, spacing them evenly apart. Cut 2-3 small slits in the top of each pie to allow steam to escape during baking, preventing the pastry from becoming soggy. </li> <li class="MethodStepper"> <h4 class="step-title">Step 10</h4> Brush the tops generously with beaten egg for a golden, glossy finish. The protein in the egg creates a beautiful shine and color when baked. Sprinkle with sesame or poppy seeds if using. </li> <li class="MethodStepper"> <h4 class="step-title">Step 11</h4> Bake in the preheated oven for 20-25 minutes, or until the pastry is golden brown and crisp, and the filling is completely cooked through (internal temperature should reach 70°C). </li> <li class="MethodStepper"> <h4 class="step-title">Step 12</h4> Remove from the oven and allow to cool on the tray for 5 minutes before transferring to a wire rack. This prevents the bottoms from becoming soggy from condensation. Serve warm or at room temperature with your favorite condiments like mustard or chutney. These hand pies can be stored in an airtight container in the refrigerator for up to 3 days or frozen for up to 3 months. </li> </ol>