Directions
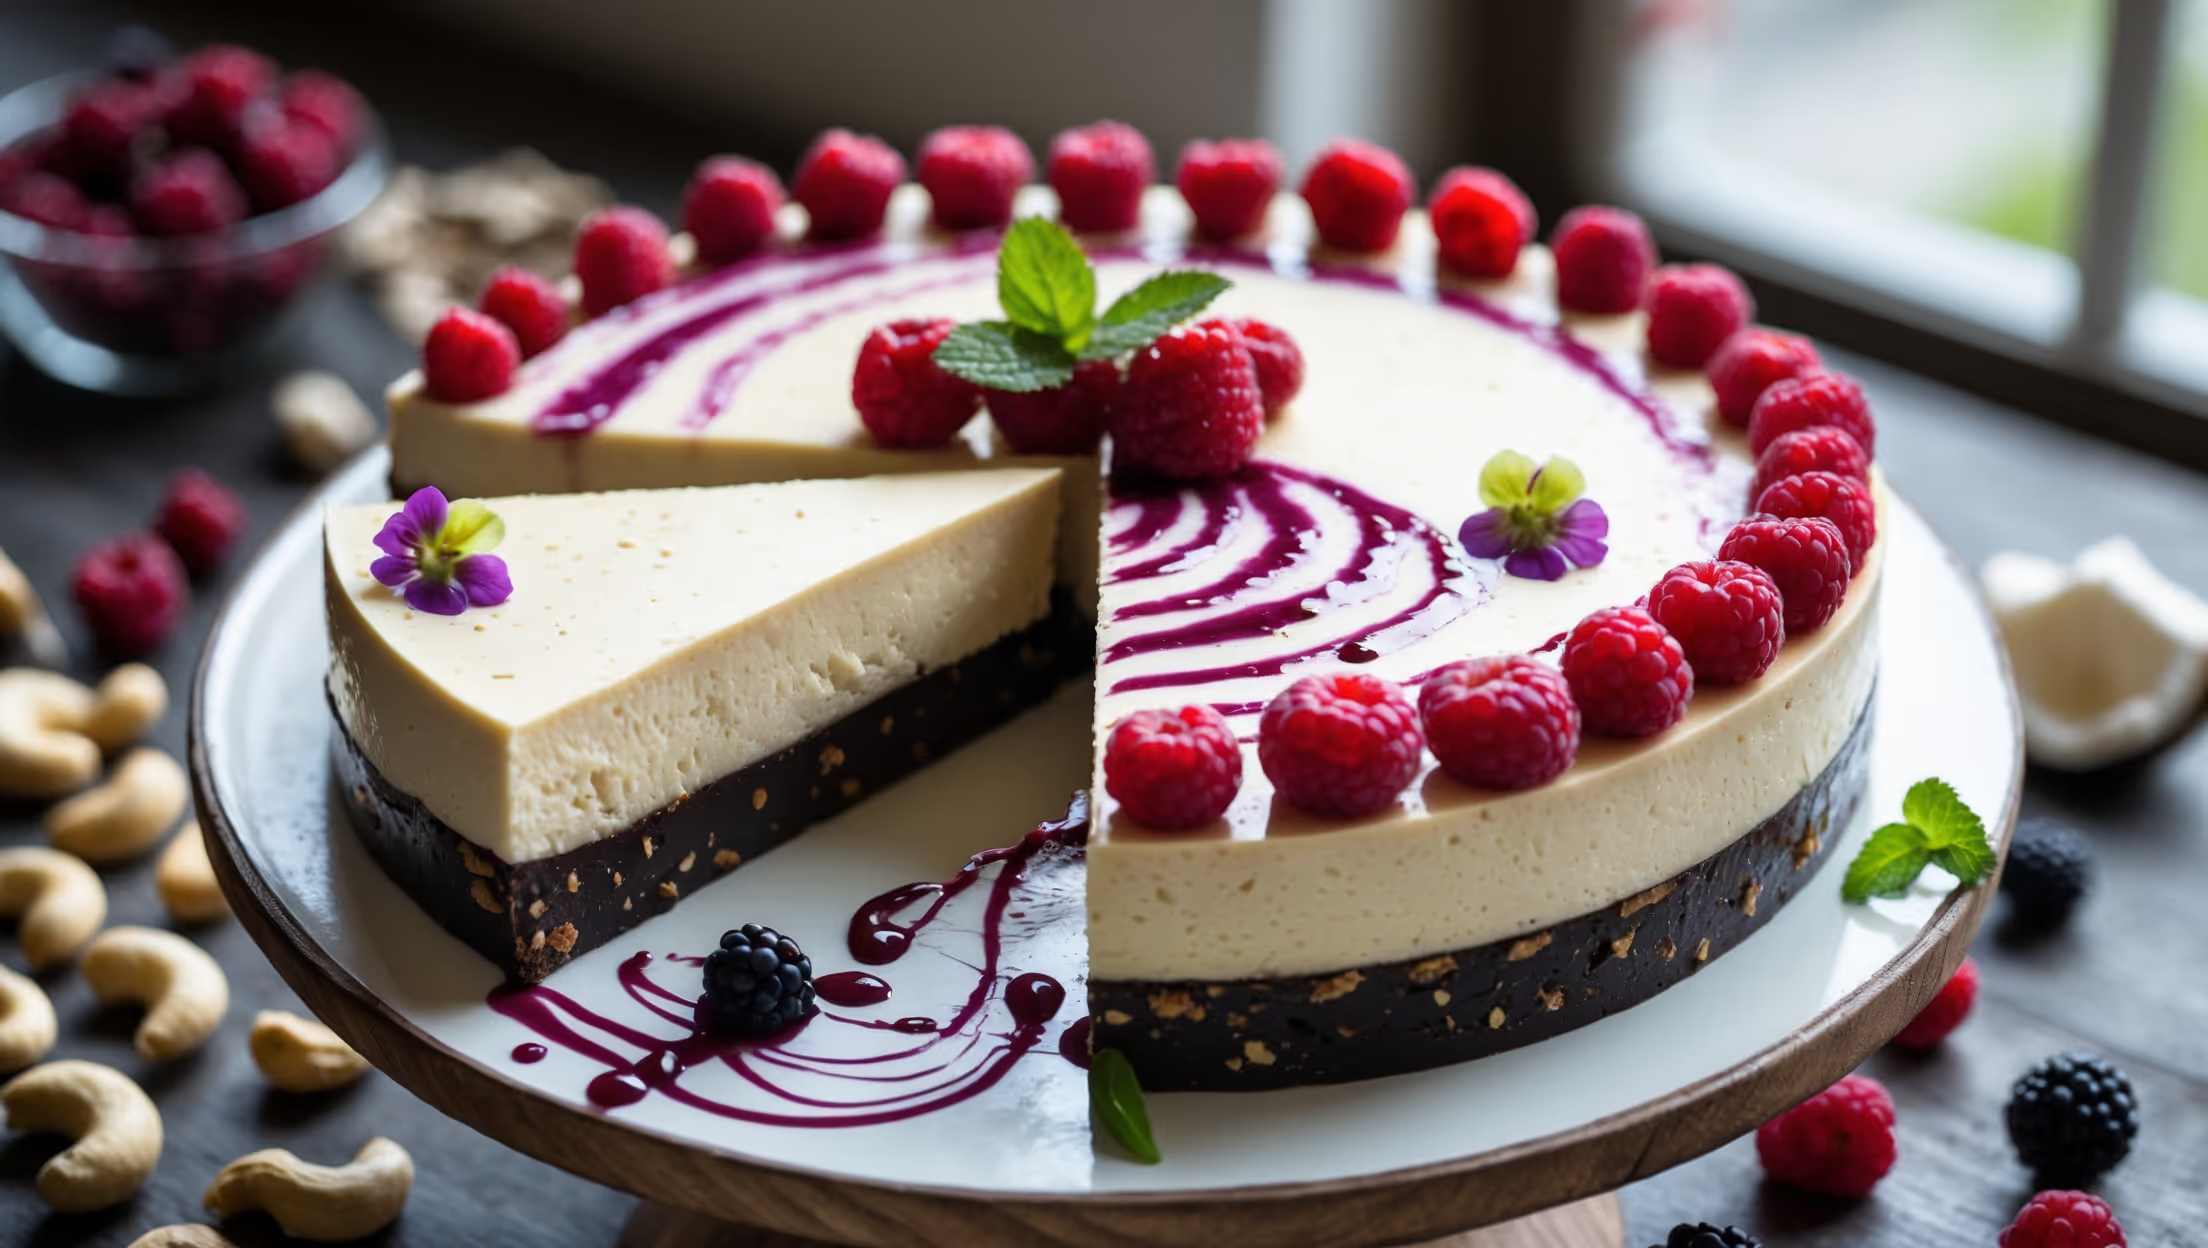
<ol class="no-list-style"><li class="MethodStepper"><h4 class="step-title">Step 1</h4>Prepare your springform pan by lining the bottom with parchment paper. This will make removing your finished cheesecake much easier. If you don't have parchment, lightly grease the bottom with coconut oil.</li><li class="MethodStepper"><h4 class="step-title">Step 2</h4>For the crust, place almonds and walnuts in your food processor and pulse until coarsely ground. This creates a textural foundation with small chunks remaining for a pleasant bite. Avoid over-processing into a flour consistency.</li><li class="MethodStepper"><h4 class="step-title">Step 3</h4>Add the pitted dates, shredded coconut, and sea salt to the nut mixture. Process until everything starts sticking together when pressed between your fingers. The dates release their natural sugars when processed, acting as the binding agent that holds your crust together.</li><li class="MethodStepper"><h4 class="step-title">Step 4</h4>Press the crust mixture firmly and evenly into the bottom of your prepared springform pan. Use the flat bottom of a measuring cup to create a smooth, compact surface. Place in the freezer to set while preparing the filling.</li><li class="MethodStepper"><h4 class="step-title">Step 5</h4>For the filling, ensure your cashews have been properly soaked (either overnight in cold water or for 2 hours in hot water). Soaking activates enzymes and softens the cashews, creating that signature creamy texture that mimics traditional dairy-based cheesecake.</li><li class="MethodStepper"><h4 class="step-title">Step 6</h4>Drain and rinse the soaked cashews thoroughly, then add them to your high-speed blender along with the melted coconut oil, maple syrup, lemon juice, vanilla extract, and salt. The lemon juice provides the tanginess characteristic of classic cheesecake while the coconut oil will help the filling set properly when chilled.</li><li class="MethodStepper"><h4 class="step-title">Step 7</h4>Blend on high speed until completely smooth and creamy, about 3-5 minutes, stopping occasionally to scrape down the sides. The mixture should be velvety with no graininess when rubbed between your fingers. Patience is key here – don't rush this step!</li><li class="MethodStepper"><h4 class="step-title">Step 8</h4>Pour the cashew filling over the chilled crust and smooth the top with a spatula. Tap the pan gently on the counter a few times to release any air bubbles that might have formed during blending.</li><li class="MethodStepper"><h4 class="step-title">Step 9</h4>Cover the cheesecake with plastic wrap (ensuring it doesn't touch the surface) and refrigerate for at least 6 hours, preferably overnight. The coconut oil will solidify at cold temperatures, giving the cheesecake its firm yet creamy texture.</li><li class="MethodStepper"><h4 class="step-title">Step 10</h4>Before serving, carefully run a knife around the edge of the pan to loosen the sides, then release the springform clasp. If desired, arrange fresh berries on top and drizzle with a little maple syrup for a beautiful, natural decoration. The cheesecake will keep in the refrigerator for up to 5 days or can be frozen for up to 1 month.</li></ol>