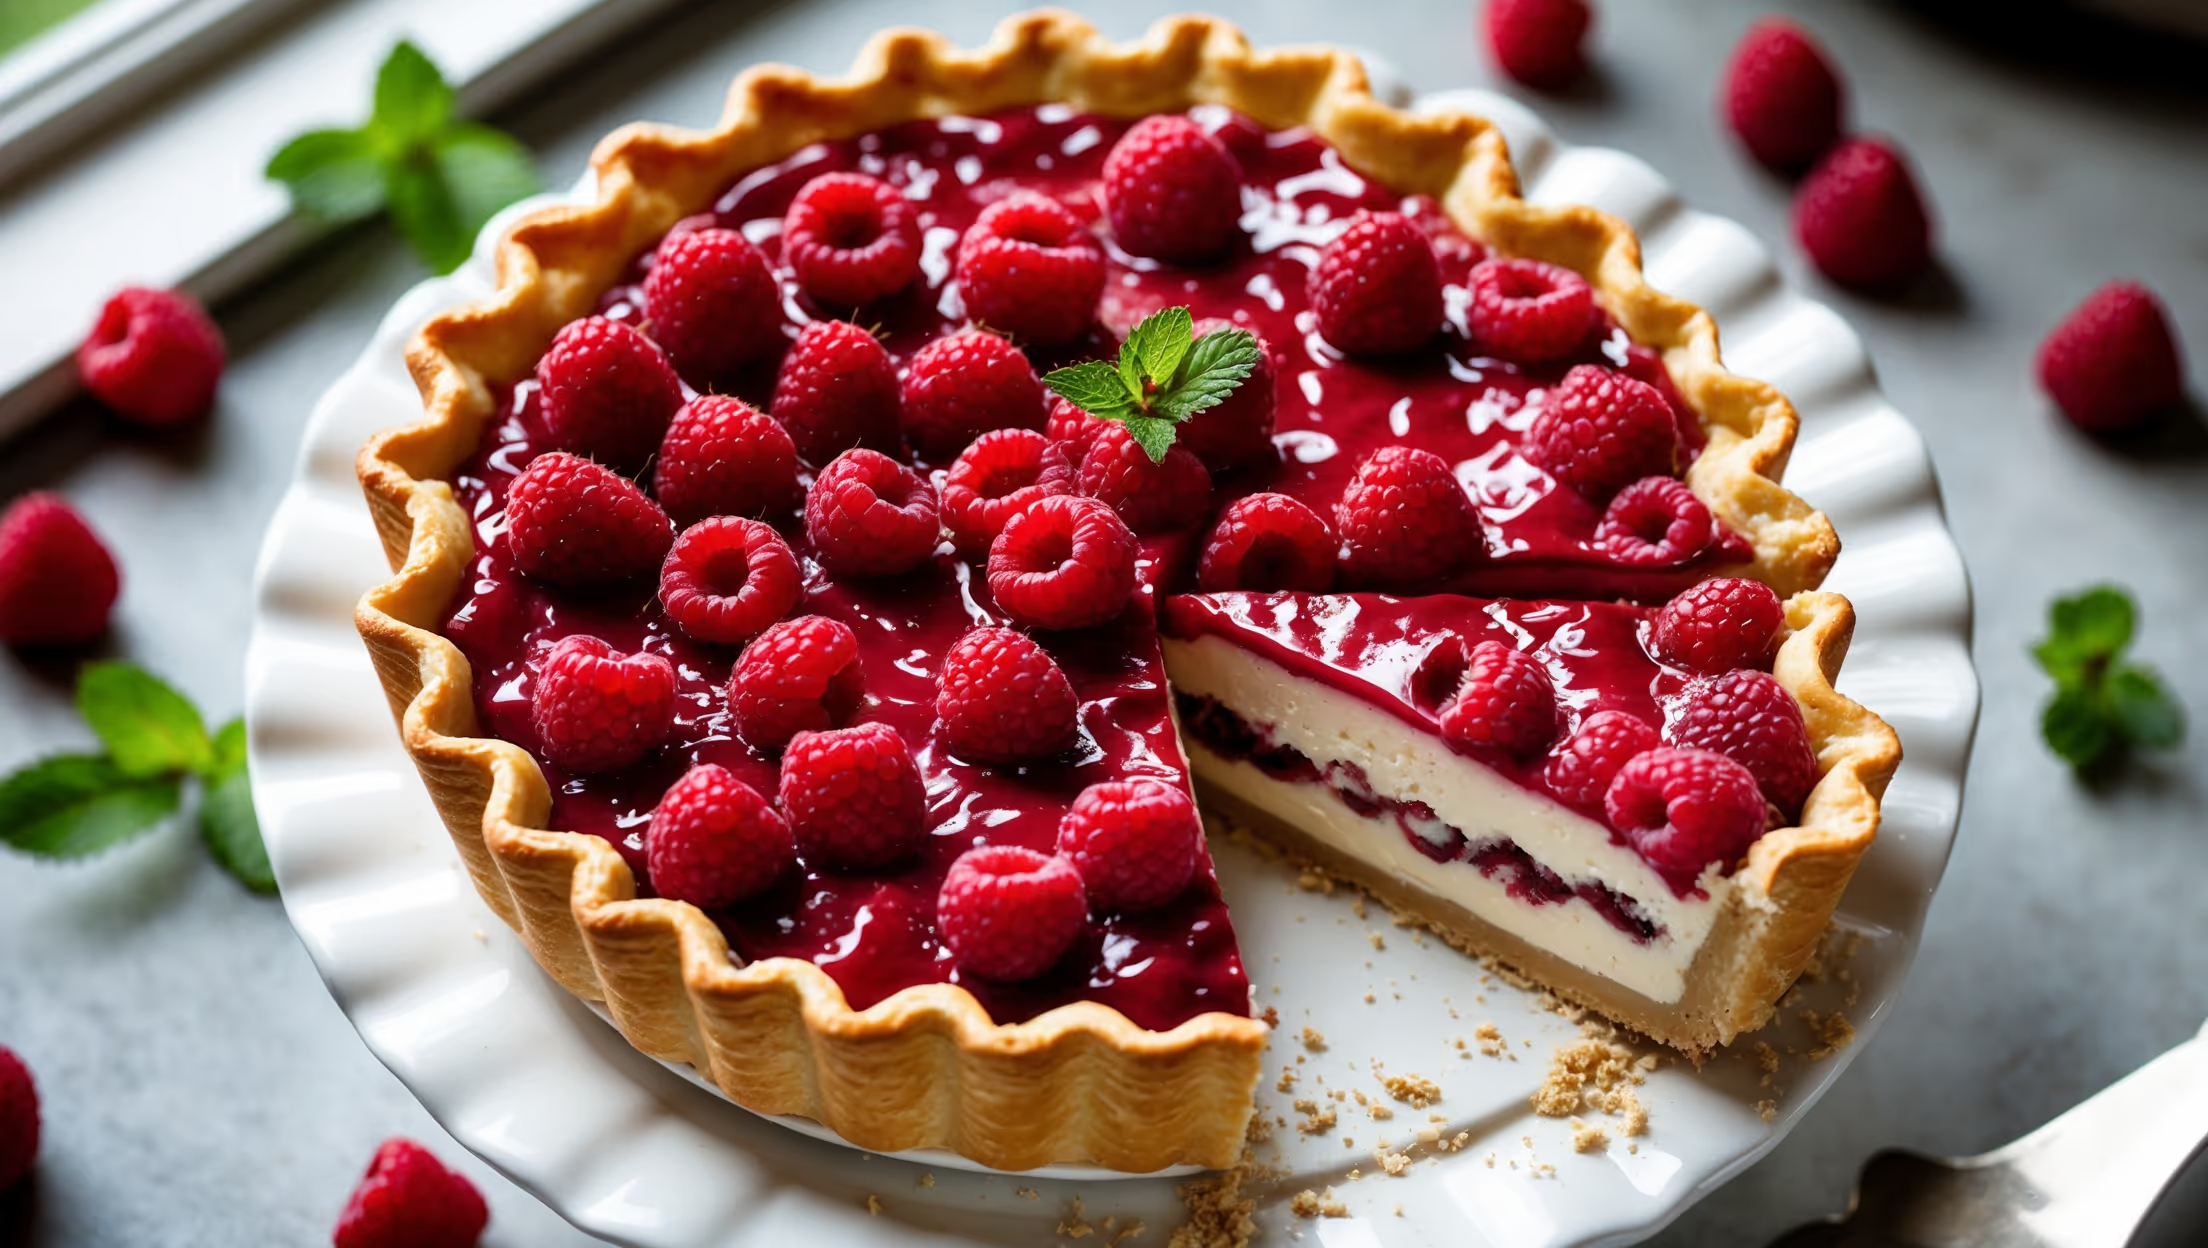
Directions
<ol class="no-list-style"><li class="MethodStepper"><h4 class="step-title">Step 1</h4>Begin by making the pastry. Place the flour, salt, and icing sugar in a food processor and pulse briefly to combine. Add the cold cubed butter and pulse until the mixture resembles fine breadcrumbs. This quick pulsing method keeps the butter cold, resulting in a flakier crust.</li><li class="MethodStepper"><h4 class="step-title">Step 2</h4>Add the egg yolk and 2 tablespoons of ice-cold water, then pulse again until the dough just starts to come together. If it seems too dry, add the remaining tablespoon of water. The dough should hold together when pinched but shouldn't be sticky.</li><li class="MethodStepper"><h4 class="step-title">Step 3</h4>Turn the dough onto a lightly floured surface, shape into a disc, wrap in cling film, and refrigerate for at least 30 minutes. Chilling relaxes the gluten and firms up the butter, preventing shrinkage during baking.</li><li class="MethodStepper"><h4 class="step-title">Step 4</h4>Preheat your oven to 180°C (160°C fan/gas mark 4). Roll out the chilled pastry on a lightly floured surface to about 3mm thickness, creating a circle large enough to line your tart tin with a slight overhang.</li><li class="MethodStepper"><h4 class="step-title">Step 5</h4>Carefully lift the pastry over your rolling pin and drape it into the tin, gently pressing it into the fluted edges. Trim any excess, leaving a small overhang to allow for shrinkage. Prick the base all over with a fork, then chill again for 15 minutes.</li><li class="MethodStepper"><h4 class="step-title">Step 6</h4>Line the chilled pastry case with baking parchment and fill with baking beans or rice. Blind bake for 15 minutes, then remove the beans and parchment and bake for a further 5-10 minutes until the pastry is golden and crisp. The initial blind baking with weights prevents the pastry from puffing up.</li><li class="MethodStepper"><h4 class="step-title">Step 7</h4>While the pastry cools, prepare the pastry cream. Pour the milk into a heavy-bottomed saucepan. Add the vanilla seeds and the empty pod (if using). Heat until just below boiling point, then remove from heat and allow to infuse for 10 minutes.</li><li class="MethodStepper"><h4 class="step-title">Step 8</h4>In a large bowl, whisk together the egg yolks and caster sugar until pale and thick. Whisk in the cornflour until well combined and no lumps remain.</li><li class="MethodStepper"><h4 class="step-title">Step 9</h4>Remove the vanilla pod from the milk. Gradually pour the hot milk into the egg mixture, whisking constantly to prevent the eggs from scrambling. Pour the mixture back into the saucepan.</li><li class="MethodStepper"><h4 class="step-title">Step 10</h4>Cook over medium heat, whisking continuously, until the mixture thickens substantially – this should take about 3-4 minutes. You'll know it's ready when it coats the back of a spoon and a finger drawn through it leaves a clear path. The continuous whisking prevents lumps from forming.</li><li class="MethodStepper"><h4 class="step-title">Step 11</h4>Remove from heat and whisk in the butter until melted and fully incorporated. Immediately pass the cream through a fine mesh sieve into a clean bowl to remove any lumps. Cover the surface directly with cling film (to prevent a skin from forming) and allow to cool completely.</li><li class="MethodStepper"><h4 class="step-title">Step 12</h4>Once both the pastry case and cream are cool, whisk the cream briefly to loosen it, then spread it evenly in the pastry case. Refrigerate for at least 30 minutes to set the cream.</li><li class="MethodStepper"><h4 class="step-title">Step 13</h4>For the topping, select the best-looking raspberries and arrange them neatly on top of the cream, pointy-side up, covering the entire surface.</li><li class="MethodStepper"><h4 class="step-title">Step 14</h4>In a small saucepan, heat the raspberry jam with the water and lemon juice until melted and smooth. Pass through a sieve to remove seeds if desired, then allow to cool slightly but not set.</li><li class="MethodStepper"><h4 class="step-title">Step 15</h4>Using a pastry brush, gently glaze the arranged raspberries with the jam mixture. This not only makes the pie look glossy and professional but also seals the fruit, helping it stay fresh longer.</li><li class="MethodStepper"><h4 class="step-title">Step 16</h4>Refrigerate the completed pie for at least 2 hours before serving to allow everything to set properly. The pie is best enjoyed on the day it's made but will keep refrigerated for up to 2 days. When ready to serve, carefully remove from the tart tin and place on a serving plate.</li></ol>