Directions
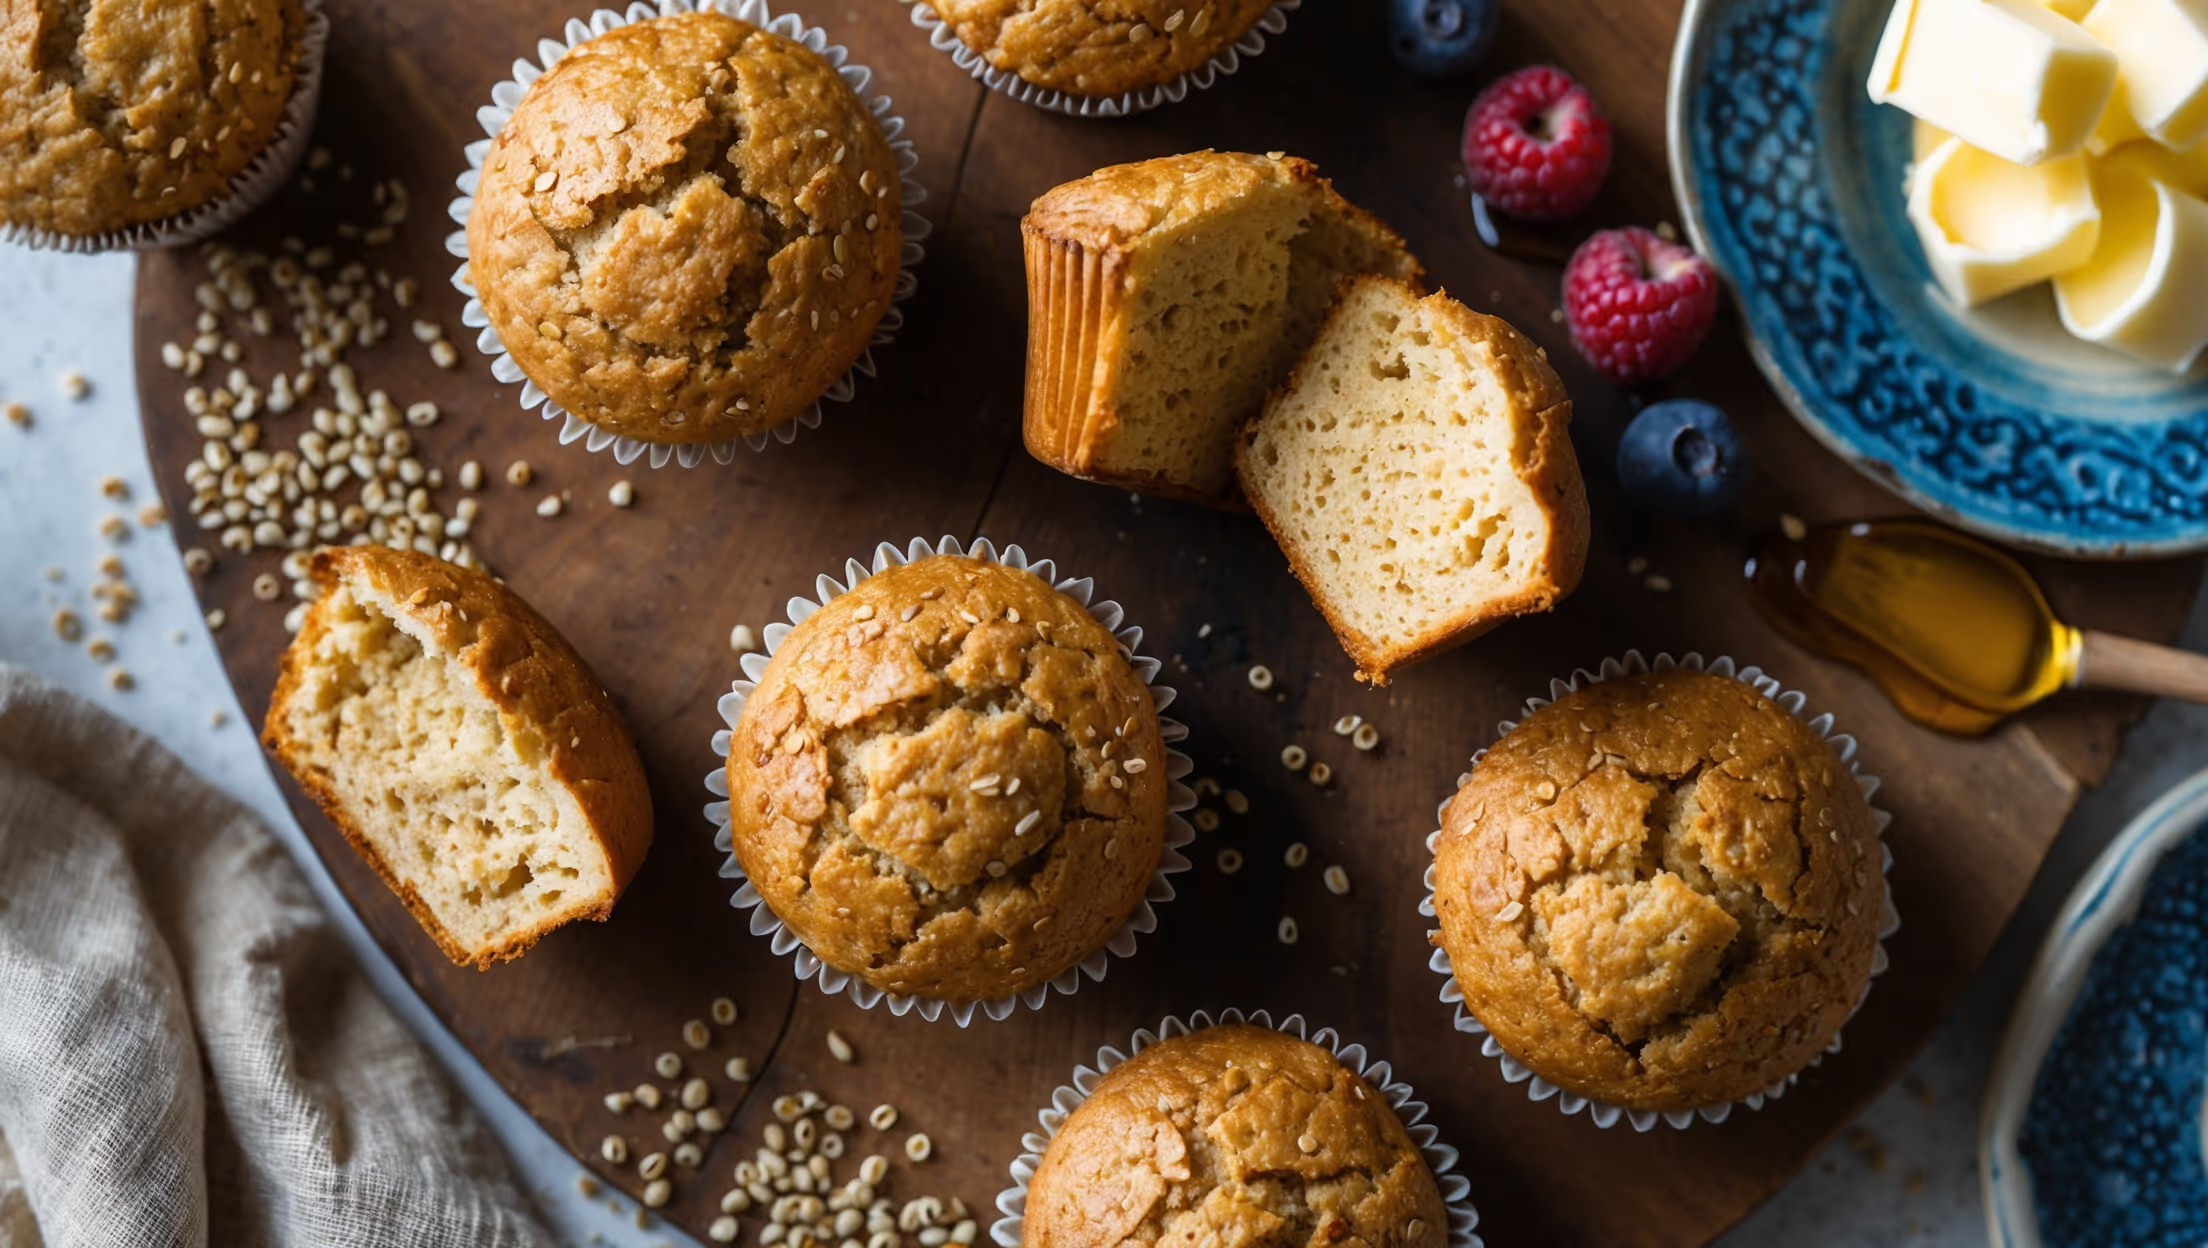
<ol class="no-list-style"><li class="MethodStepper"><h4 class="step-title">Step 1</h4>Preheat your oven to 180°C and line a 12-cup muffin tin with paper liners. Position your oven rack in the center position to ensure even heat distribution throughout baking.</li><li class="MethodStepper"><h4 class="step-title">Step 2</h4>In a large bowl, whisk together the quinoa flour, almond flour, baking powder, baking soda, salt, and cinnamon until well combined. Quinoa flour has a naturally nutty flavor that pairs beautifully with cinnamon, and the almond flour helps create a more tender crumb since gluten-free flours can sometimes result in denser baked goods.</li><li class="MethodStepper"><h4 class="step-title">Step 3</h4>In a separate medium bowl, whisk the eggs and sugar together vigorously for about 1 minute until light and slightly frothy. This incorporates air into the mixture, helping create a lighter texture in your finished muffins.</li><li class="MethodStepper"><h4 class="step-title">Step 4</h4>Add the oil, yogurt, milk, and vanilla extract to the egg mixture, whisking until smooth and well combined. The combination of oil and yogurt is key to moist muffins – oil prevents dryness while yogurt adds tenderness and a subtle tang.</li><li class="MethodStepper"><h4 class="step-title">Step 5</h4>Pour the wet ingredients into the dry ingredients and fold gently with a spatula just until combined. You should still see a few streaks of flour – overmixing activates the proteins in the flour and can lead to tough muffins. The batter will be thicker than traditional wheat flour batters; this is perfectly normal.</li><li class="MethodStepper"><h4 class="step-title">Step 6</h4>Gently fold in your mix-ins of choice, being careful not to overmix. If using berries, coating them lightly in a teaspoon of quinoa flour before adding can help prevent them from sinking to the bottom during baking.</li><li class="MethodStepper"><h4 class="step-title">Step 7</h4>Using an ice cream scoop or large spoon, divide the batter evenly among the prepared muffin cups, filling each about 3/4 full. The batter won't rise as much as wheat flour muffins, so don't be afraid to fill them generously.</li><li class="MethodStepper"><h4 class="step-title">Step 8</h4>For an optional touch of sweetness, sprinkle a little raw sugar on top of each muffin before baking. This creates a delightful crunchy top contrasting with the tender interior.</li><li class="MethodStepper"><h4 class="step-title">Step 9</h4>Bake for 18-22 minutes, or until the tops spring back when lightly touched and a toothpick inserted into the center comes out with just a few moist crumbs. Gluten-free baked goods can sometimes look less golden than wheat-based ones, so don't rely solely on color as an indicator of doneness.</li><li class="MethodStepper"><h4 class="step-title">Step 10</h4>Allow the muffins to cool in the tin for 5 minutes before transferring to a wire rack to cool completely. This resting time allows the structure to set, making them easier to remove from the pan without breaking.</li><li class="MethodStepper"><h4 class="step-title">Step 11</h4>Store cooled muffins in an airtight container at room temperature for up to 2 days, or freeze for up to 3 months. To refresh, warm slightly in the microwave or oven before serving. The nutty flavor of quinoa flour actually develops further overnight, making these muffins taste even better the next day!</li></ol>