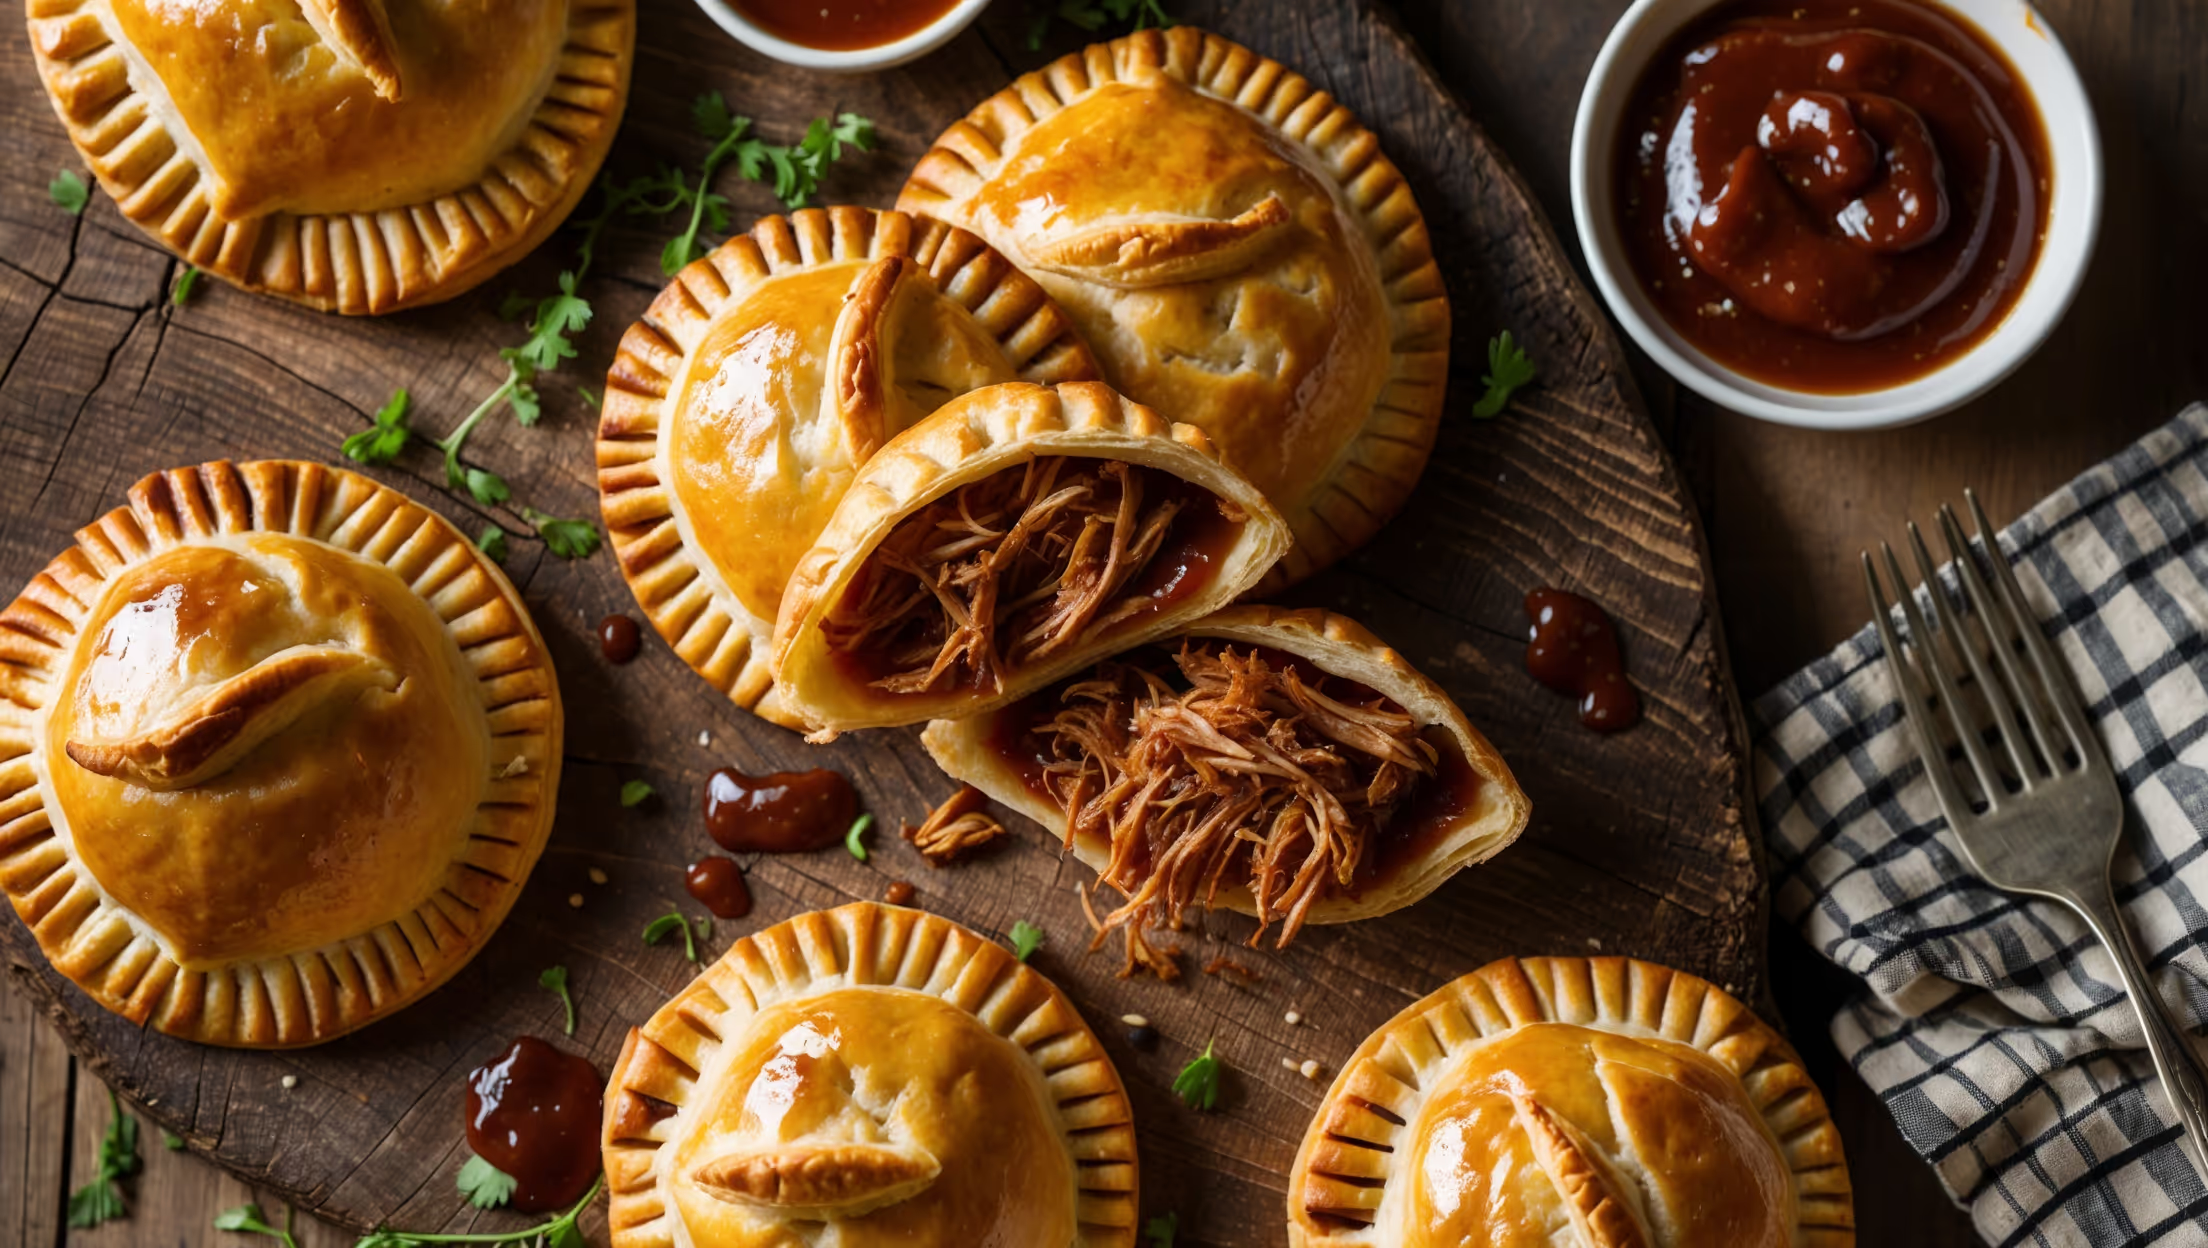
Directions
<ol class="no-list-style"> <li class="MethodStepper"> <h4 class="step-title">Step 1</h4> Begin by making the pastry. In a large bowl or food processor, combine the flour, salt, and sugar. Add the cold cubed butter and cut it into the flour mixture either using a pastry cutter, two knives, or pulse in the food processor until the mixture resembles coarse crumbs with some pea-sized pieces of butter remaining. These butter pieces are crucial for creating flaky layers in your pastry. </li> <li class="MethodStepper"> <h4 class="step-title">Step 2</h4> Gradually add the ice-cold water, one tablespoon at a time, mixing gently until the dough just comes together when pinched. Be careful not to overwork the dough or add too much water, as this will develop gluten and result in a tough pastry. You may not need all the water. </li> <li class="MethodStepper"> <h4 class="step-title">Step 3</h4> Turn the dough onto a lightly floured surface and gather it into a ball. Divide it in half, shape each half into a disk, wrap in plastic wrap, and refrigerate for at least 1 hour or up to 2 days. Cold dough is essential for flaky pastry as it prevents the butter from melting before baking. </li> <li class="MethodStepper"> <h4 class="step-title">Step 4</h4> While the dough chills, prepare the filling. In a medium saucepan, combine the pumpkin purée, brown sugar, all the spices, and salt. Cook over medium heat for about 5 minutes, stirring constantly, until the mixture is fragrant and slightly thickened. This cooking step concentrates the flavors and helps reduce excess moisture. </li> <li class="MethodStepper"> <h4 class="step-title">Step 5</h4> In a small bowl, whisk the cornstarch with 1 tablespoon of water to create a slurry. Add this to the pumpkin mixture and continue cooking for another 2-3 minutes until the filling becomes quite thick. Remove from heat and let cool completely. The filling must be cool before assembling the hand pies to prevent the pastry from melting. </li> <li class="MethodStepper"> <h4 class="step-title">Step 6</h4> Preheat your oven to 190°C (375°F) and line two baking sheets with parchment paper. Remove one disk of dough from the refrigerator and let it sit at room temperature for just 5 minutes to slightly soften for easier rolling. </li> <li class="MethodStepper"> <h4 class="step-title">Step 7</h4> On a lightly floured surface, roll the dough to about 3mm (1/8 inch) thickness. Using your cookie cutter or glass, cut out as many circles as possible. Re-roll scraps once to cut more circles. Place half of the circles on the prepared baking sheets, spaced about 5cm apart. </li> <li class="MethodStepper"> <h4 class="step-title">Step 8</h4> Place about 1 tablespoon of the cooled pumpkin filling in the center of each circle on the baking sheets, leaving a 1cm border. Brush the edges with egg wash, which will help seal the pies and create a golden crust during baking. </li> <li class="MethodStepper"> <h4 class="step-title">Step 9</h4> Top each filled circle with a second pastry circle. Press the edges firmly with your fingers, then crimp with a fork to seal. Cut a small vent in the top of each pie to allow steam to escape during baking, which prevents the filling from bursting out the sides. </li> <li class="MethodStepper"> <h4 class="step-title">Step 10</h4> Brush the tops of the hand pies with the remaining egg wash and sprinkle with coarse sugar if using. The egg wash gives the pastry a beautiful golden shine, while the sugar adds a delightful crunch and sparkle. </li> <li class="MethodStepper"> <h4 class="step-title">Step 11</h4> Bake in the preheated oven for 22-25 minutes until the pies are golden brown. Some filling may bubble through the vent - this is normal! Transfer to a wire rack to cool completely. If any filling has leaked, let it set before moving the pies to prevent breaking. </li> <li class="MethodStepper"> <h4 class="step-title">Step 12</h4> While the pies cool, prepare the glaze by whisking together the powdered sugar, milk, cinnamon, and vanilla until smooth. Adjust consistency with more milk or sugar as needed - it should be thick enough to hold its shape but thin enough to drizzle. </li> <li class="MethodStepper"> <h4 class="step-title">Step 13</h4> Once the hand pies are completely cool, drizzle the tops with the cinnamon glaze. Let the glaze set for about 15 minutes before serving. These hand pies can be stored in an airtight container at room temperature for 2 days or refrigerated for up to 5 days. You can also freeze them unglazed for up to 3 months! </li> </ol>