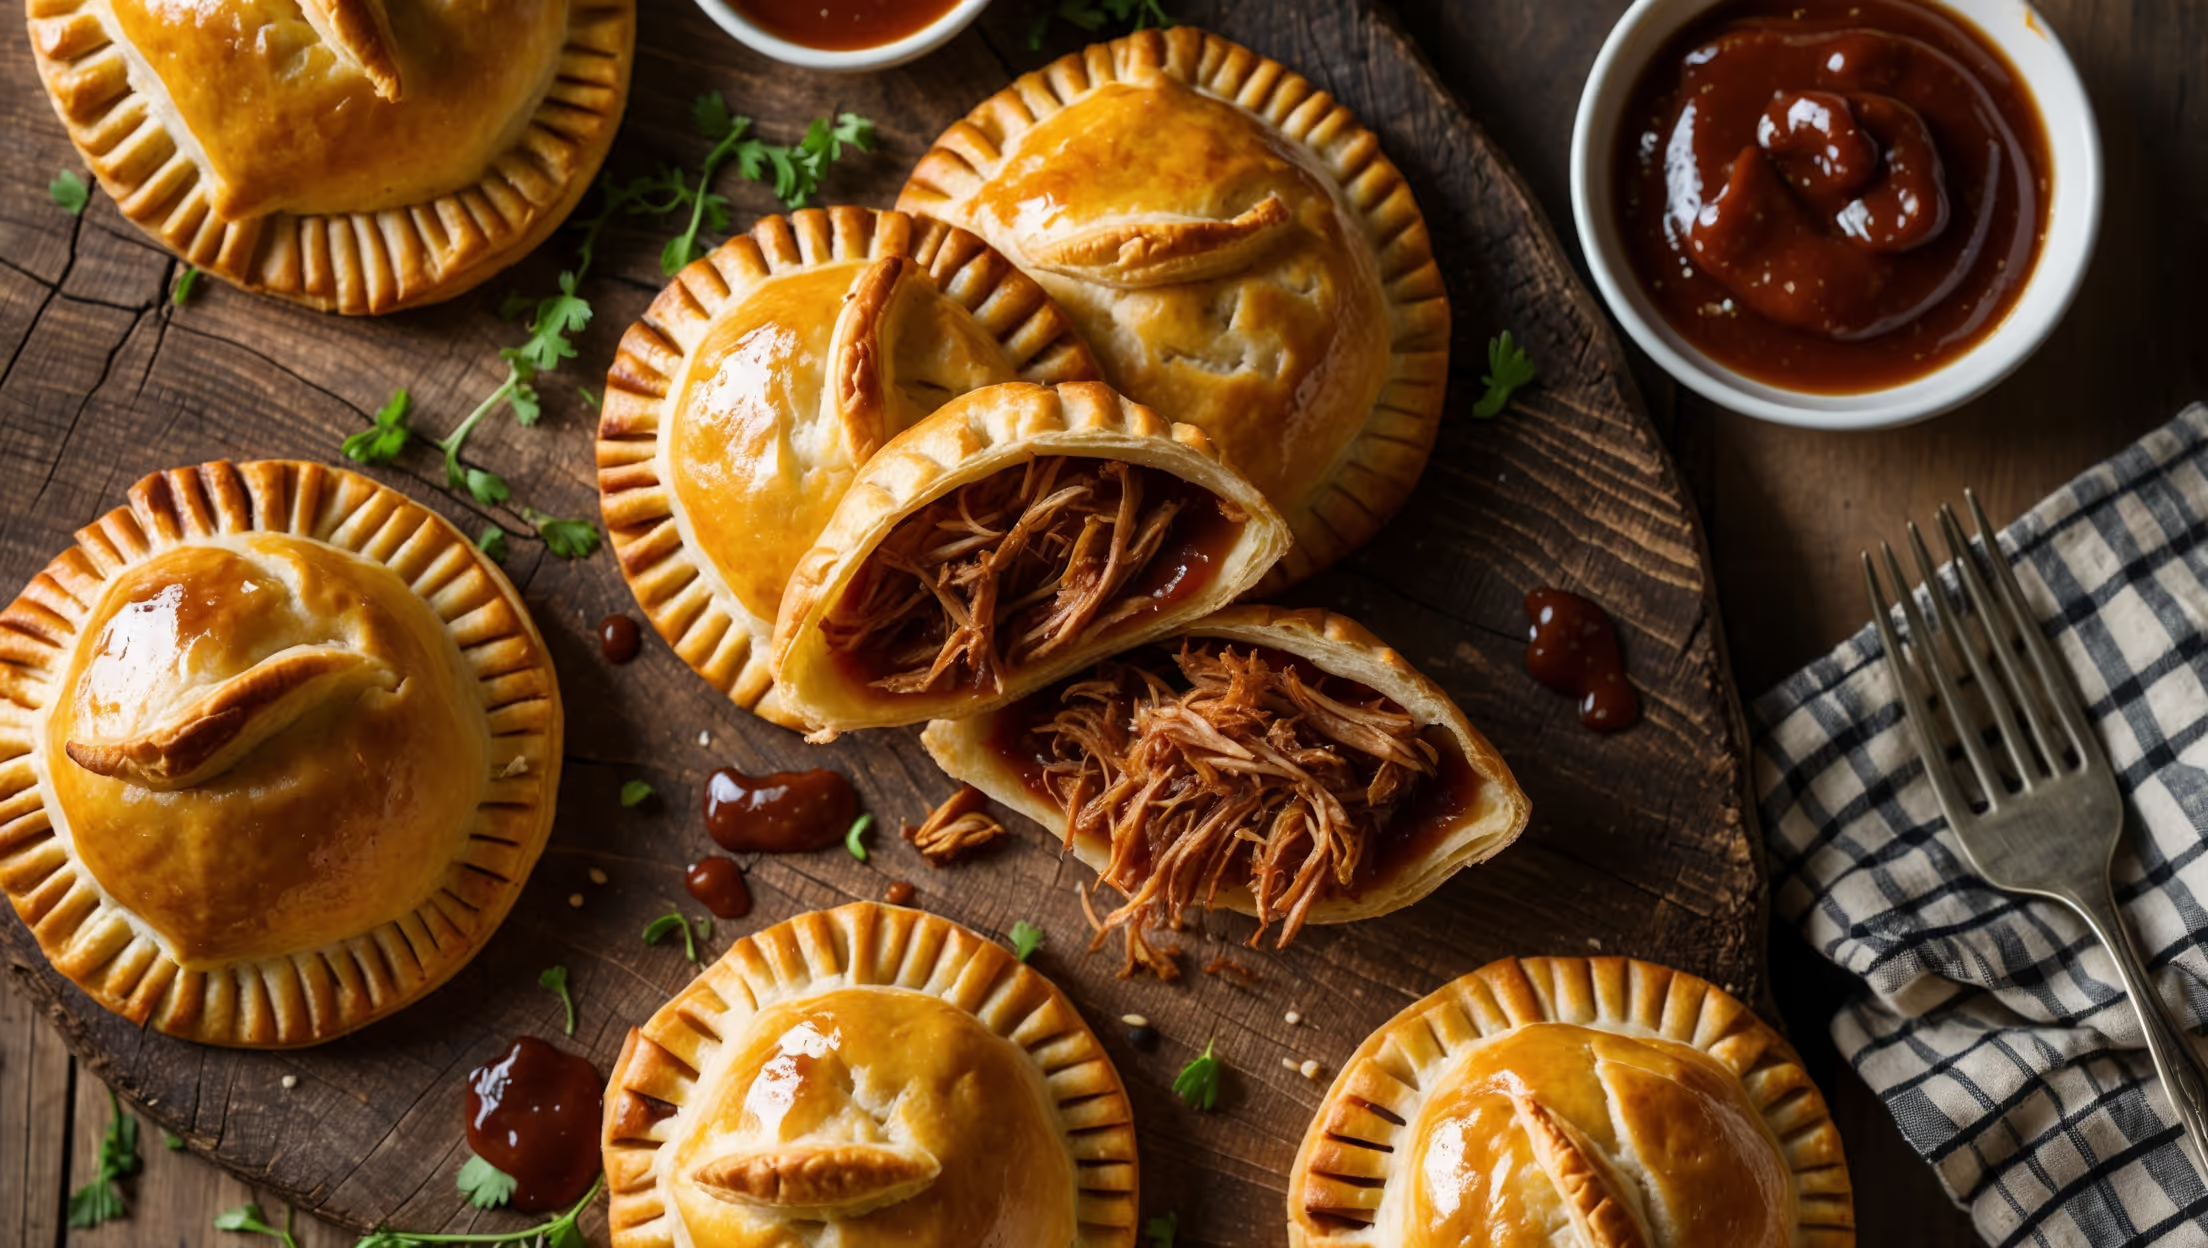
Directions
<ol class="no-list-style"> <li class="MethodStepper"> <h4 class="step-title">Step 1</h4> Make the pastry dough by combining the flour, sugar, and salt in a food processor. Pulse briefly to mix. Add the cold cubed butter and pulse 8-10 times until the mixture resembles coarse crumbs with some pea-sized pieces remaining (these butter pockets will create flaky layers when baked). </li> <li class="MethodStepper"> <h4 class="step-title">Step 2</h4> Mix the ice water and apple cider vinegar in a small bowl. With the processor running, slowly drizzle the water mixture through the feed tube until the dough just begins to come together (you may not need all the liquid). The vinegar inhibits gluten development, ensuring a more tender crust. </li> <li class="MethodStepper"> <h4 class="step-title">Step 3</h4> Turn the dough onto a lightly floured surface and gather into a ball. Divide in half and flatten each into a disc. Wrap each disc in plastic wrap and refrigerate for at least 1 hour or up to 2 days. Cold dough is crucial for flaky pastry as it prevents the butter from melting before baking. </li> <li class="MethodStepper"> <h4 class="step-title">Step 4</h4> While the dough chills, prepare the filling. In a medium bowl, combine the pumpkin puree, brown sugar, cinnamon, ginger, nutmeg, cloves, and salt. Mix thoroughly until all spices are evenly distributed. Transfer to the refrigerator to cool completely, which will make it easier to handle when filling the pies. </li> <li class="MethodStepper"> <h4 class="step-title">Step 5</h4> Preheat your oven to 190°C (375°F). Line two baking sheets with parchment paper. Working with one disc at a time, roll the dough on a lightly floured surface to about 3mm (1/8 inch) thickness. Using a 10cm (4-inch) round cutter, cut out as many circles as possible. Re-roll scraps once to cut additional circles. </li> <li class="MethodStepper"> <h4 class="step-title">Step 6</h4> Place 1 tablespoon of pumpkin filling in the center of each dough circle, leaving a 1cm border around the edges. Be careful not to overfill, as this will cause the filling to leak during baking. Beat the egg with 1 tablespoon of water and brush lightly around the edge of each circle to help seal. </li> <li class="MethodStepper"> <h4 class="step-title">Step 7</h4> Fold each circle in half over the filling to create a half-moon shape. Press the edges firmly with your fingers to seal, then crimp with a fork. Cut 2-3 small slits on top of each pie to allow steam to escape (this prevents the filling from bursting through the seams). Transfer to the prepared baking sheets, spacing pies about 5cm apart. </li> <li class="MethodStepper"> <h4 class="step-title">Step 8</h4> Brush the tops of each hand pie with the remaining egg wash, which will give them a beautiful golden sheen during baking. Sprinkle with turbinado sugar for a delightful crunch and extra sweetness. Return the prepared pies to the refrigerator for 15 minutes to re-chill the dough. </li> <li class="MethodStepper"> <h4 class="step-title">Step 9</h4> Bake in the preheated oven for 22-25 minutes, rotating the baking sheets halfway through, until the pies are golden brown. Look for the pastry to be fully cooked with no pale or doughy patches. The filling should be bubbling slightly through the vents on top. </li> <li class="MethodStepper"> <h4 class="step-title">Step 10</h4> Allow the hand pies to cool on the baking sheets for 5 minutes before transferring to a wire rack to cool completely. This brief resting period allows the filling to set slightly. Serve warm or at room temperature. Store any leftovers in an airtight container for up to 3 days, or freeze unbaked hand pies for up to 3 months for an easy future treat. </li> </ol>