Directions
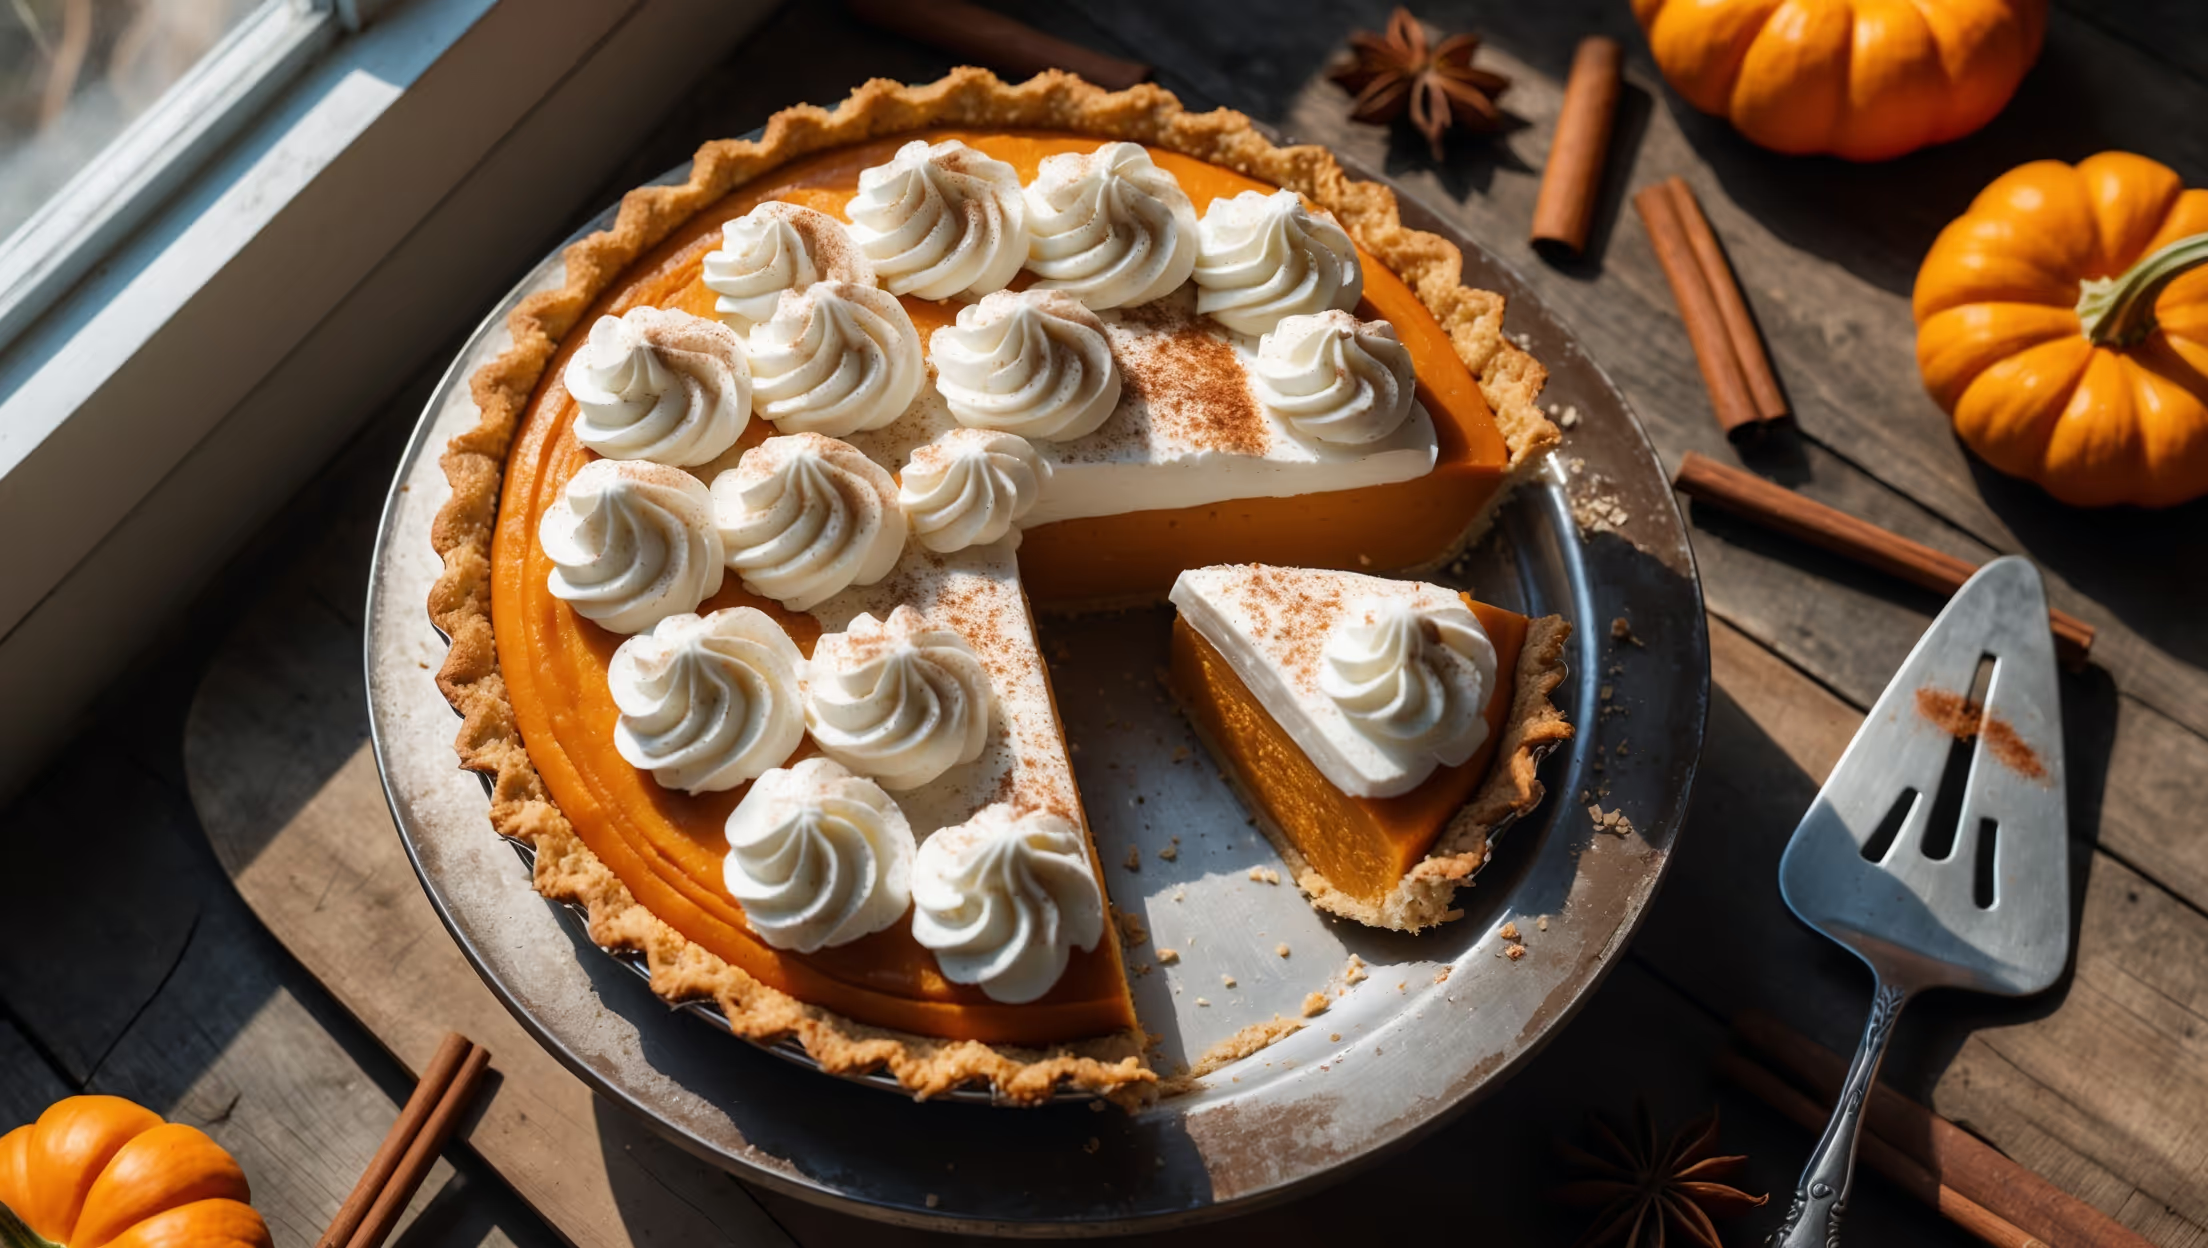
<ol class="no-list-style"><li class="MethodStepper"><h4 class="step-title">Step 1</h4>Preheat your oven to 180°C (350°F). Place the graham crackers in a food processor and pulse until you have fine crumbs. If you don't have a food processor, place them in a sealed plastic bag and crush with a rolling pin. Transfer to a bowl and mix in the sugar and salt.</li><li class="MethodStepper"><h4 class="step-title">Step 2</h4>Pour the melted butter over the crumbs and stir until the mixture resembles wet sand. Every crumb should be moistened – this ensures your crust will hold together perfectly when sliced. Press the mixture firmly into the bottom and up the sides of your pie dish, using the bottom of a measuring cup to create an even surface.</li><li class="MethodStepper"><h4 class="step-title">Step 3</h4>Bake the crust for 8-10 minutes until lightly golden and fragrant. The short baking time sets the crust and prevents sogginess. Cool completely on a wire rack while preparing the filling. Leave the oven on.</li><li class="MethodStepper"><h4 class="step-title">Step 4</h4>For the filling, in a large bowl, whisk together the pumpkin puree, heavy cream, sugar, eggs, vanilla, and all the spices until smooth and well combined. For an extra-silky texture, pass the mixture through a fine-mesh sieve to remove any fibrous bits from the pumpkin – this extra step makes a noticeable difference in the final texture.</li><li class="MethodStepper"><h4 class="step-title">Step 5</h4>Pour the filling into the cooled crust. If your filling comes up higher than your crust, that's fine – it will set beautifully. Tap the pie dish gently on the counter a few times to release any air bubbles trapped in the filling.</li><li class="MethodStepper"><h4 class="step-title">Step 6</h4>Bake for 40-45 minutes, or until the center is almost set but still slightly wobbly when gently shaken – like a just-set custard. The filling will continue to firm up as it cools. If the crust edges begin to brown too quickly, shield them with strips of aluminum foil.</li><li class="MethodStepper"><h4 class="step-title">Step 7</h4>Allow the pie to cool completely at room temperature (about 2 hours), then refrigerate for at least 4 hours or preferably overnight. Chilling is crucial for the filling to fully set and for the flavors to develop. Don't rush this step!</li><li class="MethodStepper"><h4 class="step-title">Step 8</h4>Just before serving, prepare the whipped cream topping. In a chilled bowl, whip the cold heavy cream with an electric mixer until soft peaks begin to form. Gradually add the powdered sugar and vanilla, then continue whipping until firm peaks form. The cream should hold its shape but still look smooth and not grainy – overwhipping will give you butter!</li><li class="MethodStepper"><h4 class="step-title">Step 9</h4>Spread or pipe the whipped cream over the chilled pie, leaving a border of pumpkin filling visible around the edges for visual appeal. Dust lightly with ground cinnamon for a beautiful finish. Serve immediately or return to the refrigerator until ready to serve.</li><li class="MethodStepper"><h4 class="step-title">Step 10</h4>For the cleanest slices, dip your knife in hot water and wipe dry between cuts. The pie will keep, covered in the refrigerator, for up to 3 days, though the crust will gradually soften. For the best texture and flavor, enjoy within 24 hours of adding the whipped cream topping.</li></ol>