Pork Hand Pies Recipe

Ingredients
Equipment
Directions
FAQs
Find answers to your most pressing questions about this delicious recipe right here.
Pork Hand Pies require plain flour, cold butter, salt, white wine vinegar, and egg for the pastry. The filling includes minced pork, onion, carrots, celery, garlic, herbs (thyme and sage), Worcestershire sauce, chicken stock, and seasonings like nutmeg.
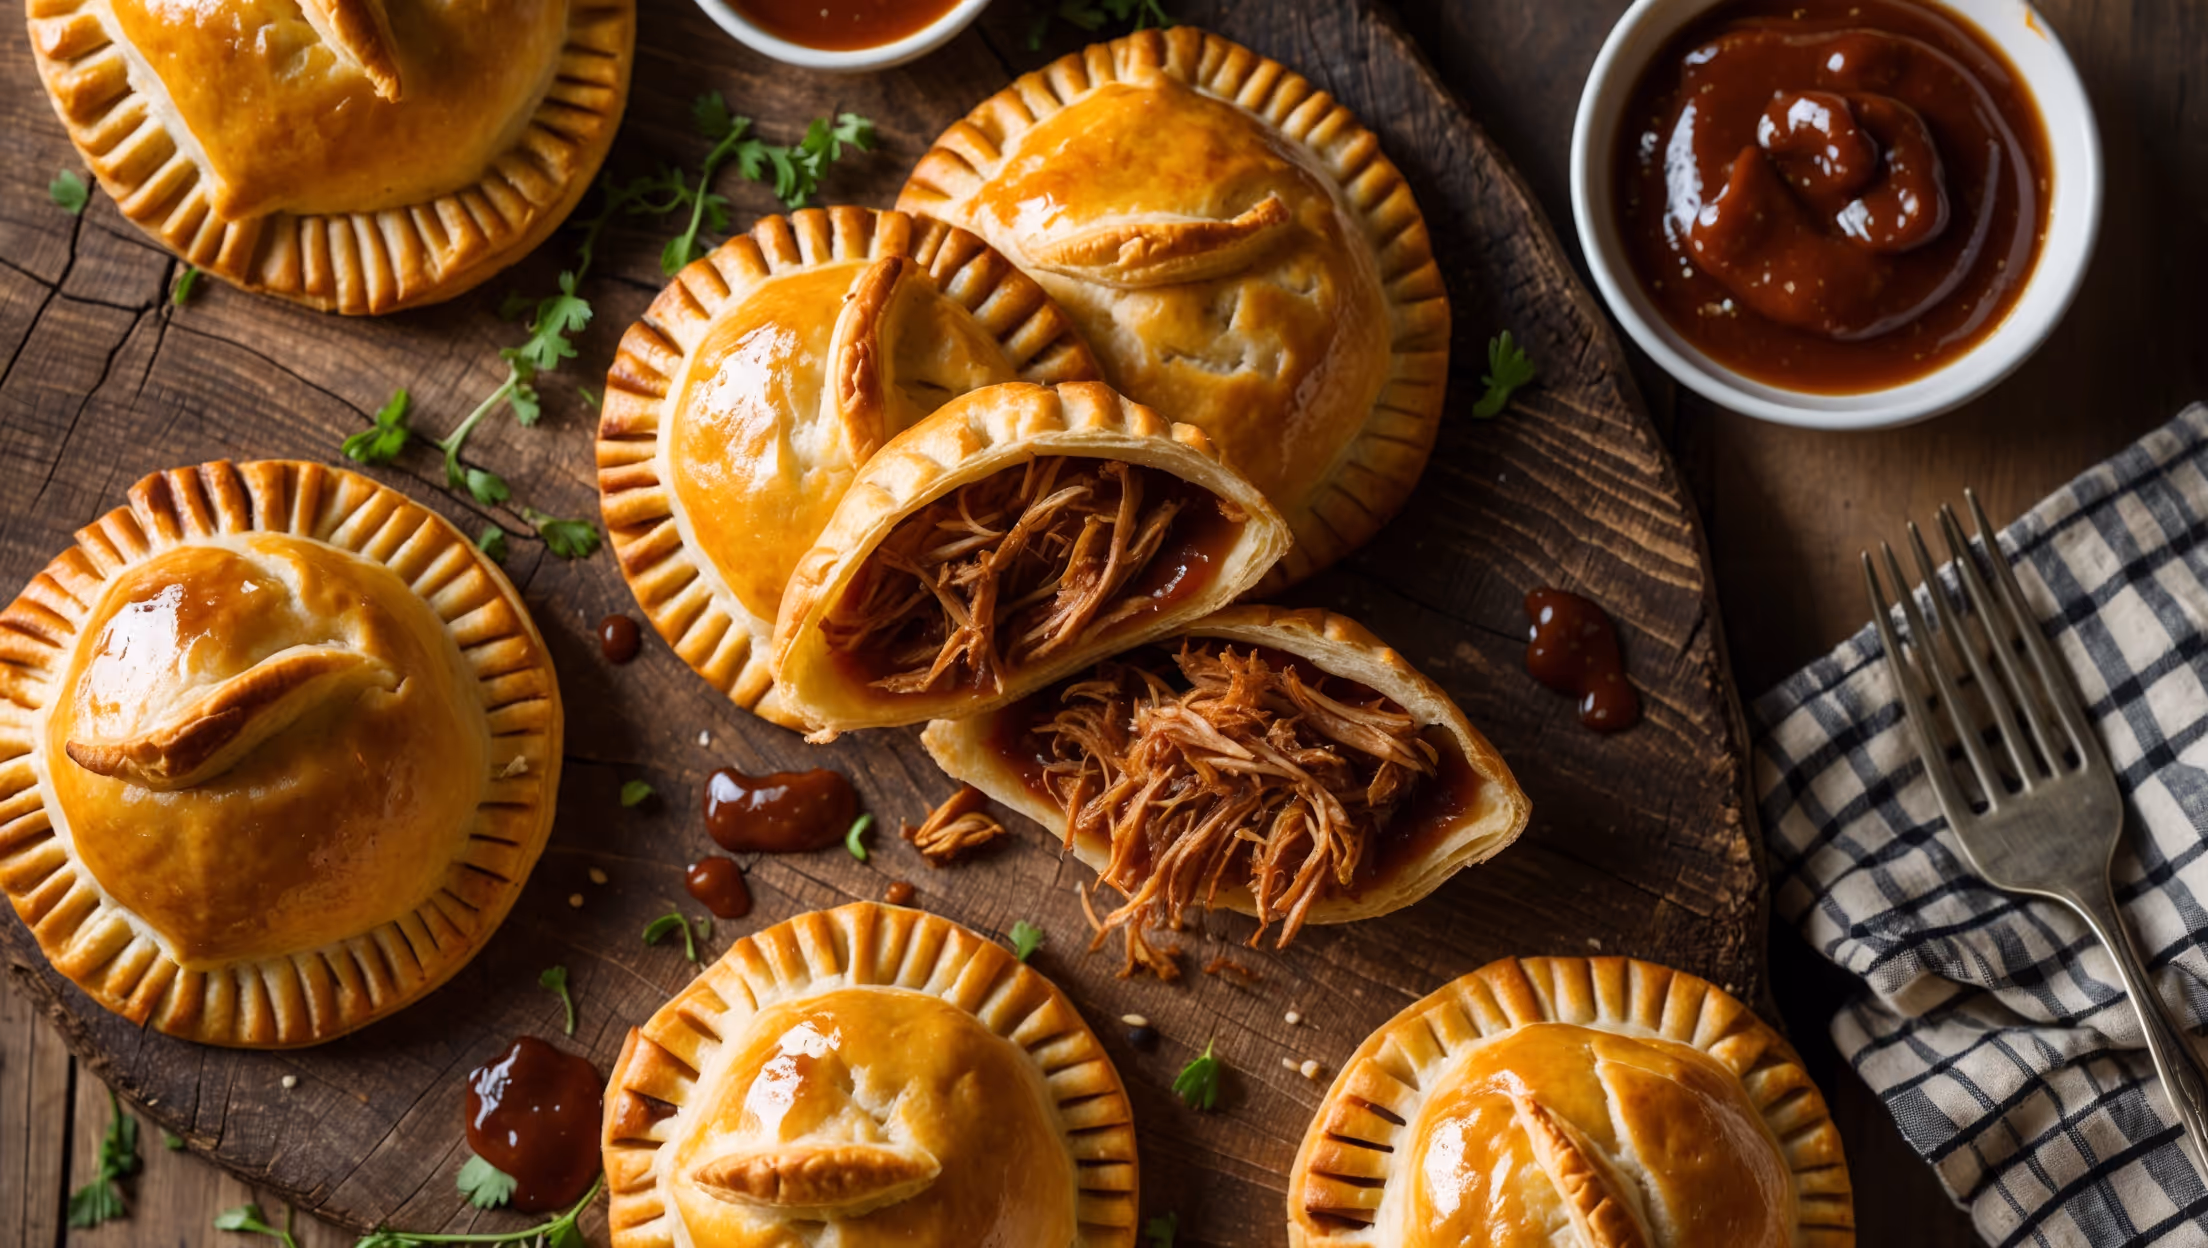
Learn how to cook Pork Hand Pies by first making flaky pastry with cold butter, then preparing a savoury pork filling with vegetables and herbs. Assemble by adding filling to pastry circles, folding and crimping edges, then bake until golden. The key is keeping the pastry cold throughout and allowing the filling to cool before assembly.
The key to flaky pastry is keeping everything cold, incorporating pea-sized butter pieces that create steam pockets during baking, adding white wine vinegar to inhibit gluten formation, avoiding overworking the dough, and chilling the assembled pies before baking.
Yes! These savoury pies freeze exceptionally well for up to 3 months. Freeze them either before or after baking. If frozen unbaked, add an extra 5-10 minutes to the baking time. If freezing baked pies, reheat from frozen in a 180°C oven for 15-20 minutes until hot throughout.
These pastries pair beautifully with simple sides like a crisp green salad, braised peas with mint, buttered new potatoes, coleslaw, or pickled vegetables. For sauces, serve with grainy mustard, apple chutney, or a rich onion gravy to complement the savoury filling.
Hand Pies
Try following recommended recipes