Pizza Hand Pies Recipe

Flaky, portable pizza pockets filled with gooey cheese, savory sauce, and your favorite toppings - the perfect handheld comfort food that combines the best of pastry and pizza.
Difficulty:
Intermediate
Prep Time:
45 mins
Cook Time:
25 mins
Serves:
8 hand pies
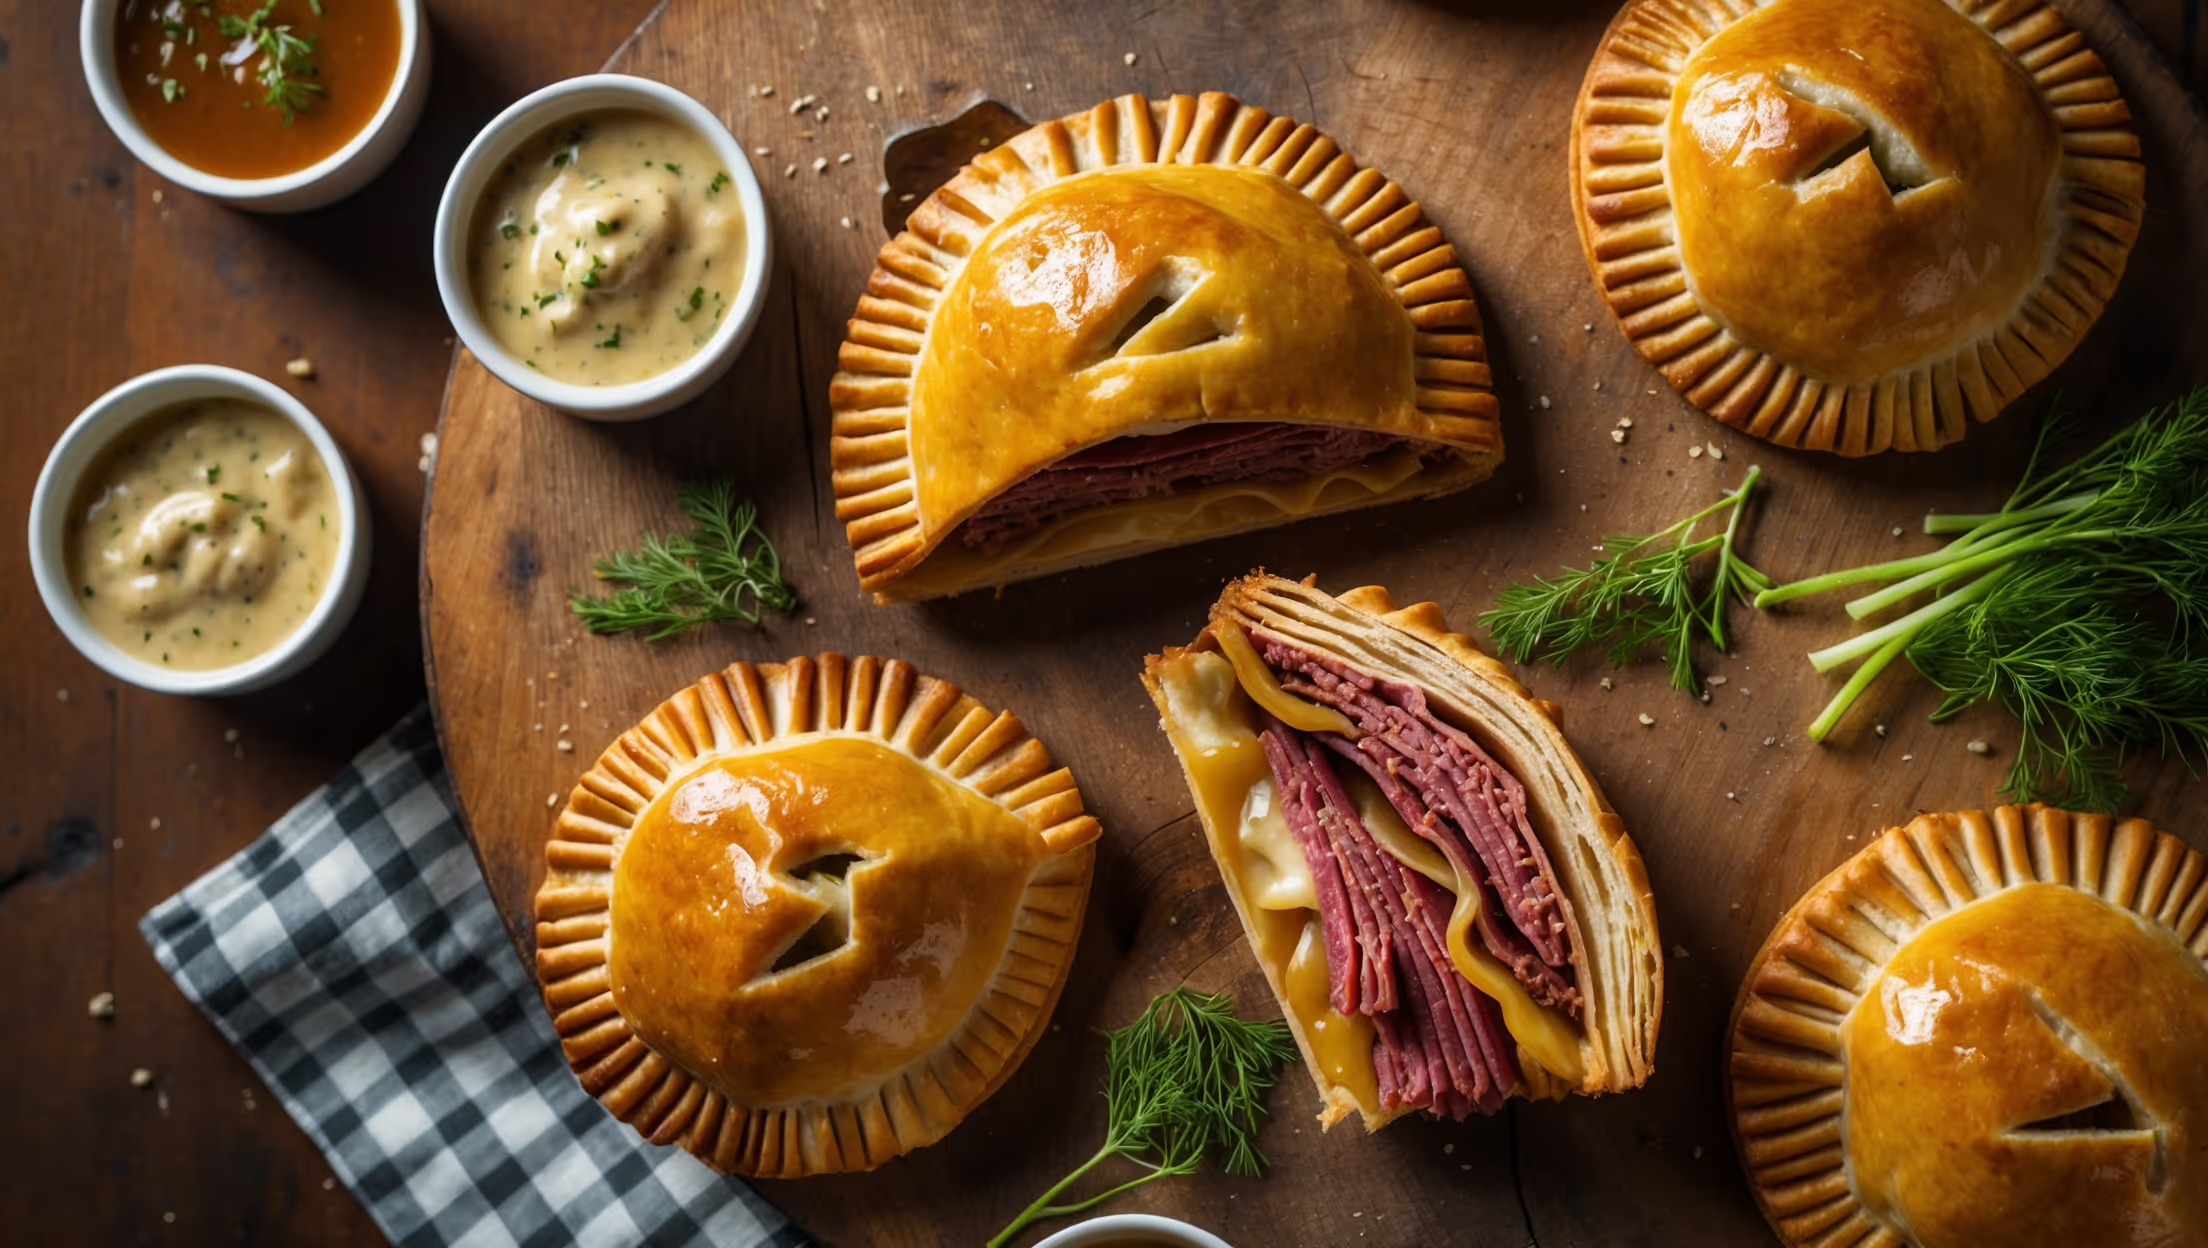
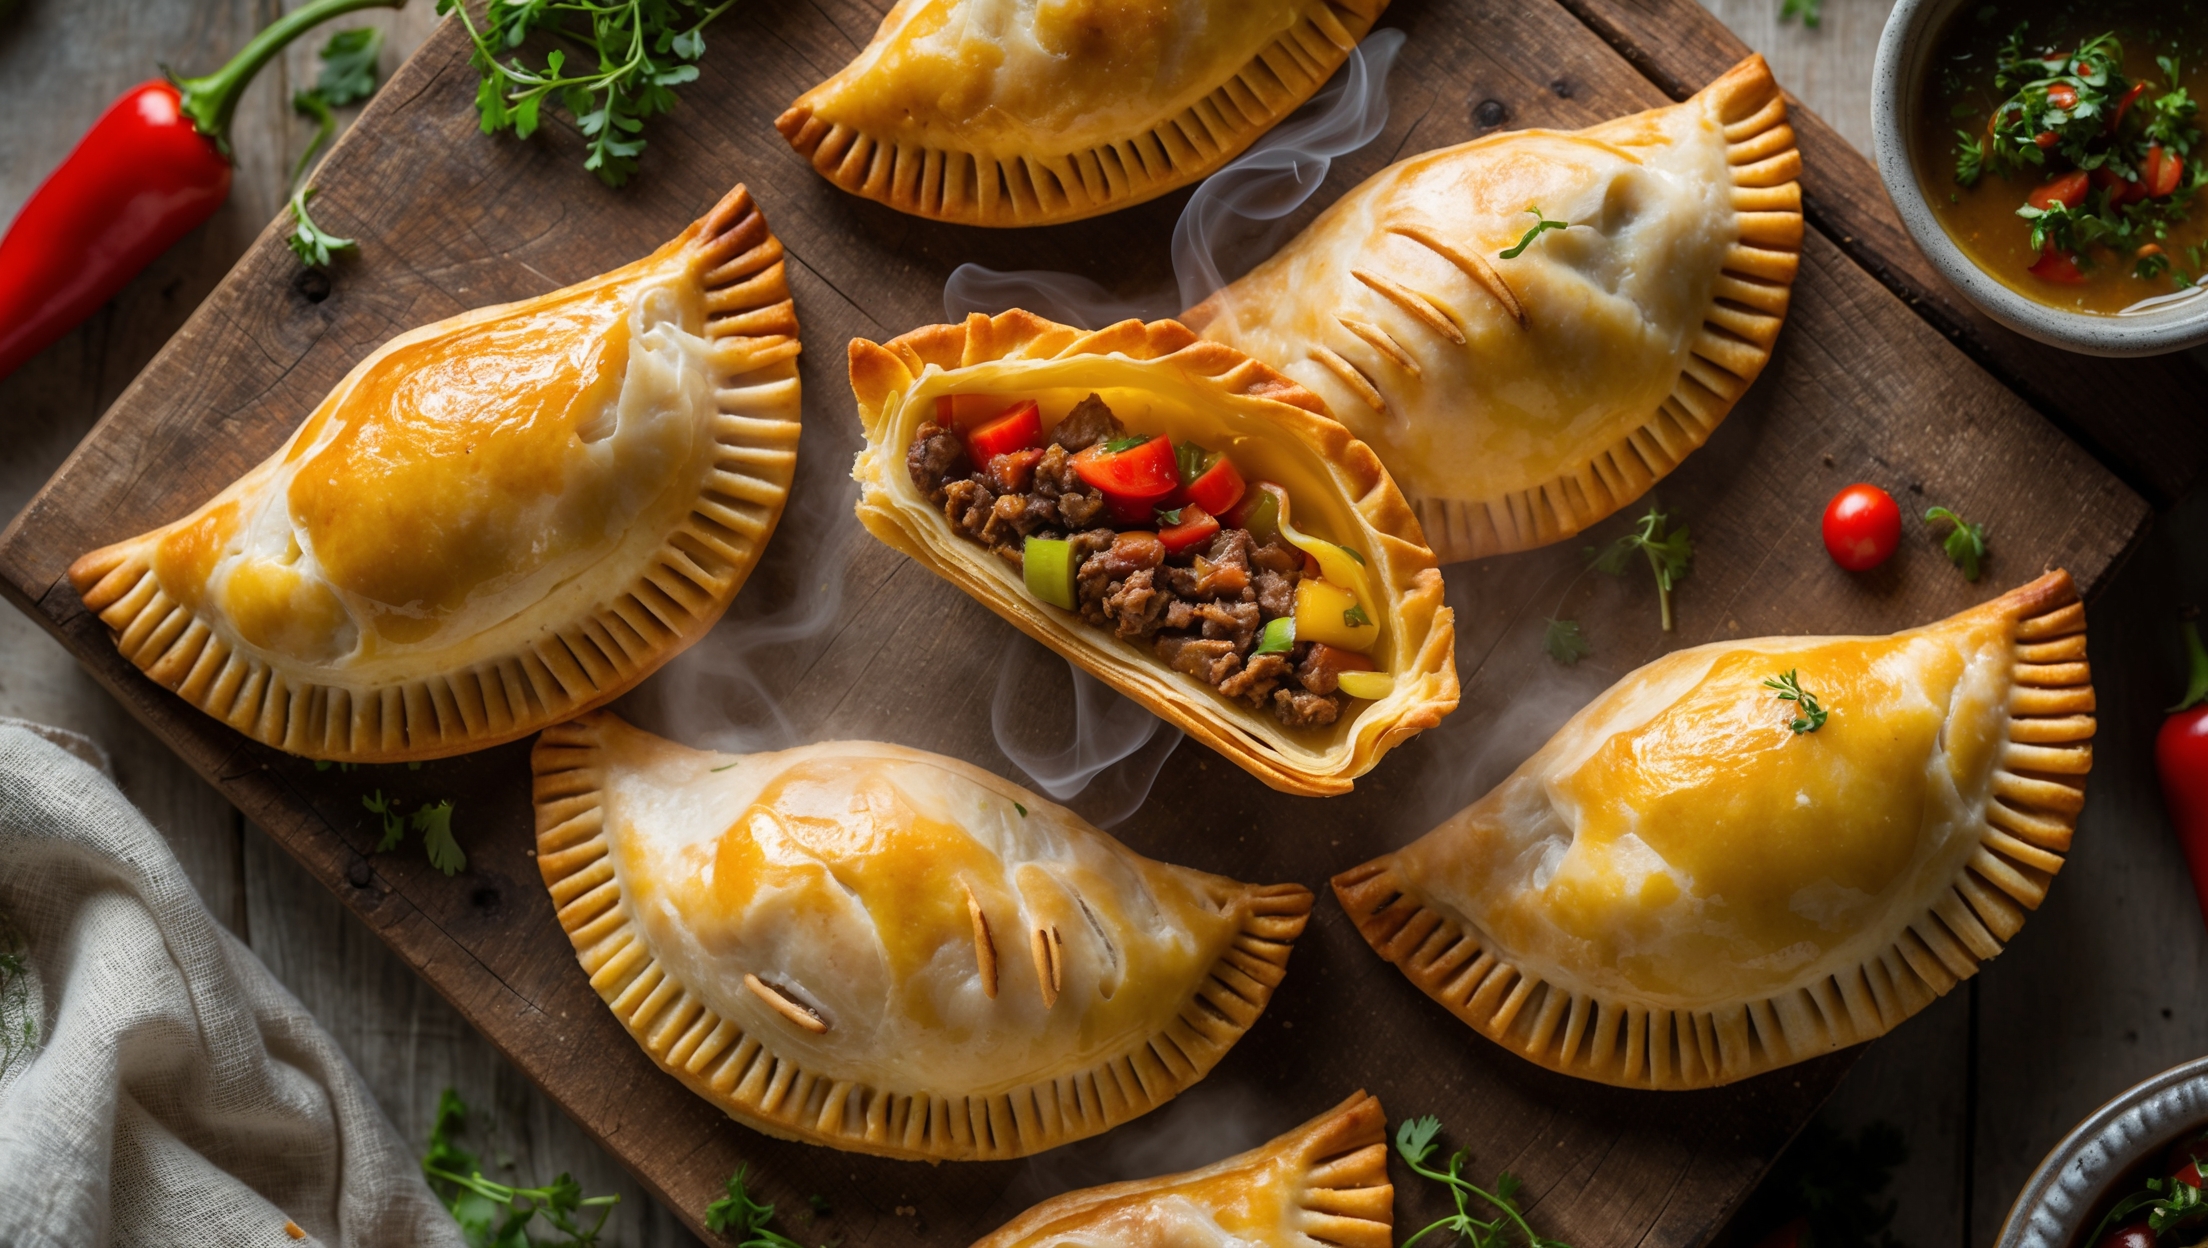
An overhead shot of golden-brown, half-moon shaped pizza hand pies arranged on a rustic wooden board, with one pie broken open to reveal the molten mozzarella and pepperoni filling. Soft natural light highlights the flaky pastry layers and creates shadows that emphasize the hand-crimped edges. A light dusting of flour, scattered fresh basil leaves, and a small bowl of vibrant marinara dipping sauce complete the composition. Steam visibly rises from the freshly baked pies, while tiny droplets of olive oil glisten on their burnished surfaces, showcasing the perfect balance of crisp exterior and succulent filling.

Ingredients

<ul class="ingredients-main-list"><li class="ingredients-single-item">For the pastry:</li><li class="ingredients-single-item">300g all-purpose flour</li><li class="ingredients-single-item">225g cold unsalted butter, cubed</li><li class="ingredients-single-item">1 tsp salt</li><li class="ingredients-single-item">1 tbsp granulated sugar</li><li class="ingredients-single-item">60-80ml ice-cold water</li><li class="ingredients-single-item">1 egg (for egg wash)</li><li class="ingredients-single-item">For the filling:</li><li class="ingredients-single-item">150g mozzarella cheese, shredded</li><li class="ingredients-single-item">50g parmesan cheese, grated</li><li class="ingredients-single-item">100g pizza sauce (or tomato sauce)</li><li class="ingredients-single-item">80g pepperoni, finely diced (or your preferred pizza toppings)</li><li class="ingredients-single-item">1 small green bell pepper, finely diced</li><li class="ingredients-single-item">1 small onion, finely diced</li><li class="ingredients-single-item">2 tsp dried oregano</li><li class="ingredients-single-item">1 tsp dried basil</li><li class="ingredients-single-item">1/2 tsp garlic powder</li><li class="ingredients-single-item">1/2 tsp red pepper flakes (optional)</li></ul>

Equipment

<ul class="equipment-main-list"><li class="equipment-single-item">Food processor (optional for pastry)</li><li class="equipment-single-item">Rolling pin</li><li class="equipment-single-item">10cm (4-inch) round cookie cutter or bowl</li><li class="equipment-single-item">Pastry brush</li><li class="equipment-single-item">Baking sheets</li><li class="equipment-single-item">Parchment paper</li></ul>
BAKE SMARTER

Kitchen Converter

Quickly switch between common baking units without leaving the recipe.

Convert
Result—

Volume uses US cups, tablespoons, and teaspoons. Converting weight to volume depends on the ingredient.

Directions

<ol class="no-list-style"><li class="MethodStepper"><h4 class="step-title">Step 1</h4>Start by making the pastry. In a large bowl or food processor, combine the flour, salt, and sugar. Add the cold cubed butter and pulse or use your fingertips to work it into the flour until the mixture resembles coarse breadcrumbs with some pea-sized butter pieces remaining. These larger butter pieces are crucial for creating flaky layers in your pastry.</li><li class="MethodStepper"><h4 class="step-title">Step 2</h4>Gradually add the ice-cold water, 1 tablespoon at a time, mixing gently until the dough just begins to come together. You may not need all the water - stop when the dough holds together when pinched. The dough should be slightly shaggy but not sticky or too wet.</li><li class="MethodStepper"><h4 class="step-title">Step 3</h4>Turn the dough onto a lightly floured surface and gently form it into a disk without overworking it. Overhandling the dough will develop gluten and melt the butter, resulting in a tough rather than flaky crust. Wrap the disk in plastic wrap and refrigerate for at least 30 minutes (or up to 2 days).</li><li class="MethodStepper"><h4 class="step-title">Step 4</h4>While the dough chills, prepare your filling. In a bowl, combine the pizza sauce, mozzarella, parmesan, pepperoni, bell pepper, onion, and all the seasonings. Mix well and set aside. The mixture should be moist but not overly wet - if there's excess liquid, drain it to prevent soggy pastry.</li><li class="MethodStepper"><h4 class="step-title">Step 5</h4>Preheat your oven to 200°C (400°F) and line two baking sheets with parchment paper. In a small bowl, beat the egg with 1 tablespoon of water to create an egg wash.</li><li class="MethodStepper"><h4 class="step-title">Step 6</h4>Remove the chilled dough from the refrigerator and let it sit for 5 minutes to slightly soften. On a lightly floured surface, roll the dough to about 3mm (1/8 inch) thickness. Using a 10cm (4-inch) round cutter or bowl, cut out as many circles as possible. Re-roll scraps once to cut more circles.</li><li class="MethodStepper"><h4 class="step-title">Step 7</h4>Place about 1-1.5 tablespoons of filling on one half of each dough circle, leaving a 1cm border around the edge. Be careful not to overfill - this is a common mistake that leads to filling leakage during baking.</li><li class="MethodStepper"><h4 class="step-title">Step 8</h4>Brush the border lightly with egg wash, then fold the empty half of the dough over the filling to create a half-moon shape. Press the edges firmly to seal, then use a fork to crimp the edges decoratively and ensure they're well-sealed.</li><li class="MethodStepper"><h4 class="step-title">Step 9</h4>Transfer the hand pies to the prepared baking sheets, spacing them about 5cm apart. Cut a small vent in the top of each pie to allow steam to escape. Brush the tops generously with egg wash for a golden, shiny finish.</li><li class="MethodStepper"><h4 class="step-title">Step 10</h4>Bake in the preheated oven for 20-25 minutes, rotating the pans halfway through, until the hand pies are deeply golden brown. The extended baking time ensures the bottom crust is fully cooked and not soggy.</li><li class="MethodStepper"><h4 class="step-title">Step 11</h4>Allow the pizza hand pies to cool on the baking sheets for 5 minutes before transferring to a wire rack. They'll be extremely hot inside, so be patient! Letting them rest allows the filling to set slightly and makes them easier to handle.</li><li class="MethodStepper"><h4 class="step-title">Step 12</h4>Serve warm or at room temperature. These pizza hand pies can be stored in an airtight container in the refrigerator for up to 3 days or frozen for up to 3 months. To reheat, warm in a 180°C (350°F) oven for about 10 minutes if refrigerated or 15-20 minutes if frozen.</li></ol>

Nutrition Facts (per serving)

🍽️ Serving Size: 1 serving
🔥 Calories: 320 calories
🥑 Fat: 18 g
🧈 Saturated Fat: 10 g
🍞 Carbohydrates: 32 g
🍭 Sugar: 3 g
🍗 Protein: 9 g
🫀 Cholesterol: 75 mg
🧂 Sodium: 580 mg

Chef’s Notes

A few helpful details for making this recipe.

Can I make these pizza pockets in advance and freeze them?

Yes! These pizza hand pies are perfect for batch cooking. You can freeze them either before or after baking. For unbaked pies, freeze on a tray until solid, then transfer to freezer bags. Bake from frozen, adding 5-8 minutes to the cooking time. Baked pies can be reheated from frozen in a 180°C oven.

What are some vegetarian filling alternatives for handheld pizza pockets?

Delicious vegetarian fillings include sautéed mushrooms, spinach and ricotta, roasted vegetables (aubergine, courgette, peppers), olives and feta, caramelised onions with goat cheese, or a caprese-style filling with mozzarella, tomatoes and basil. Just ensure vegetables are pre-cooked to remove excess moisture.

Why is my pastry for savoury hand pies not turning out flaky?

Common causes include: butter too warm (should be ice-cold), overworking the dough (develops gluten), adding too much water, or skipping the chilling step. Always use cold ingredients, handle minimally, leave visible butter pieces in the dough, and refrigerate for at least 30 minutes before rolling.

Want to try something else in ...

More recipes you might like

Keep exploring with more recipes from What's Baking.