Pineapple Hand Pies Recipe

Ingredients
Equipment
Directions
FAQs
Find answers to your most pressing questions about this delicious recipe right here.
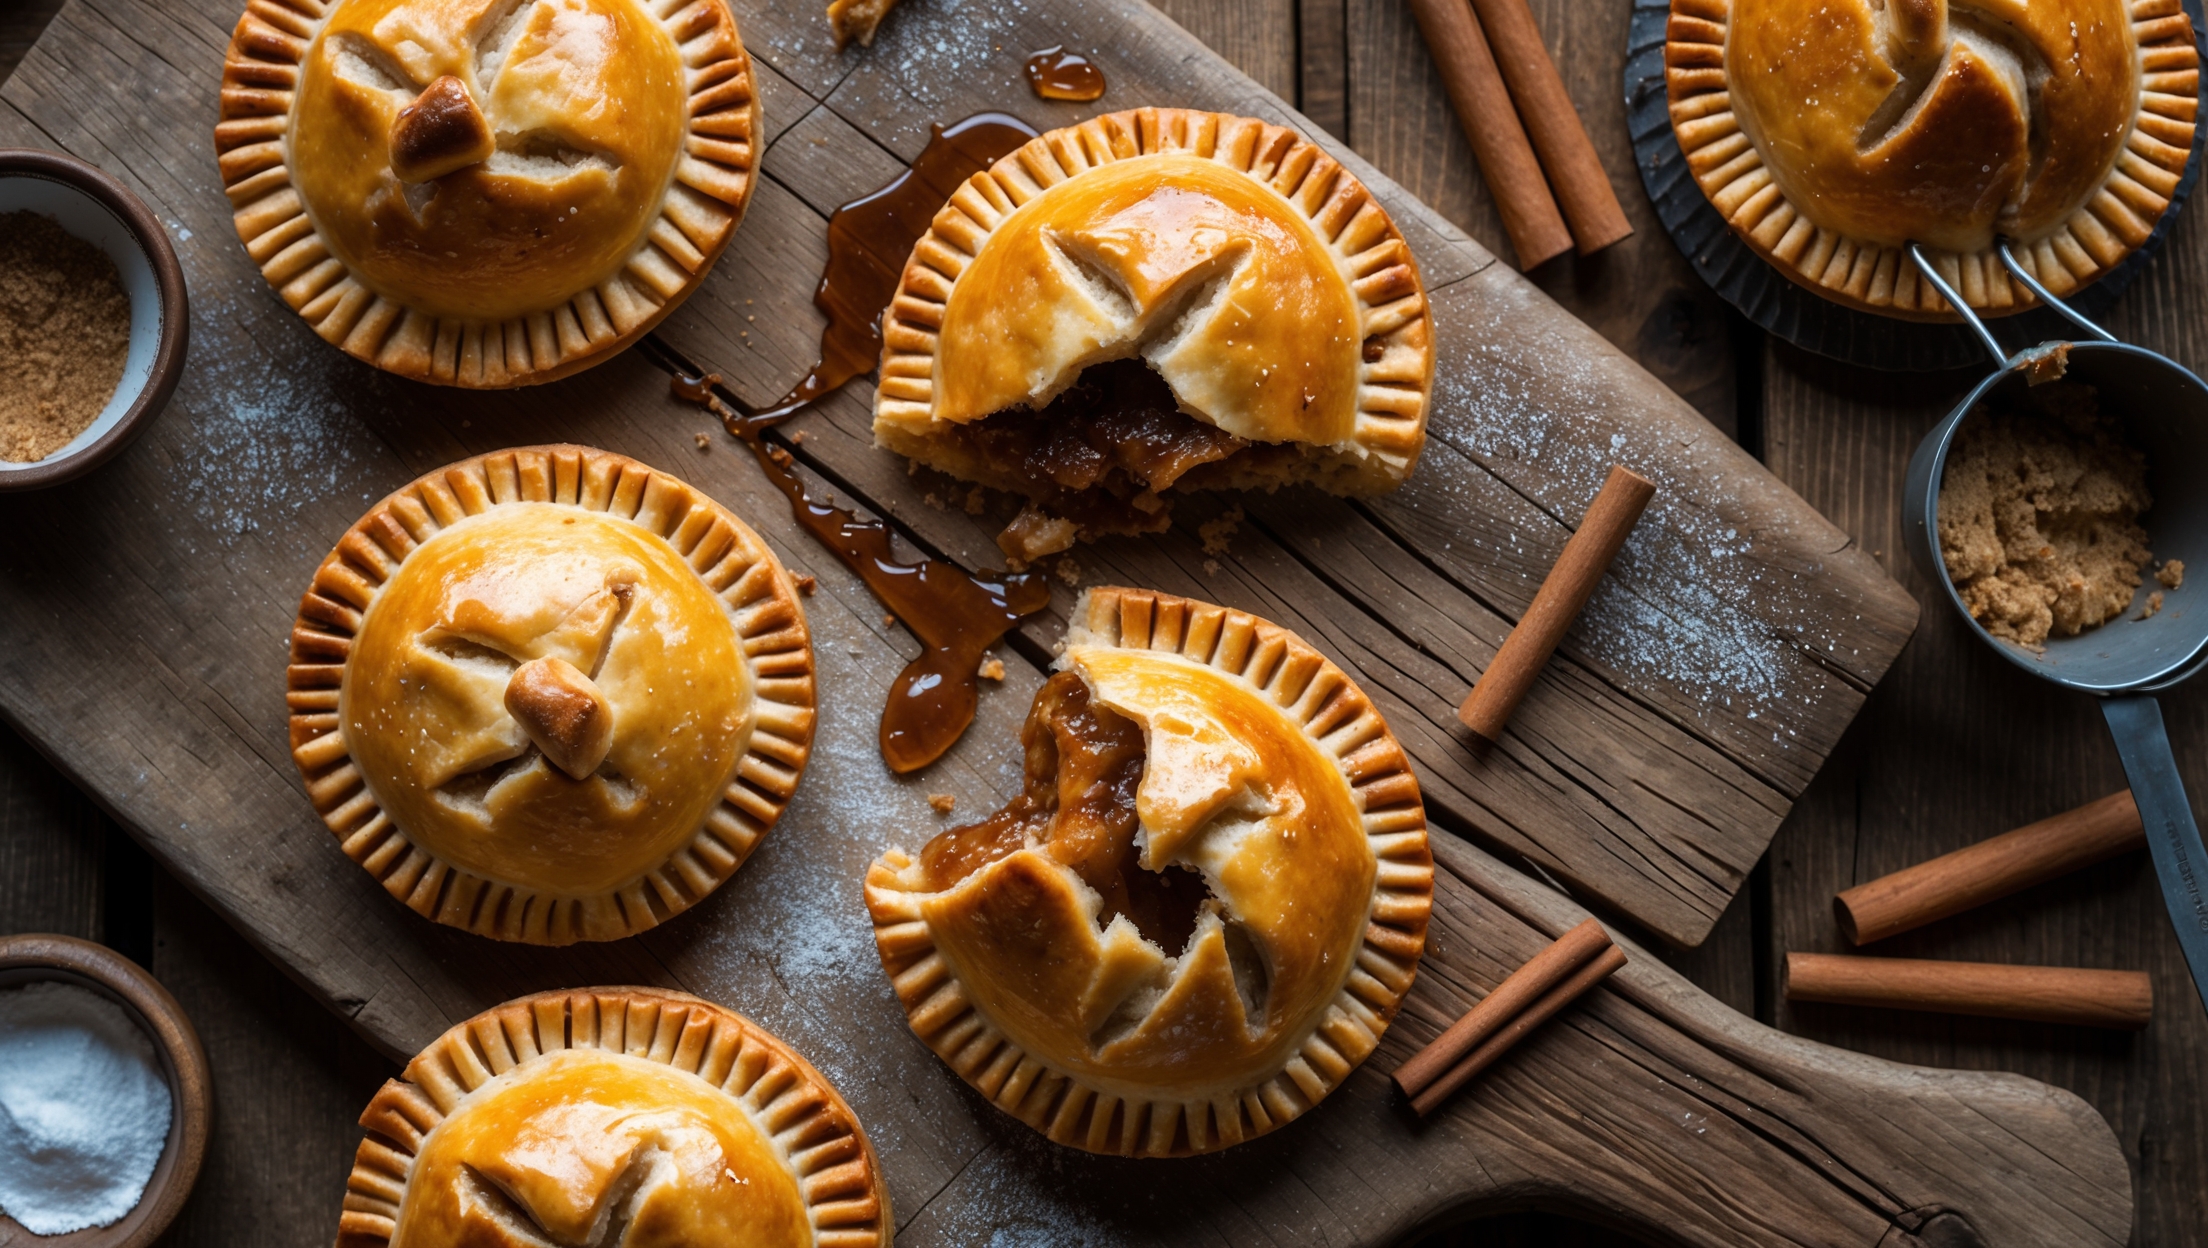
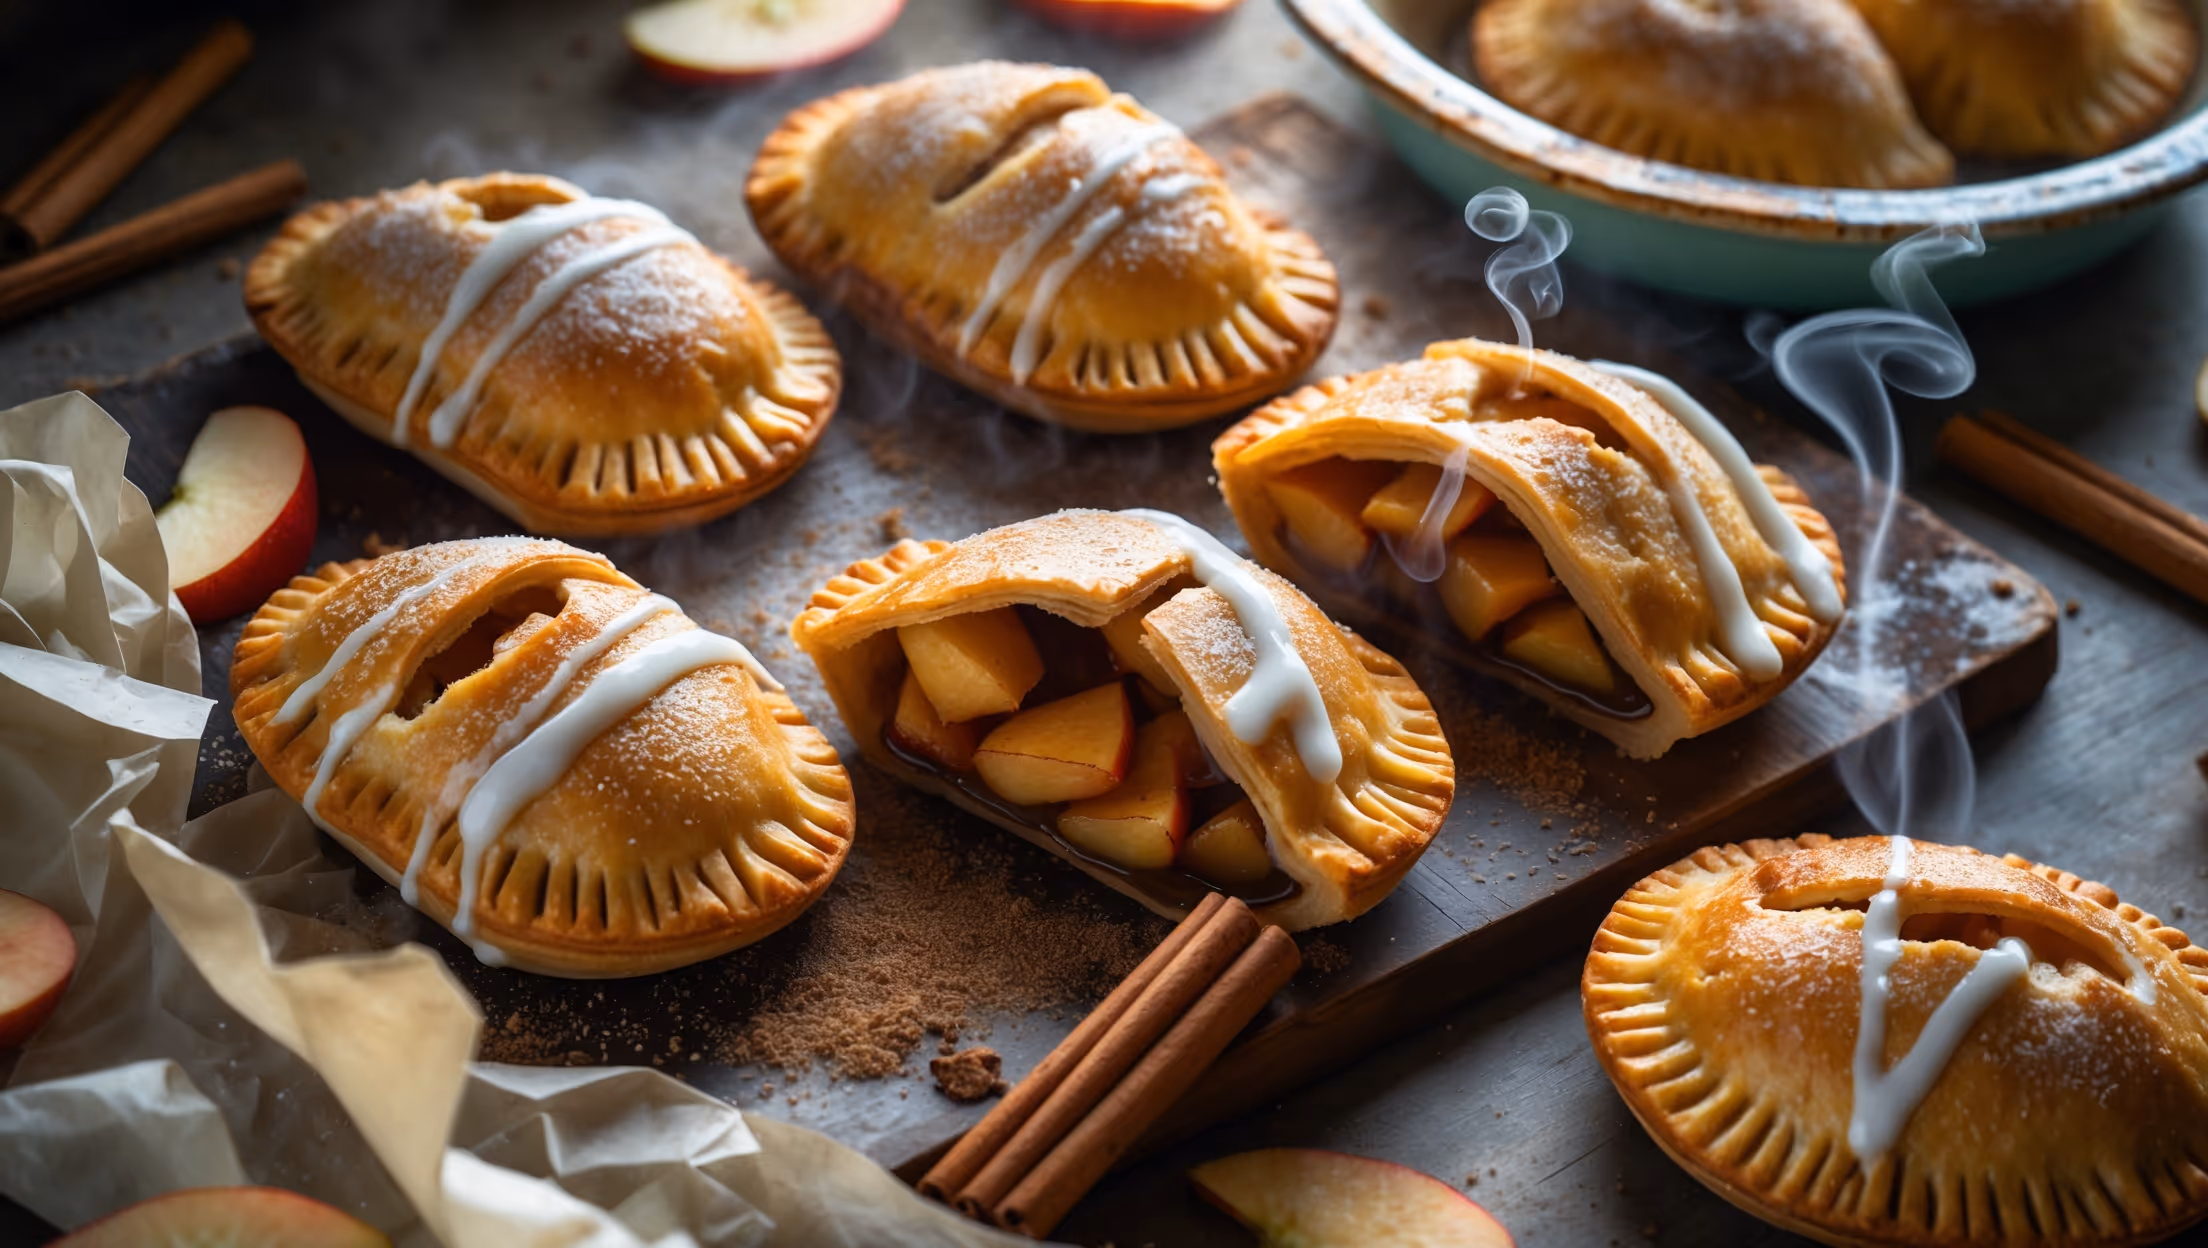
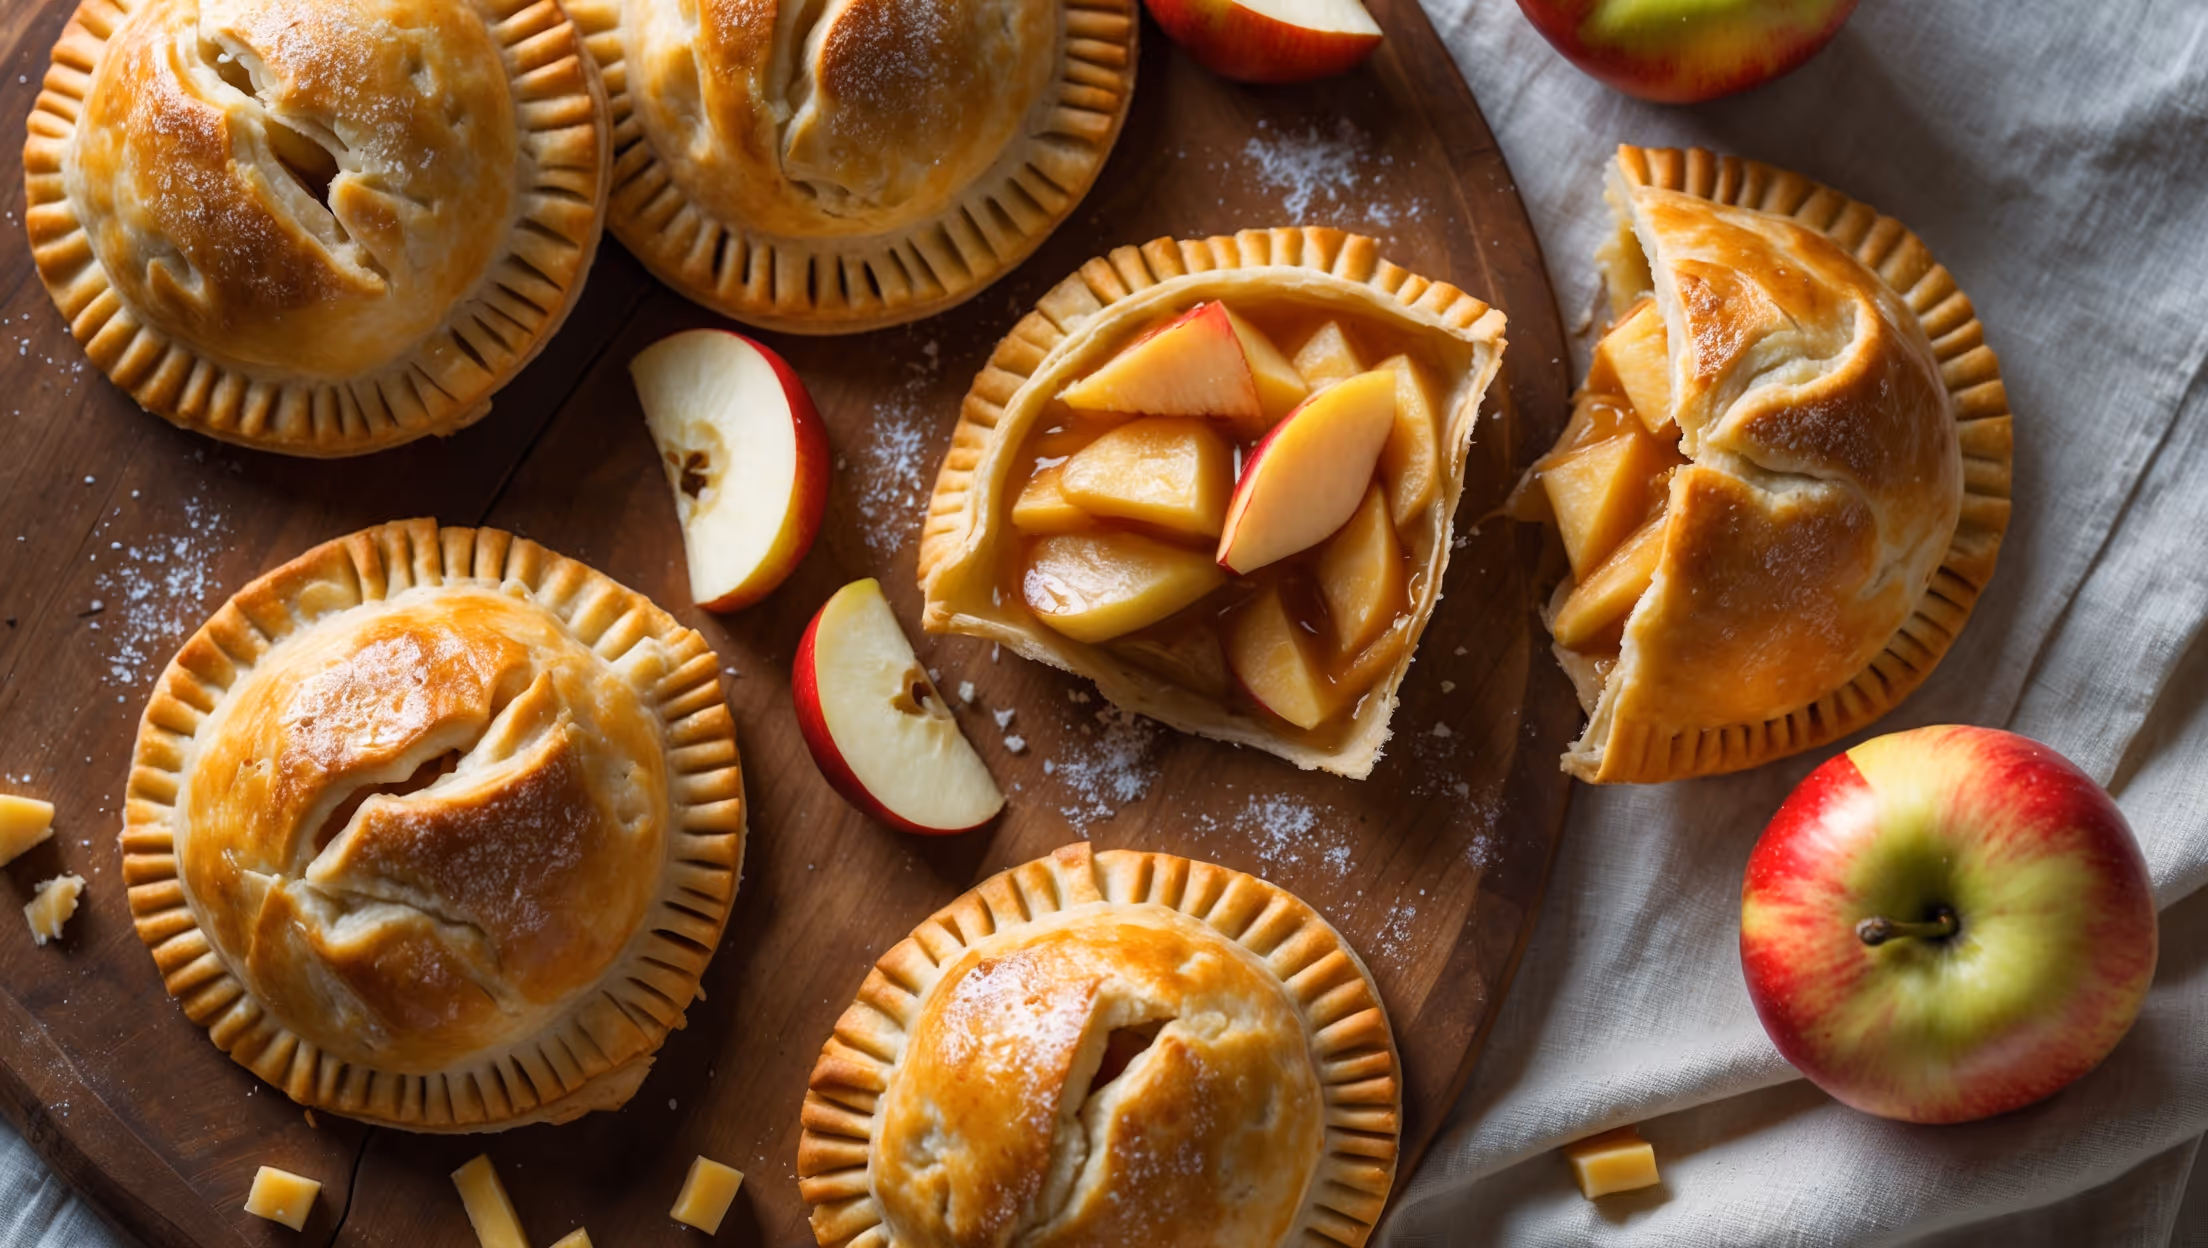
Pineapple Hand Pies require all-purpose flour, sugar, salt, cold unsalted butter, ice water, apple cider vinegar, fresh or canned pineapple, cornstarch, lemon juice, cinnamon, egg for wash, and coarse sugar for topping. The pastry needs cold ingredients for flakiness, while the filling balances sweet and tart flavours.
Learn how to cook Pineapple Hand Pies by making a flaky pastry dough with cold butter, preparing a thickened pineapple filling, assembling the hand pies with proper sealing techniques, and baking at 190°C for 22-25 minutes until golden brown. The key is keeping the dough cold throughout preparation and ensuring the filling cools completely before assembly to prevent soggy pastry.
Yes, canned pineapple works perfectly for hand pies! Just ensure you drain it thoroughly before use to prevent excess moisture. Canned chunks should be chopped into smaller pieces for even distribution in the filling. While fresh pineapple offers brighter flavour, canned provides convenience and consistent sweetness year-round.
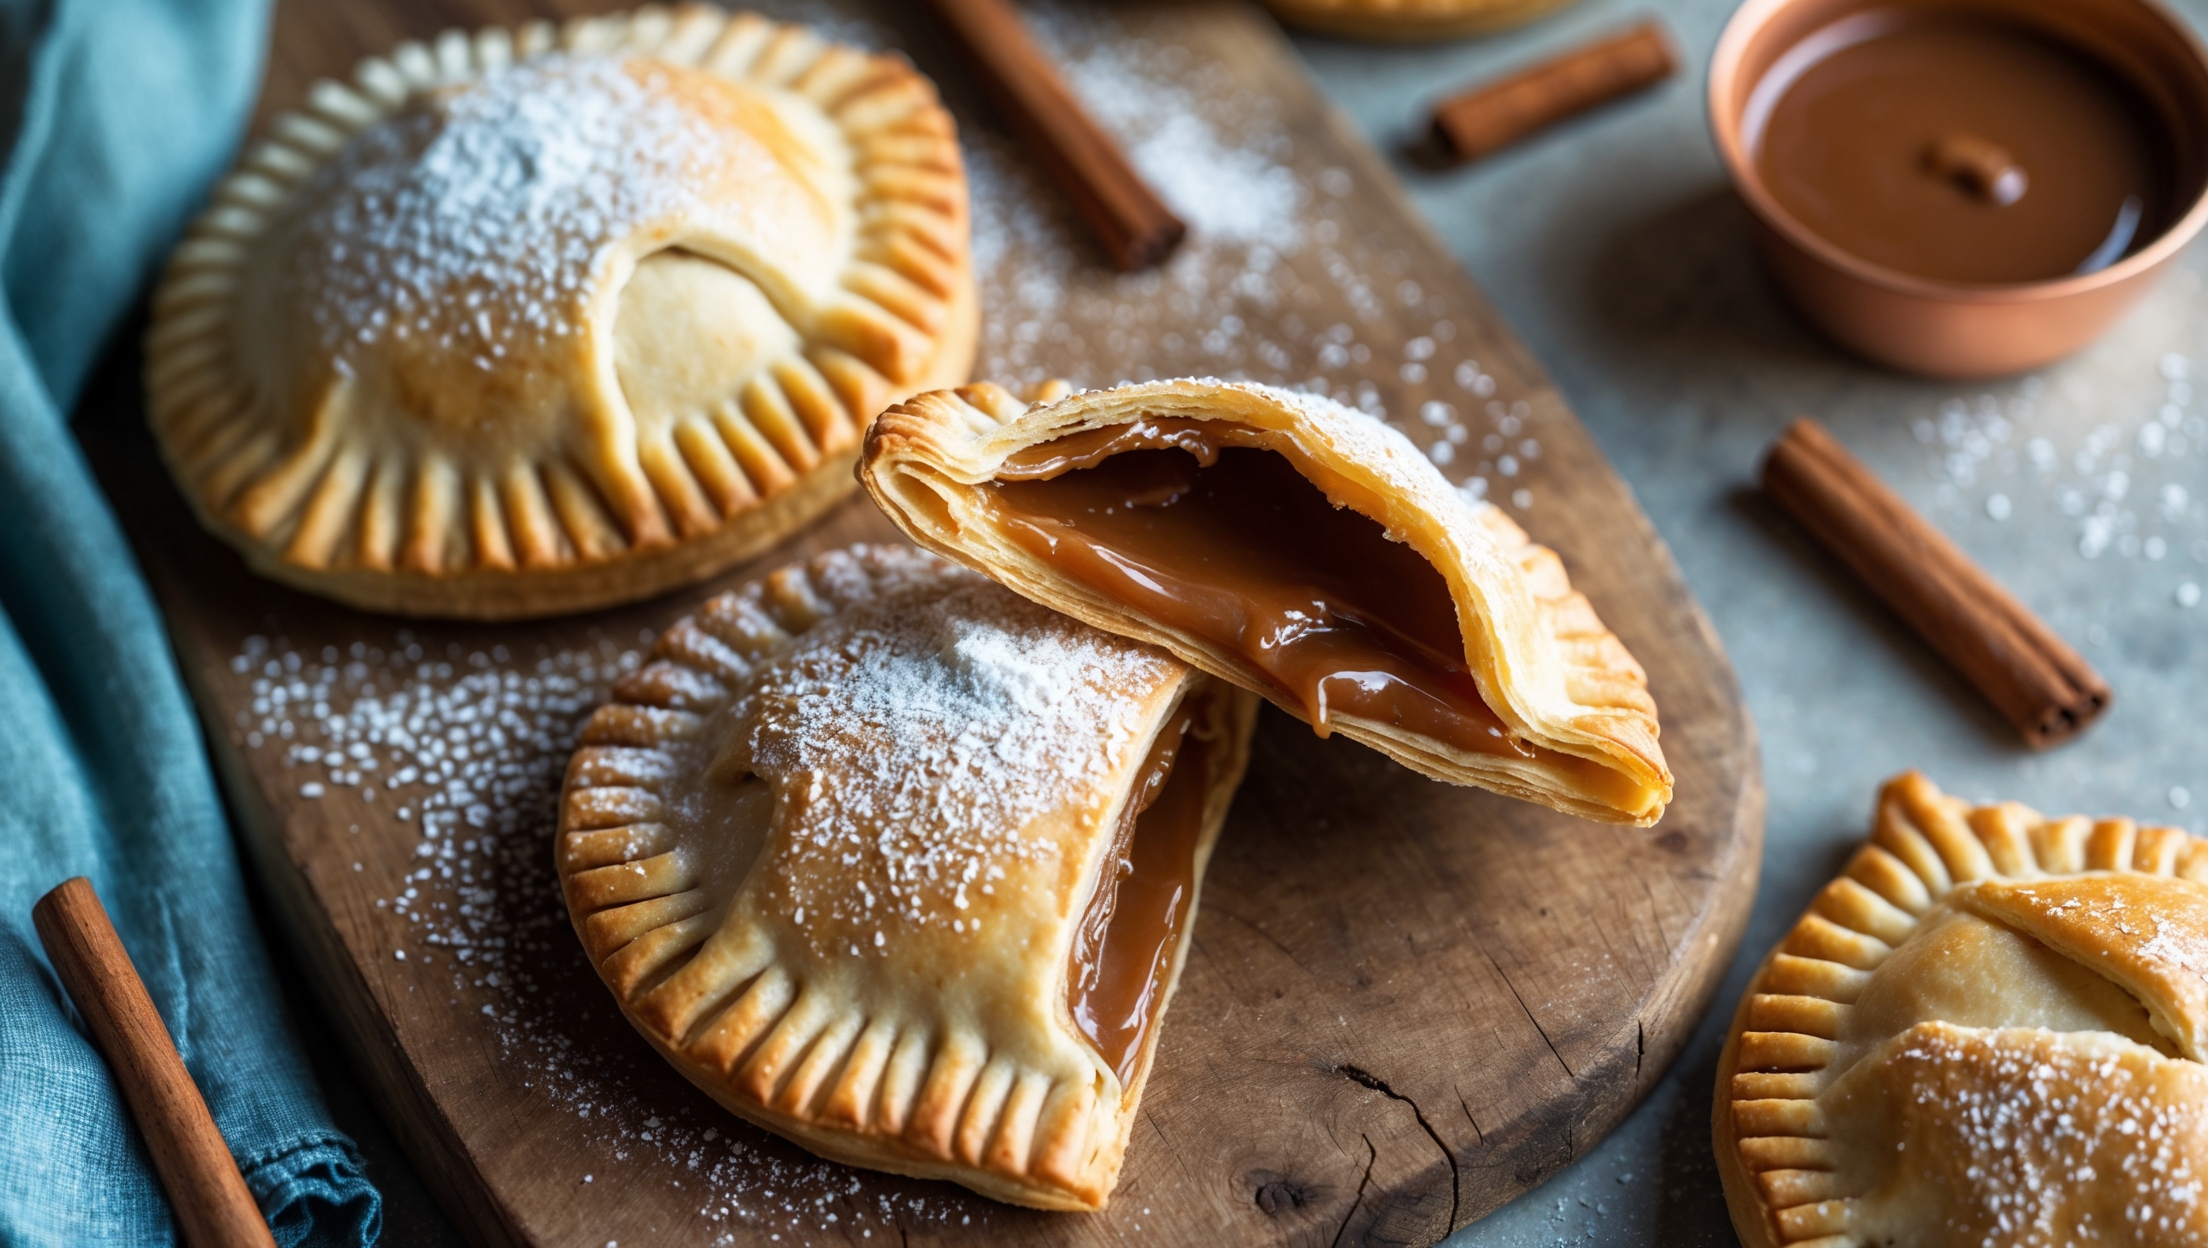
The secret to flaky hand pie pastry is keeping everything cold—use ice water, refrigerate butter until the last minute, and chill the dough before rolling and after assembly. The apple cider vinegar inhibits gluten formation, while visible butter pieces create steam pockets during baking that develop those coveted flaky layers.
Prevent leaky hand pies by cooling the filling completely before assembly, avoiding overfilling (1-2 tablespoons is ideal), creating a proper seal with egg wash "glue," crimping edges firmly with a fork, cutting steam vents in the top crust, and giving the assembled pies a final chill before baking to set the structure.
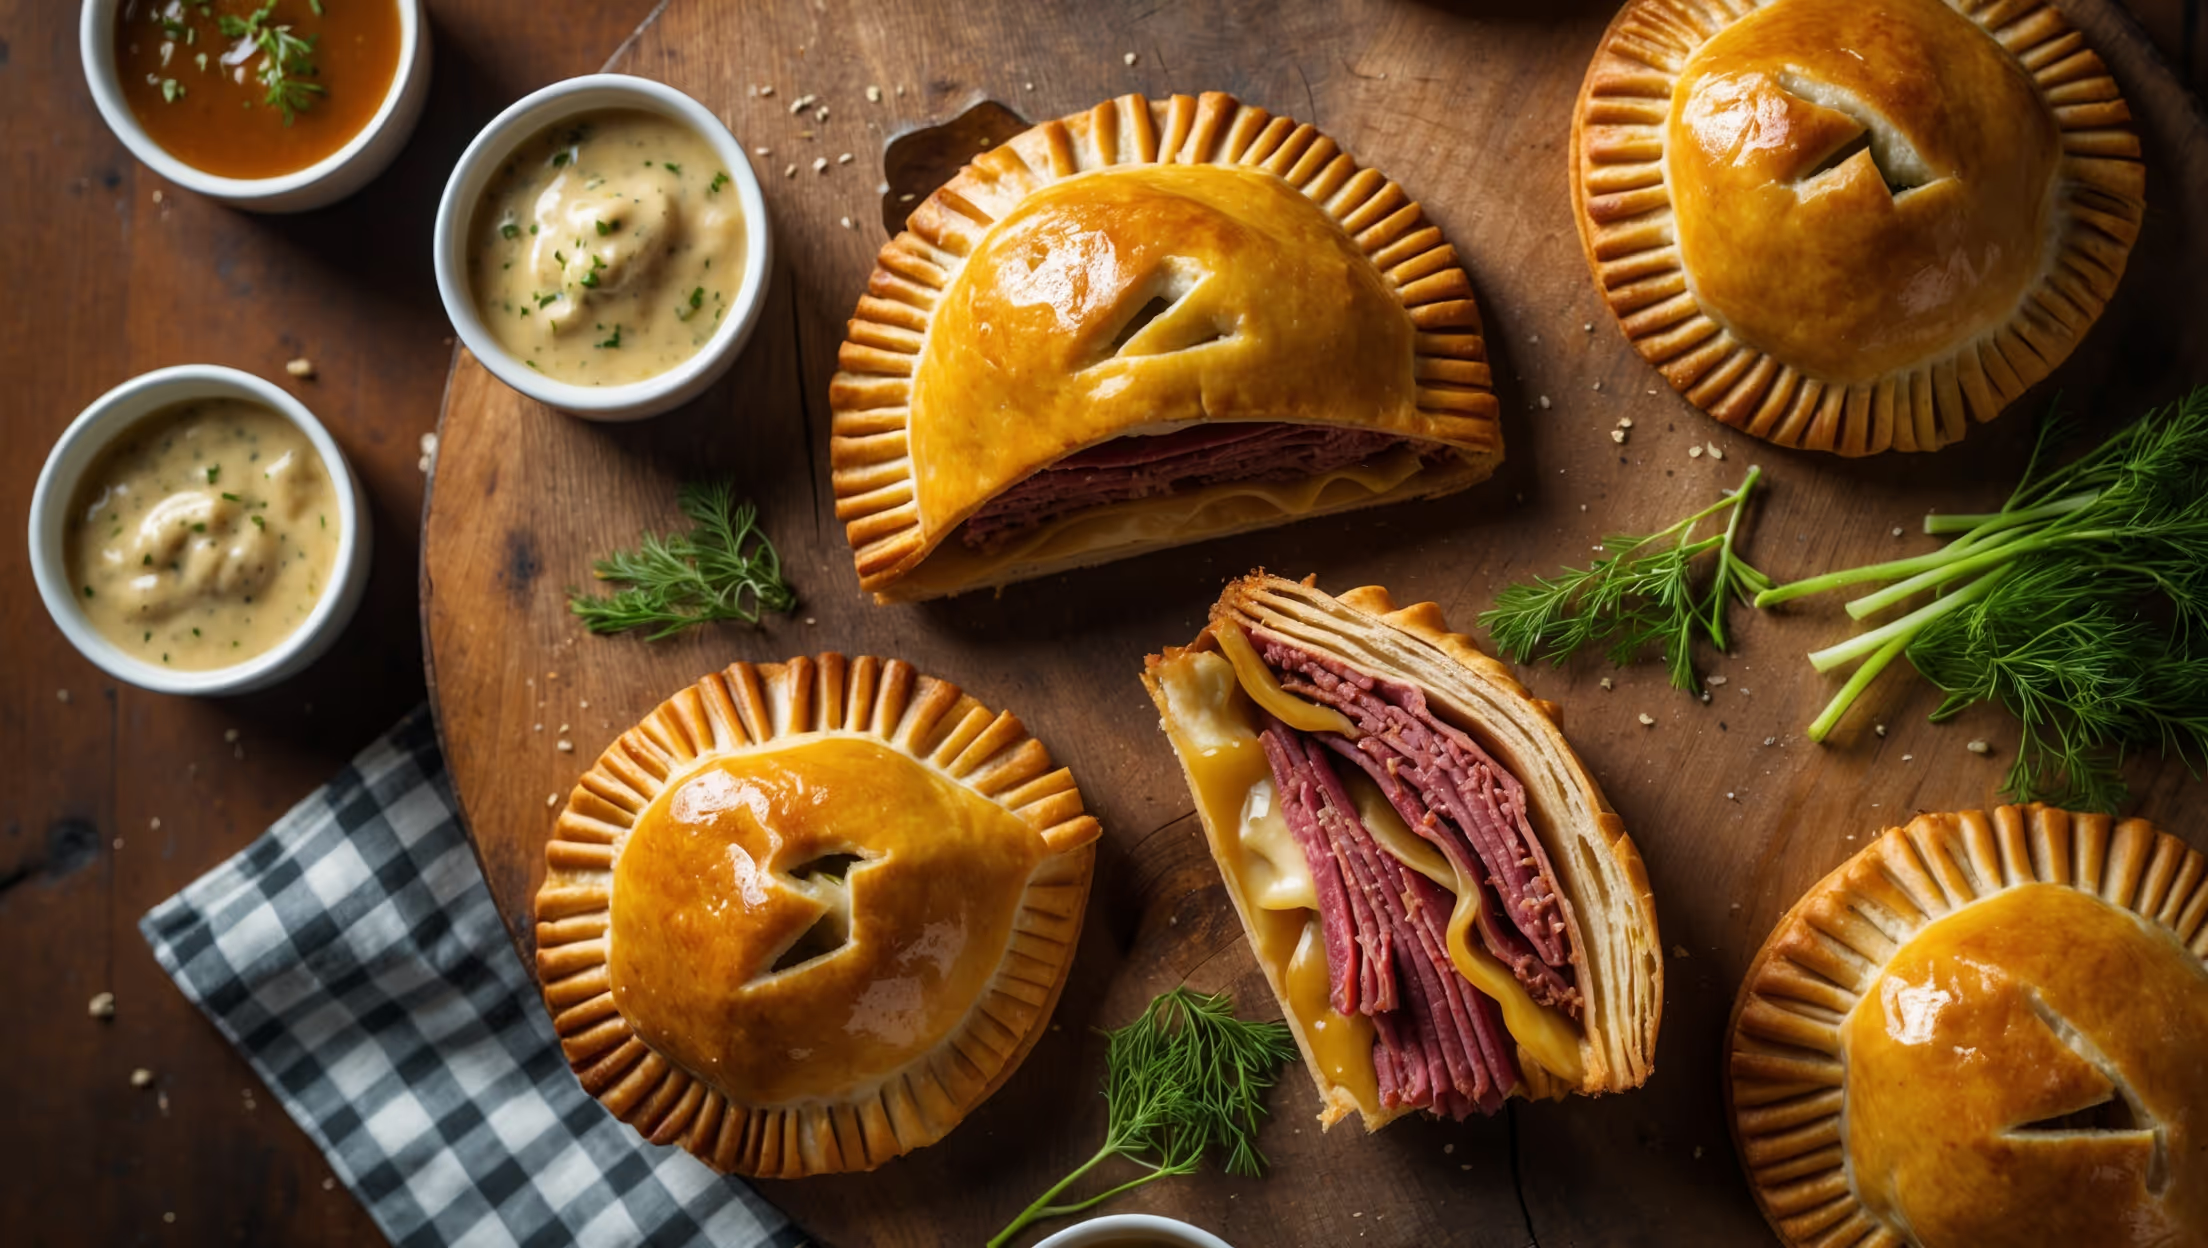
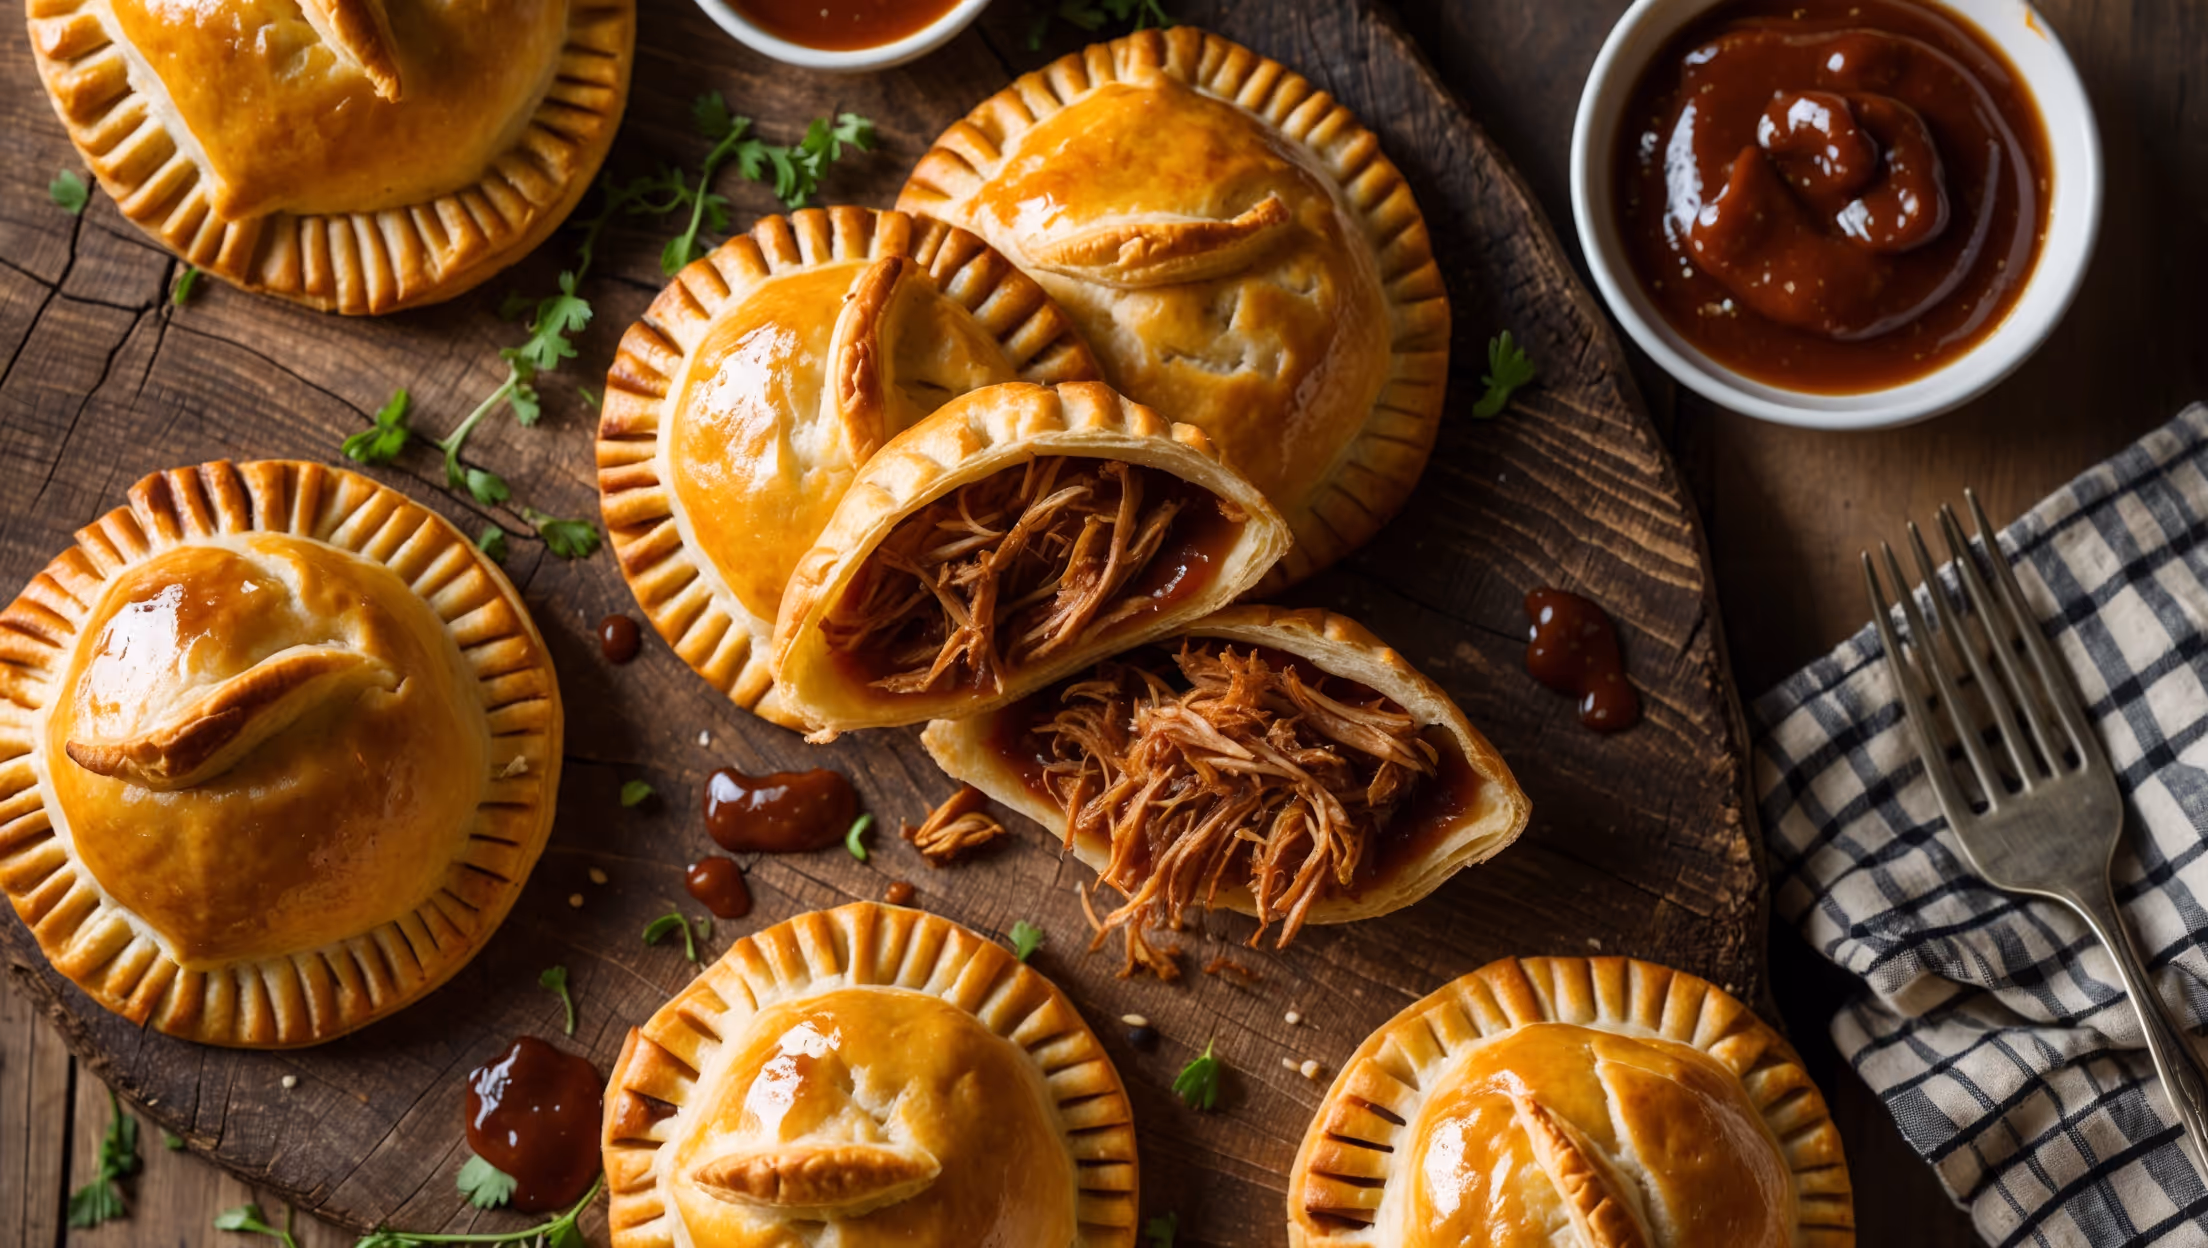
Hand Pies
Try following recommended recipes