Peanut Butter and Jelly Hand Pies Recipe
Ingredients
Equipment
Directions
FAQs
Find answers to your most pressing questions about this delicious recipe right here.
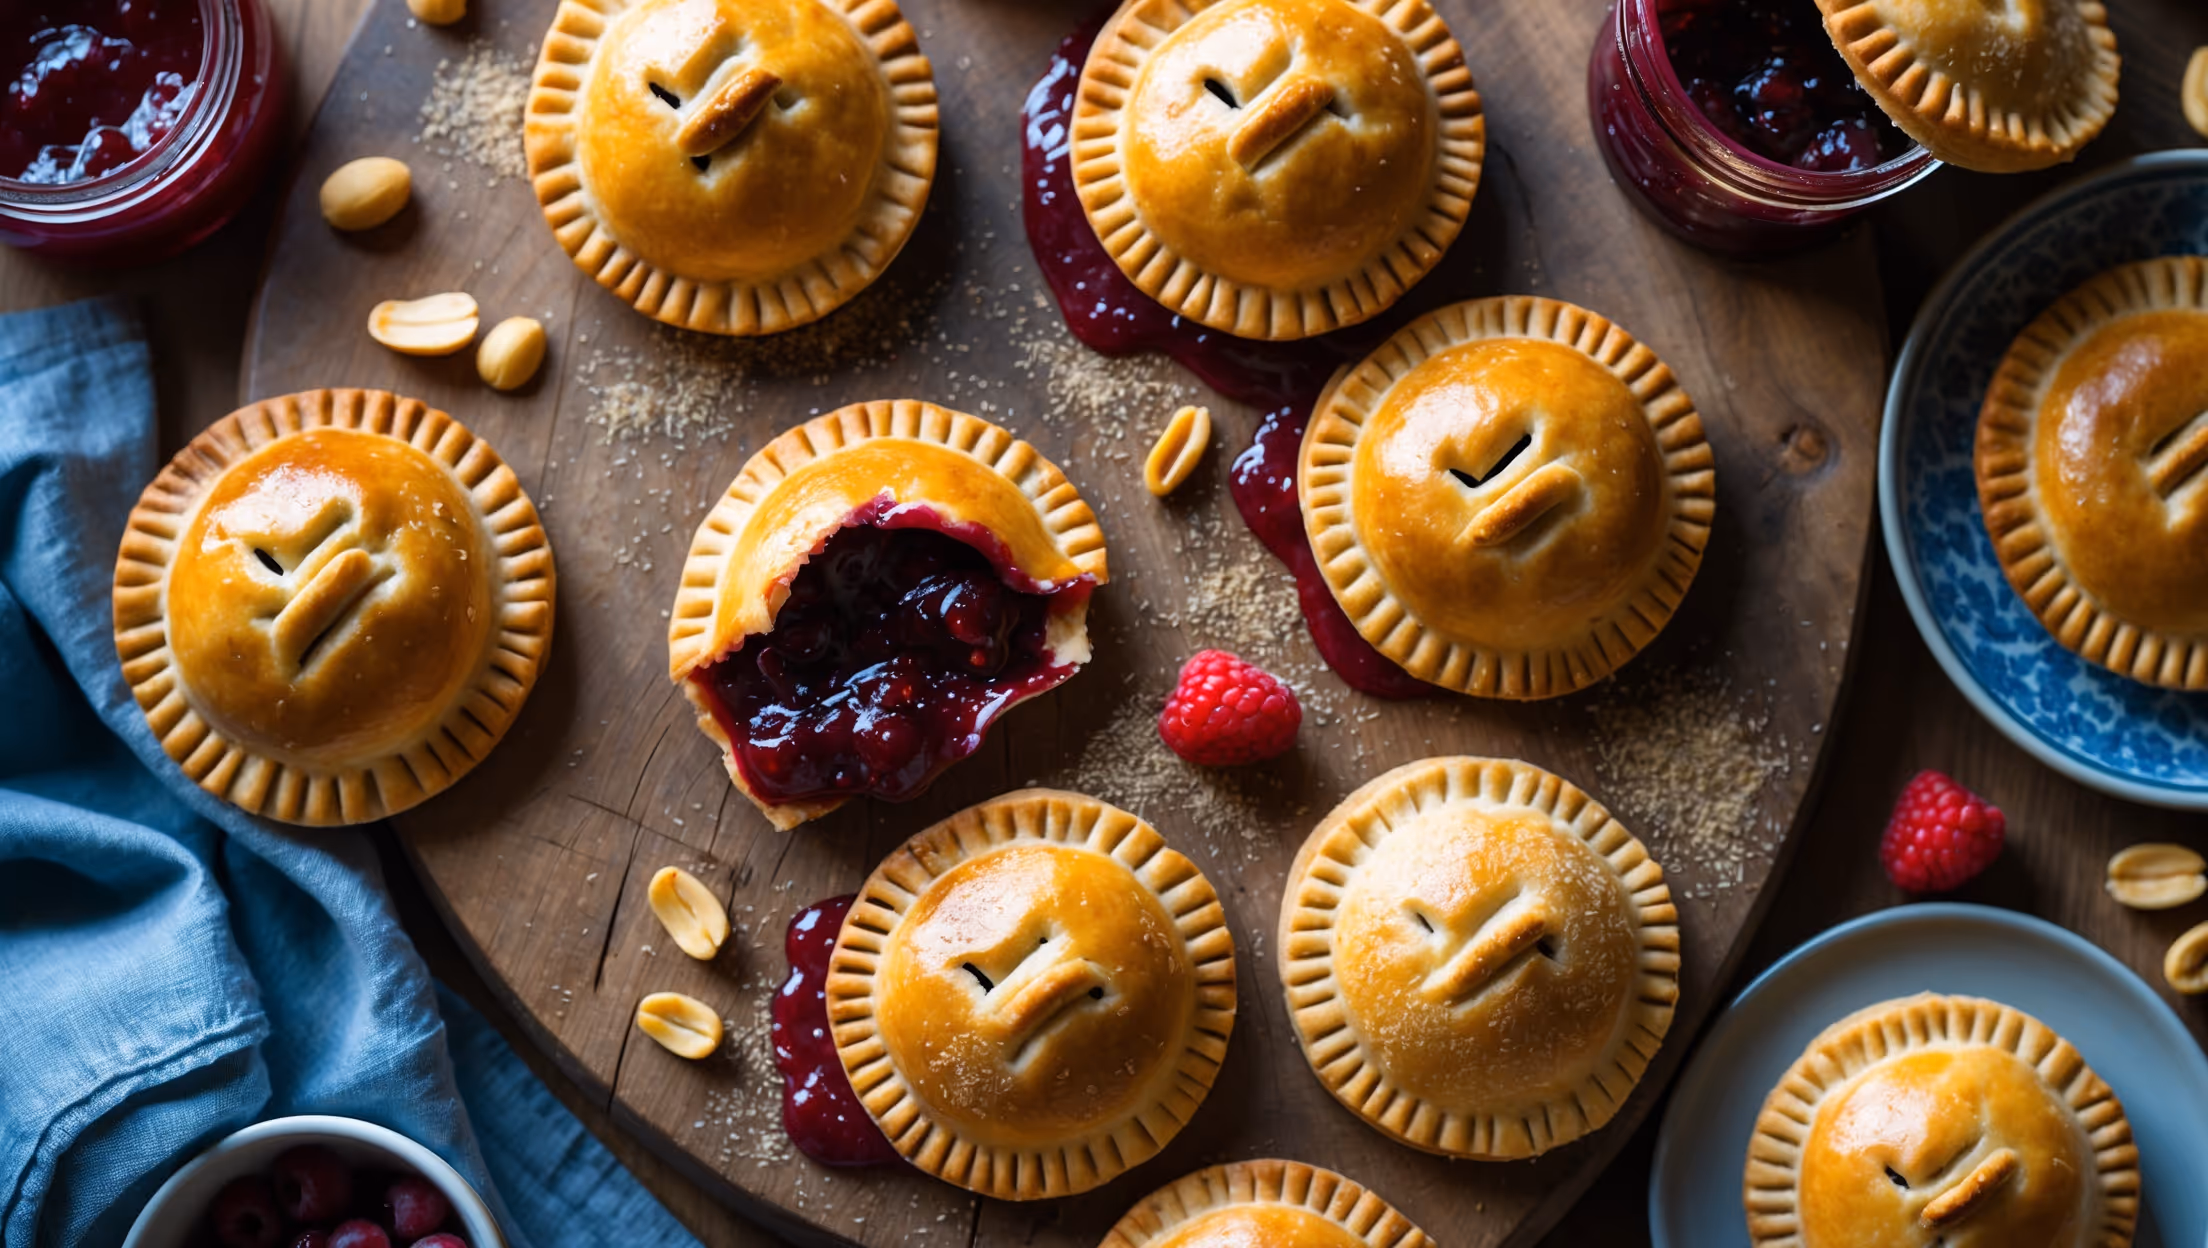
The main ingredients include all-purpose flour, butter, sugar, salt, water, and apple cider vinegar for the pastry. The filling contains smooth peanut butter and fruit jam of your choice. For assembly, you'll need egg wash and demerara sugar for topping.
Learn how to cook Peanut Butter and Jelly Hand Pies by creating a flaky pastry, filling it with peanut butter and jam, sealing properly with a fork crimp, and baking until golden brown. The secret is chilling the assembled pies before baking and ensuring proper sealing to prevent leakage.
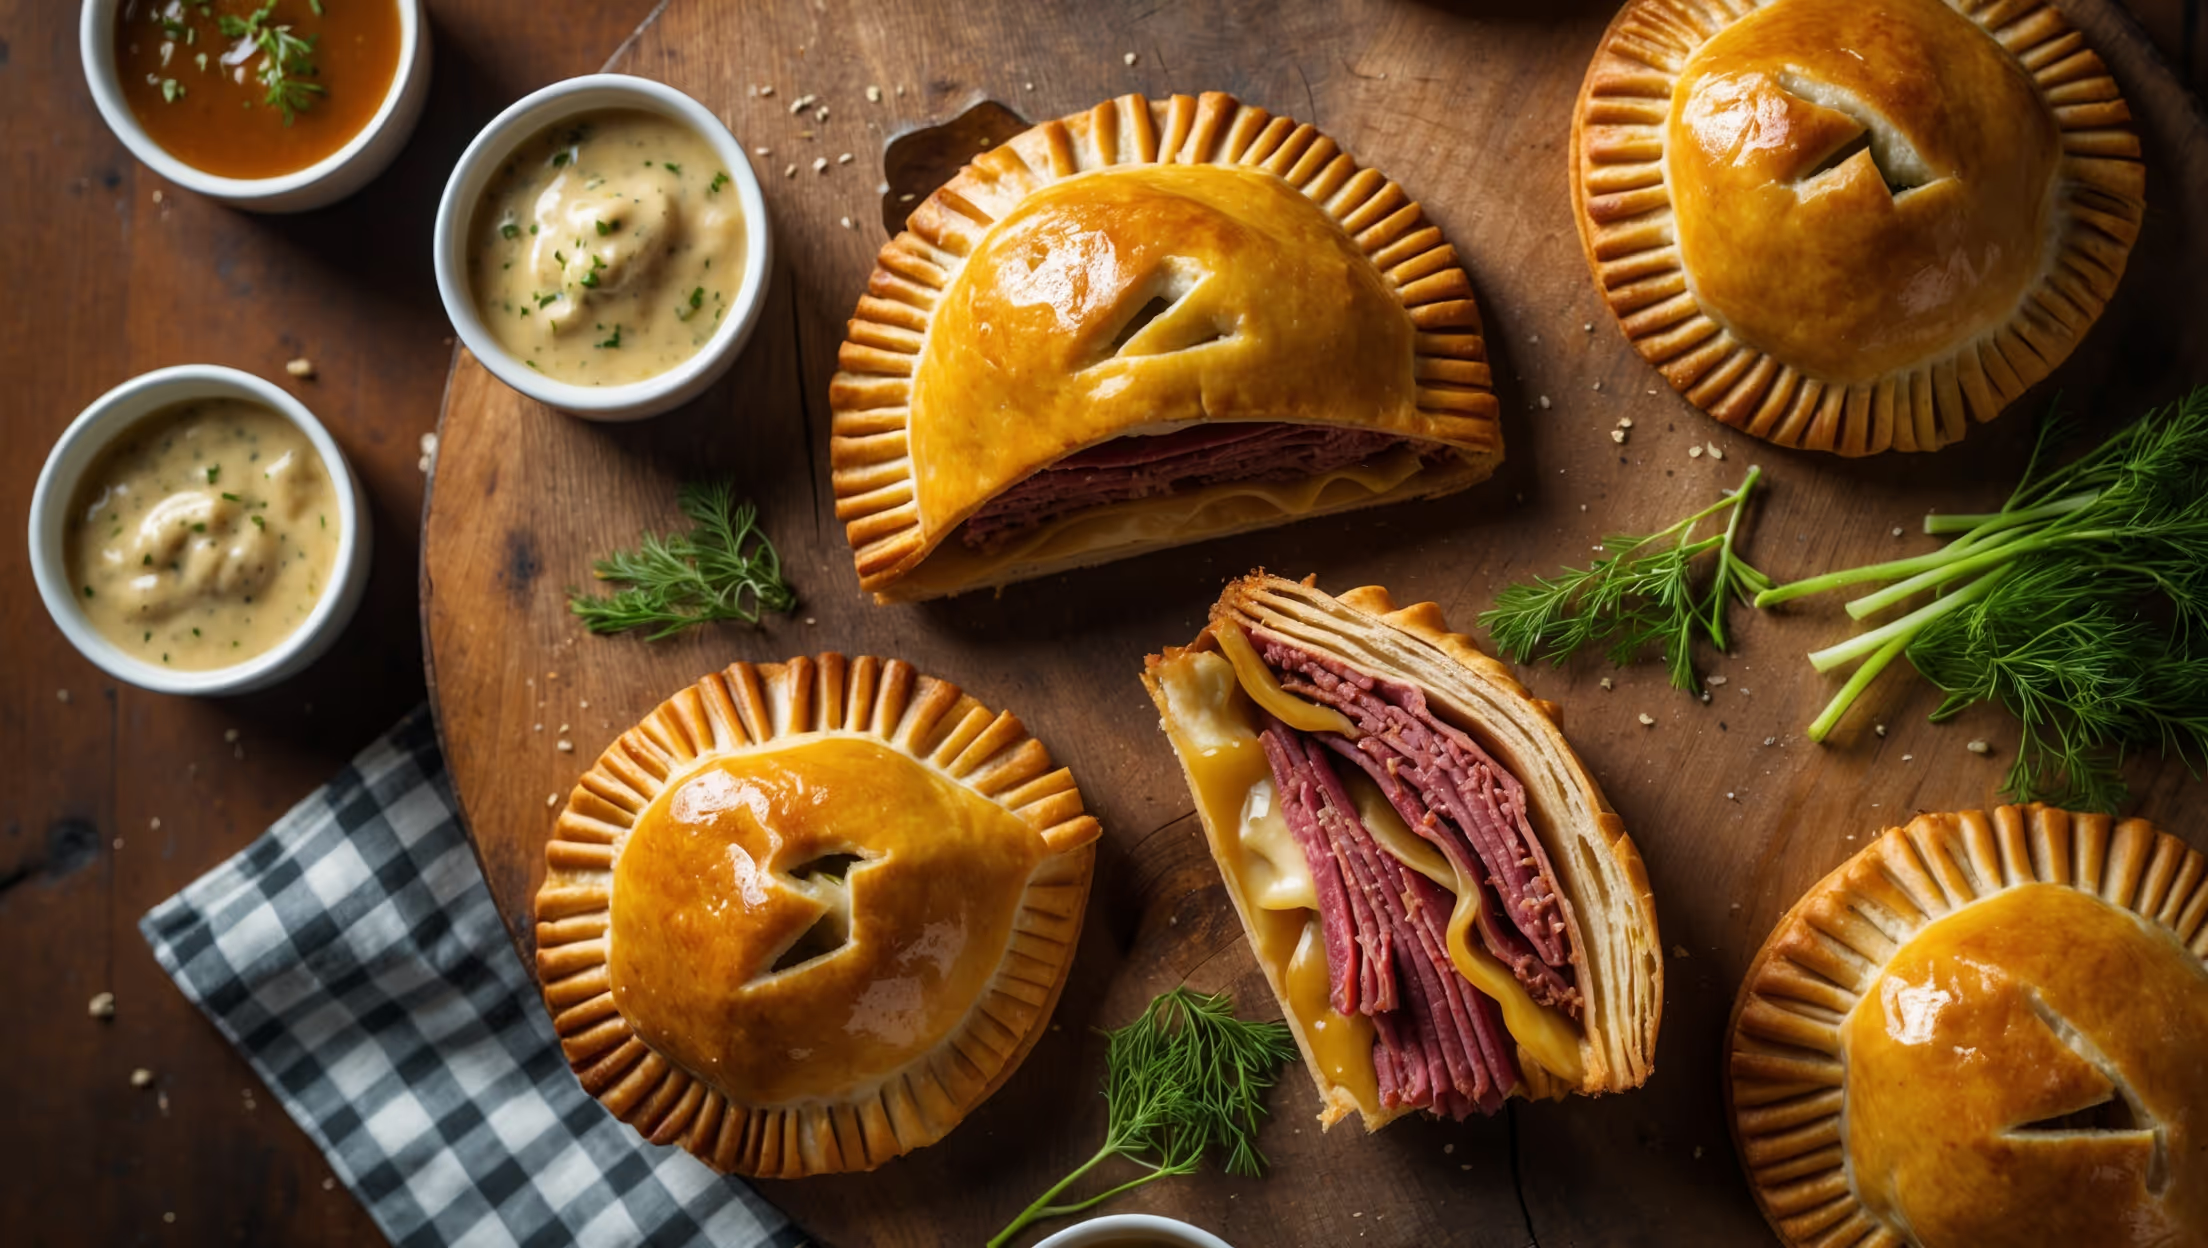
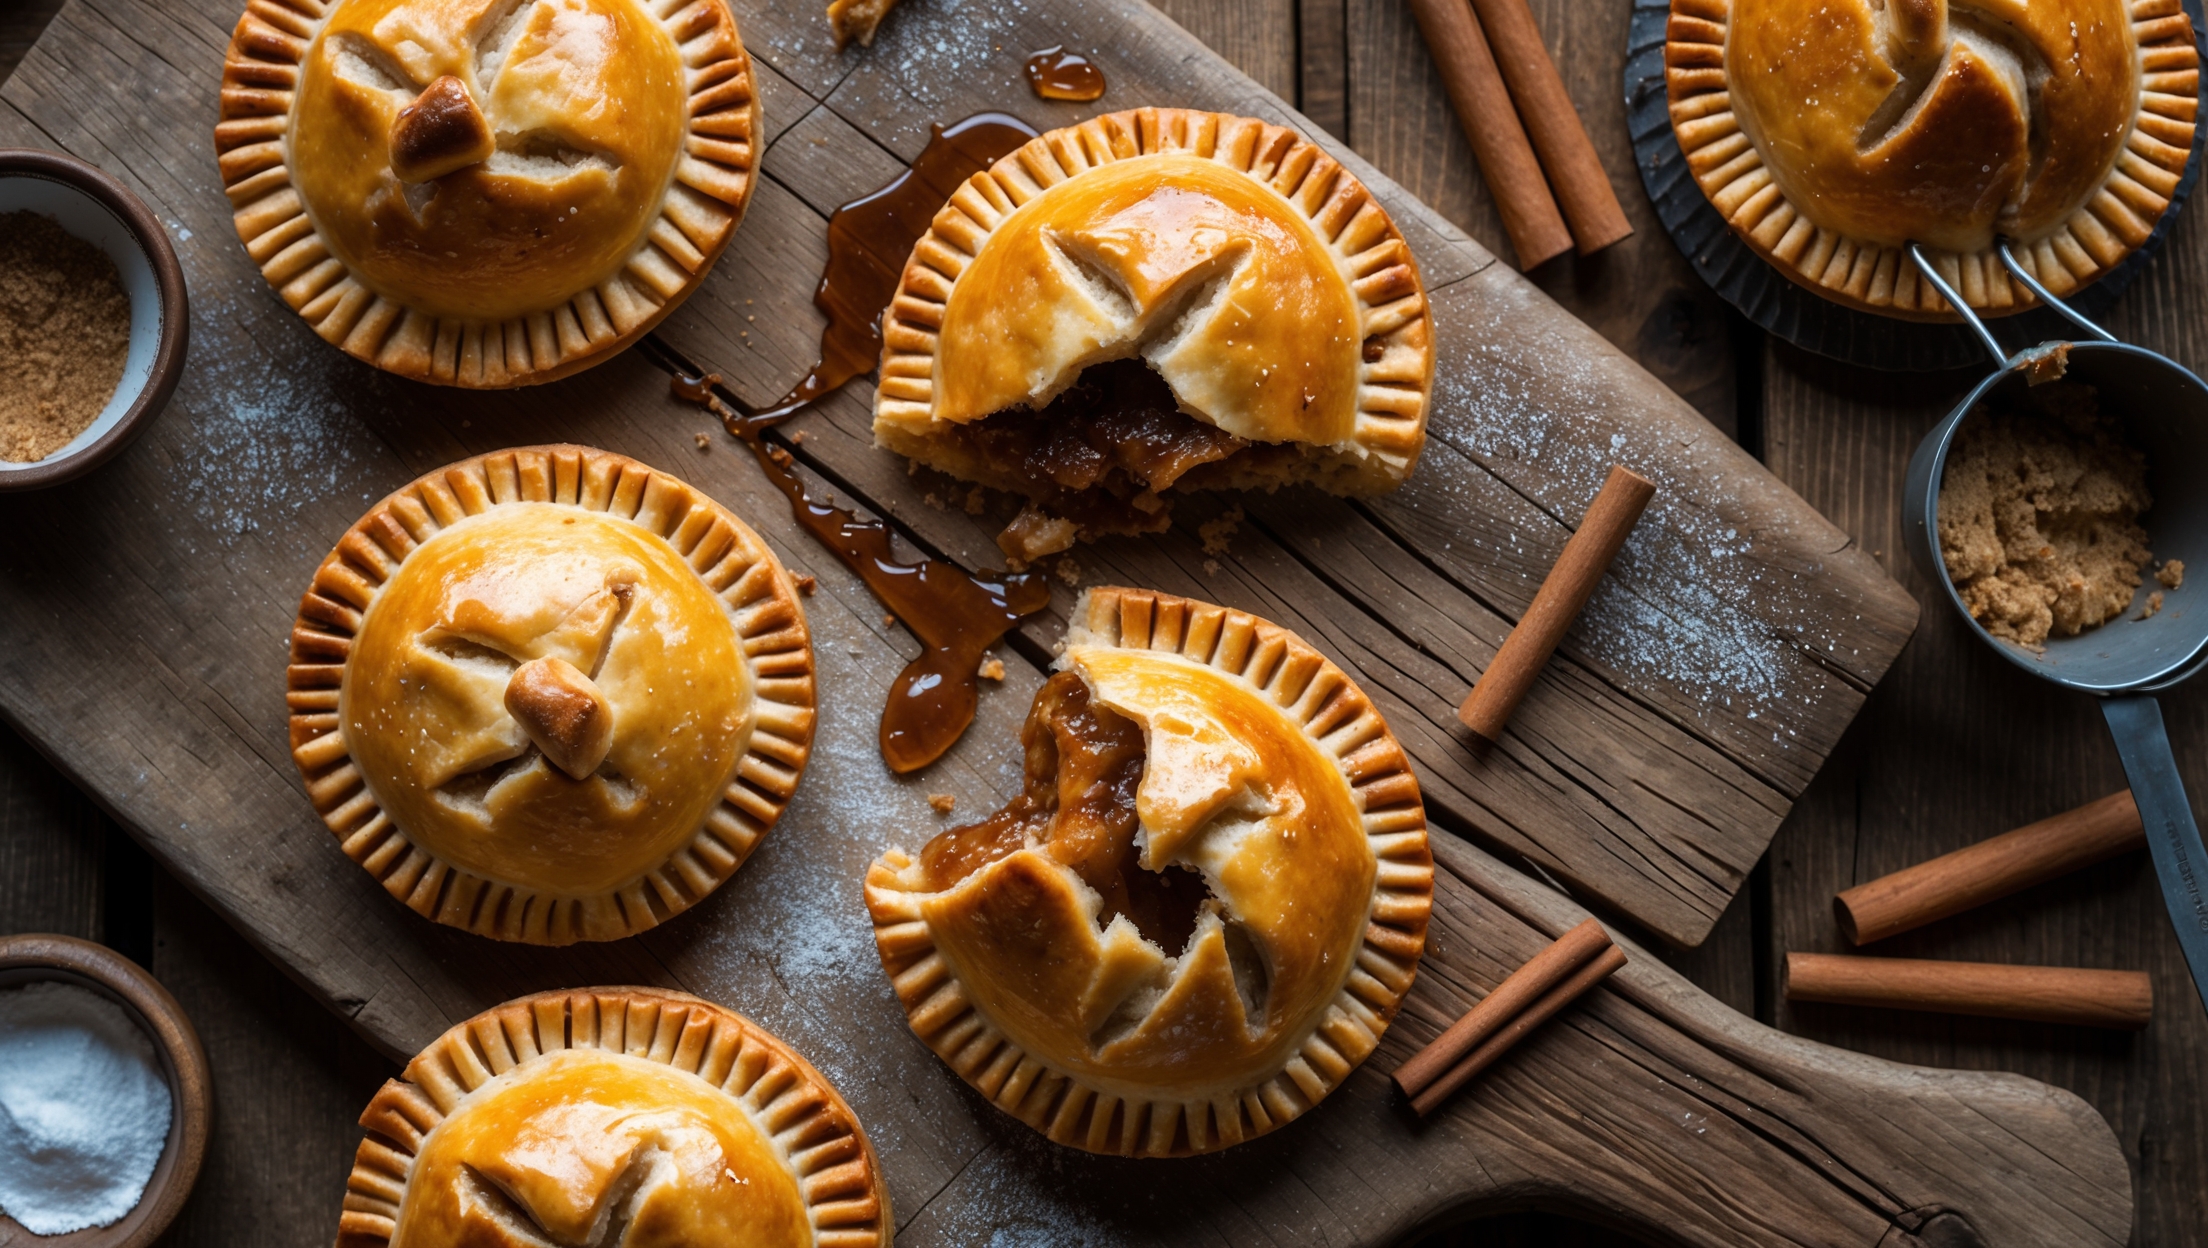
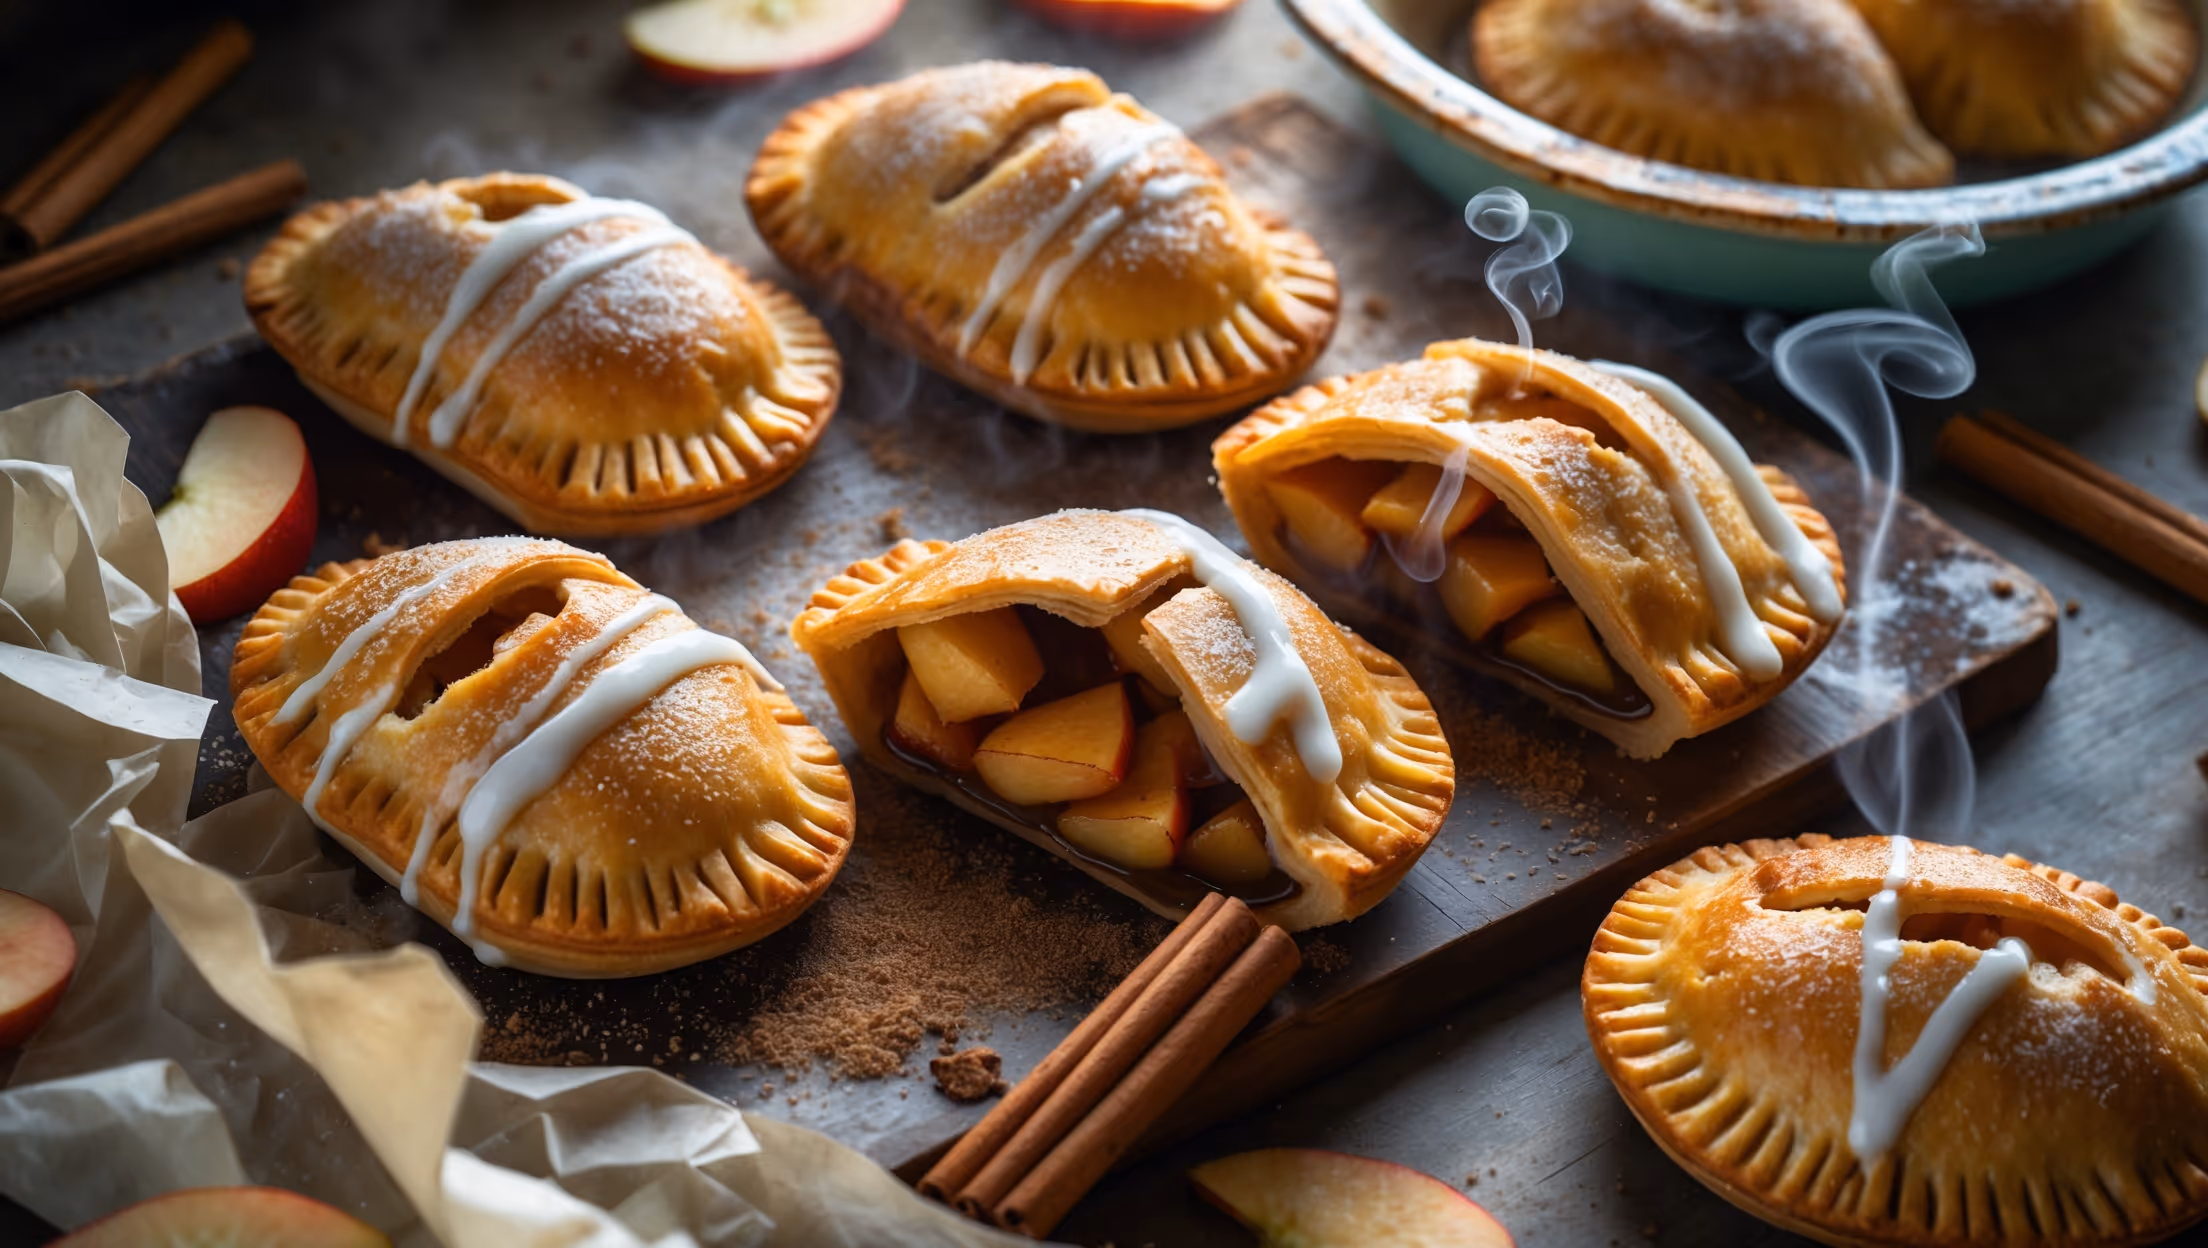
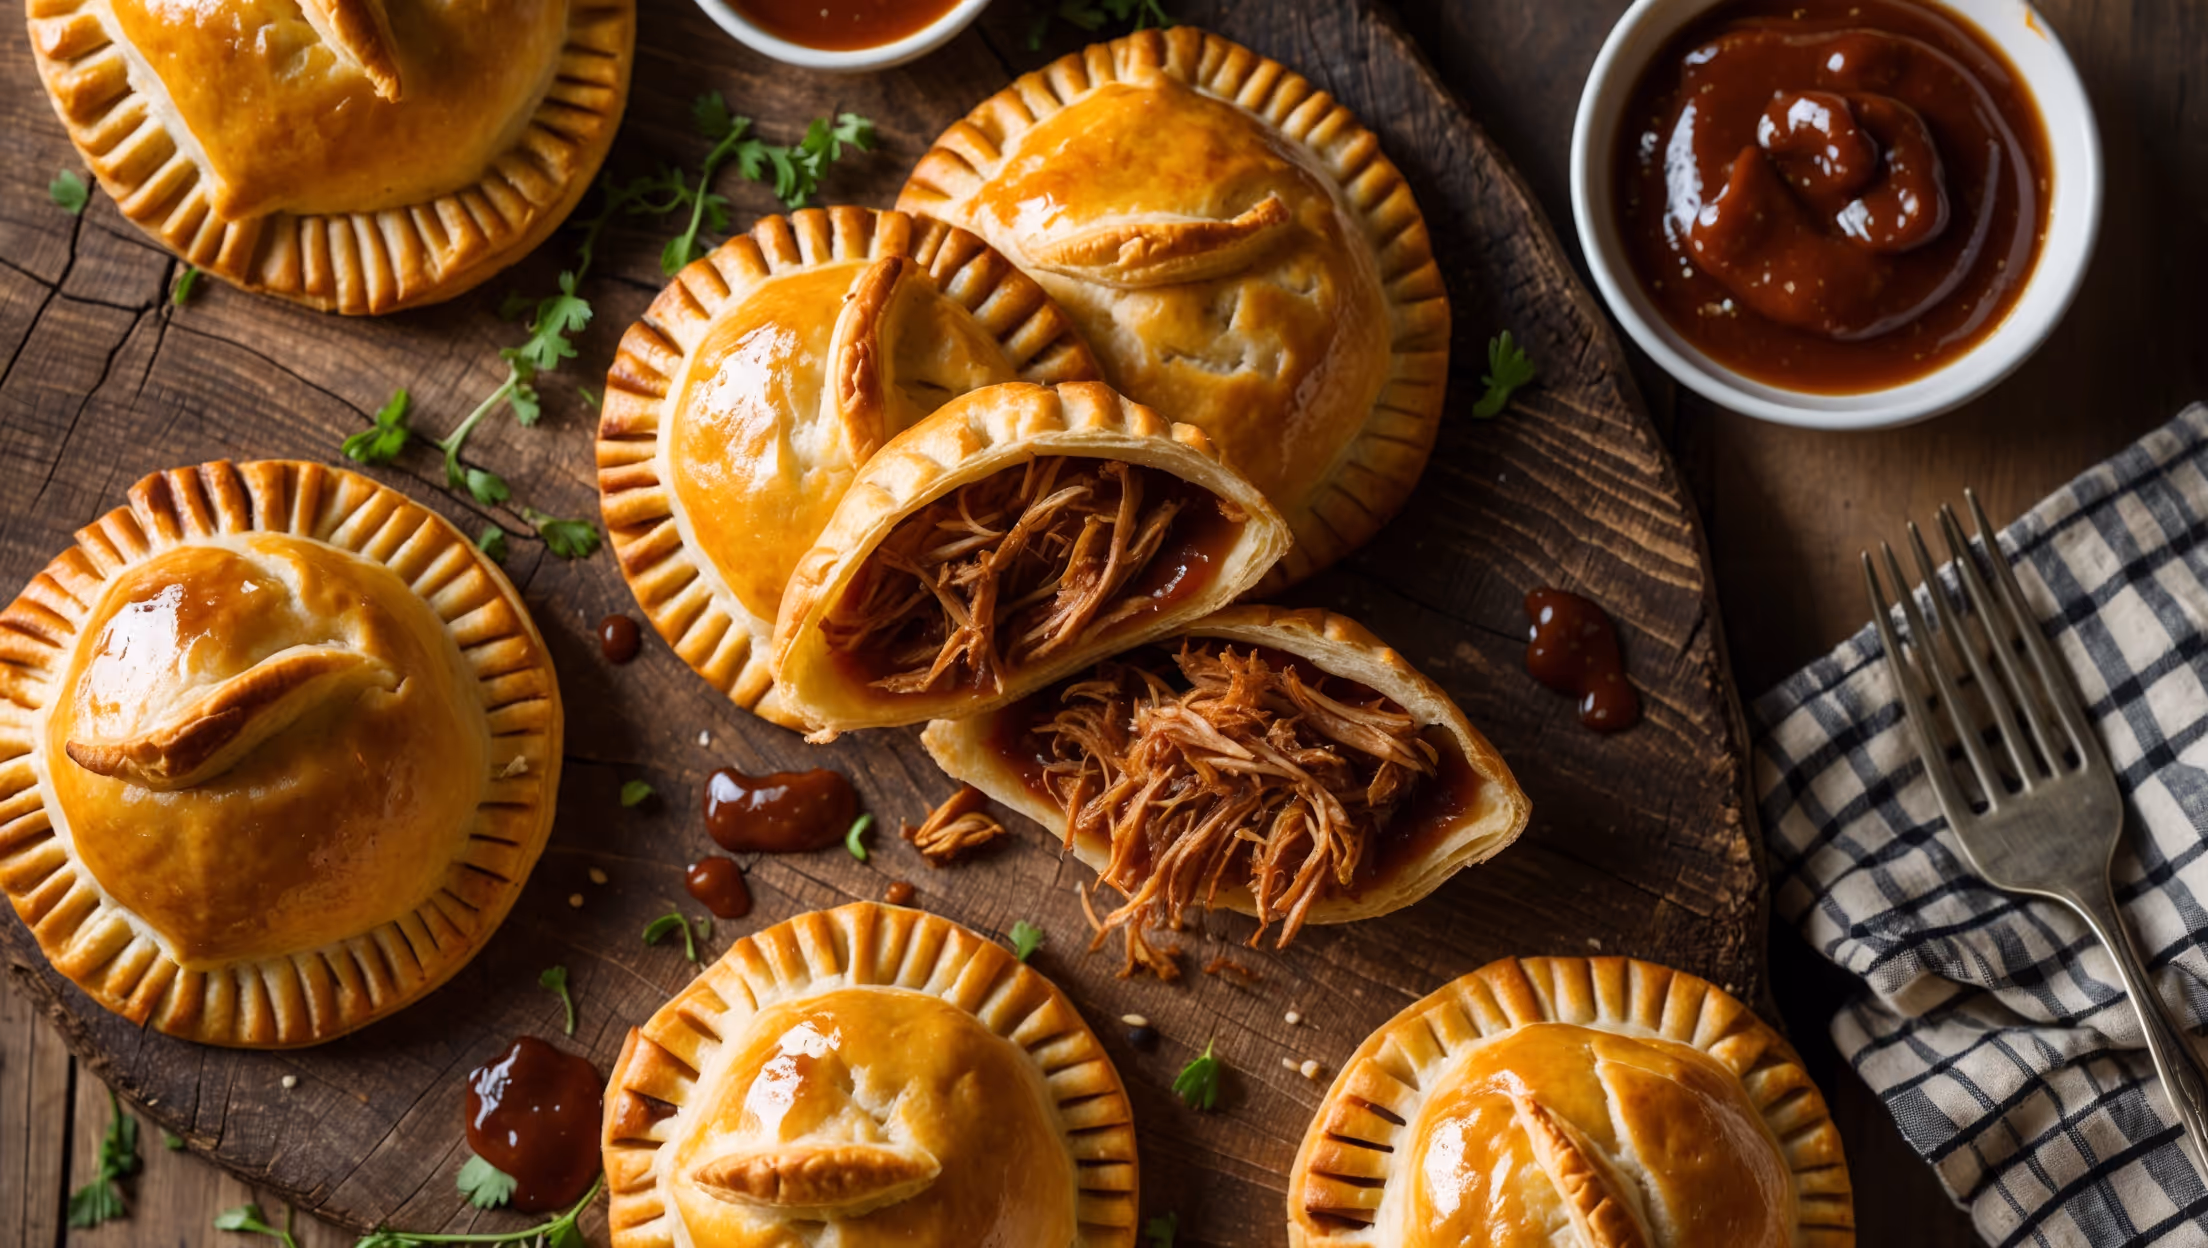
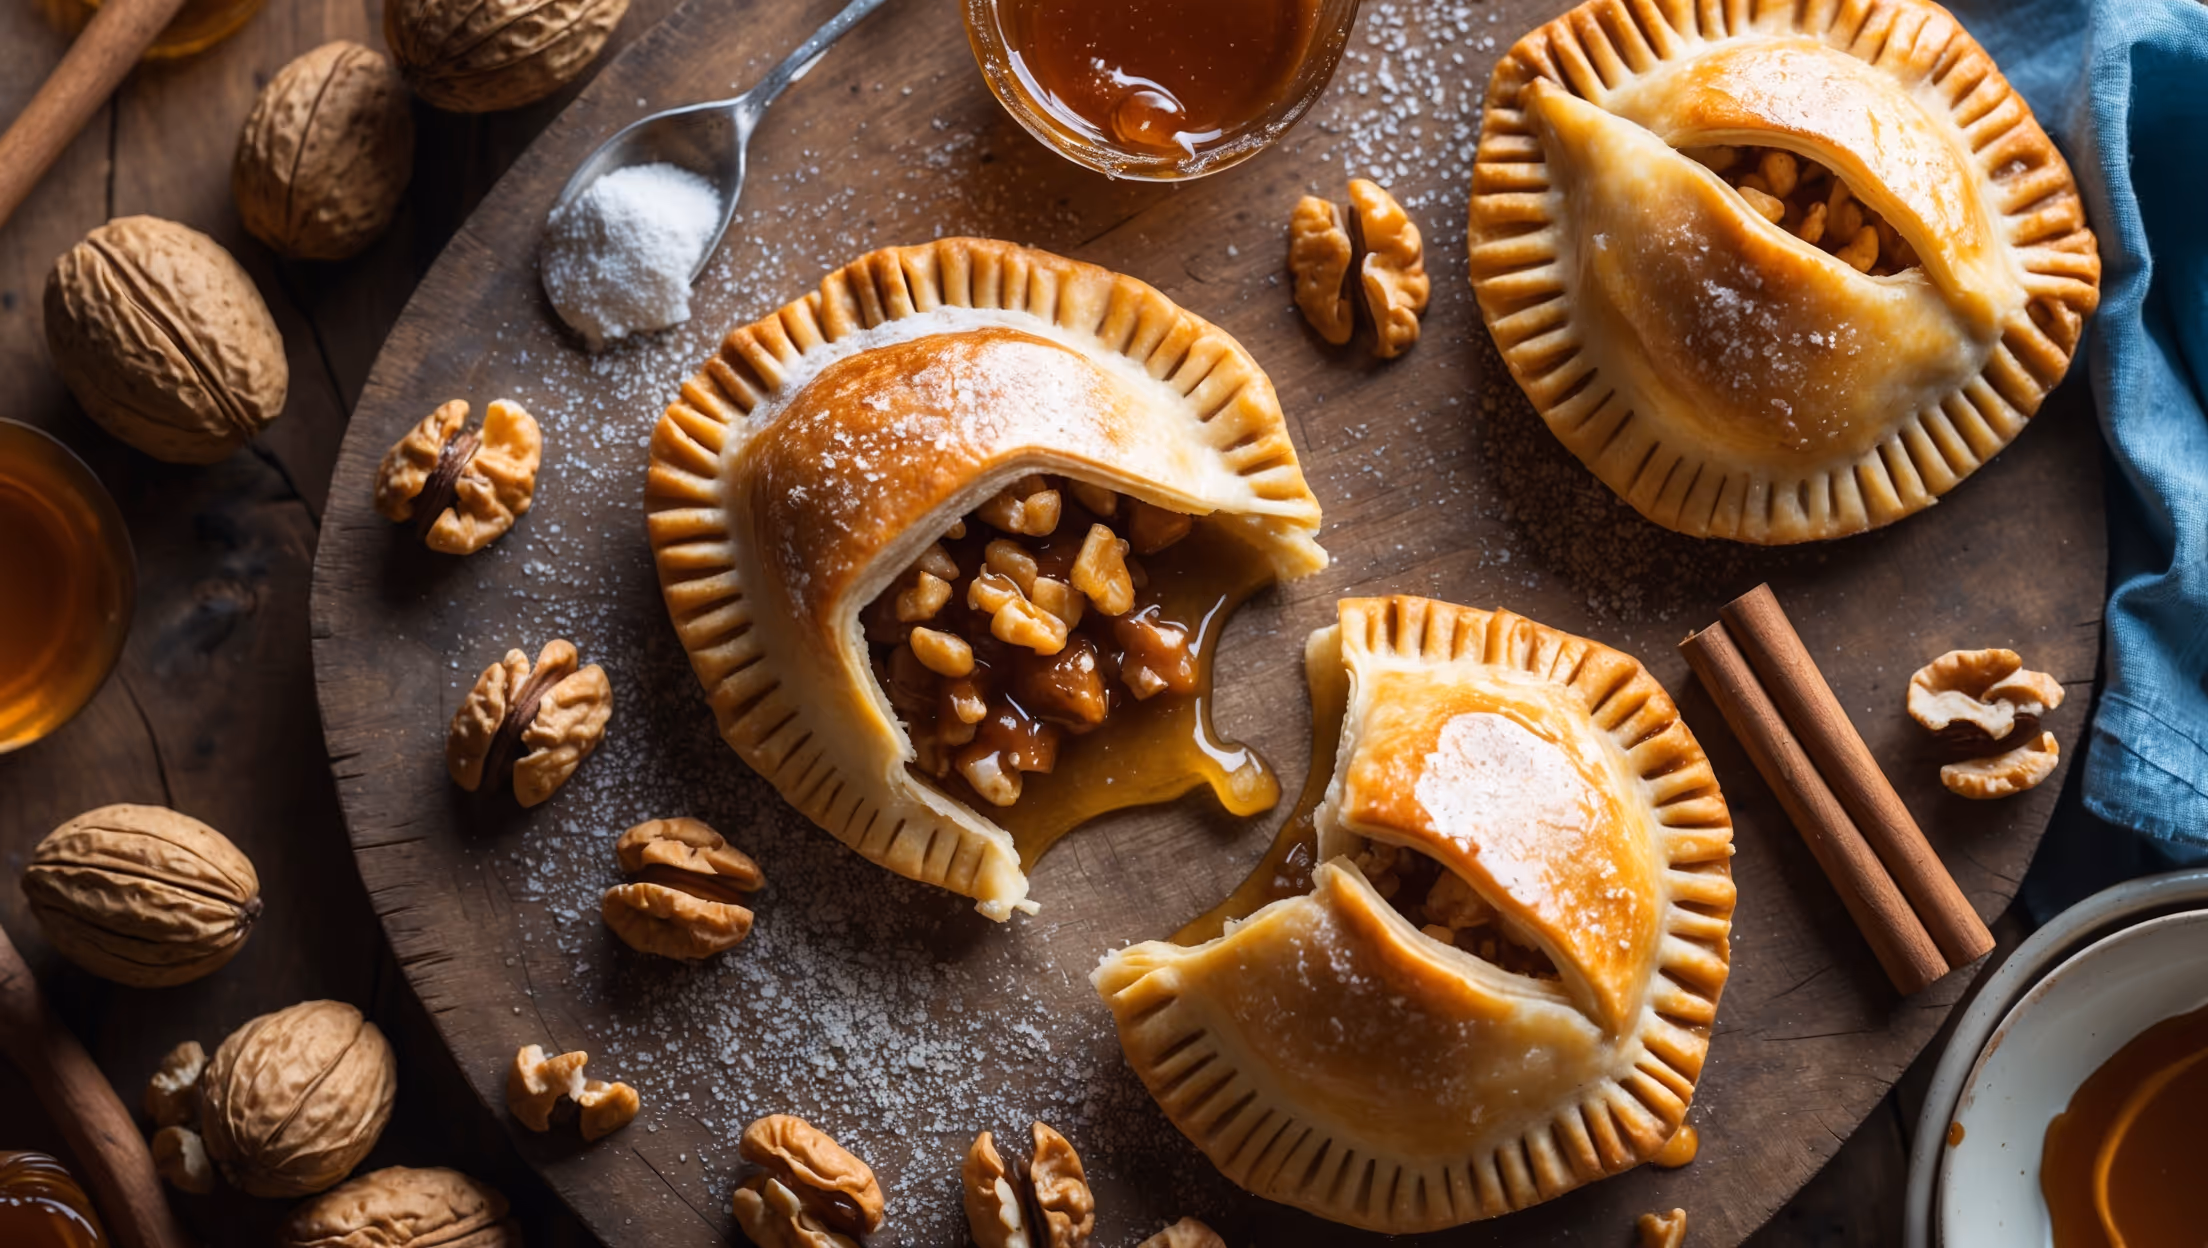
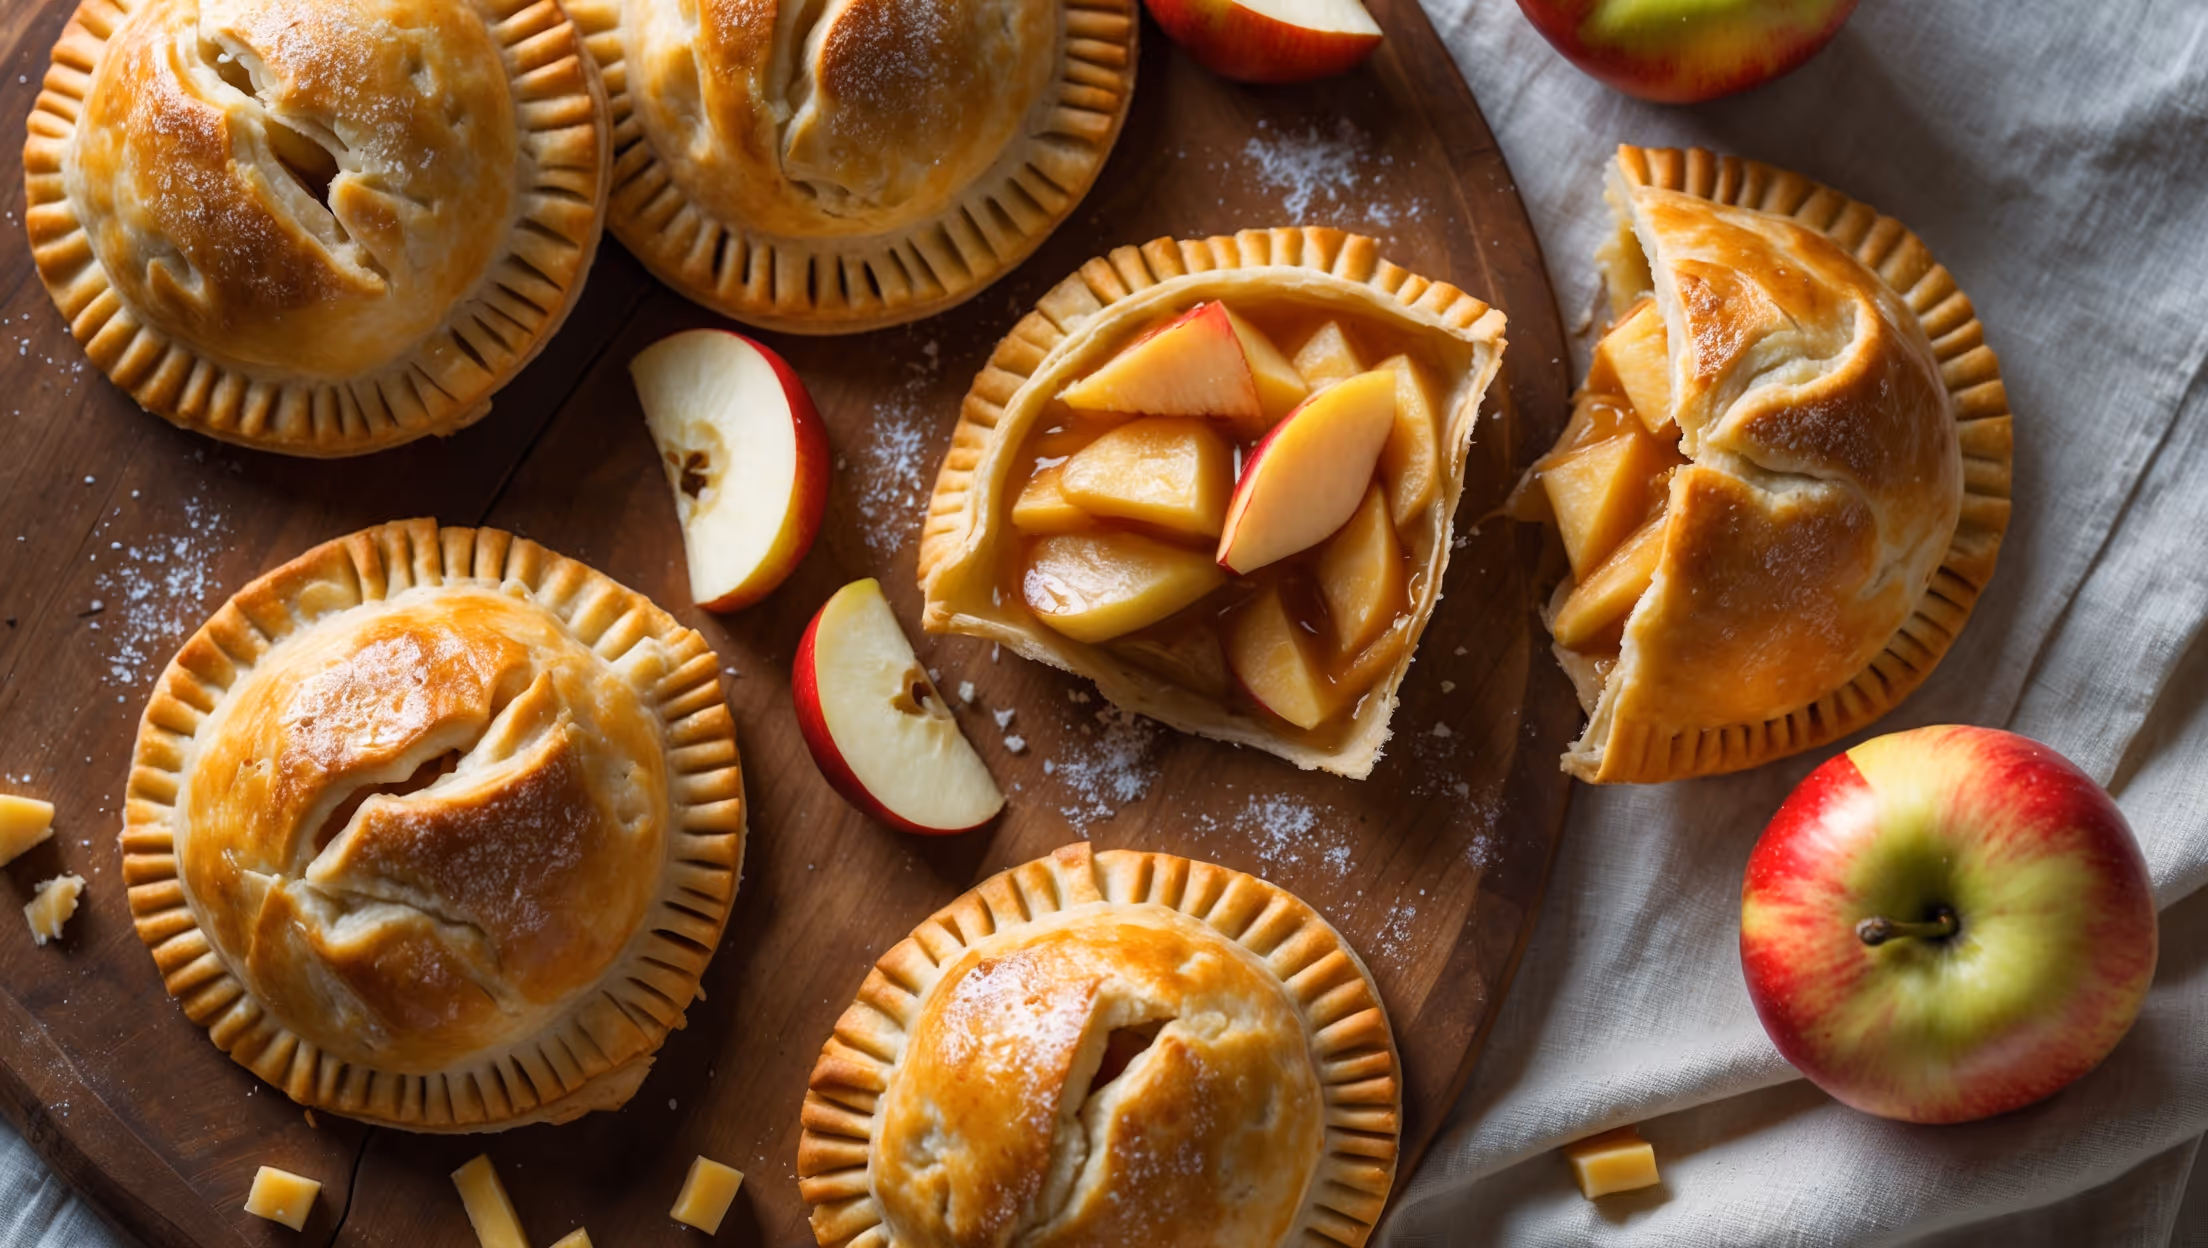
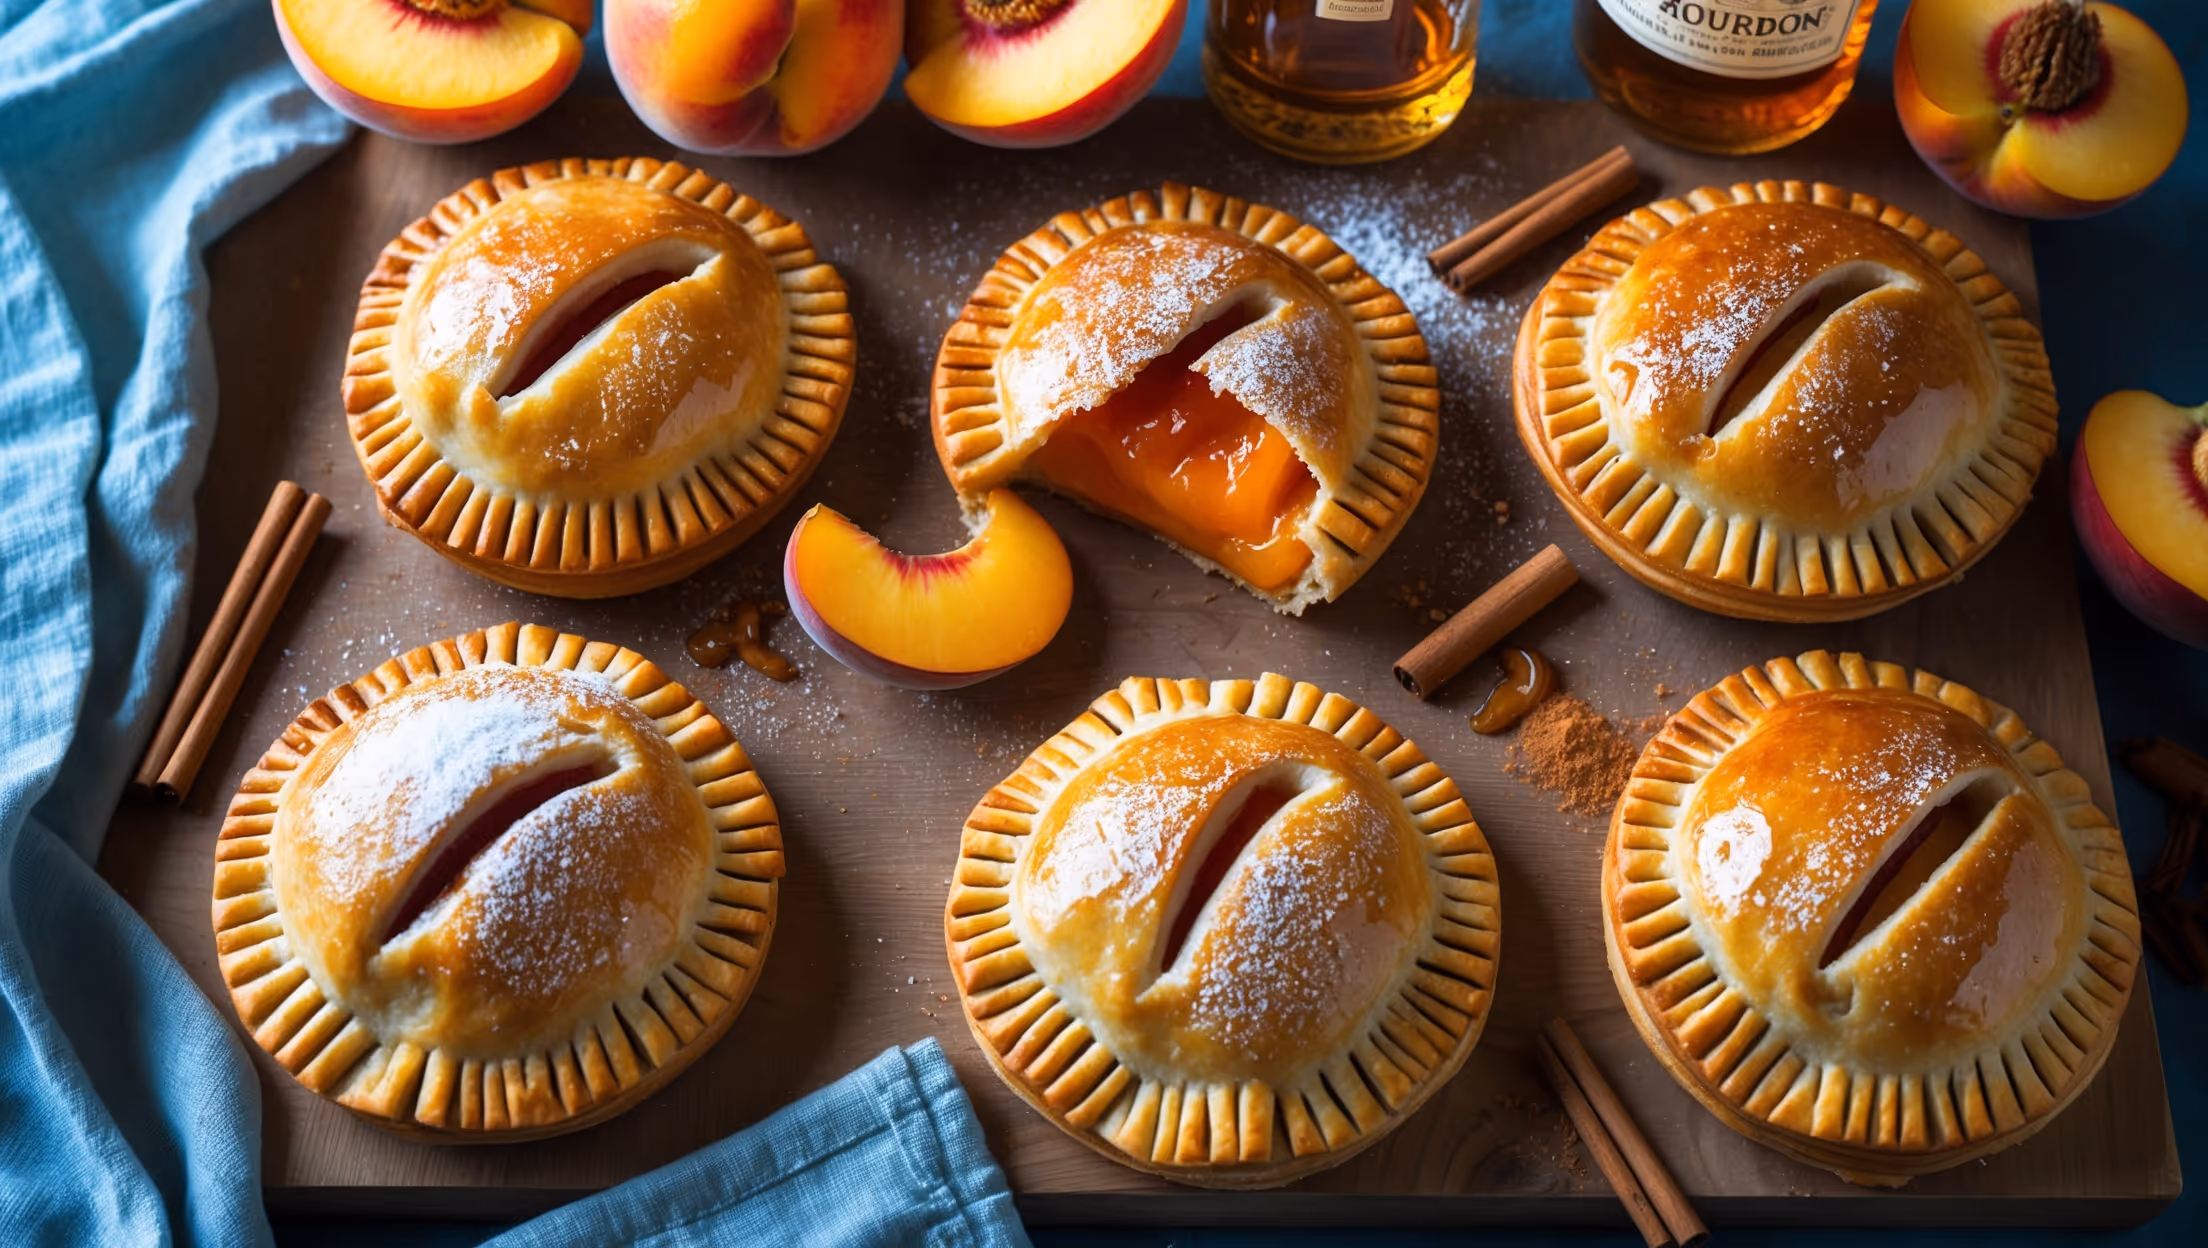
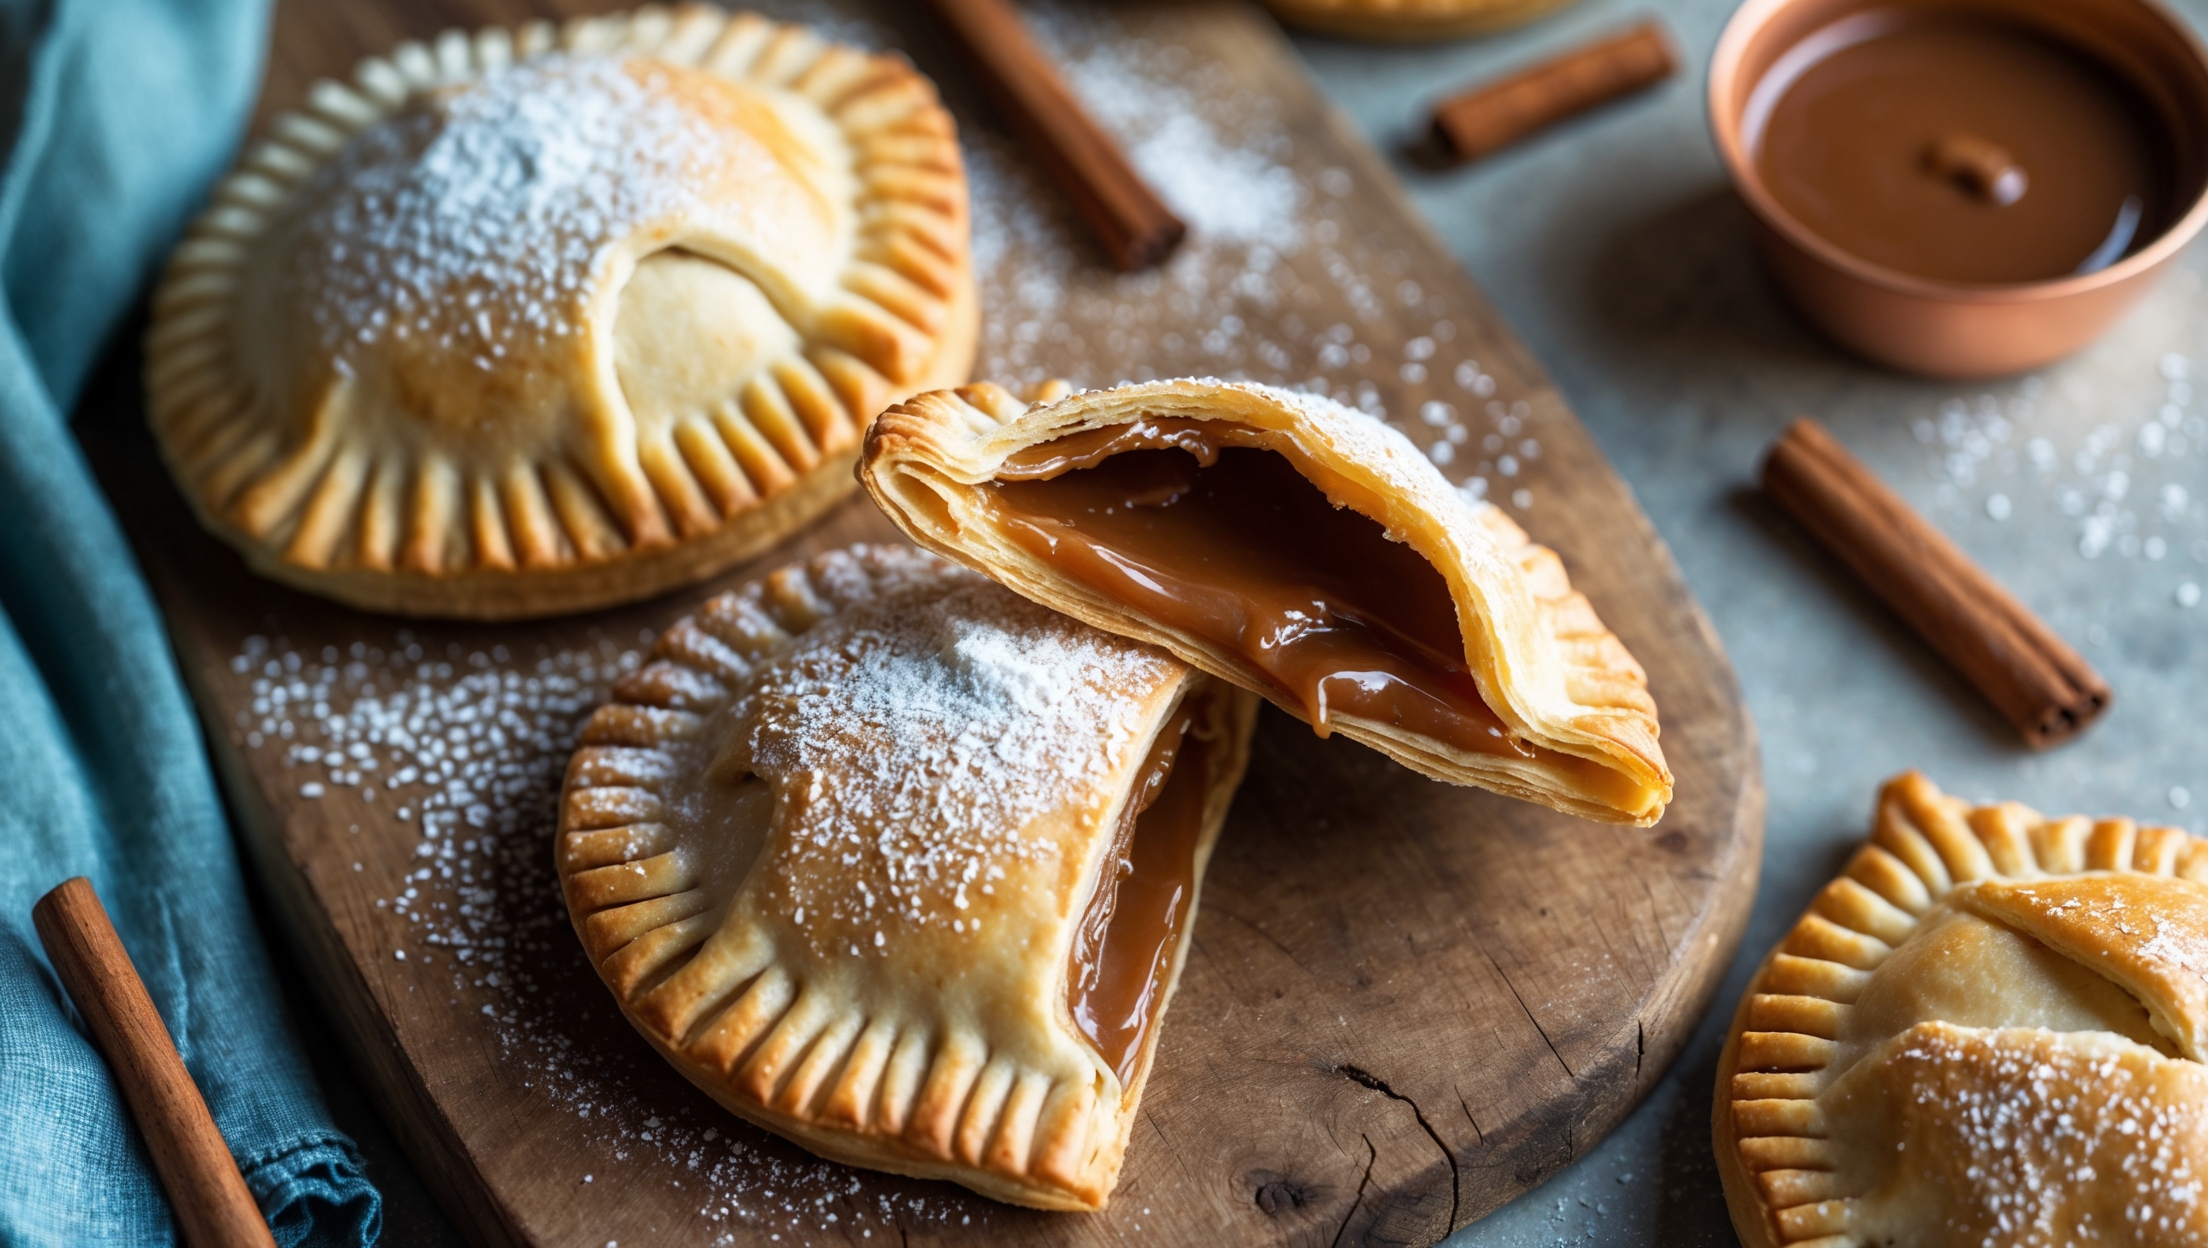
Absolutely! The pastry works beautifully with numerous fillings. Try Nutella and banana, apple cinnamon, chocolate and marshmallow, or cream cheese with fruit preserves. Just maintain similar quantities (about 2 tsp total filling per pie) to prevent overflow.
Hand pies typically leak when overfilled, improperly sealed, or if the pastry gets too warm before baking. Ensure you leave a 1.5cm border, firmly seal edges with fork crimping, cut a steam vent on top, and chill assembled pies before baking.
The key is keeping ingredients cold, not overworking the dough, and incorporating the butter properly. The letter-fold technique creates layers, visible butter pieces create steam pockets, and chilling the dough between handling maintains structure for maximum flakiness.
Hand Pies
Try following recommended recipes