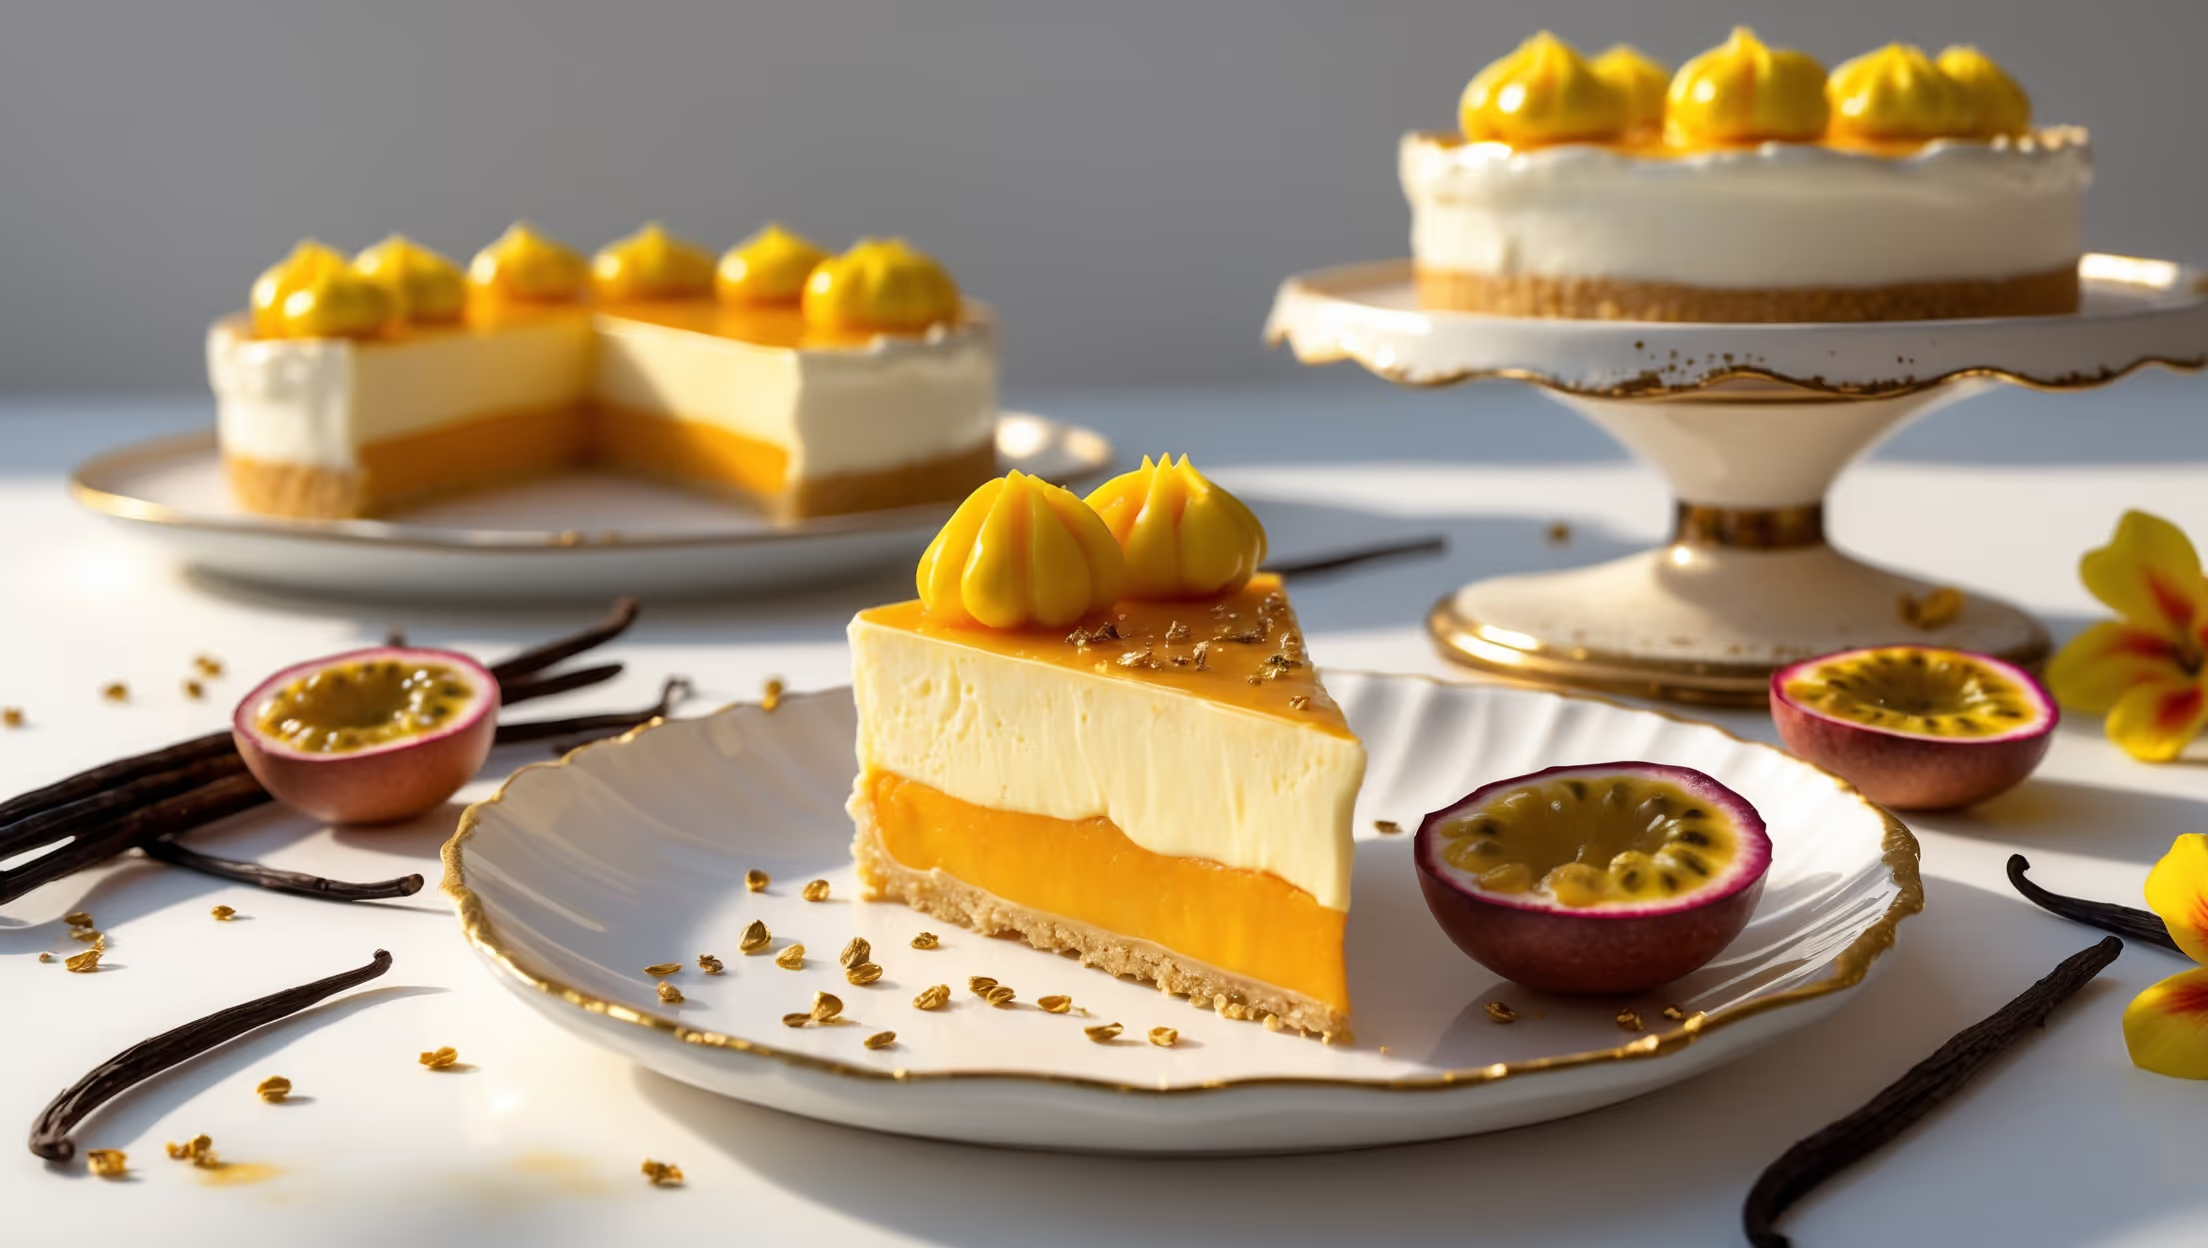
<ol class="no-list-style"><li class="MethodStepper"><h4 class="step-title">Step 1</h4>For the shortcrust pastry, combine the flour, icing sugar, and salt in a large bowl. Add the cold cubed butter and rub it into the flour mixture with your fingertips until it resembles breadcrumbs (keeping everything cool prevents the butter from melting, which ensures a flaky texture). Mix the egg yolk with 2 tablespoons of ice water, then gradually add to the flour mixture, stirring with a fork until the dough just comes together. If needed, add the remaining tablespoon of water, but be careful not to overwork the dough as this will develop gluten and make your crust tough.</li><li class="MethodStepper"><h4 class="step-title">Step 2</h4>Form the dough into a disc, wrap in cling film, and refrigerate for at least 30 minutes. This resting period allows the gluten to relax and the butter to firm up, preventing shrinkage during baking. Meanwhile, preheat your oven to 180°C (350°F).</li><li class="MethodStepper"><h4 class="step-title">Step 3</h4>Roll out the chilled pastry on a lightly floured surface to about 3mm thickness and carefully line your tart pan. Press the dough gently into the corners without stretching it. Trim the excess, leaving a small overhang to account for shrinkage. Prick the base all over with a fork, then chill for another 15 minutes to prevent the butter from melting too quickly in the oven.</li><li class="MethodStepper"><h4 class="step-title">Step 4</h4>Line the pastry case with parchment paper and fill with baking beans or rice. Blind bake for 15 minutes, then remove the beans and paper and bake for another 5-8 minutes until the base is golden and dry to the touch. The initial blind baking with weights prevents the pastry from puffing up, while the second bake ensures a crisp base that won't become soggy when filled. Allow to cool completely.</li><li class="MethodStepper"><h4 class="step-title">Step 5</h4>For the vanilla bean custard, combine the milk, cream, and vanilla bean seeds (along with the empty pods) in a medium saucepan. Heat over medium heat until it just begins to simmer, then remove from heat and allow the vanilla to infuse for 15 minutes. The slow infusion extracts maximum flavor from the expensive vanilla beans.</li><li class="MethodStepper"><h4 class="step-title">Step 6</h4>In a large bowl, whisk the egg yolks, sugar, cornstarch, and salt until pale and thick. Remove the vanilla pods from the warm milk mixture, then gradually pour it into the egg mixture while whisking constantly to prevent the eggs from curdling (this technique is called tempering). Return the entire mixture to the saucepan.</li><li class="MethodStepper"><h4 class="step-title">Step 7</h4>Cook the custard over medium-low heat, stirring constantly with a wooden spoon or heat-resistant spatula, until it thickens enough to coat the back of a spoon and a finger drawn through it leaves a clear path (around 82-85°C on a thermometer). This process should take 5-7 minutes - be patient and keep the heat moderate to prevent scrambling the eggs.</li><li class="MethodStepper"><h4 class="step-title">Step 8</h4>Immediately strain the custard through a fine-mesh sieve into a clean bowl to remove any potential lumps. Cover the surface directly with cling film to prevent a skin from forming. Allow to cool to room temperature, then refrigerate for at least 2 hours until completely chilled and set.</li><li class="MethodStepper"><h4 class="step-title">Step 9</h4>For the passion fruit cream, pass the passion fruit pulp through a sieve to remove most of the seeds (reserve a tablespoon of seeds for decoration if desired). In a heatproof bowl, combine the strained passion fruit juice, sugar, and eggs. Place the bowl over a pan of simmering water (make sure the bottom doesn't touch the water) and whisk constantly until the mixture thickens enough to coat the back of a spoon (around 82°C). This gentle heating method creates a stable curd that won't curdle.</li><li class="MethodStepper"><h4 class="step-title">Step 10</h4>Remove from heat and whisk in the cubed butter, a few pieces at a time, until completely incorporated and the mixture is smooth and glossy. The fat from the butter gives the curd its luxurious mouthfeel and helps it set properly. Strain through a sieve, then cool to room temperature before refrigerating for at least 2 hours.</li><li class="MethodStepper"><h4 class="step-title">Step 11</h4>To assemble the pie, spread the chilled vanilla custard evenly over the base of the cooled tart shell, using an offset spatula to create a smooth surface. Carefully spread the passion fruit cream over the vanilla layer. Return to the refrigerator to set completely, at least 4 hours or preferably overnight. The extended chilling ensures the layers remain distinct when sliced.</li><li class="MethodStepper"><h4 class="step-title">Step 12</h4>For the mirror glaze, soak the gelatin sheets in cold water for 5-10 minutes until soft (if using powdered gelatin, sprinkle it over 50ml of the cold water and let it bloom). In a saucepan, combine the remaining water, sugar, and glucose syrup. Bring to a boil and cook until the sugar dissolves completely and the temperature reaches 103°C.</li><li class="MethodStepper"><h4 class="step-title">Step 13</h4>Remove from heat and stir in the condensed milk and vanilla extract. Squeeze excess water from the gelatin sheets and add them to the hot mixture (or add the bloomed powdered gelatin), stirring until completely dissolved. Strain the mixture through a fine sieve to ensure a perfectly smooth glaze.</li><li class="MethodStepper"><h4 class="step-title">Step 14</h4>Allow the glaze to cool to 35-40°C before using – this is crucial as too hot will melt your filling, too cold won't flow properly. The glaze should be fluid but not watery, coating the back of a spoon nicely. If you notice any air bubbles, gently tap the container on the counter or use a toothpick to remove them.</li><li class="MethodStepper"><h4 class="step-title">Step 15</h4>Remove the chilled pie from the refrigerator. Ensure the surface is completely level and free from condensation by gently dabbing with paper towel if needed. Pour the glaze in one continuous motion from the center, allowing it to flow naturally to the edges. If needed, use an offset spatula to guide the glaze, but avoid touching the surface once it begins to set.</li><li class="MethodStepper"><h4 class="step-title">Step 16</h4>Return the glazed pie to the refrigerator and allow it to set for at least 2 hours before serving. The mirror glaze needs time to fully set and develop its characteristic shine. To slice cleanly, dip a sharp knife in hot water, wipe dry, and cut with a single downward motion, cleaning and reheating the knife between each cut.</li></ol>