Lobster Roll Hand Pies Recipe

Buttery, flaky pastry pockets filled with chunks of sweet lobster meat in a creamy herb-flecked dressing that deliver the iconic flavors of a New England lobster roll in convenient hand-held form.
Difficulty:
Intermediate
Prep Time:
45 mins
Cook Time:
25 mins
Serves:
8 hand pies
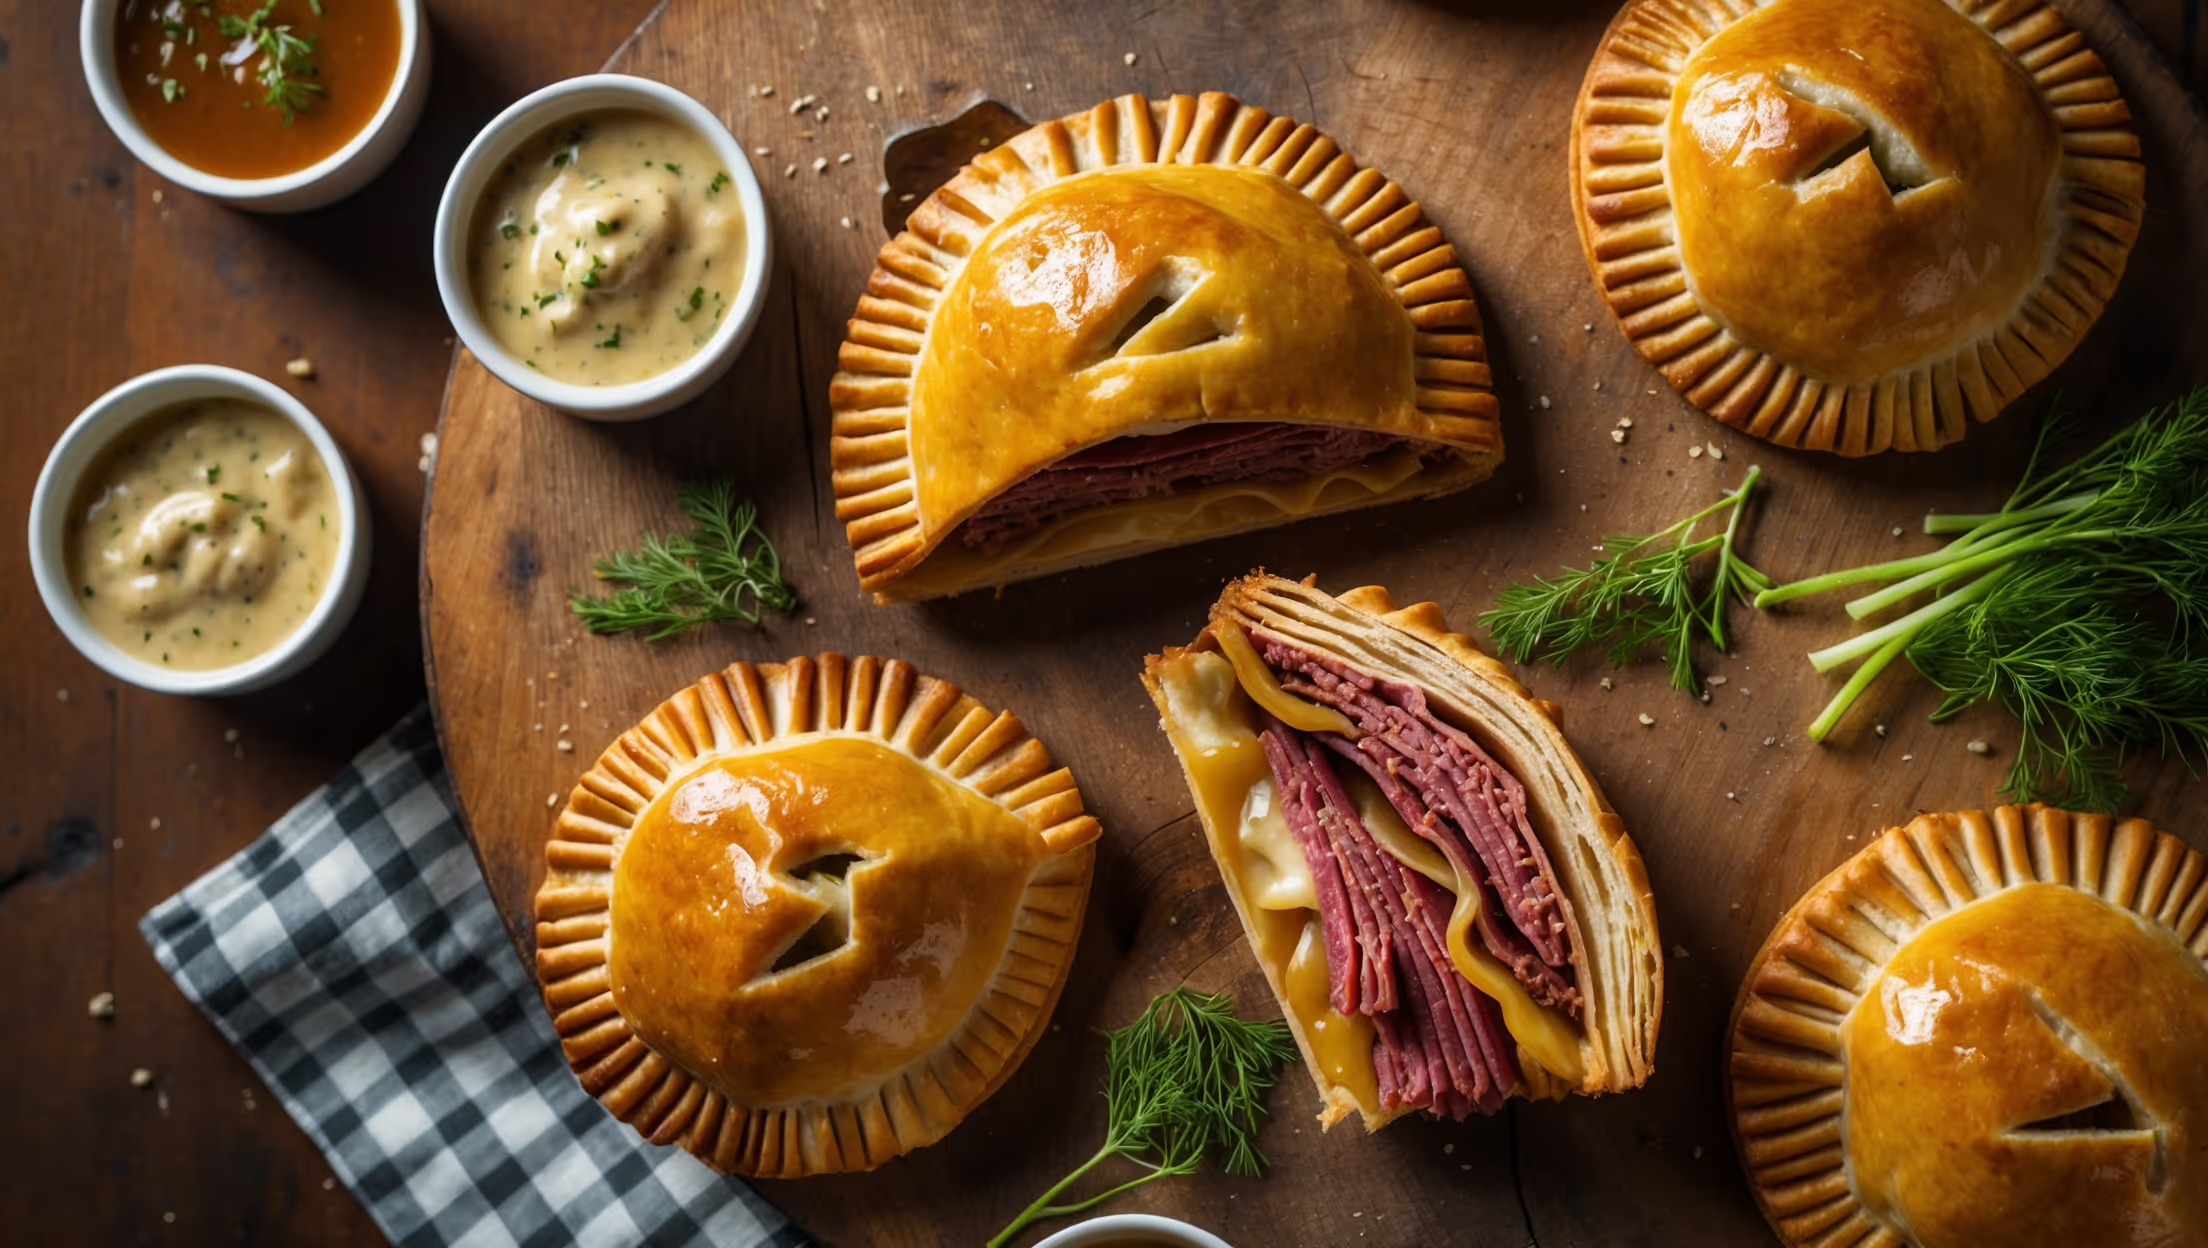
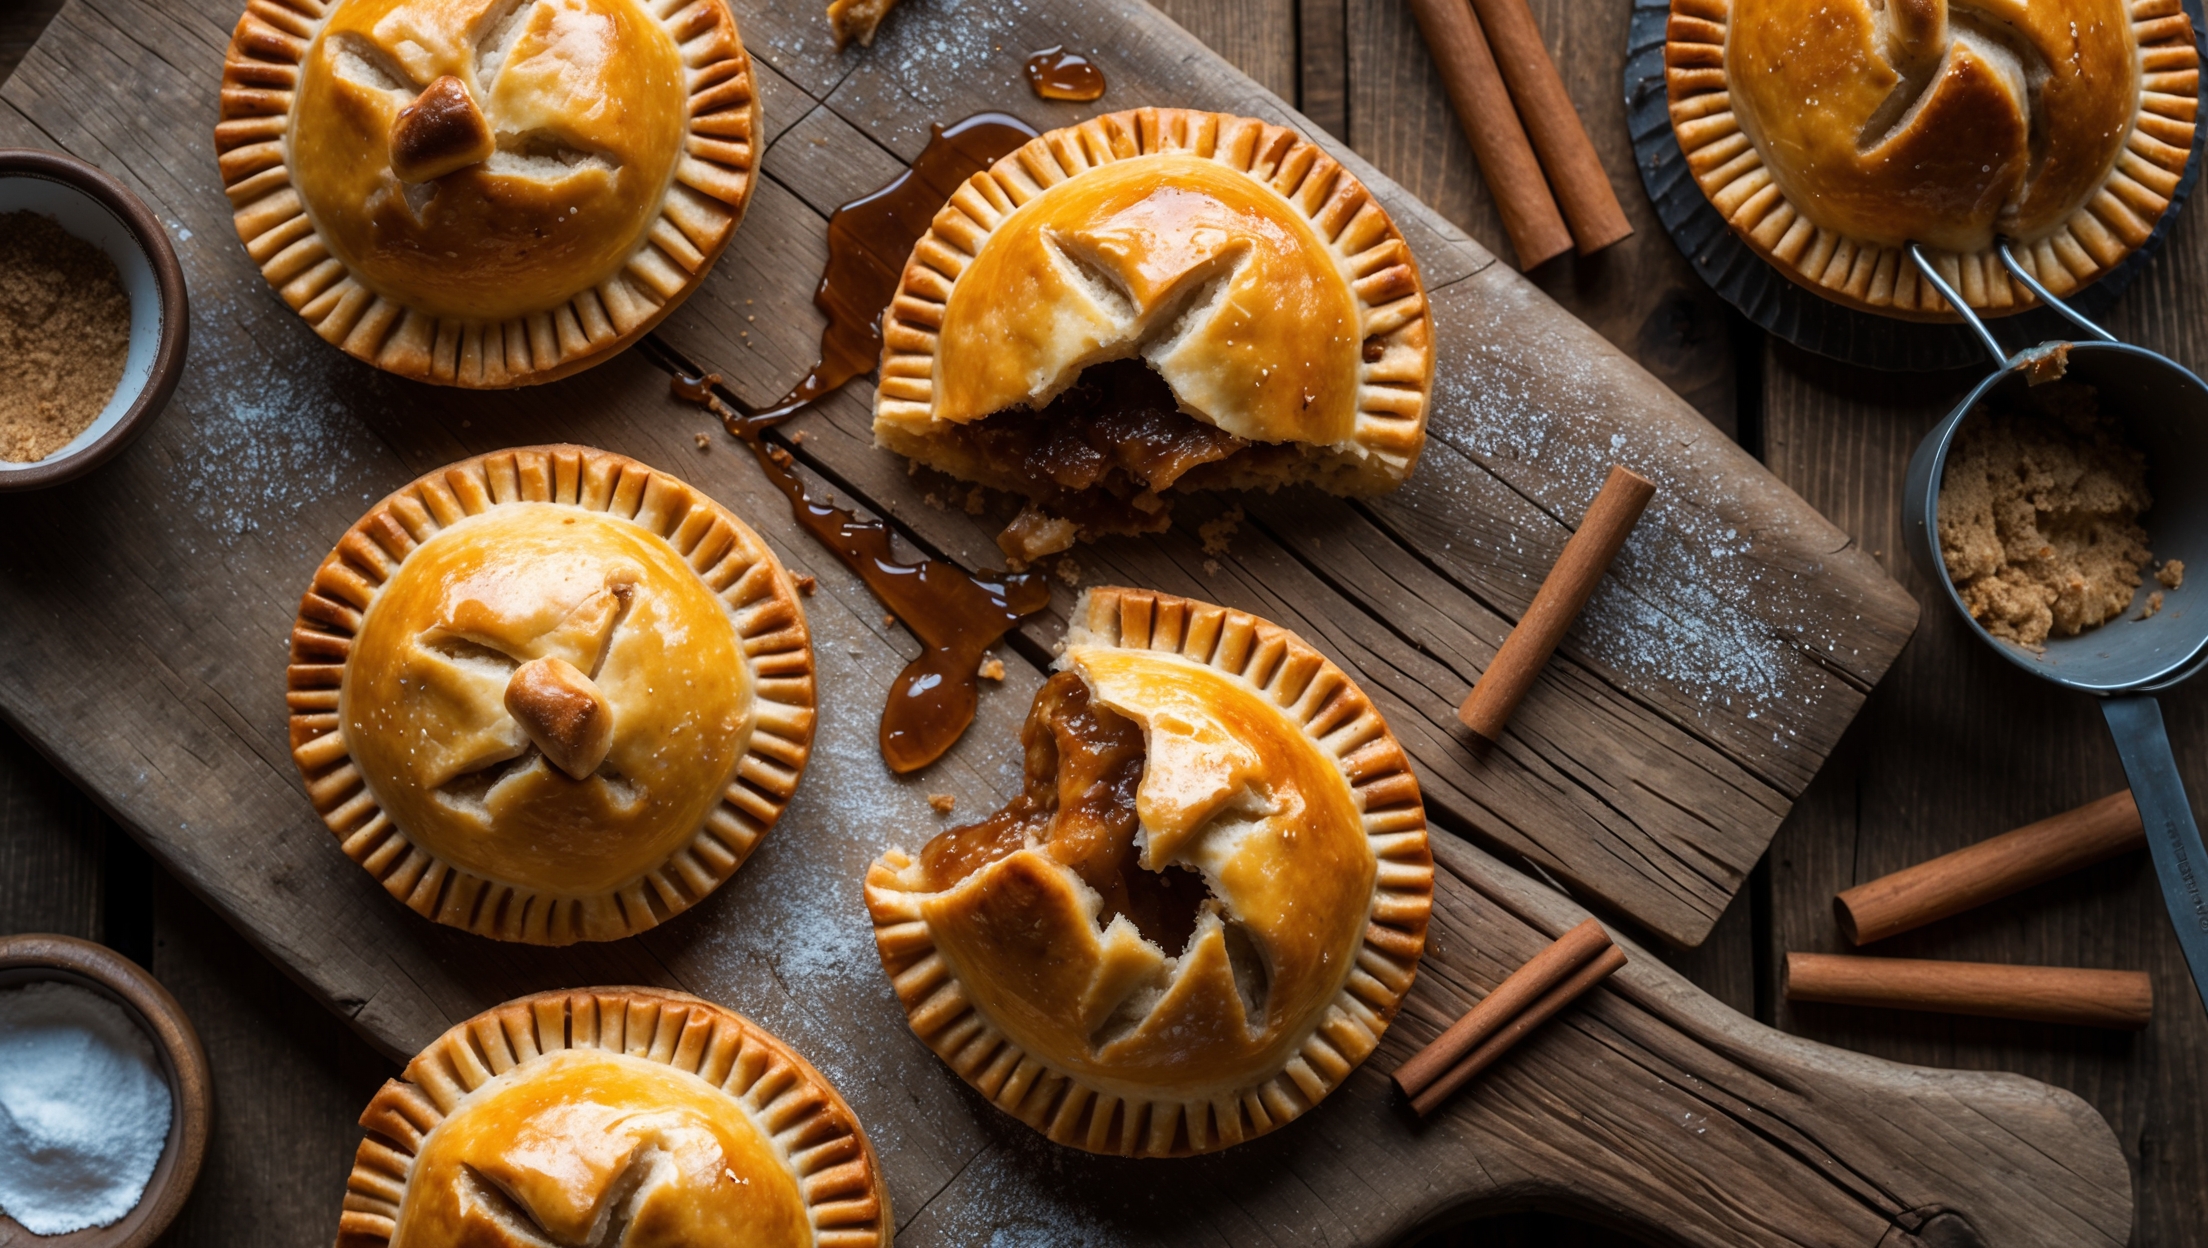
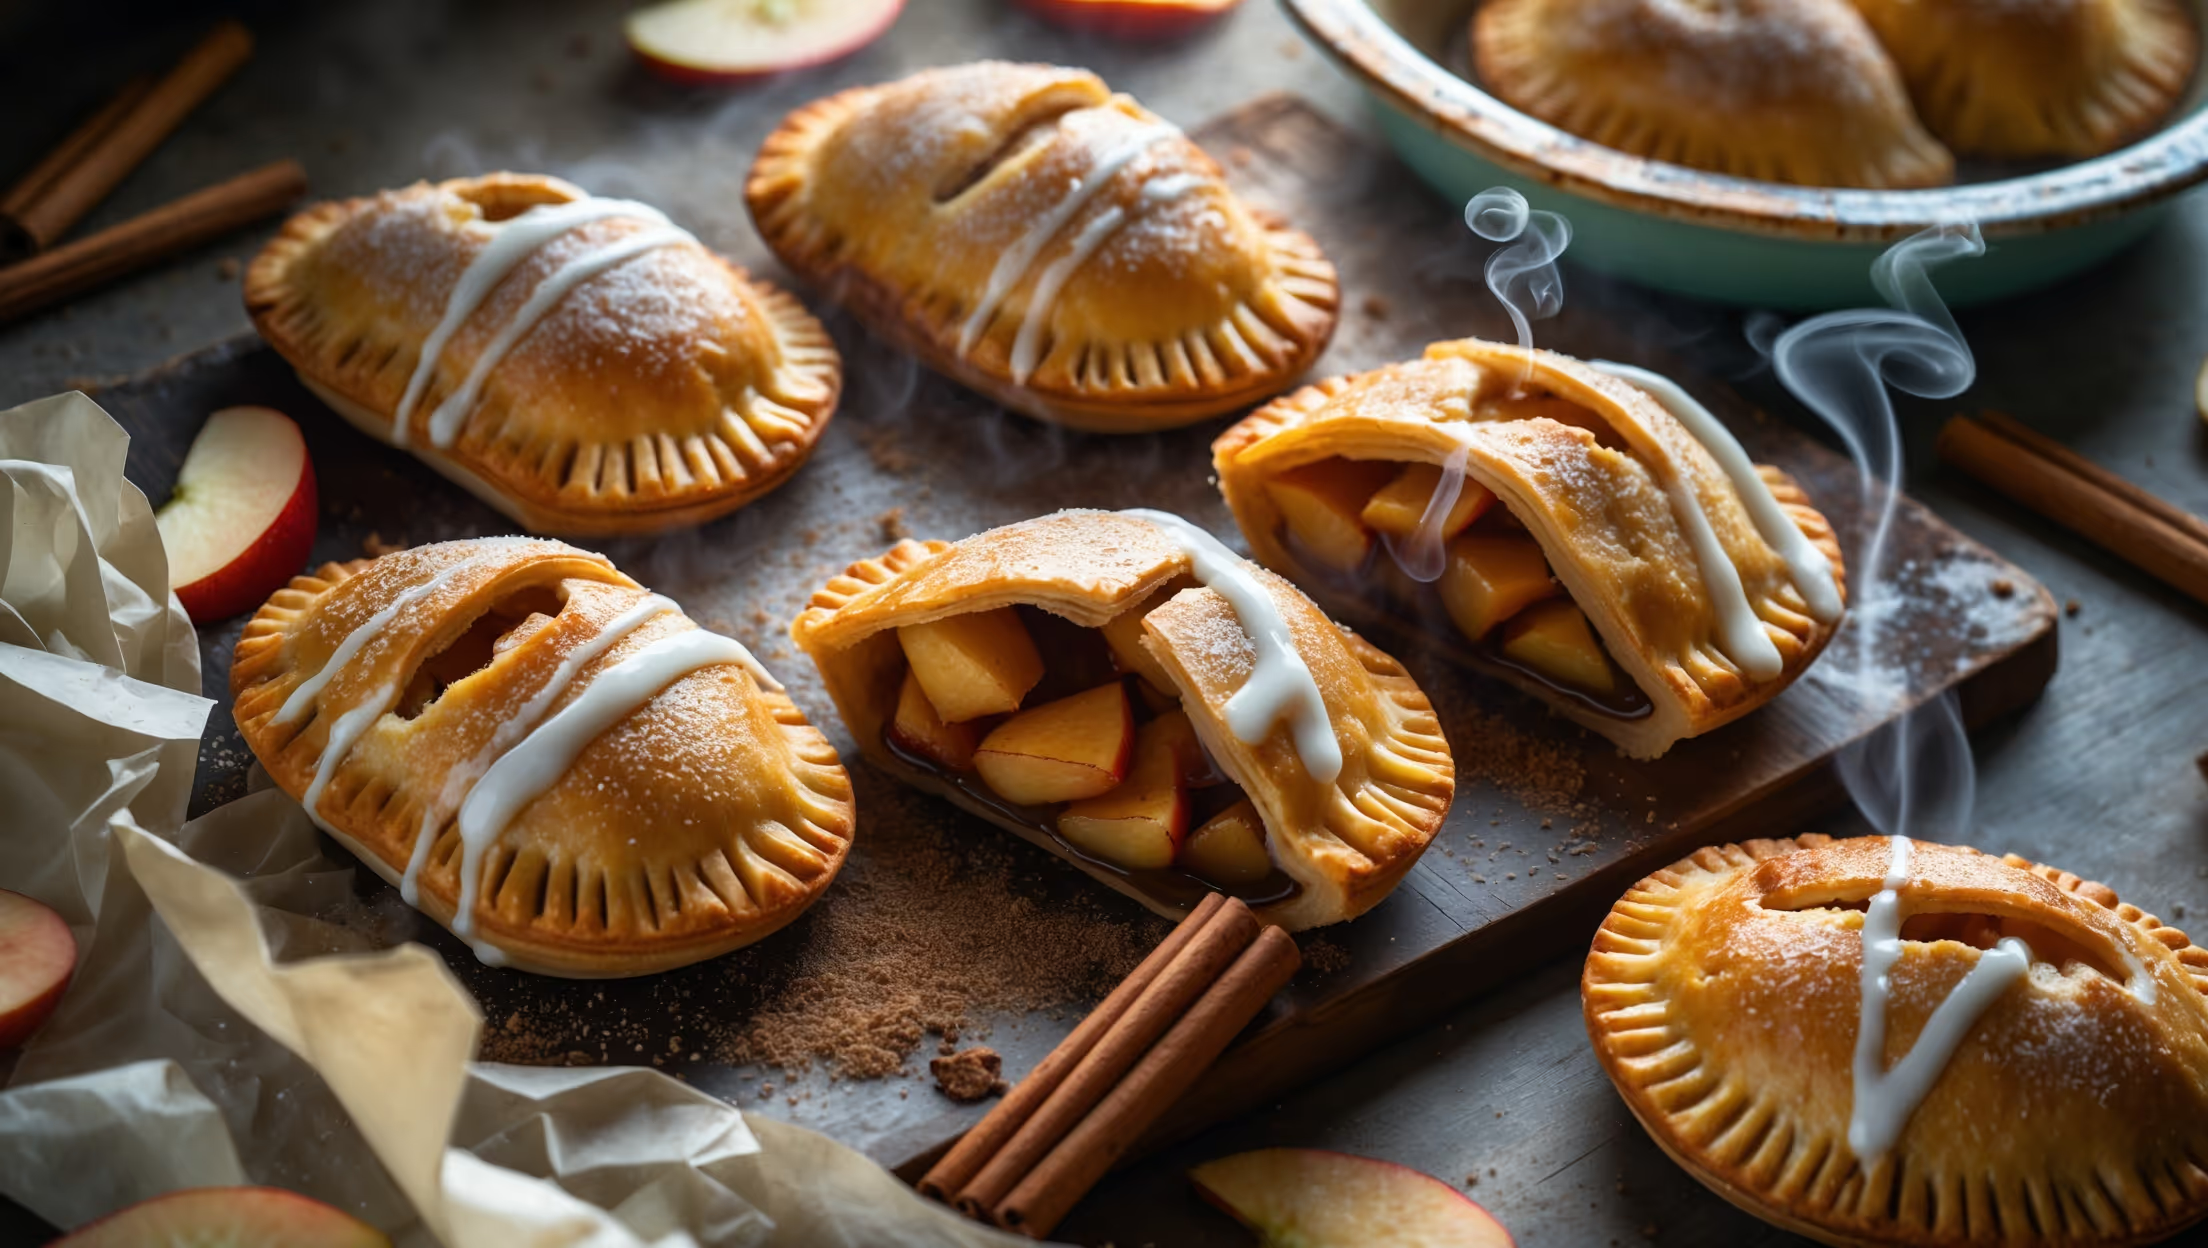
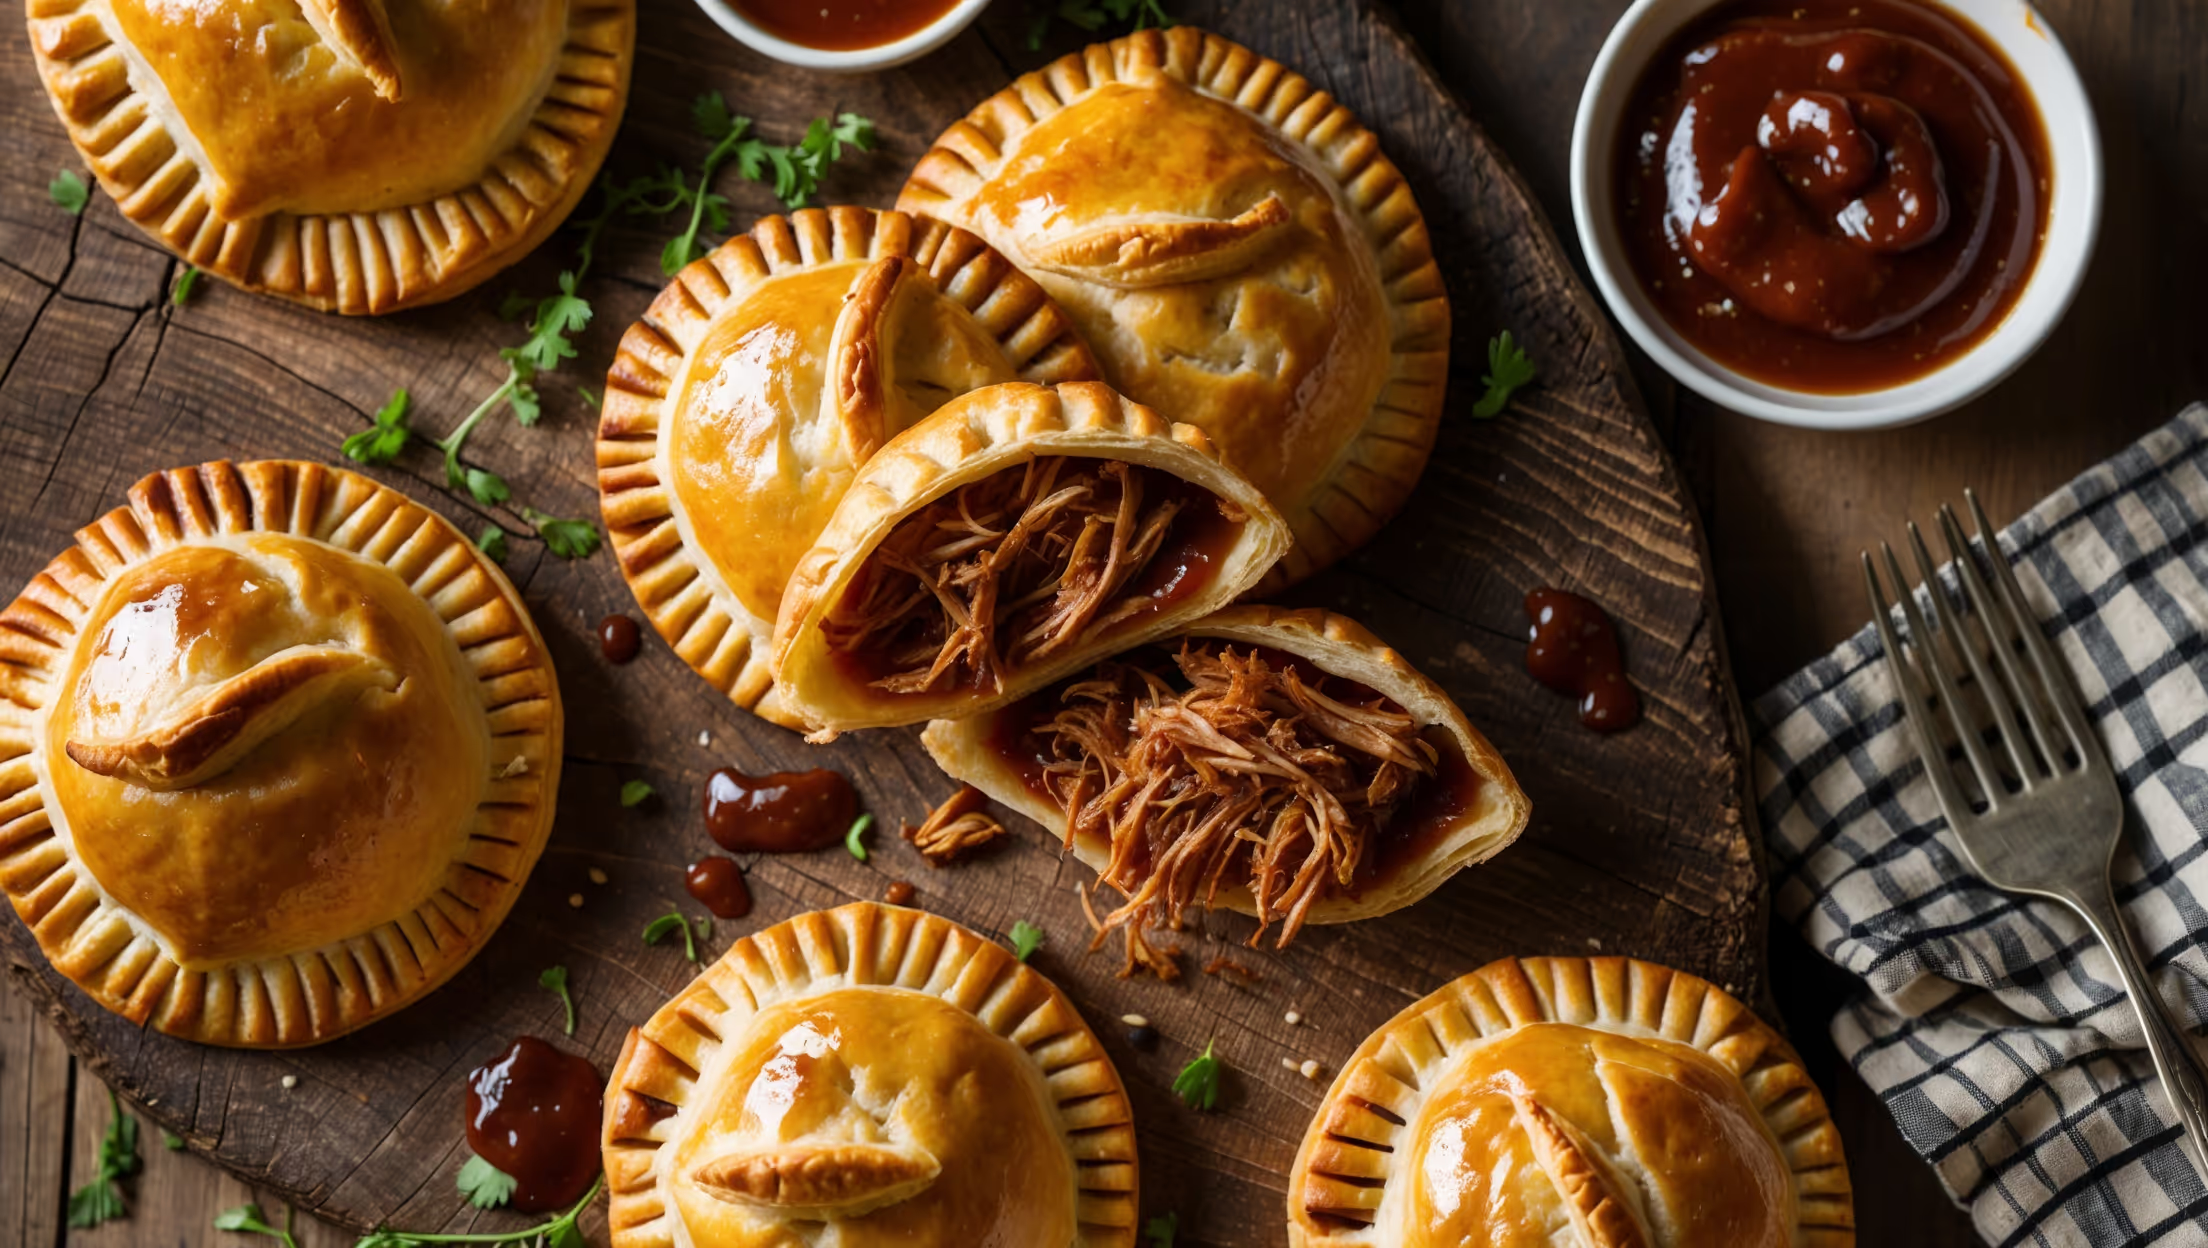
An overhead shot of golden-brown lobster roll hand pies arranged on a weathered blue wooden board, mimicking coastal aesthetics. A cross-section view reveals the generous filling of pink lobster chunks coated in a creamy herb-speckled dressing. Natural daylight streams across the scene, highlighting the flaky, buttery pastry layers and creating gentle shadows. Scattered fresh dill sprigs, lemon wedges, and sea salt flakes surround the pies, while a small ramekin of additional herb mayonnaise sits nearby for dipping. Steam gently rises from a freshly broken pie, suggesting warmth and inviting the viewer to taste the seaside-inspired treat.

Ingredients

<ul class="ingredients-main-list"><li class="ingredients-single-item">For the pastry:</li><li class="ingredients-single-item">300g all-purpose flour</li><li class="ingredients-single-item">1/4 tsp fine sea salt</li><li class="ingredients-single-item">225g cold unsalted butter, cubed</li><li class="ingredients-single-item">60-80ml ice-cold water</li><li class="ingredients-single-item">1 egg, beaten (for egg wash)</li><li class="ingredients-single-item">For the filling:</li><li class="ingredients-single-item">300g cooked lobster meat, roughly chopped (or substitute with crab or large shrimp)</li><li class="ingredients-single-item">60g mayonnaise</li><li class="ingredients-single-item">30g crème fraîche (or substitute with sour cream)</li><li class="ingredients-single-item">1 tbsp fresh lemon juice</li><li class="ingredients-single-item">2 tbsp finely chopped chives</li><li class="ingredients-single-item">1 tbsp finely chopped fresh dill</li><li class="ingredients-single-item">1 tbsp finely chopped fresh parsley</li><li class="ingredients-single-item">1 small celery stalk, finely diced (about 30g)</li><li class="ingredients-single-item">1 tbsp finely minced shallot</li><li class="ingredients-single-item">1/4 tsp celery salt</li><li class="ingredients-single-item">Freshly ground black pepper, to taste</li><li class="ingredients-single-item">Pinch of cayenne pepper (optional)</li></ul>

Equipment

<ul class="equipment-main-list"><li class="equipment-single-item">Food processor (optional, for pastry)</li><li class="equipment-single-item">Rolling pin</li><li class="equipment-single-item">10cm (4-inch) round pastry cutter</li><li class="equipment-single-item">Baking sheets</li><li class="equipment-single-item">Pastry brush</li></ul>
BAKE SMARTER

Kitchen Converter

Quickly switch between common baking units without leaving the recipe.

Convert
Result—

Volume uses US cups, tablespoons, and teaspoons. Converting weight to volume depends on the ingredient.

Directions

<ol class="no-list-style"><li class="MethodStepper"><h4 class="step-title">Step 1</h4>Start by preparing your pastry. In a large bowl or food processor, combine the flour and salt. Add the cold cubed butter and pulse or use your fingertips to work it in until the mixture resembles coarse breadcrumbs with some pea-sized pieces of butter remaining. These butter pockets will create steam during baking, resulting in those beautiful flaky layers we're seeking.</li><li class="MethodStepper"><h4 class="step-title">Step 2</h4>Gradually add the ice-cold water, 1 tablespoon at a time, mixing gently until the dough just comes together. You might not need all the water - stop adding once the dough holds together when pinched. The key is to handle the dough as little as possible to prevent developing gluten, which would make your pastry tough rather than tender.</li><li class="MethodStepper"><h4 class="step-title">Step 3</h4>Shape the dough into a disc, wrap in cling film, and refrigerate for at least 1 hour or up to overnight. Cold dough is crucial for flaky pastry as it keeps the butter from melting before hitting the hot oven.</li><li class="MethodStepper"><h4 class="step-title">Step 4</h4>While the dough chills, prepare your filling. In a medium bowl, gently mix the chopped lobster meat, mayonnaise, crème fraîche, lemon juice, herbs, celery, shallot, celery salt, black pepper, and cayenne if using. The goal is to coat everything lightly – not drown the delicate lobster. Refrigerate until ready to use.</li><li class="MethodStepper"><h4 class="step-title">Step 5</h4>Preheat your oven to 200°C (400°F) and line two baking sheets with parchment paper. Remove the chilled dough from the refrigerator and let it sit for 5-10 minutes, just until it's pliable enough to roll.</li><li class="MethodStepper"><h4 class="step-title">Step 6</h4>On a lightly floured surface, roll the dough to about 3mm (1/8 inch) thickness. Using a 10cm (4-inch) round cutter, cut out as many circles as possible. Re-roll scraps once to cut additional circles – you should get approximately 16 circles total.</li><li class="MethodStepper"><h4 class="step-title">Step 7</h4>Place about 1½ tablespoons of lobster filling in the center of half of the dough circles, leaving a 1cm border around the edges. Be careful not to overfill, or your pies may leak during baking. Brush the edges with beaten egg to help seal.</li><li class="MethodStepper"><h4 class="step-title">Step 8</h4>Top each filled circle with a plain dough circle and press the edges together with your fingers to seal. For an extra secure seal, crimp the edges with a fork. Then, cut a small vent in the top of each pie to allow steam to escape during baking.</li><li class="MethodStepper"><h4 class="step-title">Step 9</h4>Transfer the assembled pies to the prepared baking sheets, leaving about 5cm between each. Brush the tops generously with beaten egg for a beautiful golden finish. If your kitchen is warm and the pastry has softened considerably, refrigerate the assembled pies for 15 minutes before baking to re-chill the butter.</li><li class="MethodStepper"><h4 class="step-title">Step 10</h4>Bake in the preheated oven for 20-25 minutes, rotating the pans halfway through, until the pies are deeply golden brown. The rich color isn't just for looks – it ensures your pastry is fully cooked and crisp all the way through.</li><li class="MethodStepper"><h4 class="step-title">Step 11</h4>Allow the pies to cool on the baking sheets for 5 minutes before transferring to a wire rack. These hand pies are delicious served warm or at room temperature, though I recommend allowing them to cool for at least 15 minutes so the filling can set slightly and won't burn your mouth!</li><li class="MethodStepper"><h4 class="step-title">Step 12</h4>Serve your lobster roll hand pies with extra lemon wedges for squeezing and perhaps a small dish of additional herb mayonnaise for dipping. These can be stored in an airtight container in the refrigerator for up to 2 days and reheated in a 150°C (300°F) oven for 10 minutes to recrisp the pastry.</li></ol>


Nutrition Facts (per serving)

🍽️ Serving Size: 1 slice
🔥 Calories: 315 calories
🥑 Fat: 18 g
🧈 Saturated Fat: 11 g
🍞 Carbohydrates: 37 g
🍭 Sugar: 24 g
🍗 Protein: 5 g
🫀 Cholesterol: 145 mg
🧂 Sodium: 120 mg

Chef’s Notes

A few helpful details for making this recipe.

Can I substitute the lobster with another type of seafood?

Yes, crab meat or large shrimp make excellent substitutes for lobster in these hand pies. The recipe even suggests these alternatives. You'll still get a delicious seafood pastry with similar coastal flavours, though each option brings its own unique taste profile.

What's the secret to achieving perfectly flaky pastry for seafood hand pies?

The secrets to flaky pastry are keeping all ingredients cold, handling the dough minimally, leaving visible butter pieces in the dough, and chilling thoroughly before baking. These steps prevent gluten development and allow the butter to create steam pockets that form those coveted layers.

How can I prevent my hand pies from leaking during baking?

To prevent leakage, avoid overfilling (stick to the recommended 1½ tablespoons per pie), leave a proper border around the edges, seal thoroughly with egg wash, double-seal by crimping with a fork, and cut a steam vent in the top to release pressure during baking.

Want to try something else in ...

More recipes you might like

Keep exploring with more recipes from What's Baking.