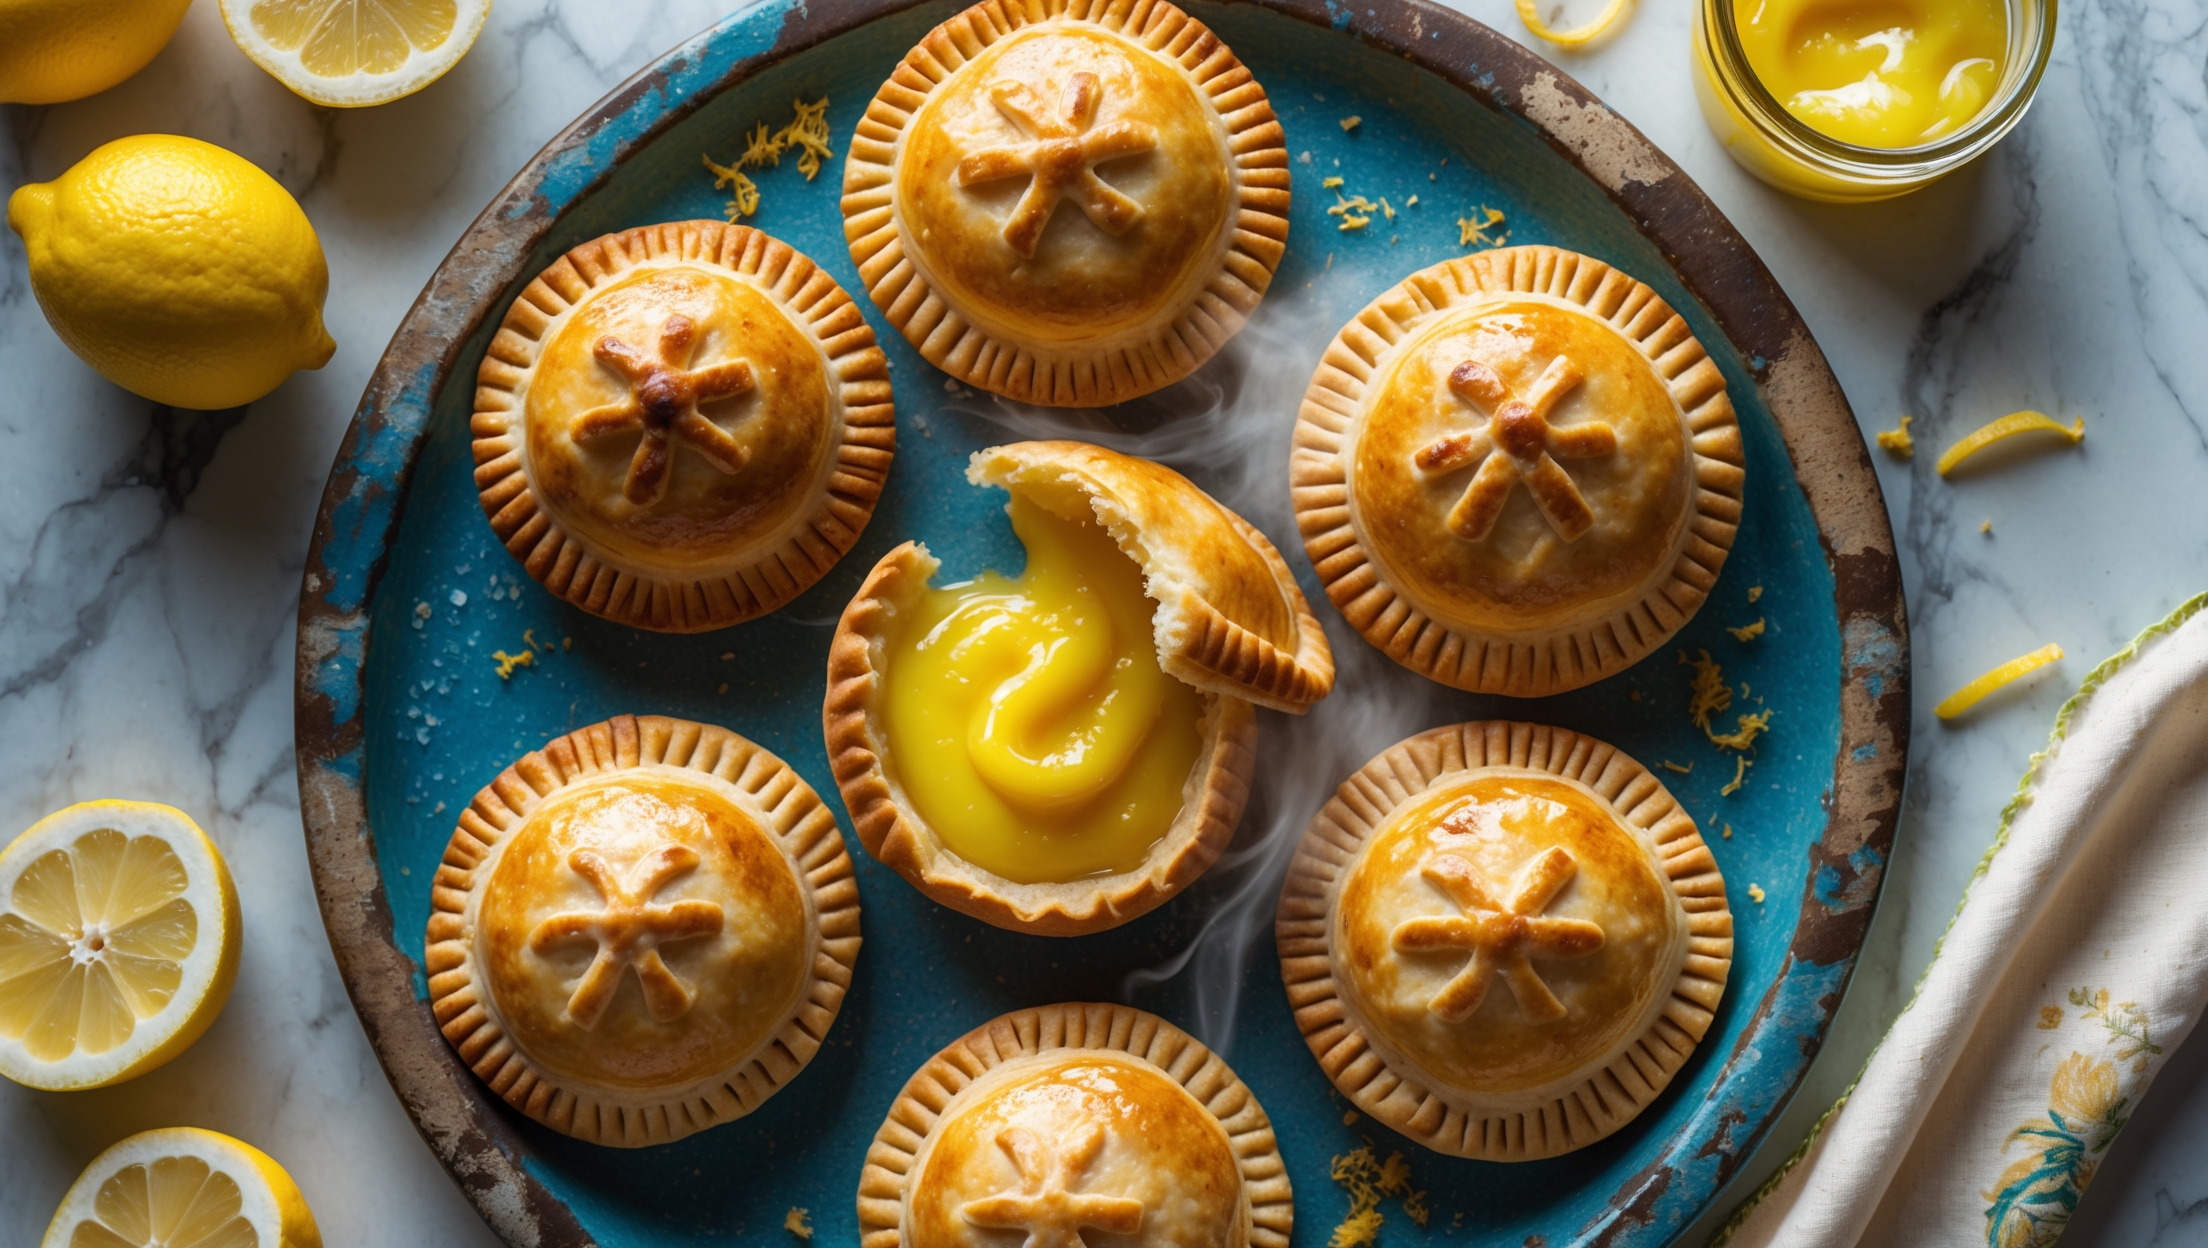
Lemon Curd Hand Pies Recipe
Ingredients
Equipment
Directions
FAQs
Find answers to your most pressing questions about this delicious recipe right here.
Lemon Curd Hand Pies require all-purpose flour, cold butter, sugar, salt, water, apple cider vinegar for the pastry; lemons, sugar, butter and eggs for the lemon curd; plus an egg wash and demerara sugar for assembly and finishing touches.
Learn how to cook Lemon Curd Hand Pies by first making a silky lemon curd that sets in the fridge, then preparing a flaky pastry dough. Cut the dough into circles, fill with curd, seal edges, and bake at 190°C for 20-25 minutes until golden. The key is keeping both pastry and assembled pies cold before baking for maximum flakiness.
Absolutely! The lemon curd can be made up to 1 week ahead and stored in the fridge in an airtight container. The pastry dough can be prepared and refrigerated for up to 2 days or frozen for 1 month. This advance prep makes assembly day much quicker.
Curdling happens when eggs cook too quickly at high temperatures. Prevent this by tempering eggs gradually with the warm lemon mixture, keeping heat low, stirring constantly, and never exceeding 80°C. Using a double-boiler method provides gentle, even heat distribution for perfect silky results.
The secret to flaky pastry is keeping everything cold throughout the process. Use ice-cold water, refrigerate butter before cutting it in, leave visible butter pieces in the dough, chill the dough between steps, and give the assembled pies a final chill before baking to maintain those butter pockets.
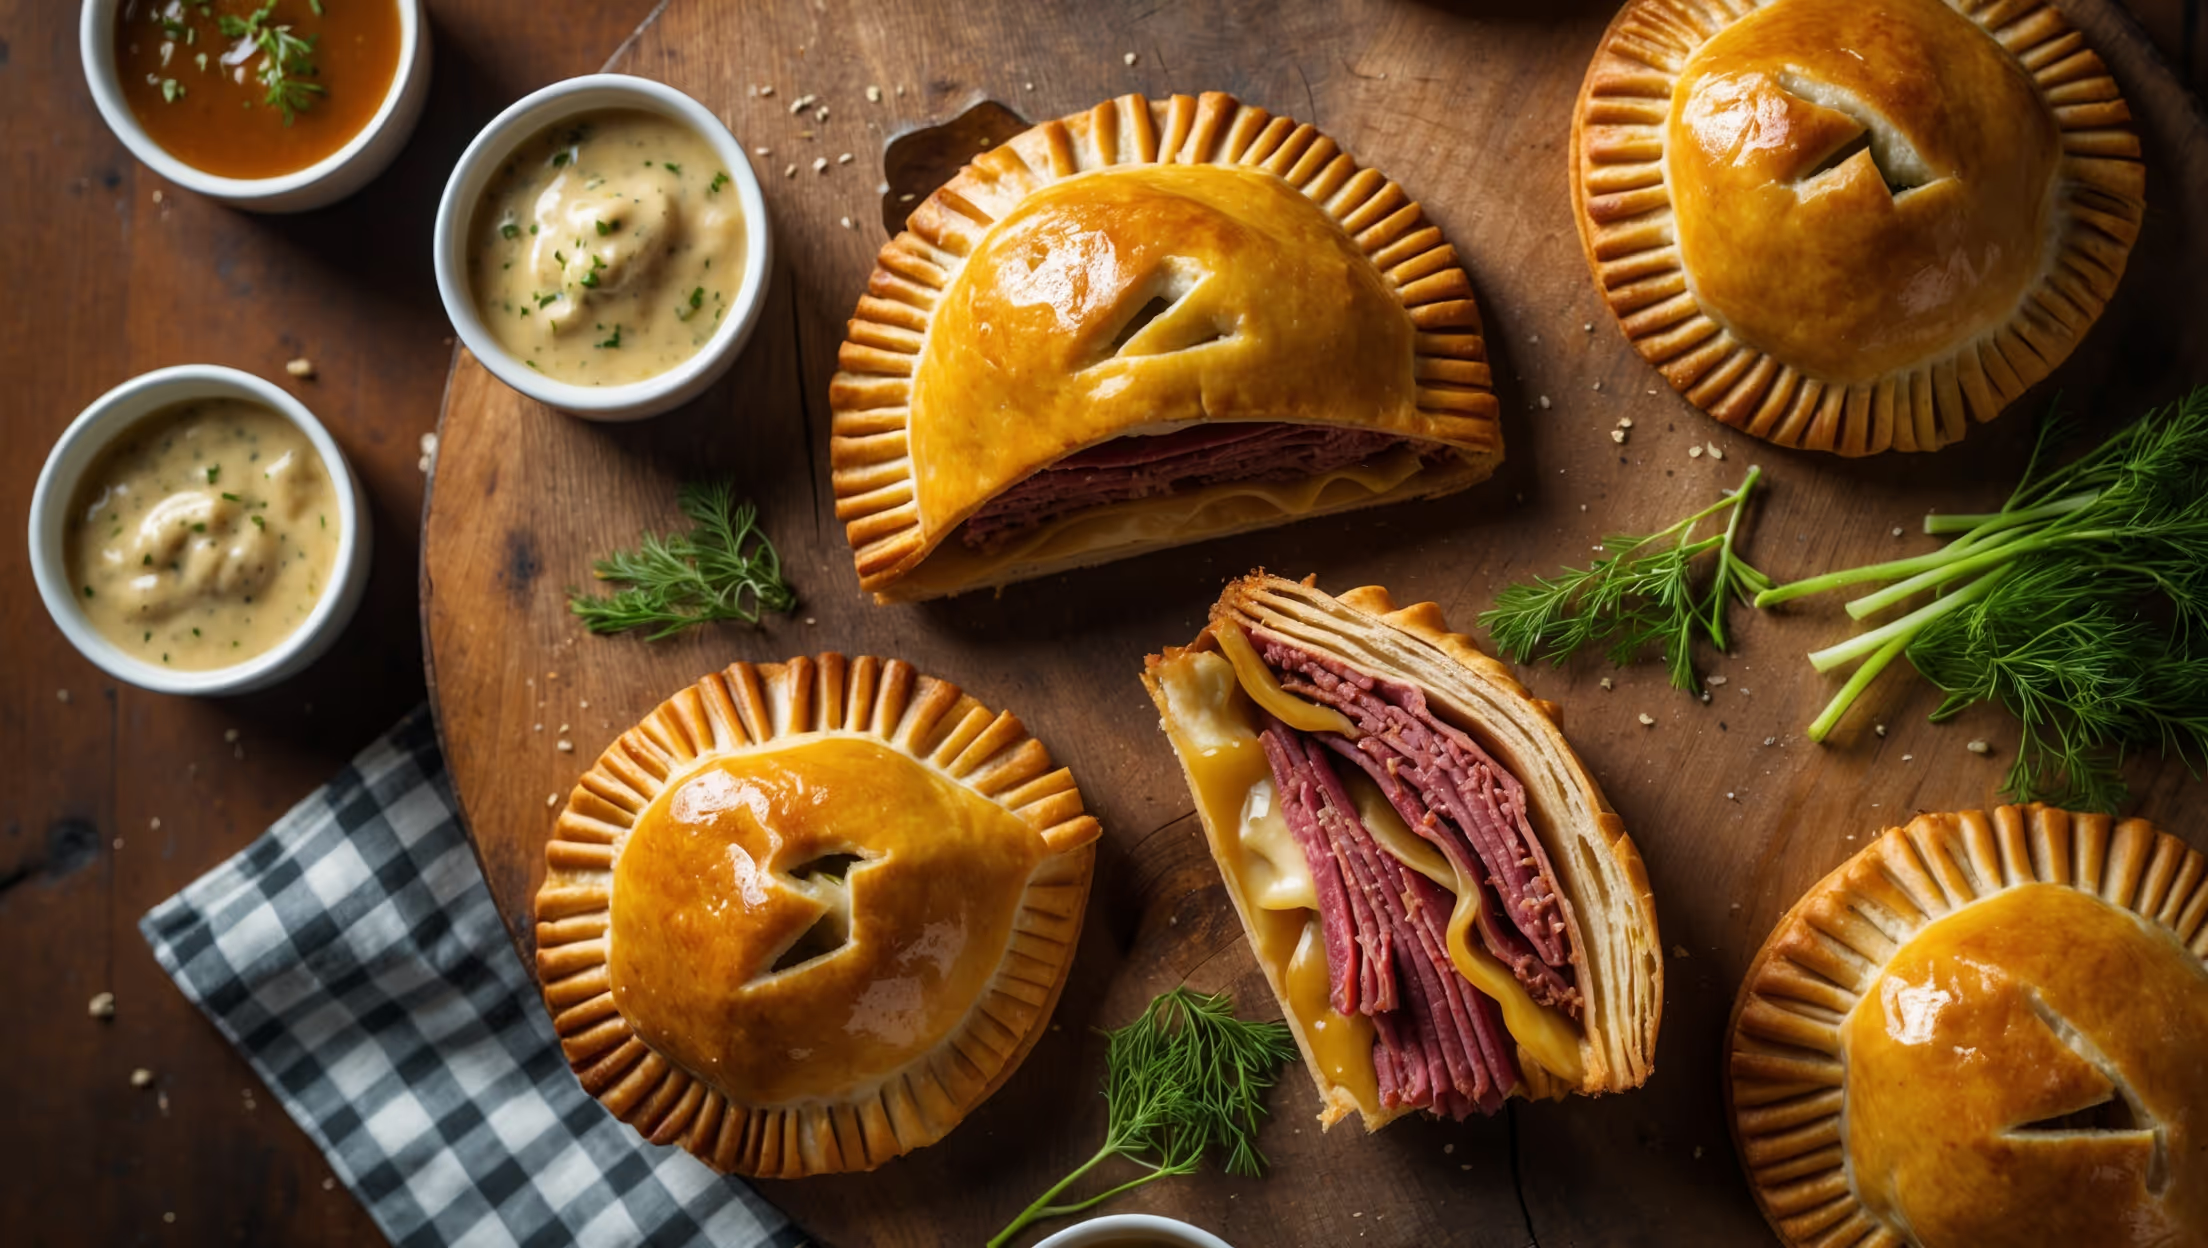
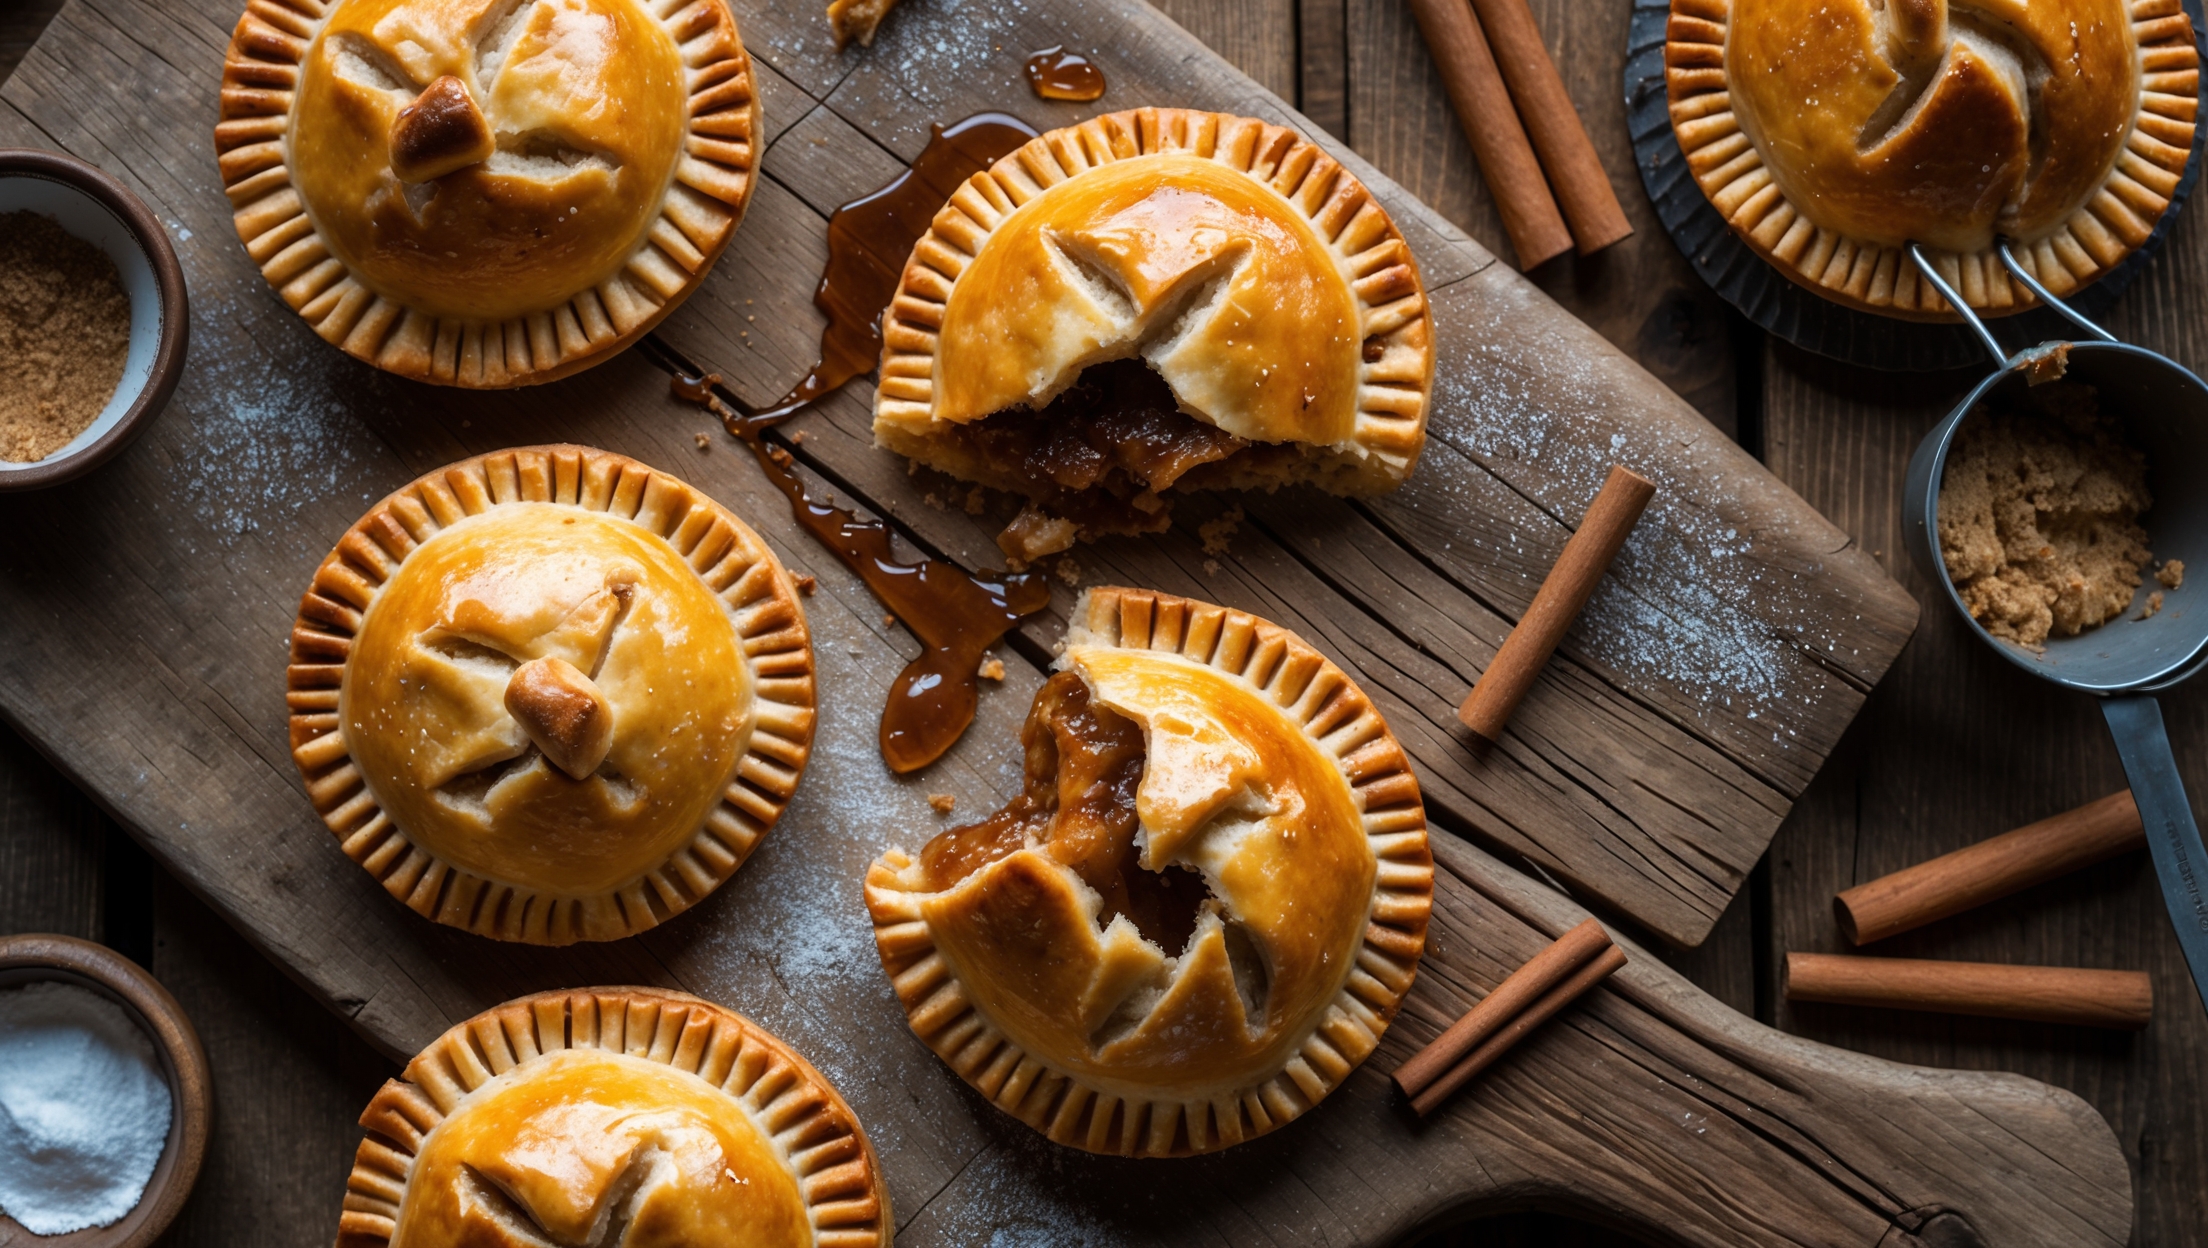
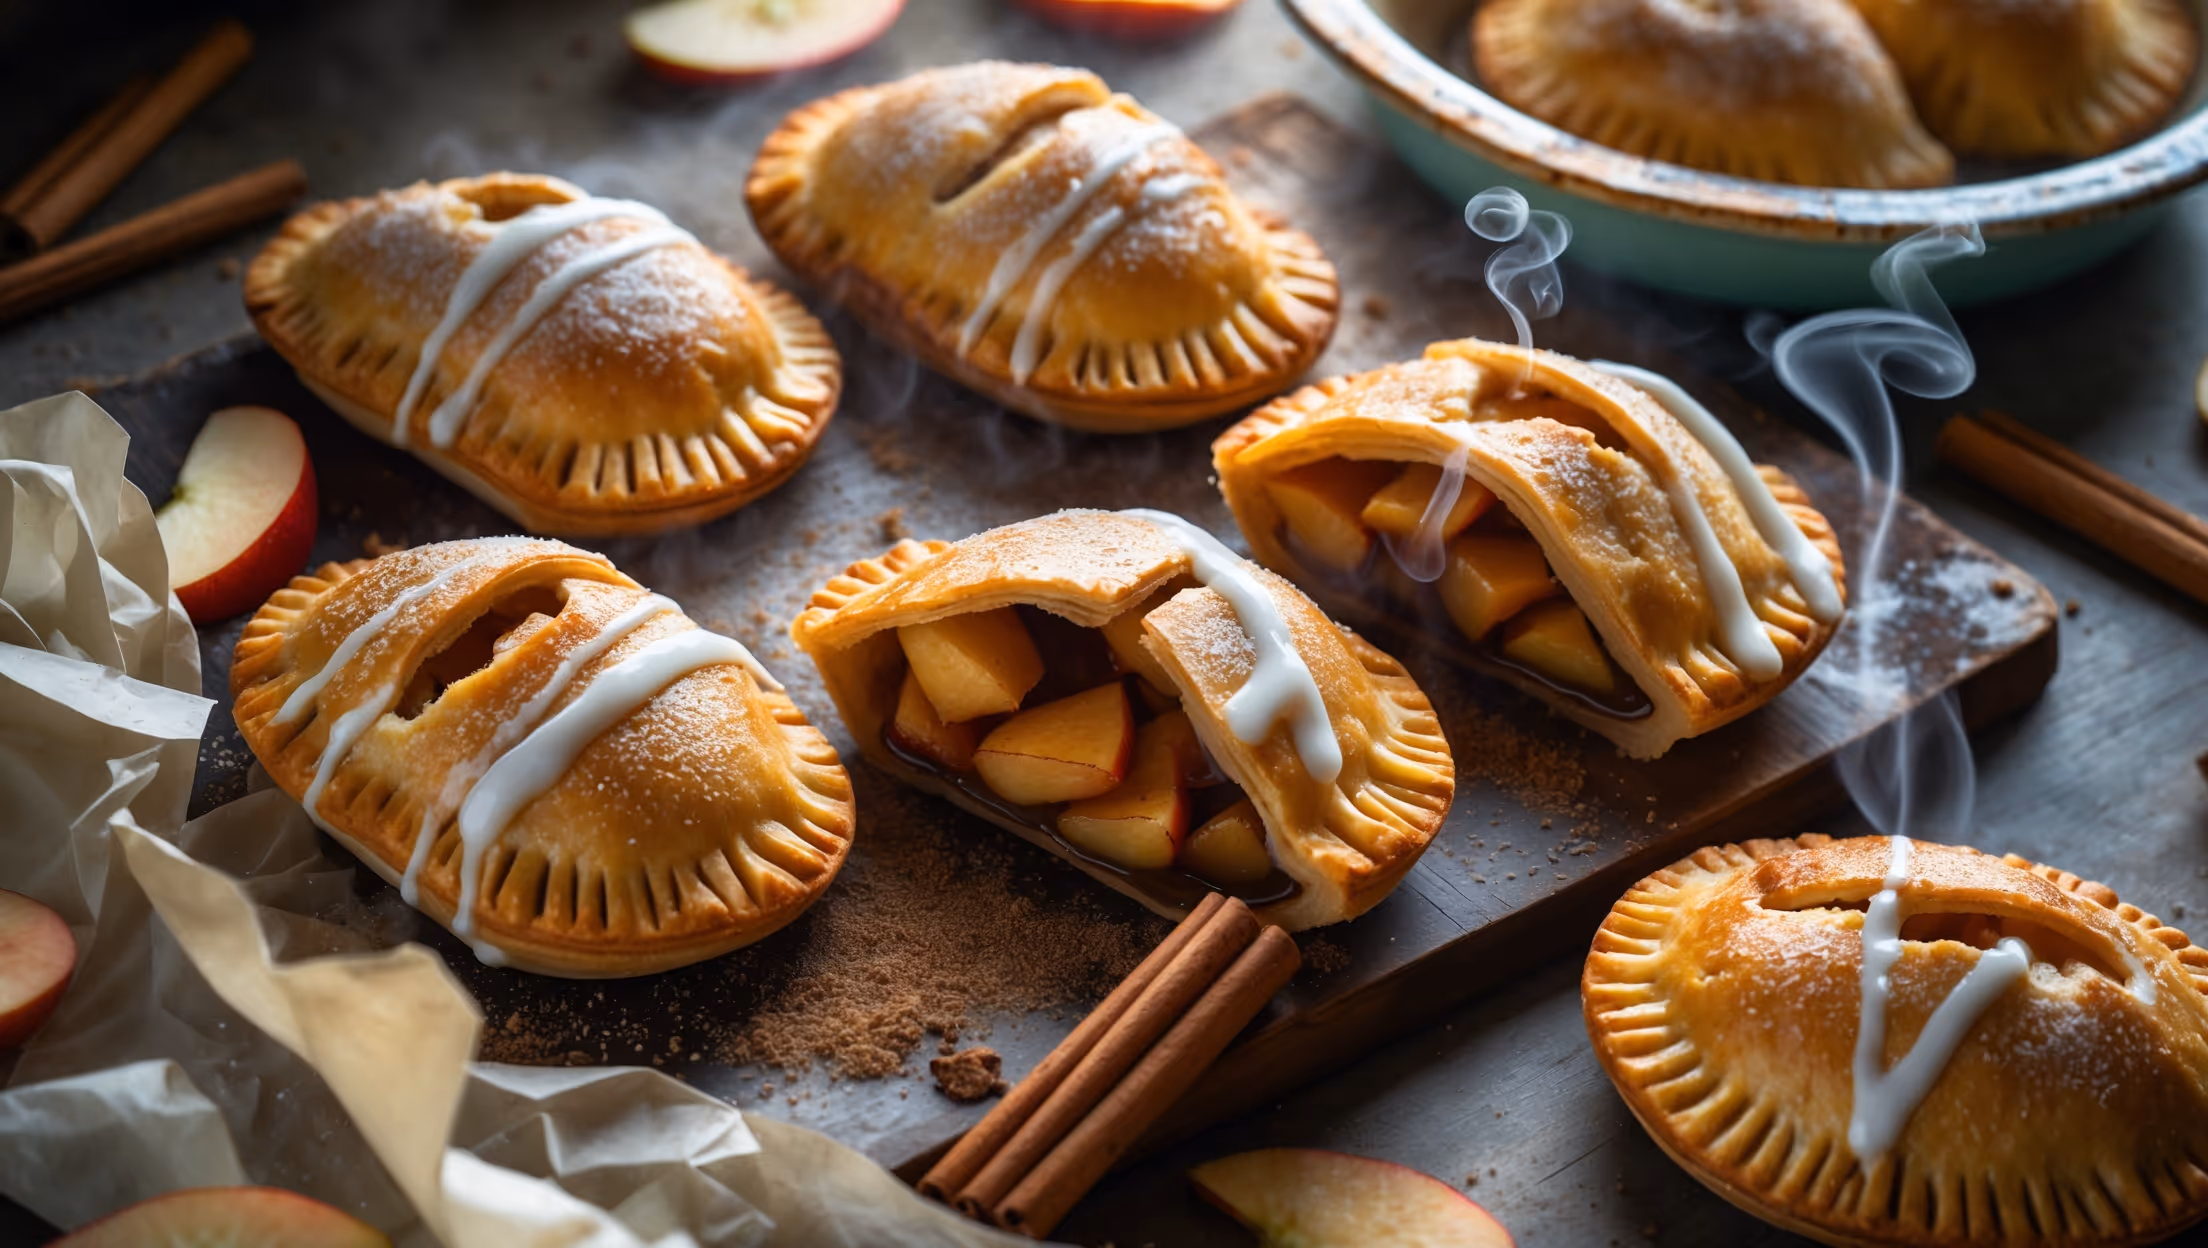
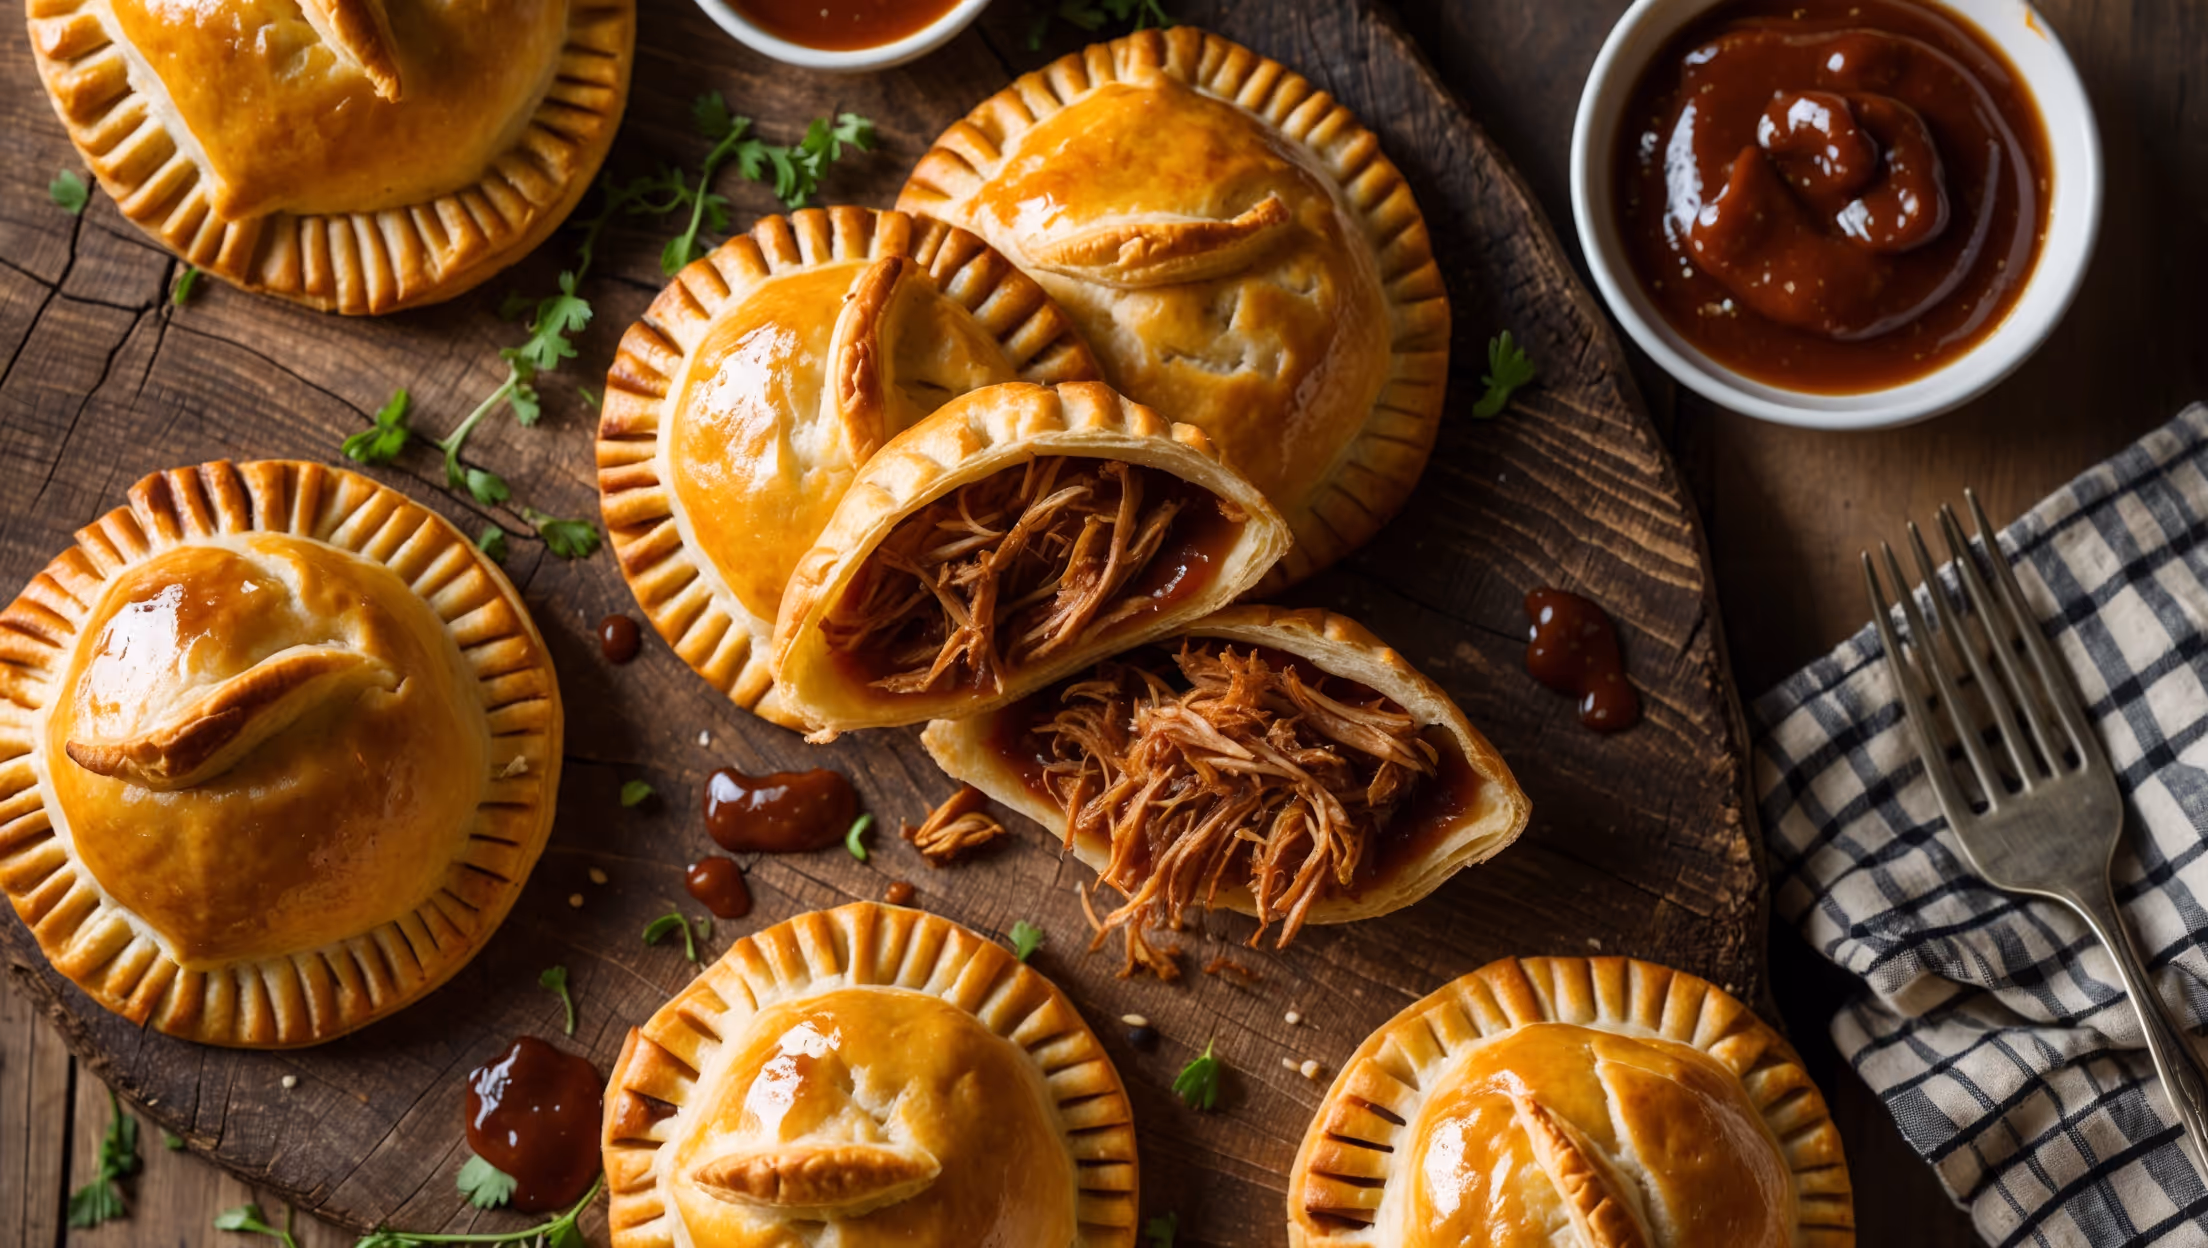
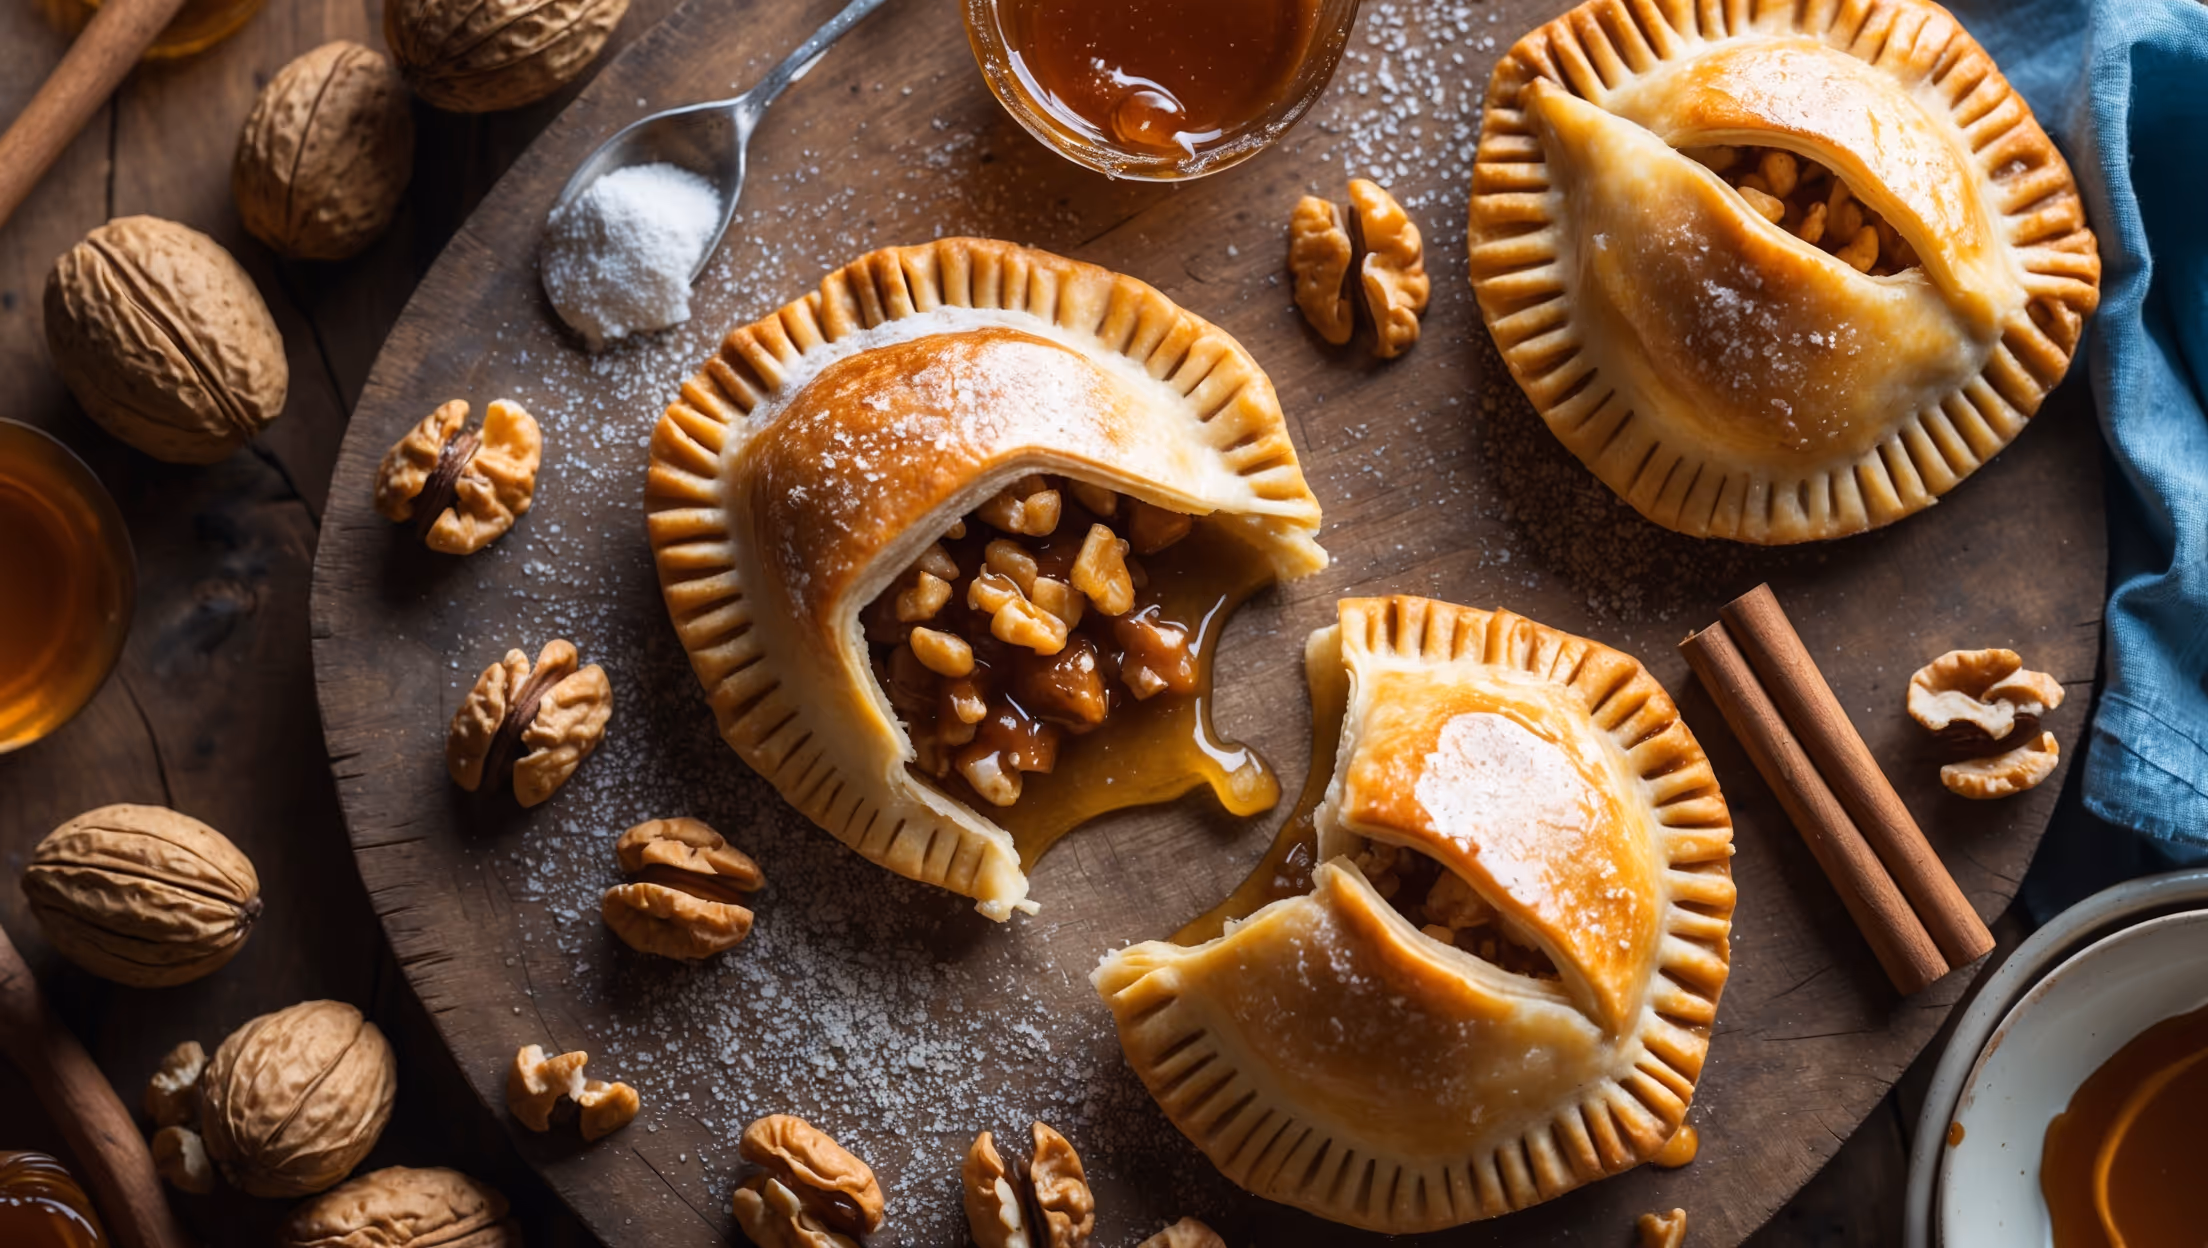
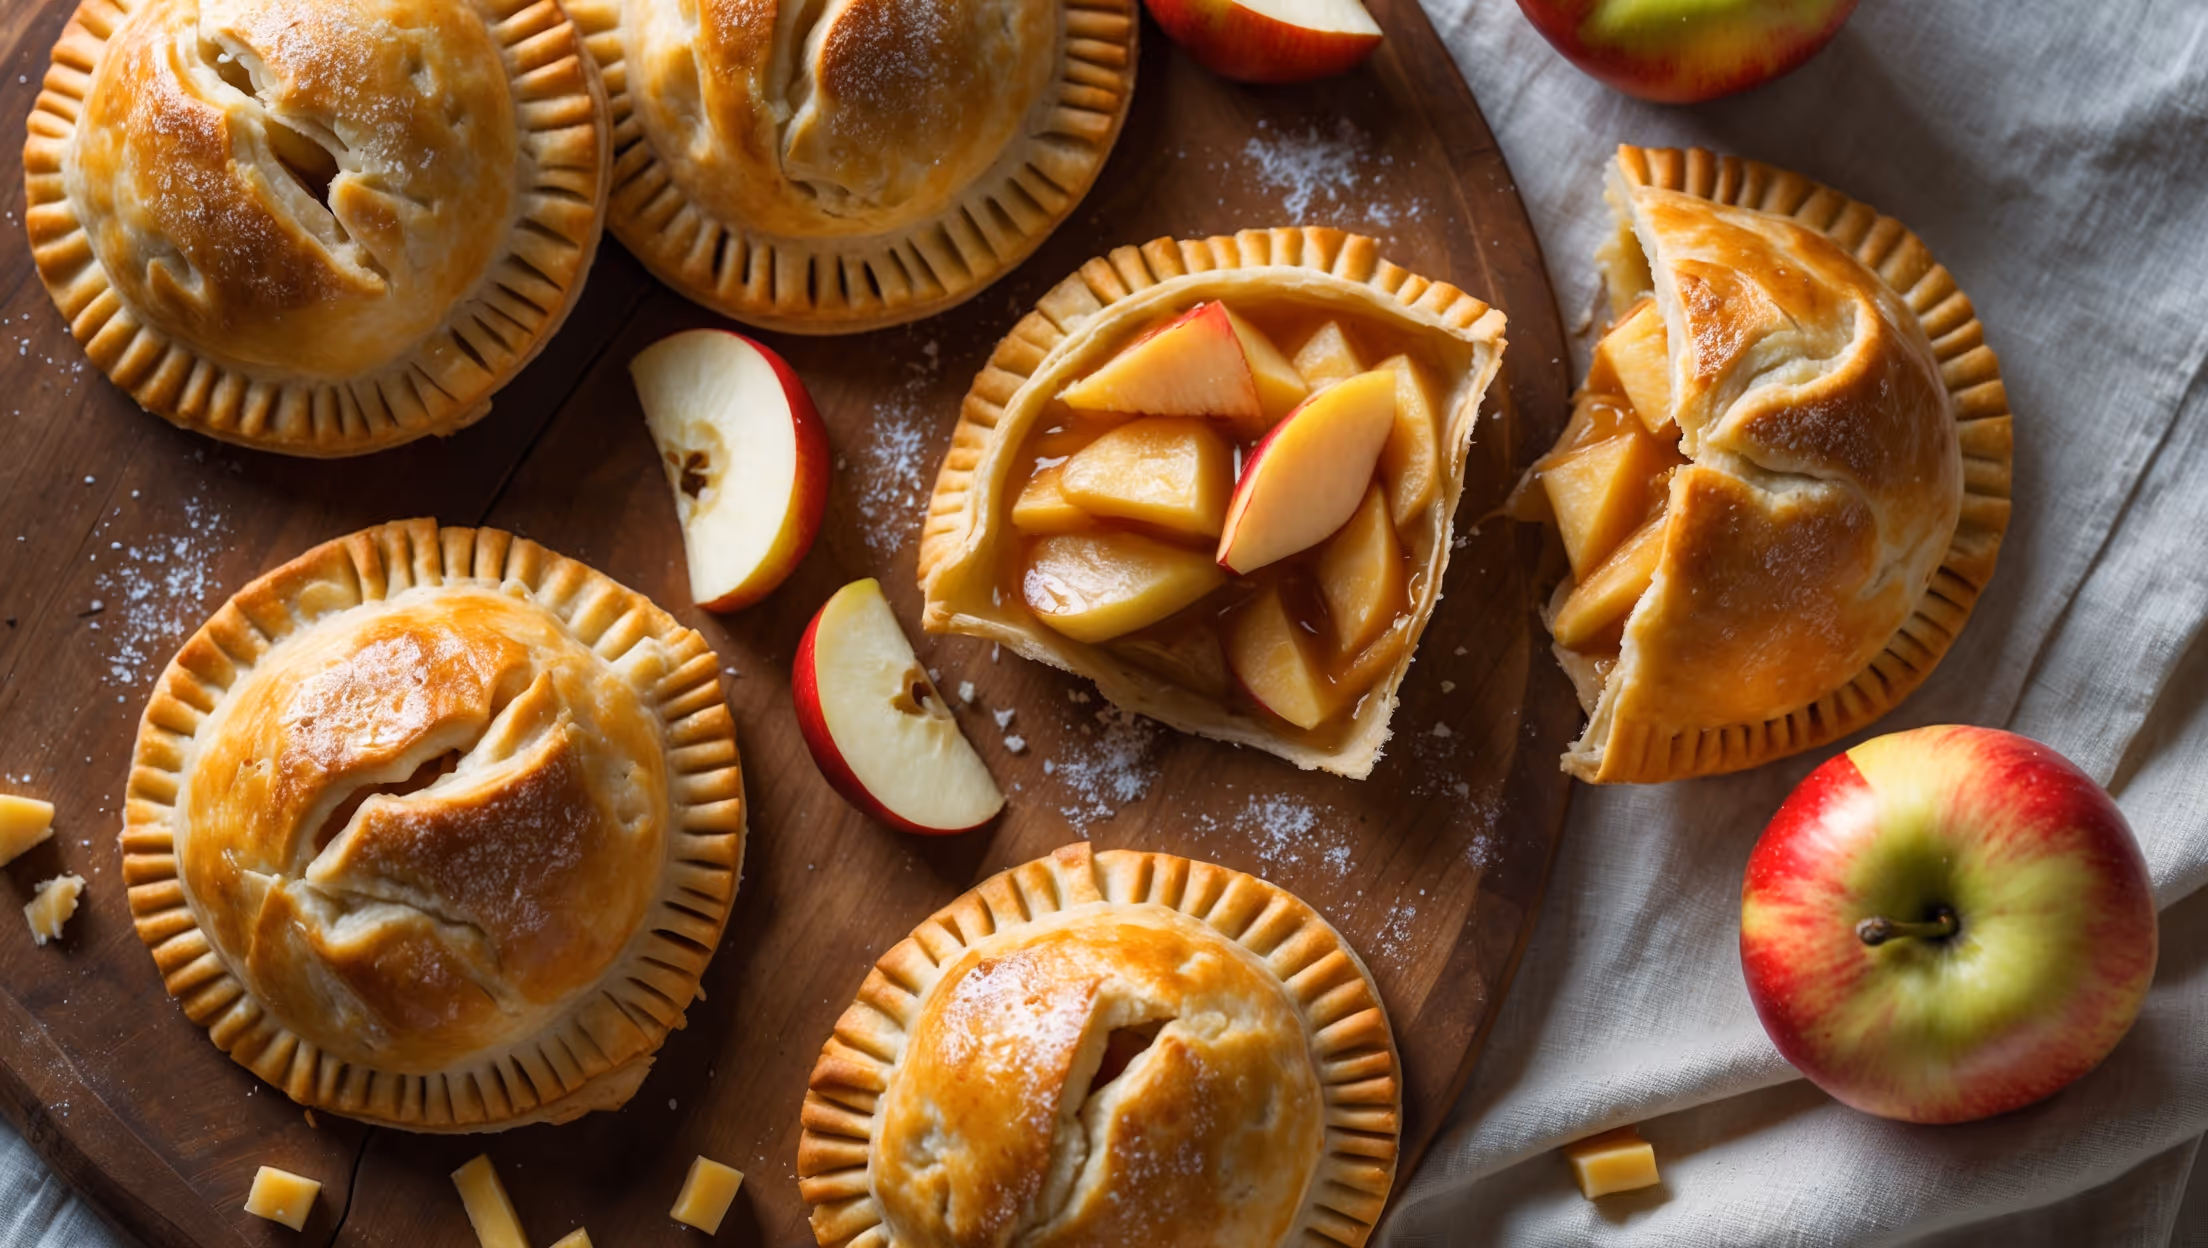
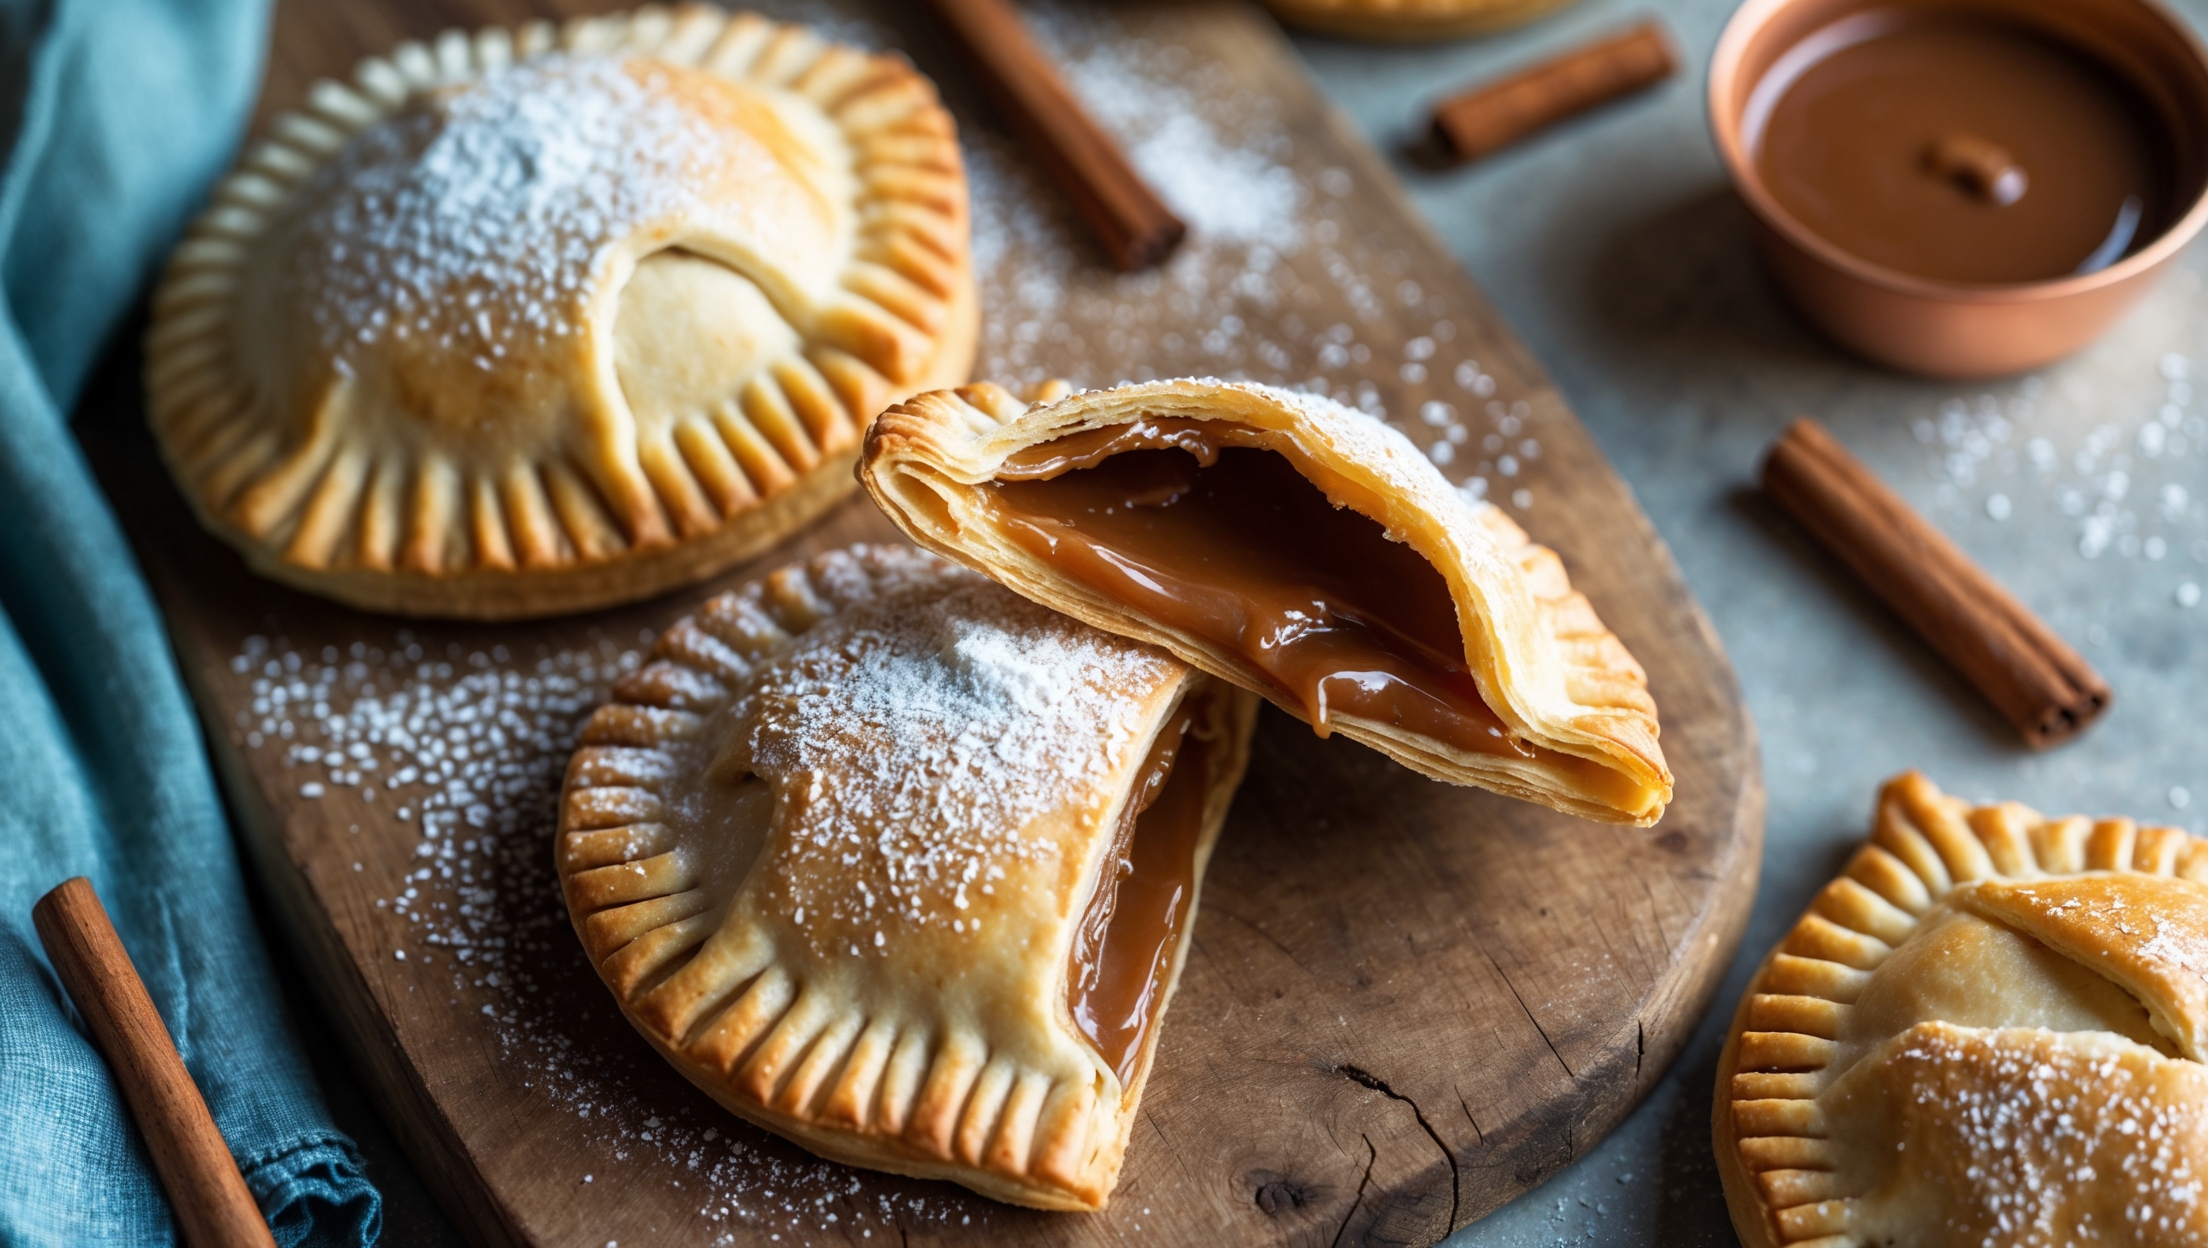
Hand Pies
Try following recommended recipes