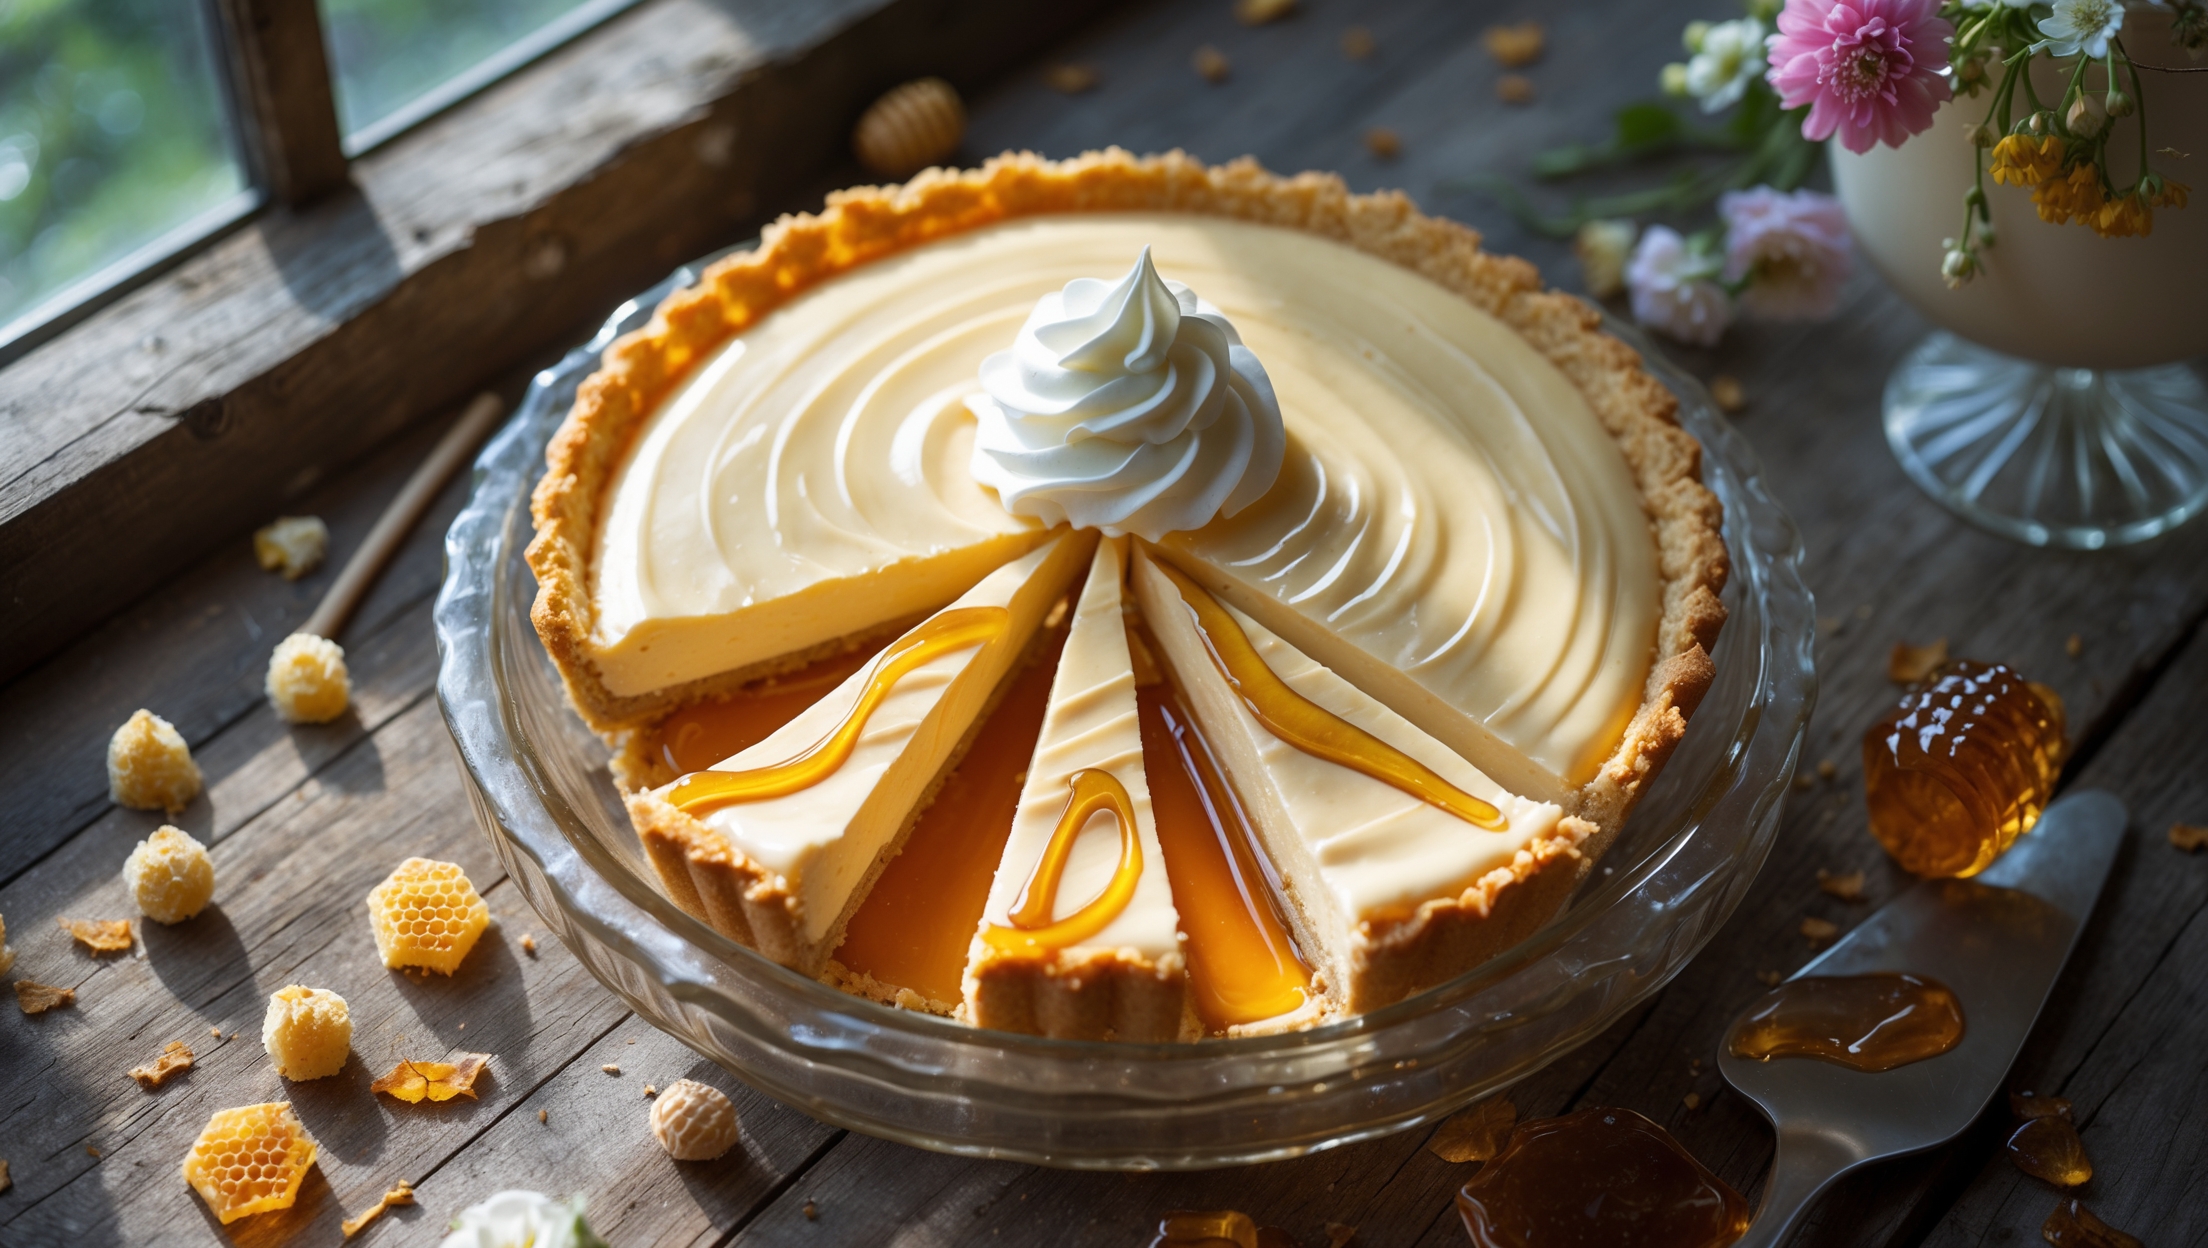
Directions
<ol class="no-list-style"><li class="MethodStepper"><h4 class="step-title">Step 1</h4>Preheat your oven to 180°C. Begin with the crust by crushing the graham crackers to fine crumbs either in a food processor or by placing them in a sealed bag and rolling with a rolling pin. The texture should be like coarse sand for the perfect balance of structure and tenderness.</li><li class="MethodStepper"><h4 class="step-title">Step 2</h4>In a medium bowl, combine the graham cracker crumbs with melted butter, sugar, and salt. Mix thoroughly until the mixture resembles wet sand and holds together when pressed. The butter acts as a binder while the sugar helps create a sturdy, caramelized crust.</li><li class="MethodStepper"><h4 class="step-title">Step 3</h4>Press the crumb mixture firmly and evenly into the bottom and up the sides of your pie dish. Use the bottom of a measuring cup to compact the crust – this even pressure ensures your crust won't crumble when sliced. Bake for 10 minutes until lightly golden and fragrant. The brief baking sets the structure and brings out a toasty flavor. Cool completely on a wire rack.</li><li class="MethodStepper"><h4 class="step-title">Step 4</h4>For the filling, whisk together sugar, cornstarch, and salt in a medium saucepan. This dry mixture will prevent the cornstarch from clumping when liquid is added. Gradually whisk in the milk until smooth, ensuring there are no lumps.</li><li class="MethodStepper"><h4 class="step-title">Step 5</h4>Cook the mixture over medium heat, whisking constantly, until it begins to thicken and bubbles appear at the surface, about 5-7 minutes. The constant whisking prevents scorching and ensures even cooking. You'll notice a dramatic change in texture as the cornstarch activates – the mixture will thicken quite suddenly.</li><li class="MethodStepper"><h4 class="step-title">Step 6</h4>In a separate bowl, lightly beat the egg yolks. Temper the yolks by slowly whisking in about 240ml of the hot milk mixture. This gradual warming prevents the eggs from scrambling when added to the hot liquid. Then pour the tempered yolks back into the saucepan, whisking continuously.</li><li class="MethodStepper"><h4 class="step-title">Step 7</h4>Return the mixture to medium heat and cook, whisking constantly, for about 2-3 minutes until very thick and a few bubbles burst on the surface. The custard should coat the back of a spoon and leave a clear path when you run your finger through it.</li><li class="MethodStepper"><h4 class="step-title">Step 8</h4>Remove from heat and immediately whisk in the butter cubes until melted, then stir in the honey and vanilla extract. The residual heat will melt the butter, adding richness, while the honey provides distinctive floral sweetness. Pass the mixture through a fine-mesh sieve into a clean bowl to ensure perfect smoothness.</li><li class="MethodStepper"><h4 class="step-title">Step 9</h4>Pour the warm filling into the cooled crust, smooth the top with a spatula, and press a piece of plastic wrap directly onto the surface of the filling to prevent a skin from forming. Refrigerate until completely set, at least 4 hours or preferably overnight. Patience is key for the perfect texture!</li><li class="MethodStepper"><h4 class="step-title">Step 10</h4>Just before serving, make the whipped cream by beating the cold heavy cream, powdered sugar, and vanilla in a chilled bowl until soft peaks form. The cold temperature helps the cream whip up with maximum volume. Be careful not to overwhip – stop when the cream holds its shape but still looks silky.</li><li class="MethodStepper"><h4 class="step-title">Step 11</h4>Spread or pipe the whipped cream over the chilled pie, and drizzle with additional honey for a beautiful finish. For the most impressive presentation, warm the honey slightly to achieve that perfect drizzling consistency. Slice with a sharp knife dipped in hot water and wiped clean between cuts for picture-perfect slices.</li></ol>