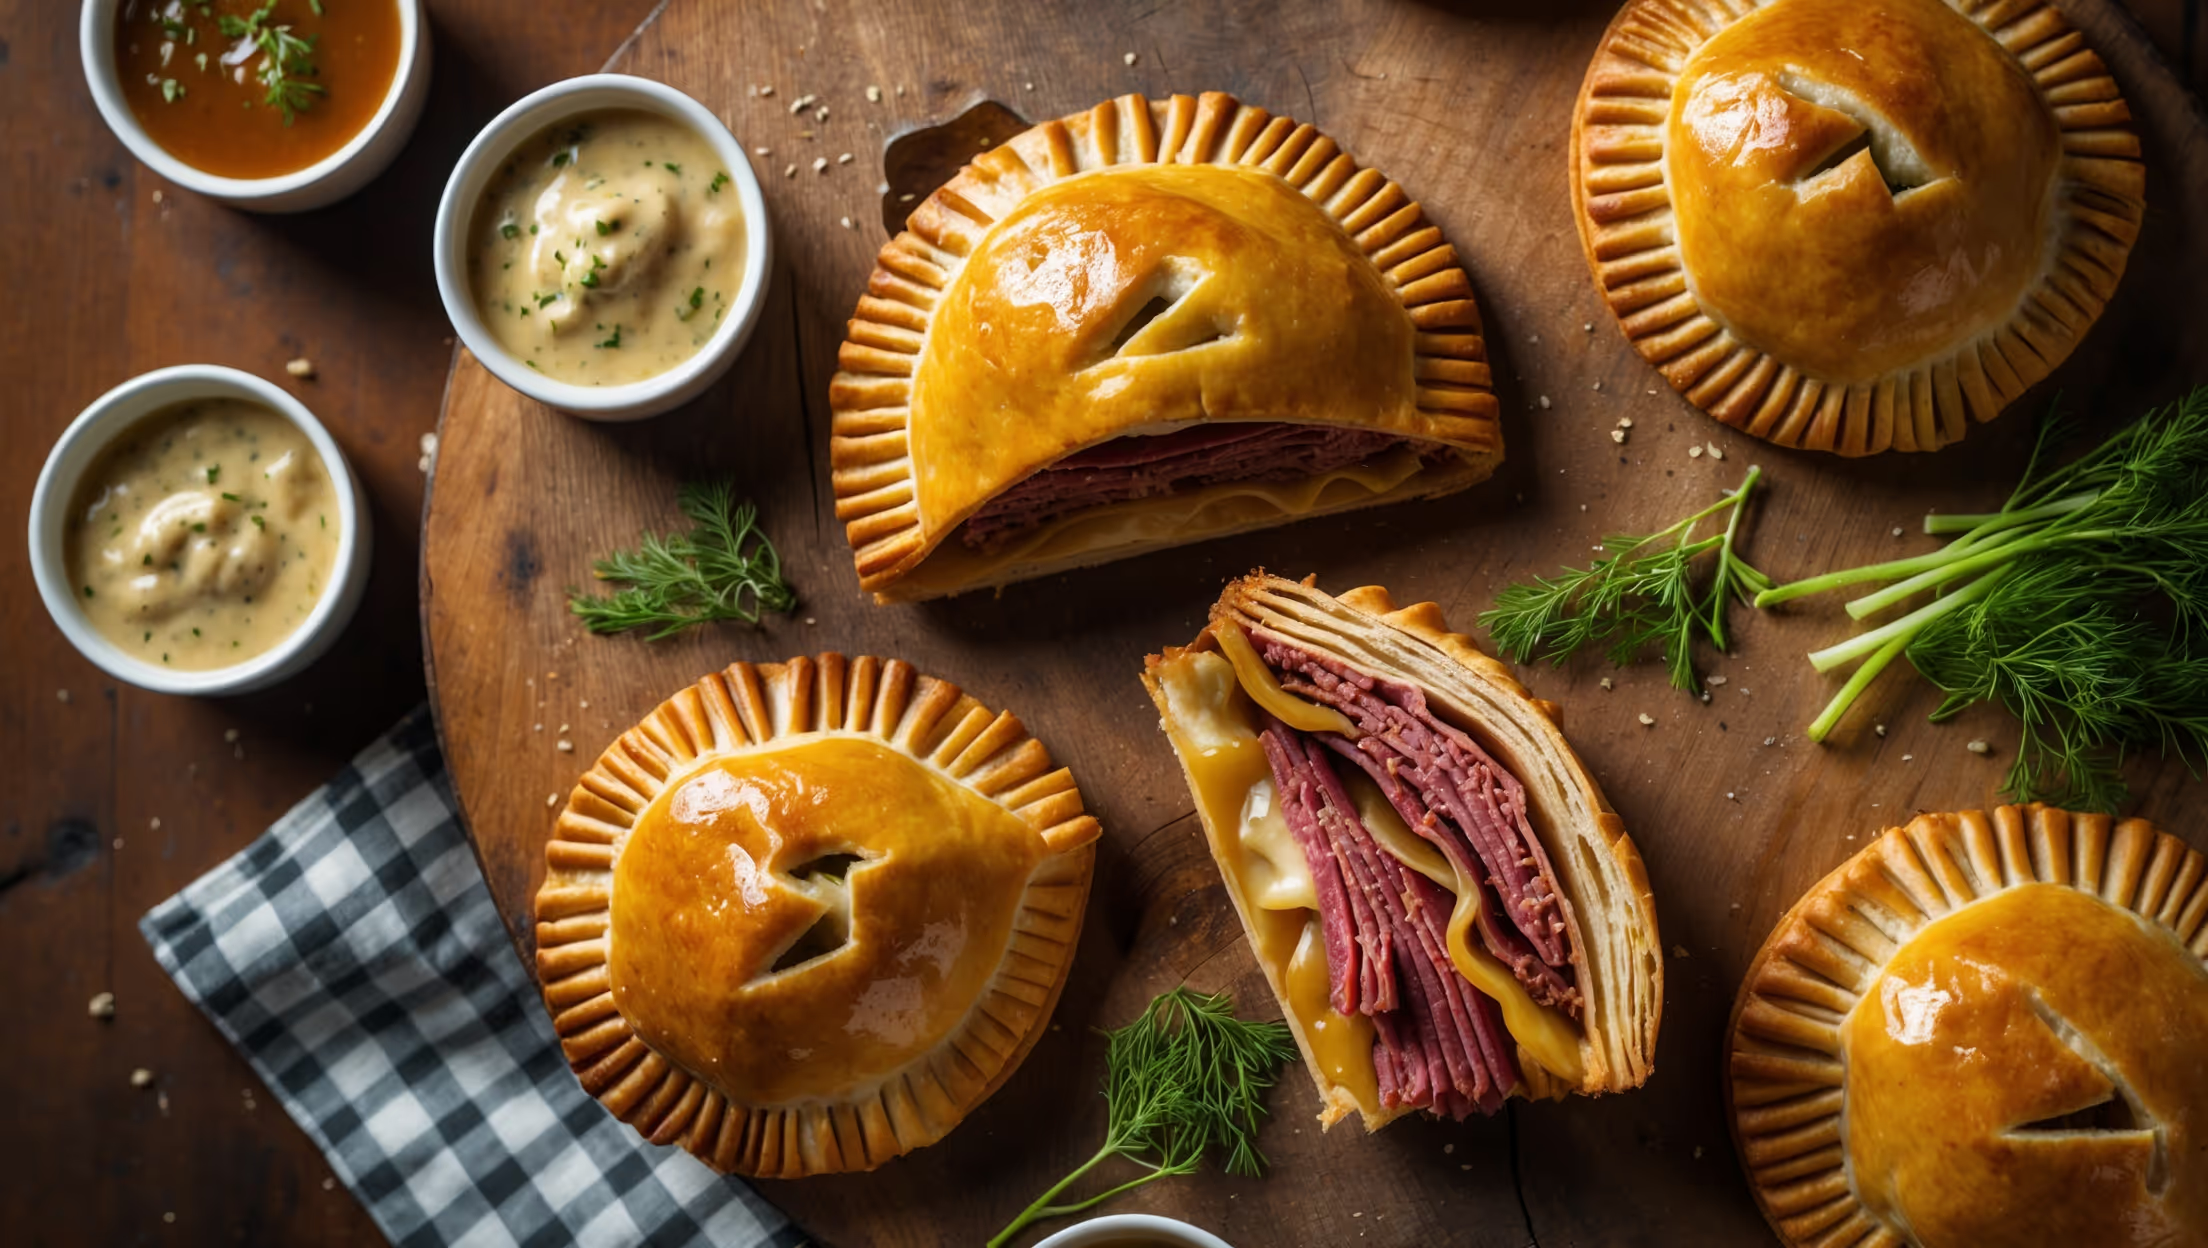
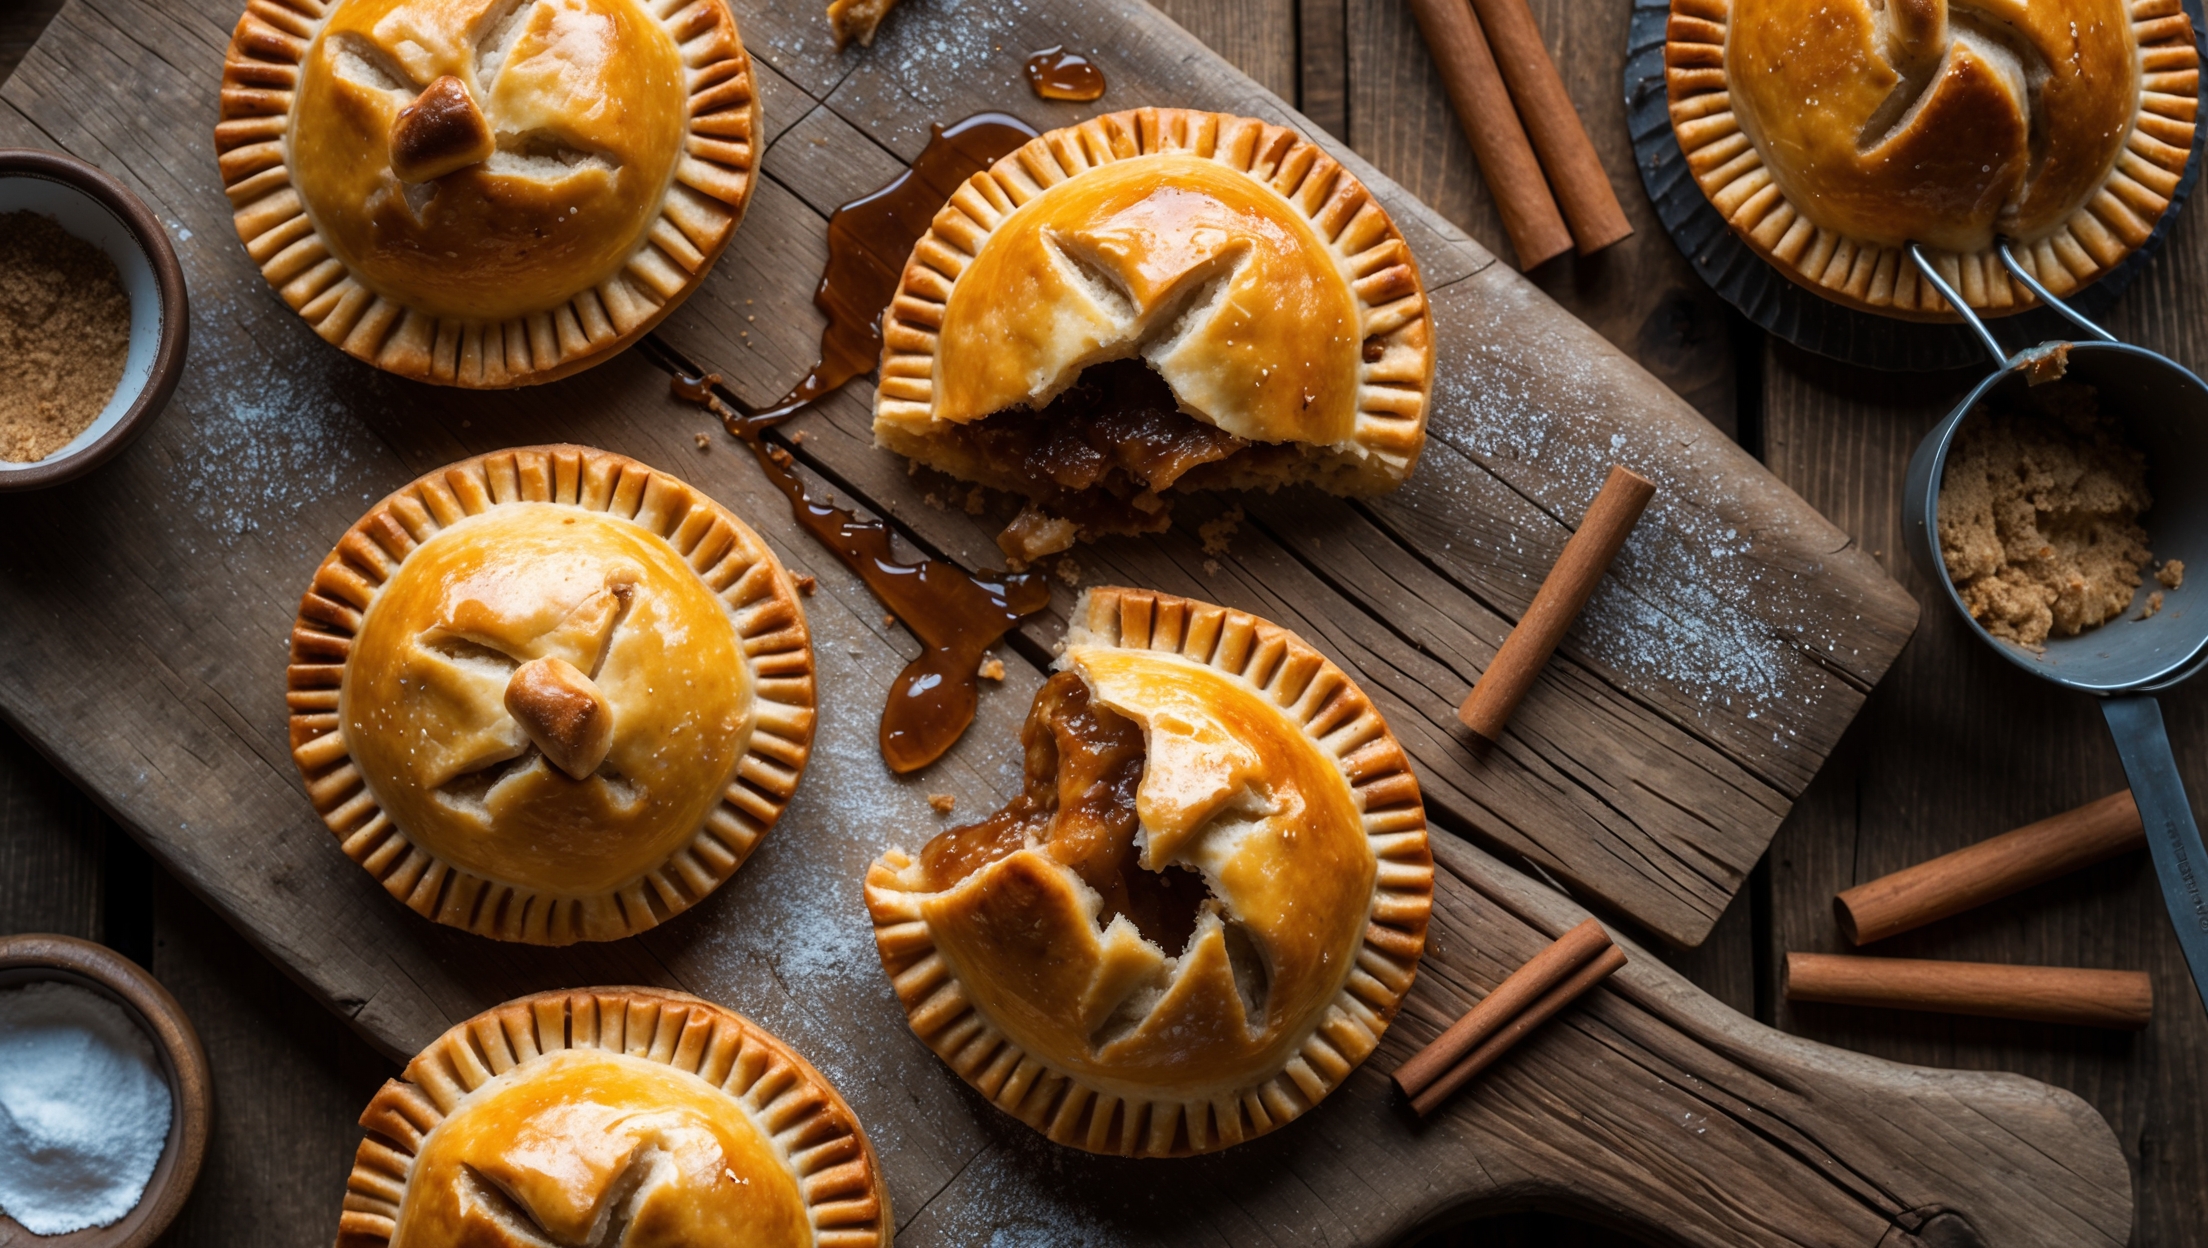
Directions
<ol class="no-list-style"><li class="MethodStepper"><h4 class="step-title">Step 1</h4>Start by making the pastry. In a large bowl or food processor, combine the flour, salt, and sugar. Add the cold cubed butter and pulse or use your fingertips to work it in until the mixture resembles coarse breadcrumbs with some pea-sized butter pieces remaining. These butter pockets will create steam during baking, resulting in those wonderfully flaky layers.</li><li class="MethodStepper"><h4 class="step-title">Step 2</h4>Mix the ice-cold water and vinegar together. The vinegar helps inhibit gluten formation, ensuring a tender crust. Gradually add this liquid to your flour mixture, stirring with a fork until the dough just comes together. You may not need all the liquid – stop when the dough holds together when pinched.</li><li class="MethodStepper"><h4 class="step-title">Step 3</h4>Turn the dough onto a lightly floured surface and gently gather it together. Divide into two equal portions and form into discs. Wrap each in plastic wrap and refrigerate for at least 1 hour, or up to 24 hours. This resting period allows the gluten to relax and the butter to firm up again, crucial for a flaky result.</li><li class="MethodStepper"><h4 class="step-title">Step 4</h4>While the dough chills, prepare your filling. In a medium bowl, combine the diced ham, grated Gruyère, softened cream cheese, Dijon mustard, diced shallot, and thyme leaves. Season with freshly ground black pepper (go easy on salt as the ham and cheese already add saltiness). Mix thoroughly and refrigerate until needed.</li><li class="MethodStepper"><h4 class="step-title">Step 5</h4>Preheat your oven to 200°C (180°C fan/gas mark 6) and line two baking sheets with parchment paper. Remove one disc of dough from the refrigerator and let it sit for about 5 minutes to slightly soften, making it easier to roll.</li><li class="MethodStepper"><h4 class="step-title">Step 6</h4>On a lightly floured surface, roll the dough to about 3mm thickness. Use a 10cm round cutter or bowl to cut as many circles as possible. Gather scraps, re-roll once, and cut more circles. You should get approximately 8 circles per disc of dough.</li><li class="MethodStepper"><h4 class="step-title">Step 7</h4>Place a generous tablespoon of filling in the center of half of your dough circles, leaving a 1cm border around the edges. Be careful not to overfill, as this may cause the pies to leak during baking. Brush the edges with a little beaten egg to help seal.</li><li class="MethodStepper"><h4 class="step-title">Step 8</h4>Top with the remaining dough circles and gently press around the filling to remove any air pockets. Use a fork to crimp the edges firmly, sealing in the filling. Repeat this process with the second disc of dough.</li><li class="MethodStepper"><h4 class="step-title">Step 9</h4>Transfer the assembled pies to your prepared baking sheets, spacing them about 5cm apart. Cut a small vent in the top of each pie to allow steam to escape. Brush the tops generously with the egg wash, which will give them a beautiful golden color. Sprinkle with sesame seeds or poppy seeds if using.</li><li class="MethodStepper"><h4 class="step-title">Step 10</h4>Bake for 22-25 minutes, rotating the pans halfway through, until the pies are deeply golden brown. The extended baking time ensures the bottom crust is fully cooked and not soggy. A properly baked pie should feel firm to the touch and sound hollow when tapped on the bottom.</li><li class="MethodStepper"><h4 class="step-title">Step 11</h4>Allow the pies to cool on the baking sheets for 5 minutes before transferring to a wire rack. Let them cool for at least 10 minutes before serving – the filling will be extremely hot! These hand pies are delicious warm or at room temperature and will keep in an airtight container in the refrigerator for up to 3 days.</li></ol>