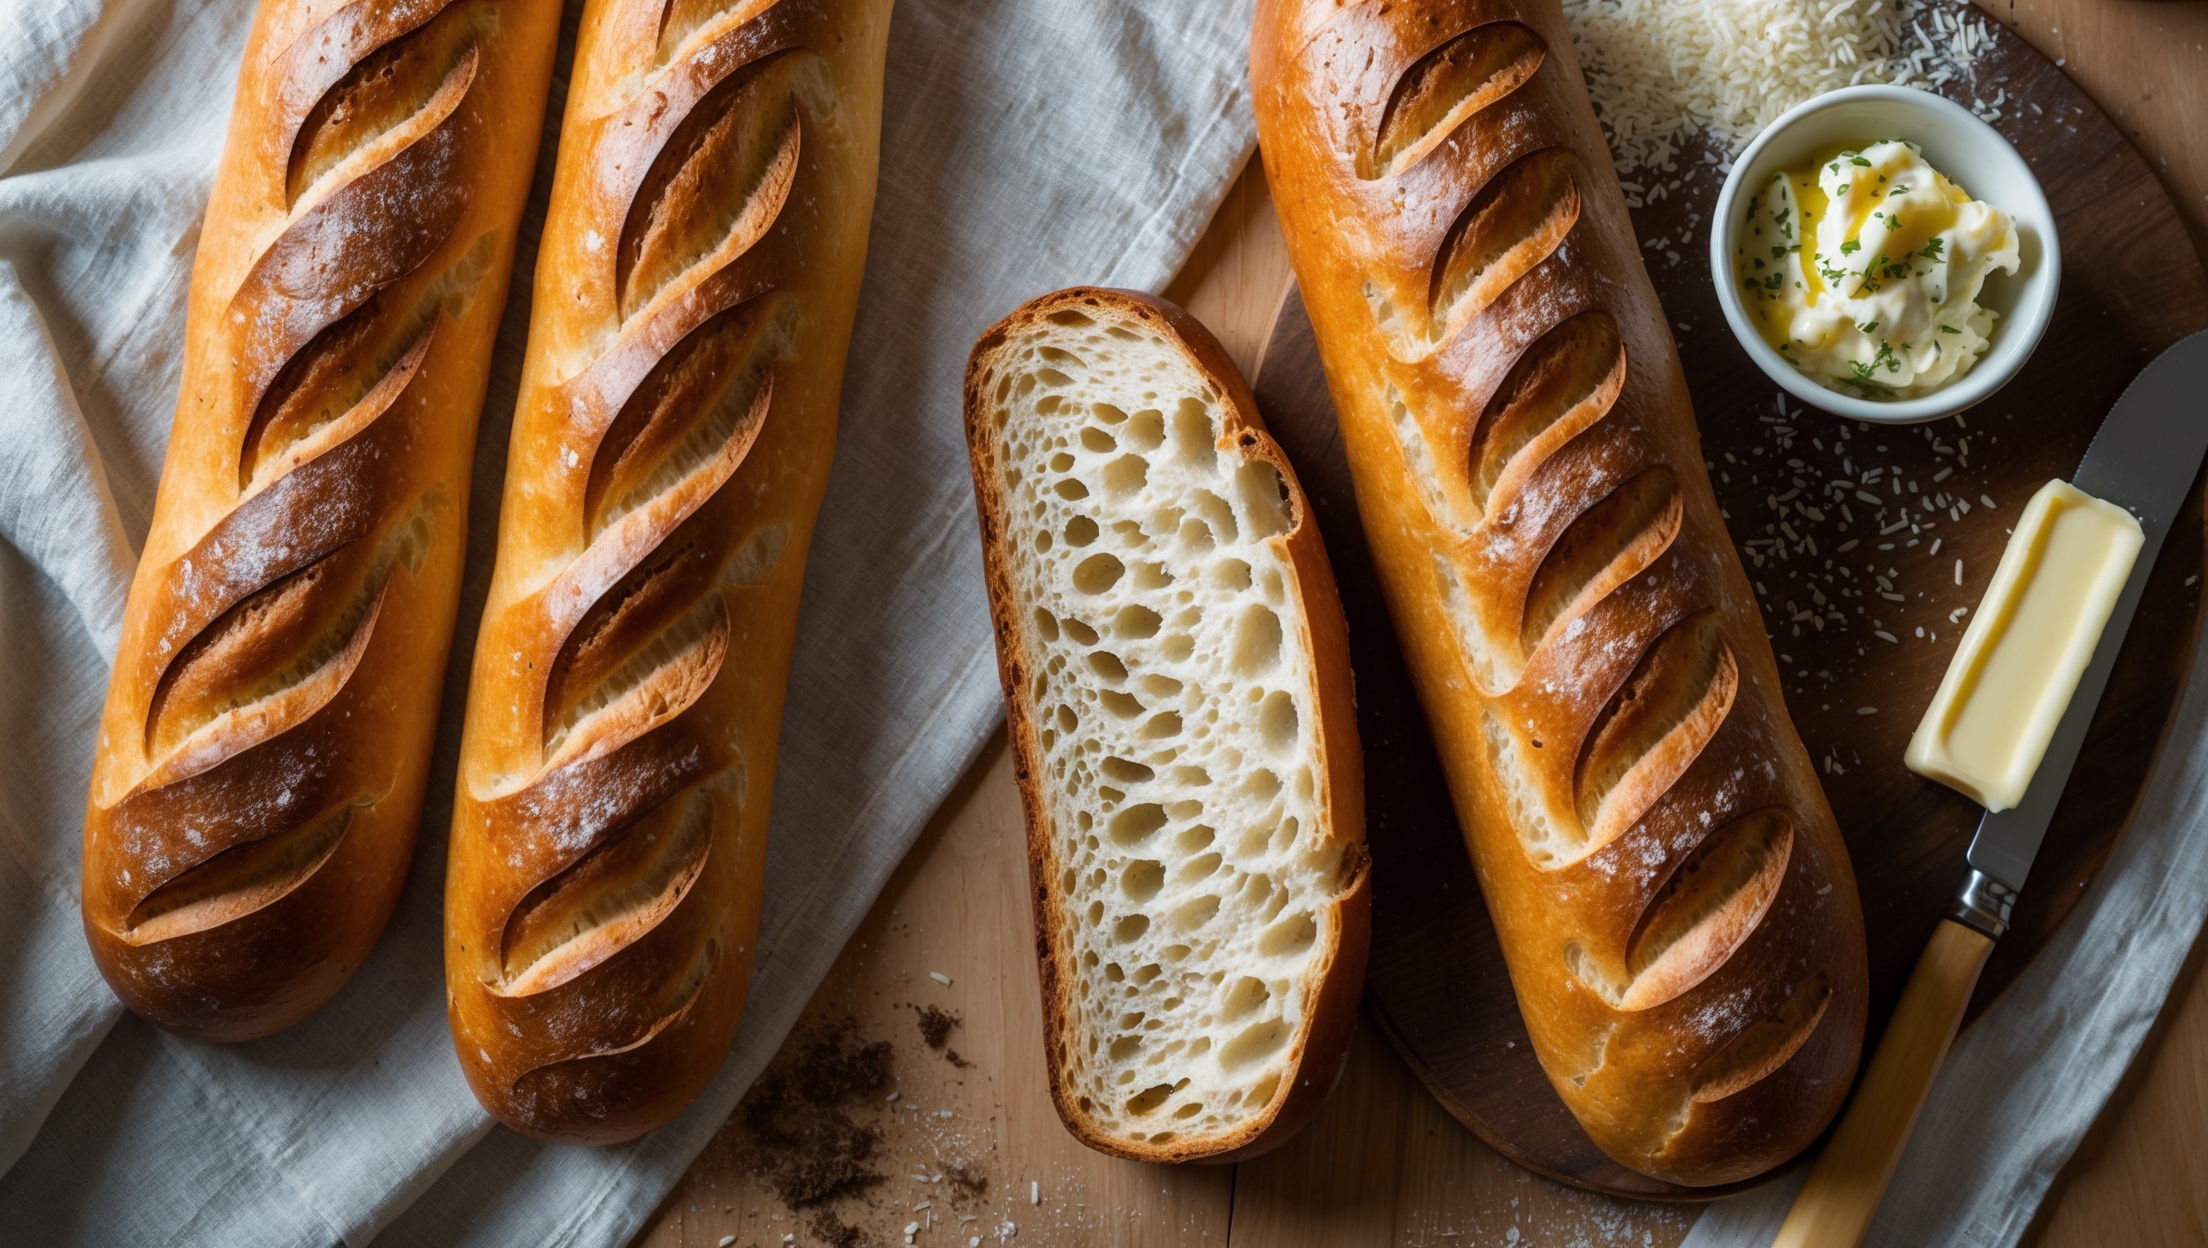
Gluten-Free Bread Recipe
Ingredients
Equipment
Directions
FAQs
Find answers to your most pressing questions about this delicious recipe right here.
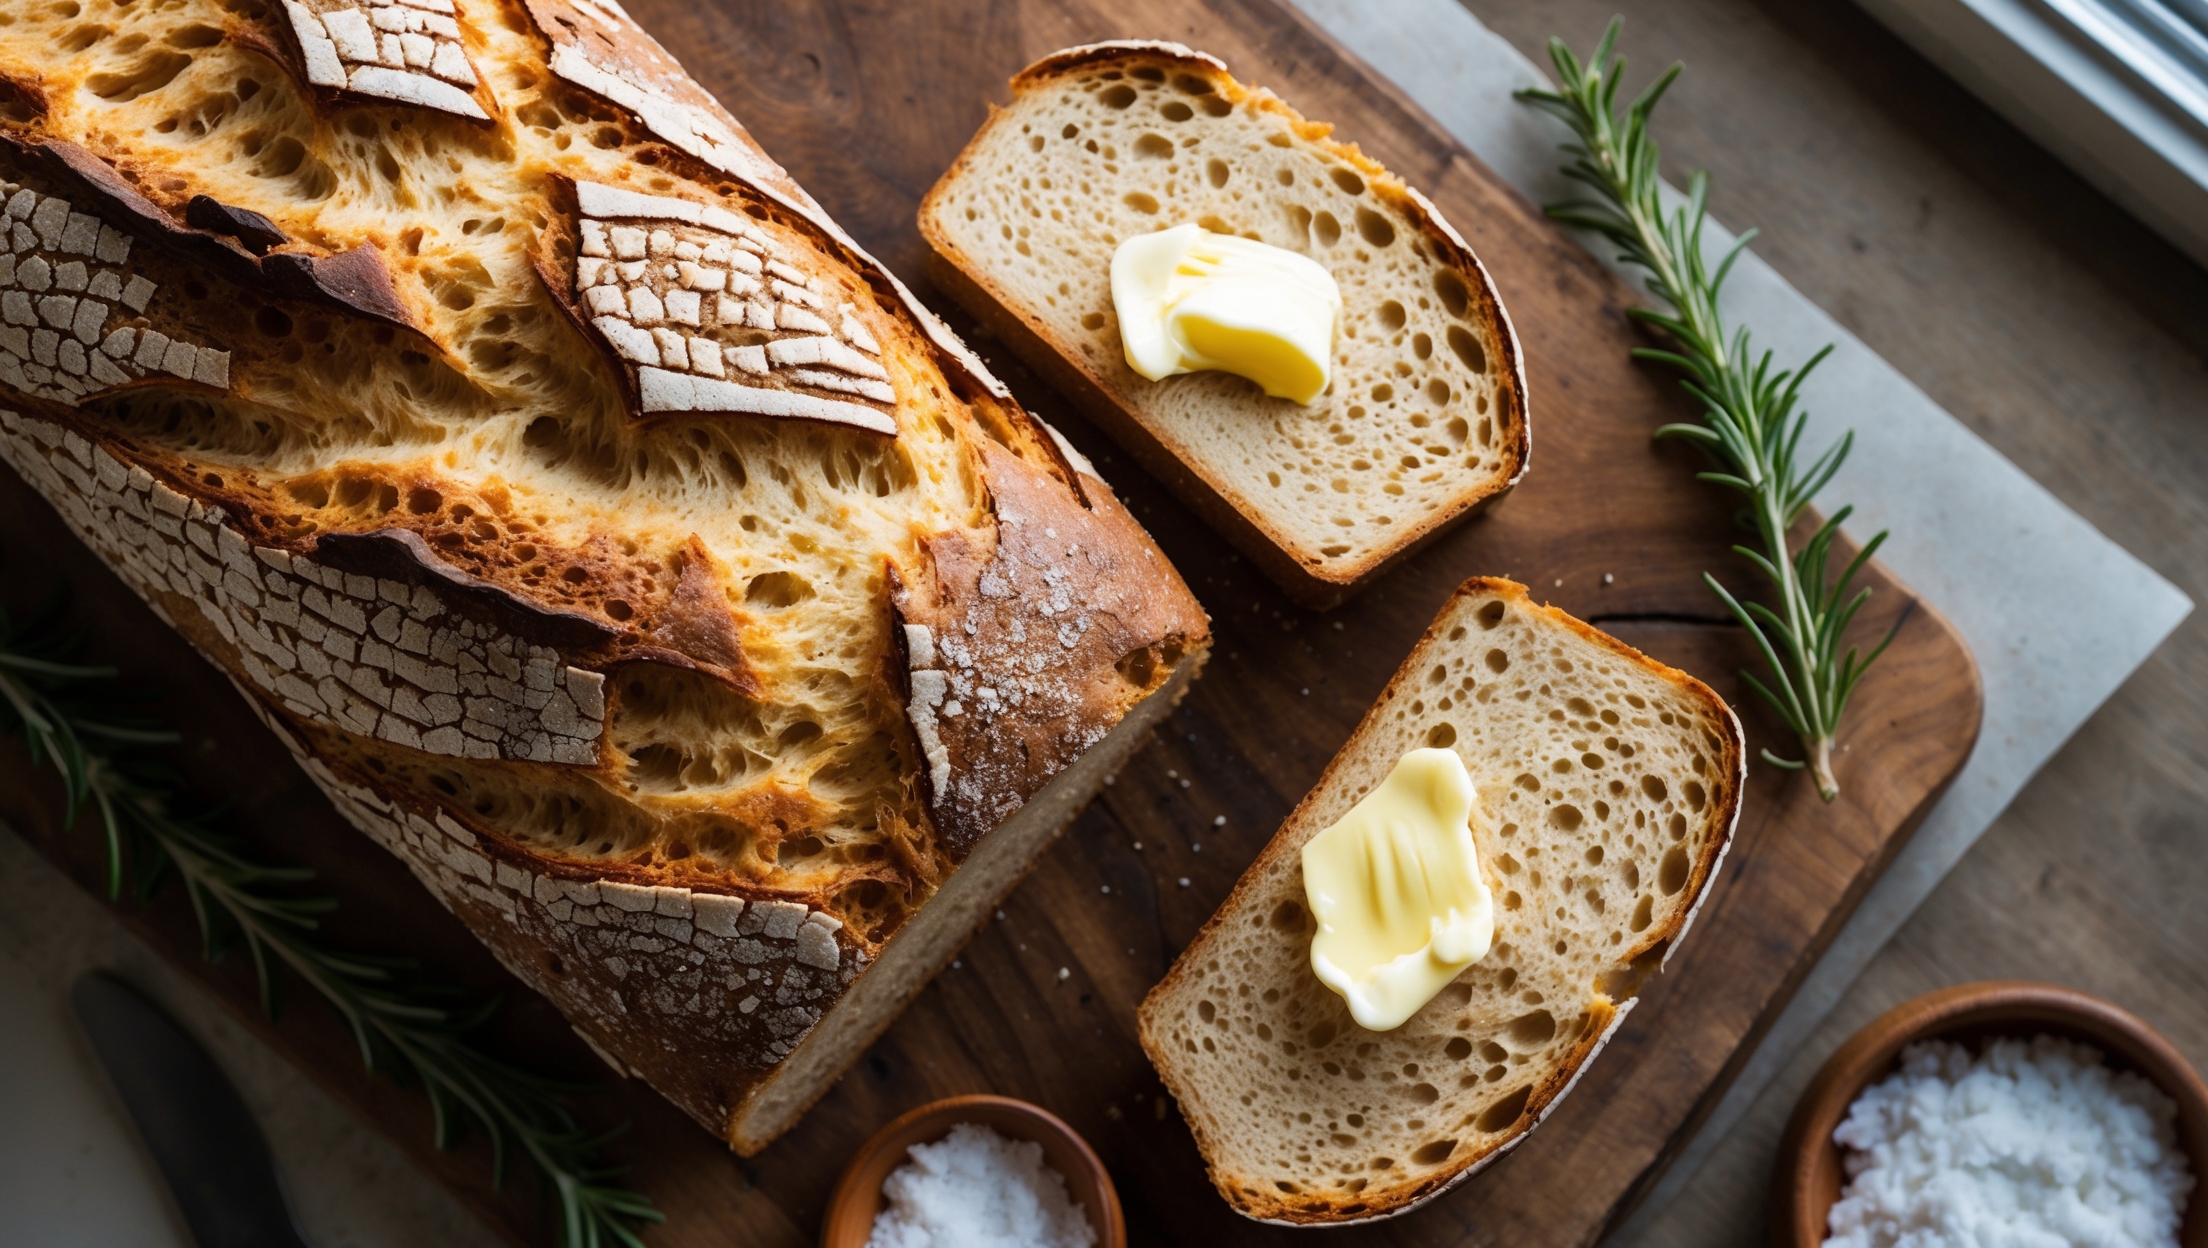
This gluten-free bread uses brown rice flour, tapioca flour, potato starch, millet flour, psyllium husk powder, xanthan gum, salt, yeast, eggs, olive oil, apple cider vinegar, honey, and warm water to create a structure that mimics traditional wheat bread.
Learn how to cook Gluten-Free Bread Recipe by precisely measuring your dry ingredients, mixing with wet ingredients in a stand mixer, allowing for a single rise in a loaf pan, and baking at 180°C for about an hour until the internal temperature reaches 99-100°C. The key is proper measurement, thorough mixing, and complete cooling before slicing.
Without gluten's elasticity, xanthan gum and psyllium husk work as binding agents, creating the flexible structure needed for proper rising and texture. Psyllium adds moisture retention while xanthan provides the stretchiness, together mimicking gluten's function in traditional bread.
For best results, store gluten-free bread in an airtight container at room temperature for up to 2 days. For longer storage, slice the bread completely, freeze in an airtight container or freezer bags, and toast slices directly from frozen for optimal texture.
Dense or gummy gluten-free bread typically results from inaccurate measurements, insufficient mixing time, cutting the loaf while still warm, or incorrect oven temperature. Using a digital scale, mixing for the full 3 minutes, and allowing a complete 2-hour cooling period are crucial fixes.
Gluten-Free Desserts
Try following recommended recipes