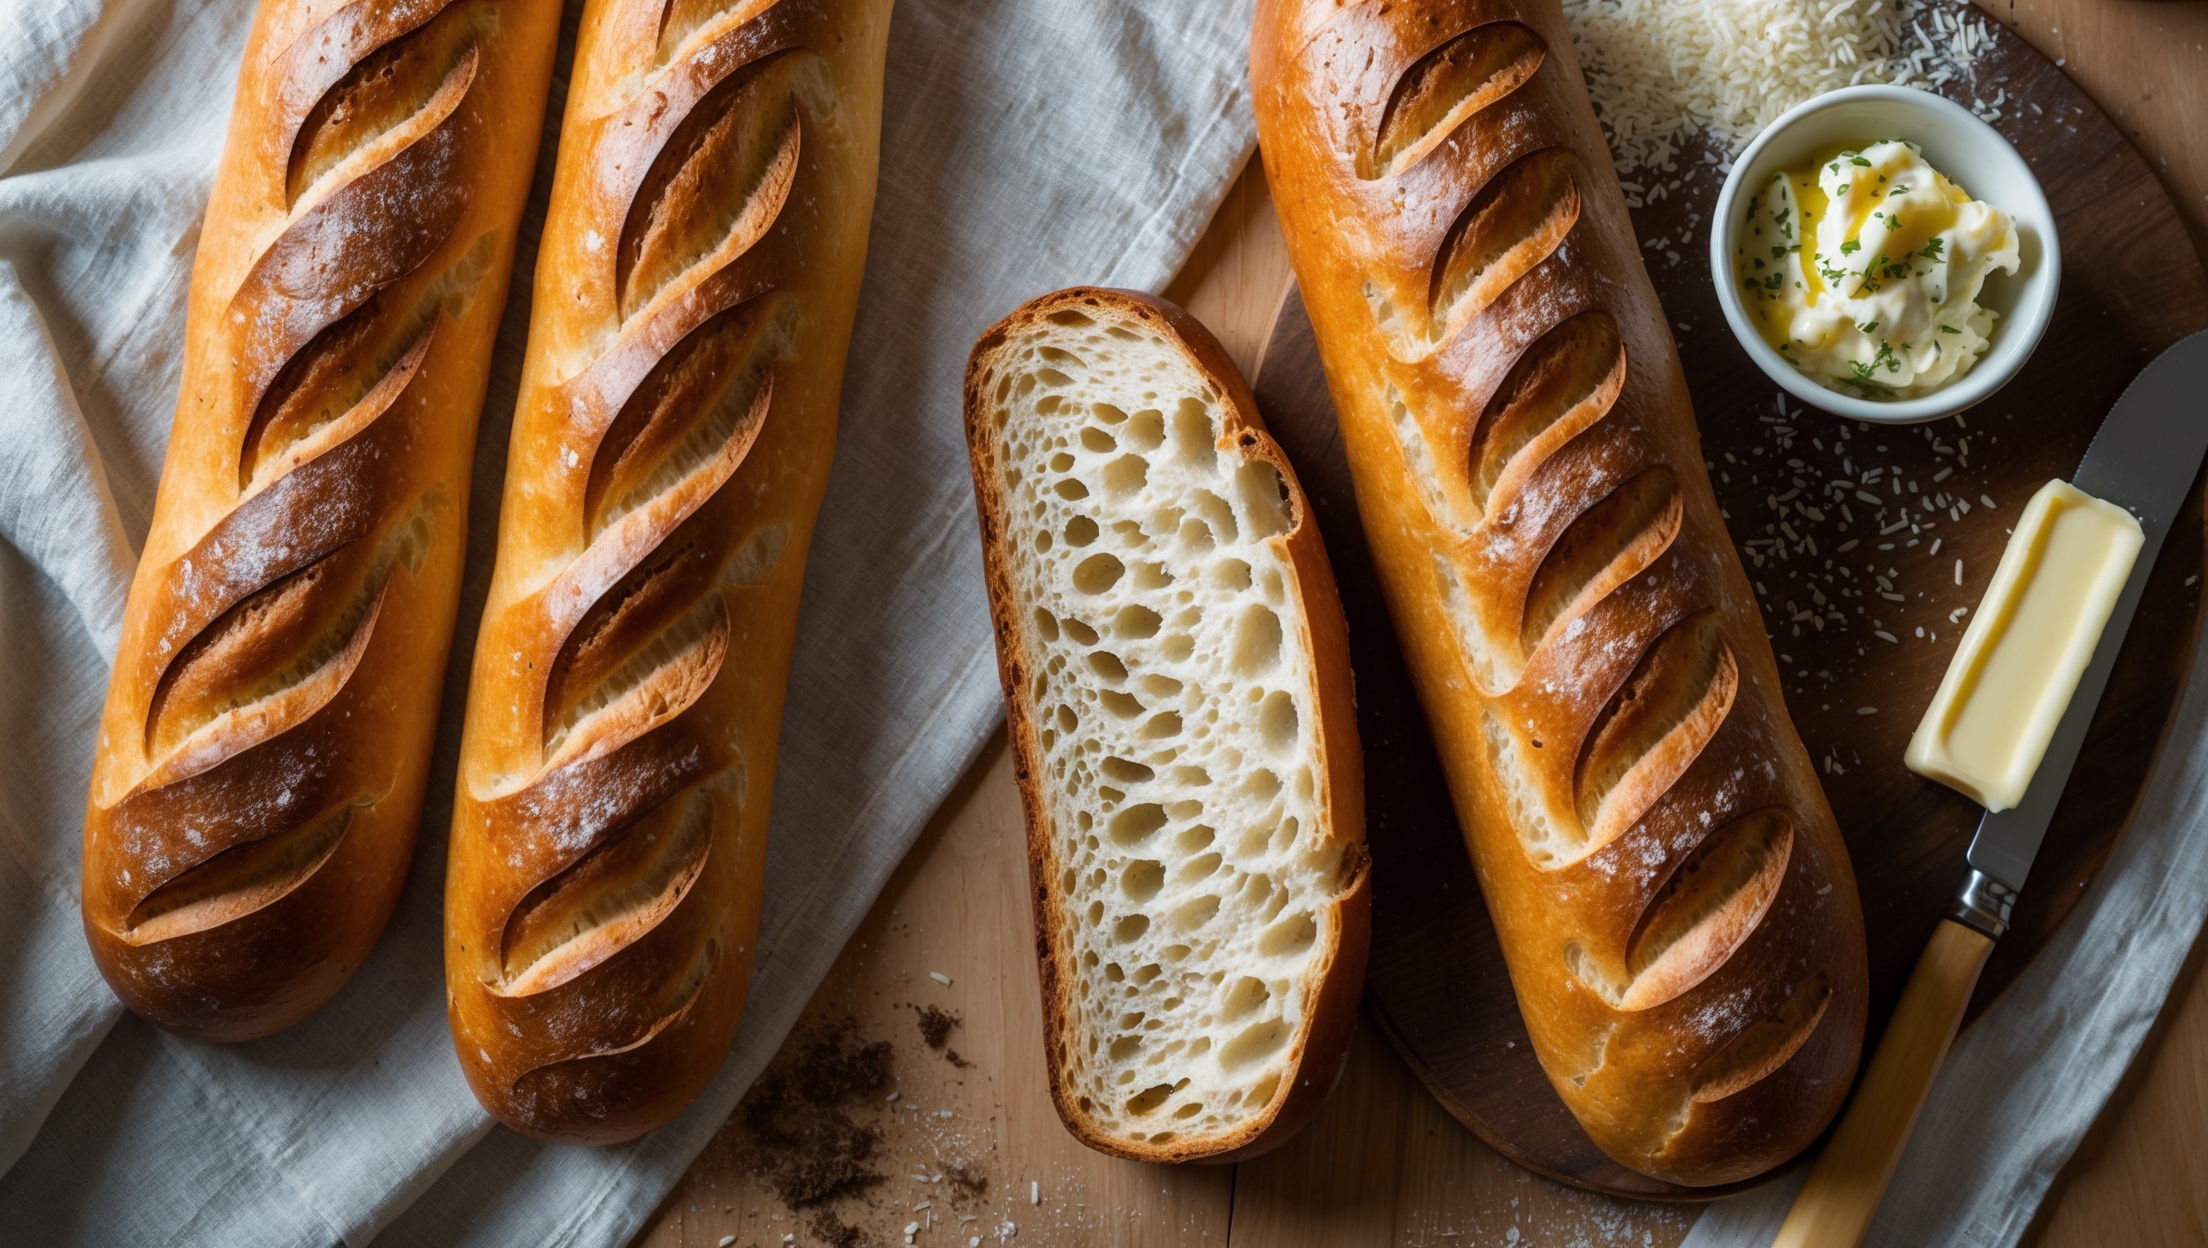
Gluten-Free Baguettes Recipe
Ingredients
Equipment
Directions
FAQs
Find answers to your most pressing questions about this delicious recipe right here.
The key ingredients include brown rice flour, tapioca starch, potato starch, psyllium husk powder, xanthan gum, instant yeast, salt, olive oil, and warm water. Psyllium husk powder is crucial as it provides the elasticity and structure typically delivered by gluten.
Learn how to cook Gluten-Free Baguettes by mixing speciality flours with psyllium husk, proofing twice, and baking with steam for that authentic crackling crust. Unlike wheat bread, this requires no kneading but needs thorough mixing to activate the binding agents that replace gluten's structure. The steam-baking method is essential for achieving that perfect crispy exterior.
Psyllium husk powder forms the backbone of successful gluten-free bread because it creates elasticity and structure that mimics gluten proteins. It absorbs water to form a gel-like network that traps air bubbles, allowing the dough to rise properly and creating that desirable airy crumb in the finished loaf.
The crackling crust comes from proper steam during baking—use a water pan in the oven and mist the sides with water. Additionally, the egg white wash helps develop colour and texture, while a hot oven (230°C initially) creates rapid expansion. A baking stone also improves heat distribution for better crust formation.
Yes, gluten-free baguettes freeze exceptionally well. For best results, slice the completely cooled baguettes before freezing, which allows you to take out only what you need. Store in an airtight container for up to 3 months. Refresh frozen slices by toasting or warming in the oven for 5-10 minutes.
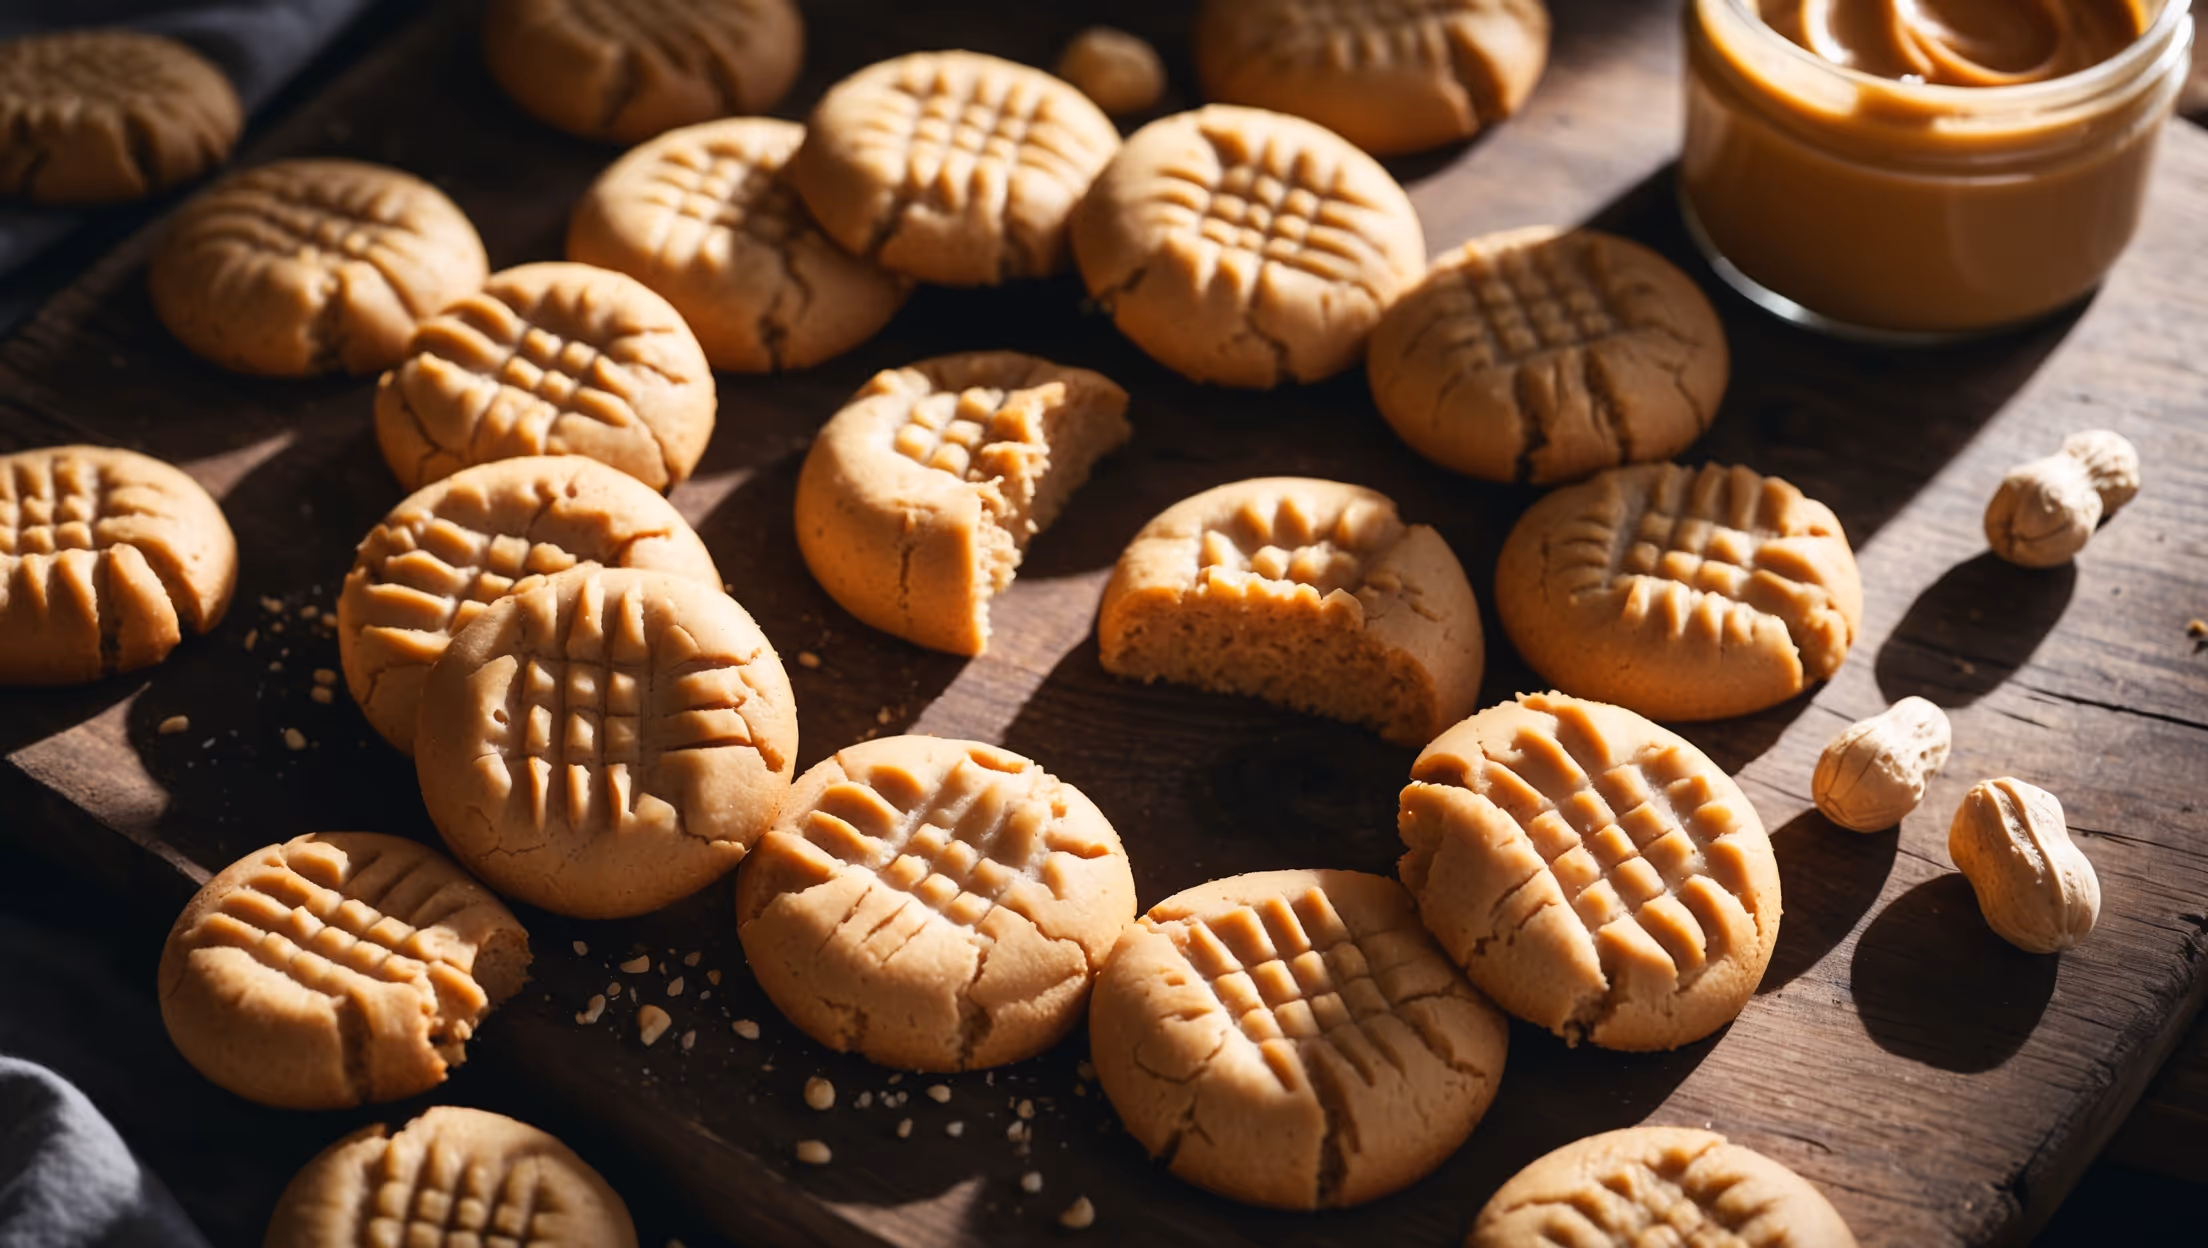
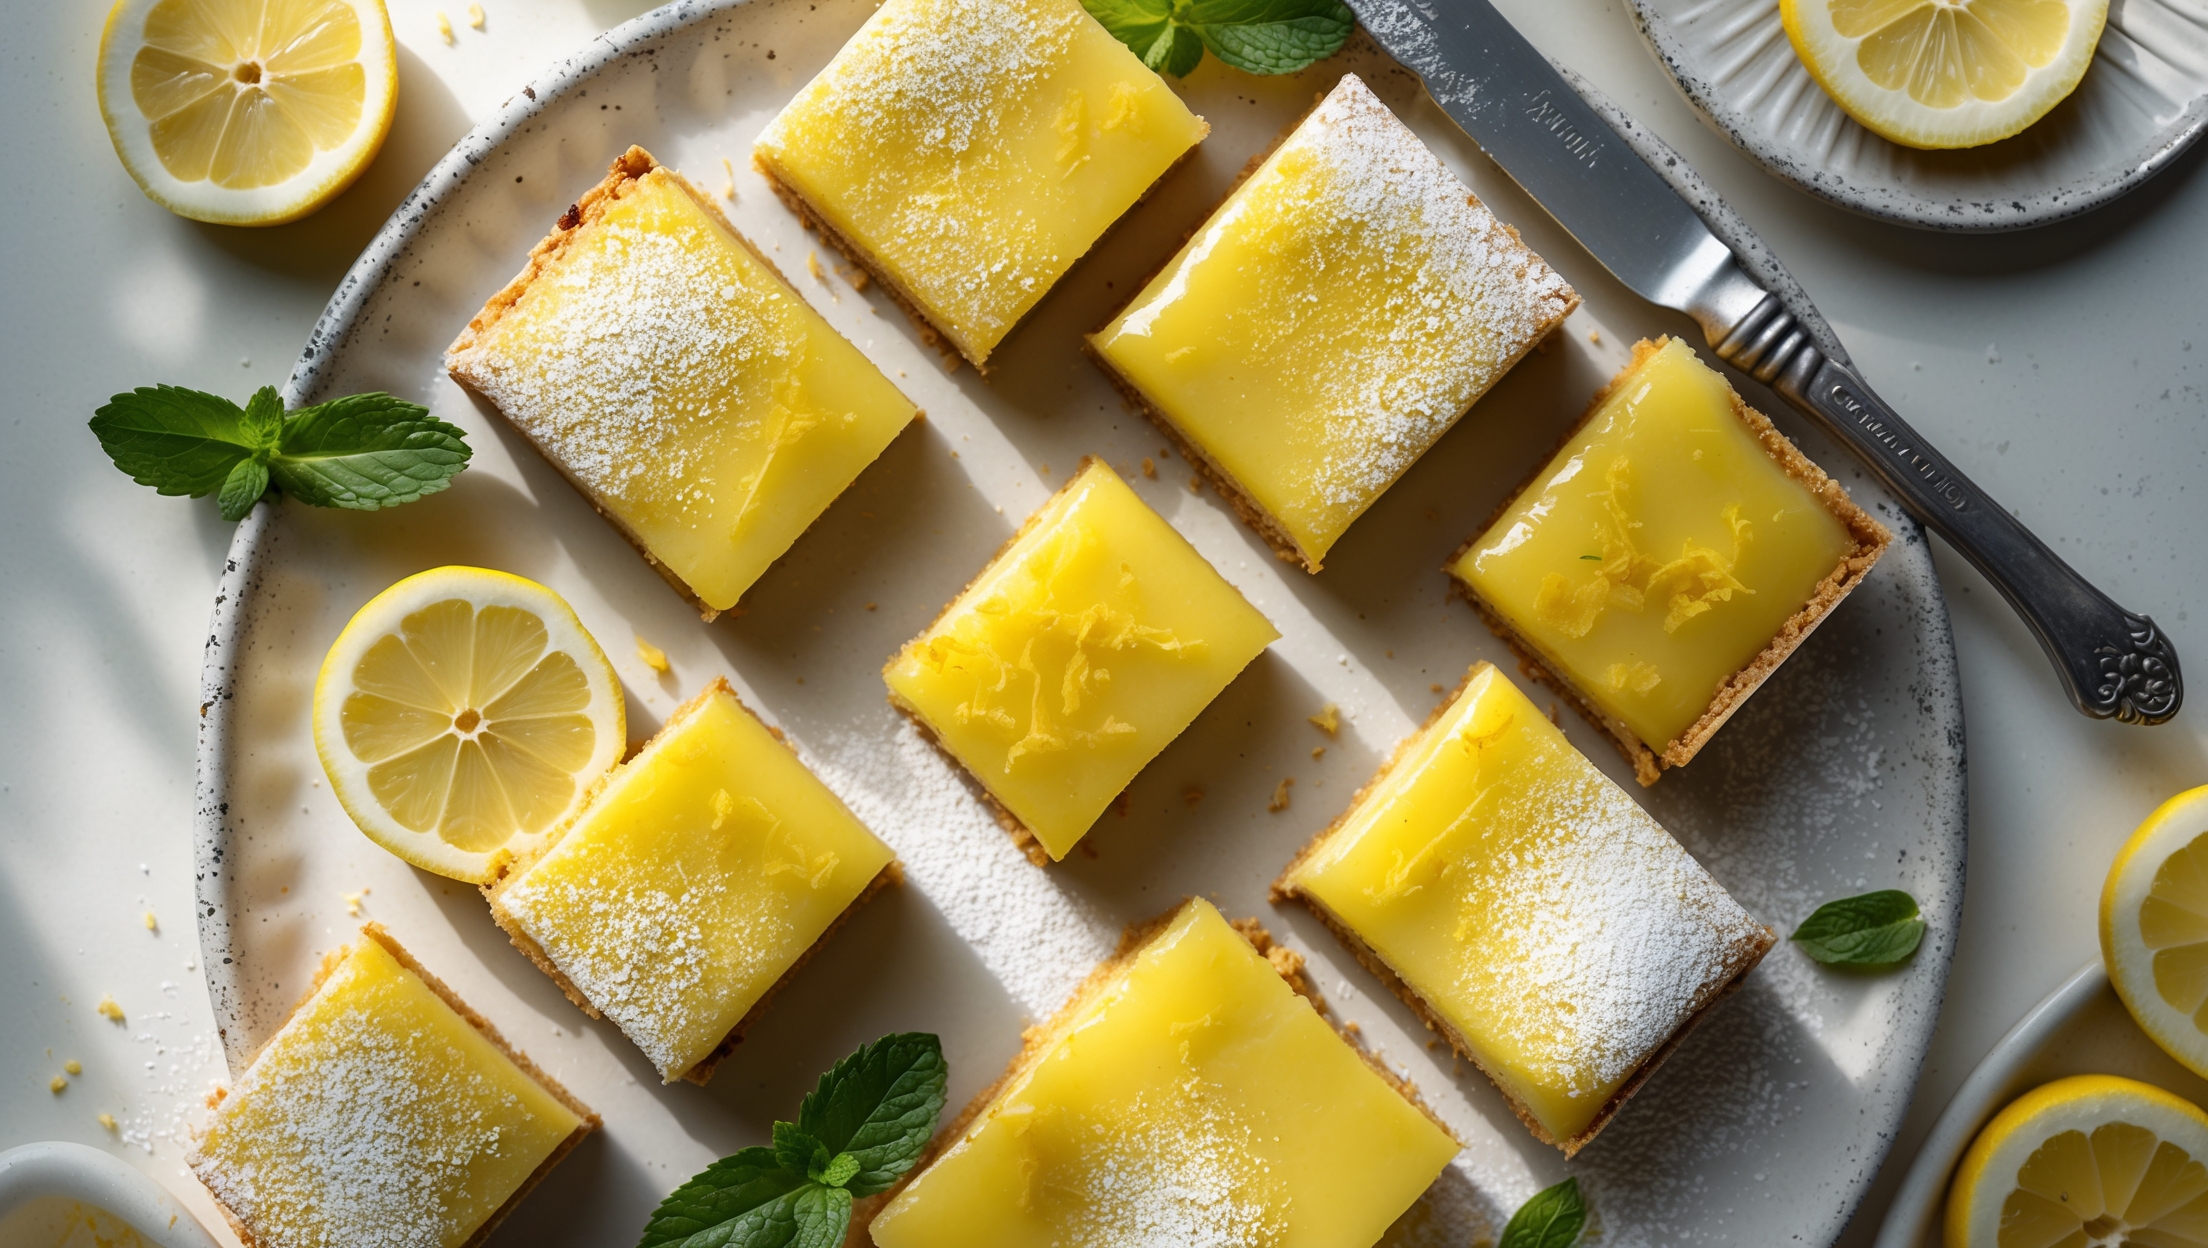
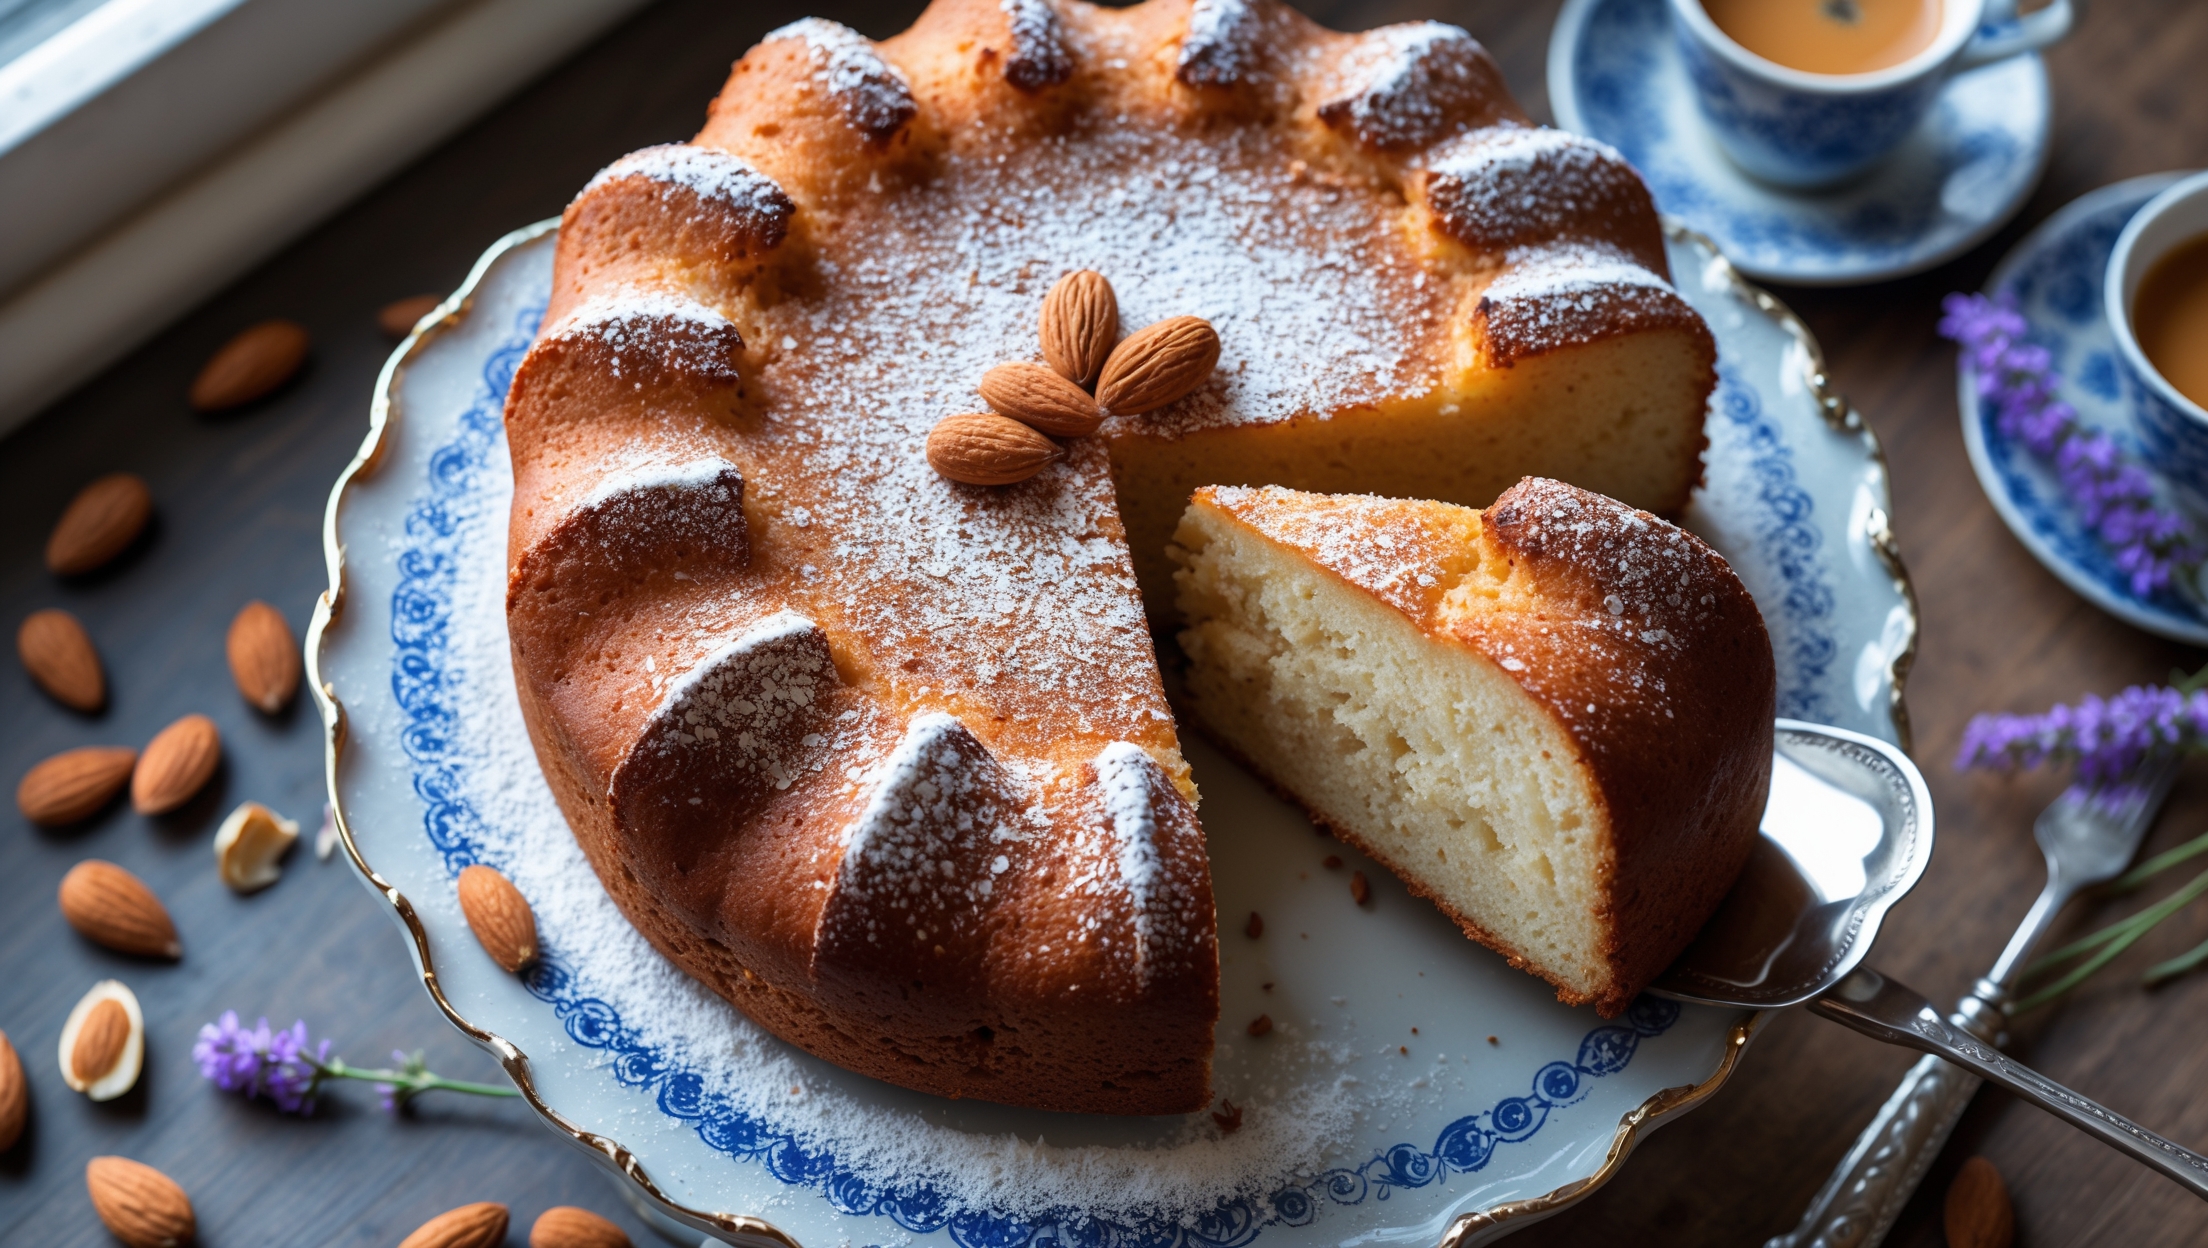
Gluten-Free Desserts
Try following recommended recipes