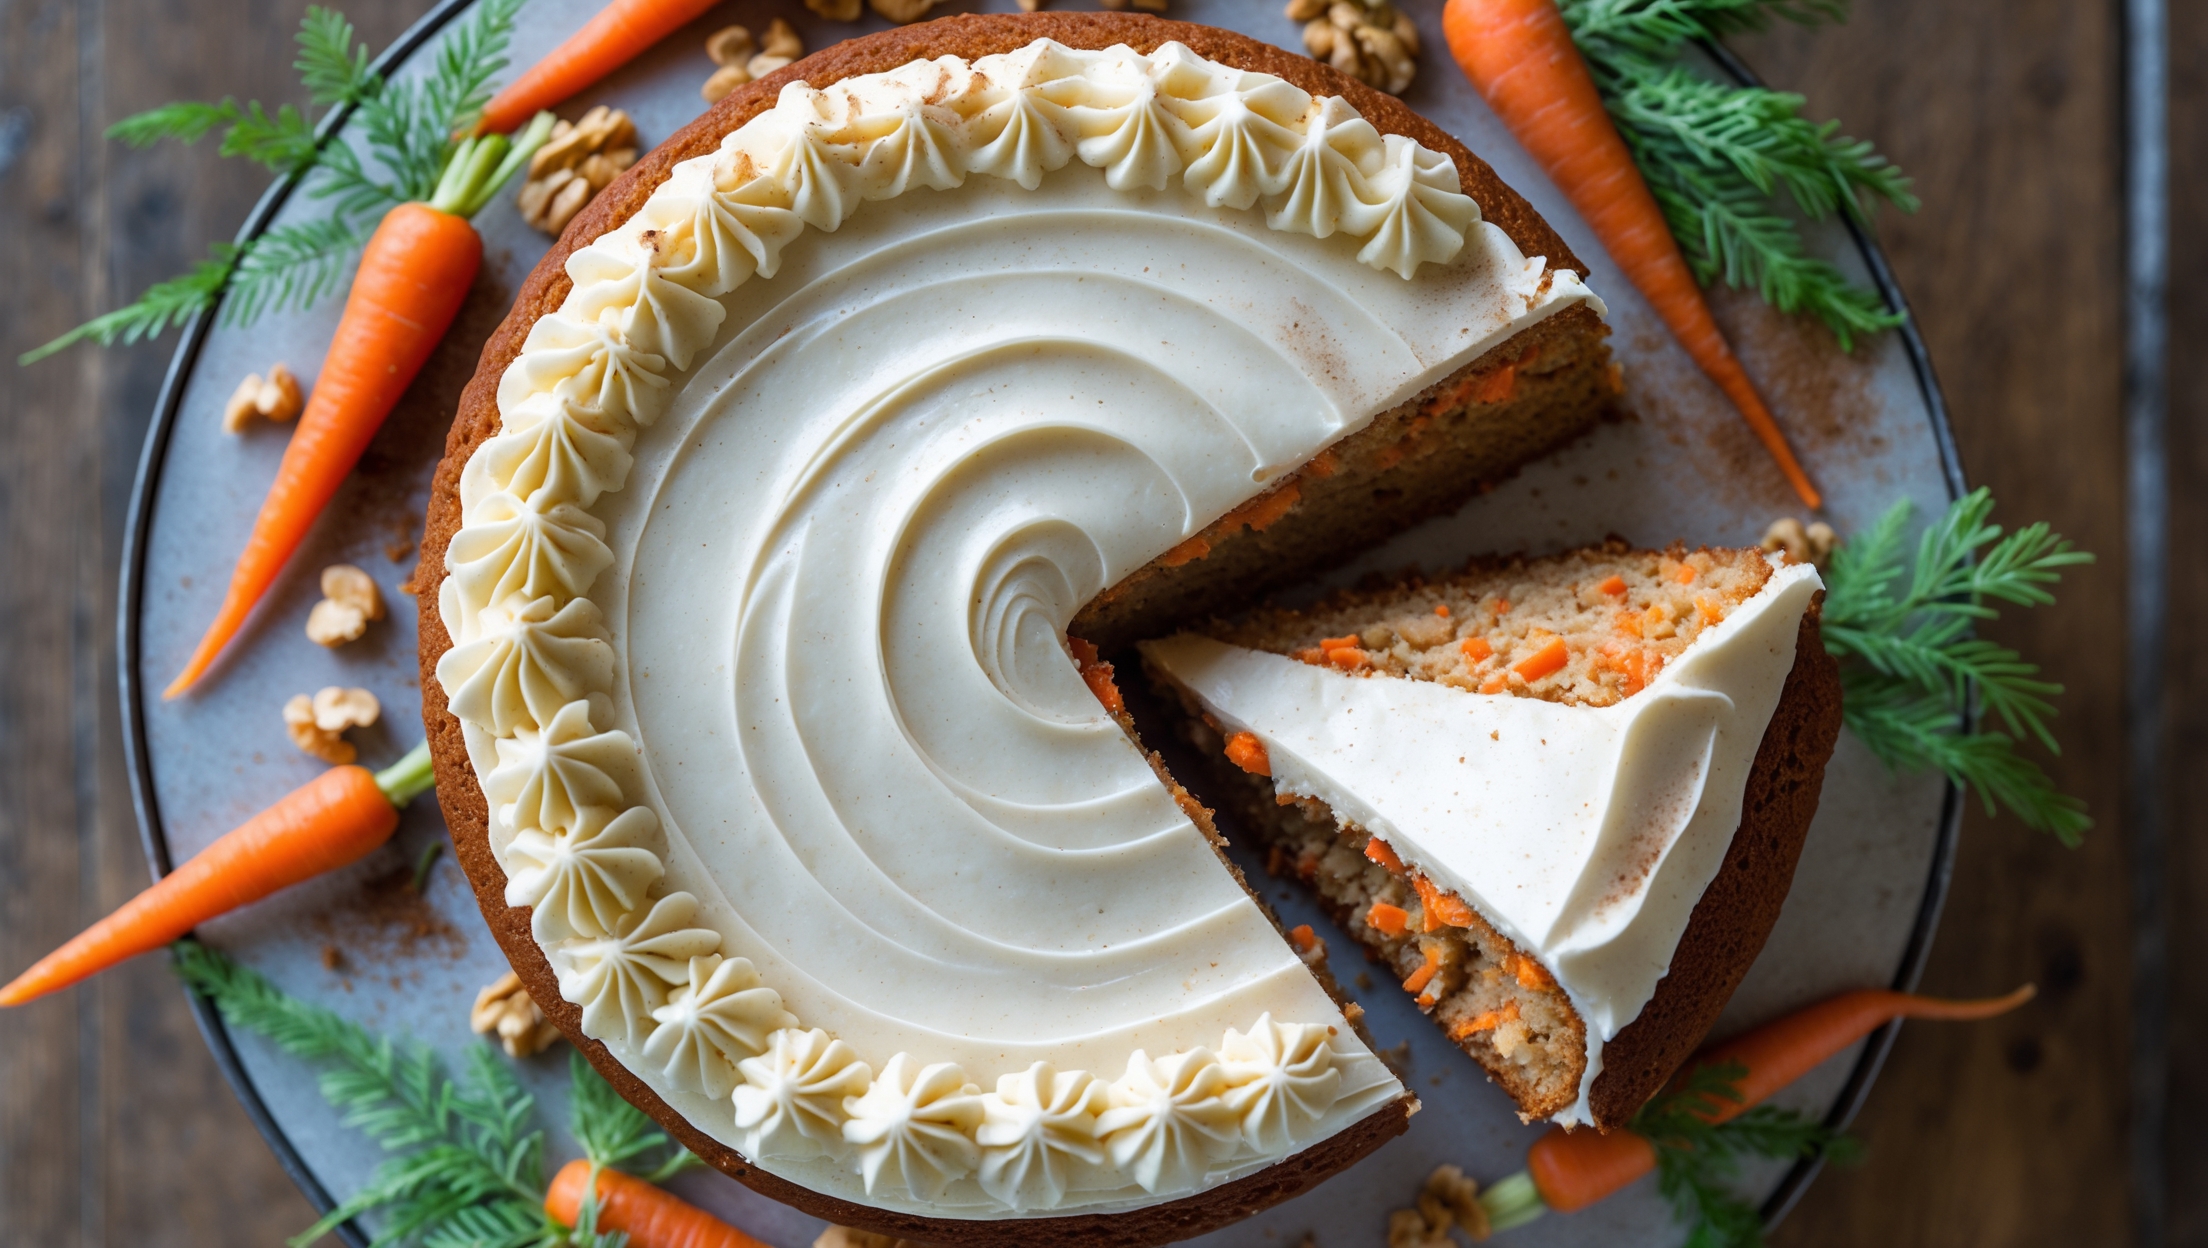
Directions
<ol class="no-list-style"><li class="MethodStepper"><h4 class="step-title">Step 1</h4>Preheat your oven to 180°C (350°F). Grease two 23cm (9-inch) round cake tins and line the bottoms with parchment paper. This prevents the cake from sticking and ensures easy removal.</li><li class="MethodStepper"><h4 class="step-title">Step 2</h4>In a medium bowl, whisk together the gluten-free flour blend, xanthan gum (if using), baking powder, baking soda, cinnamon, nutmeg, ginger, and salt until well combined. This thorough mixing is crucial for gluten-free baking to ensure leavening agents are evenly distributed.</li><li class="MethodStepper"><h4 class="step-title">Step 3</h4>In a large bowl, beat together the brown sugar, granulated sugar, eggs, oil, and vanilla extract until smooth and well incorporated, about 2 minutes. The oil instead of butter will keep your gluten-free cake moist for days.</li><li class="MethodStepper"><h4 class="step-title">Step 4</h4>Gradually add the dry ingredient mixture to the wet ingredients, mixing gently until just combined. Over-mixing can make your cake dense, so use a gentle hand here—it's better to have a few small lumps than to overmix!</li><li class="MethodStepper"><h4 class="step-title">Step 5</h4>Fold in the grated carrots, chopped walnuts (if using), and raisins (if using) until evenly distributed. The carrots provide essential moisture that helps combat the sometimes-dry nature of gluten-free baking.</li><li class="MethodStepper"><h4 class="step-title">Step 6</h4>Divide the batter equally between the prepared cake tins, smoothing the tops with a spatula. Tap the tins gently on the counter a few times to remove any large air bubbles.</li><li class="MethodStepper"><h4 class="step-title">Step 7</h4>Bake for 30-35 minutes, or until a toothpick inserted into the center comes out clean and the tops spring back when lightly touched. Gluten-free cakes can brown more quickly than regular cakes, so check at the 25-minute mark. If the tops are browning too quickly, loosely cover with aluminum foil.</li><li class="MethodStepper"><h4 class="step-title">Step 8</h4>Allow the cakes to cool in the tins for 15 minutes, then turn out onto a wire rack to cool completely. The cakes need to be completely cool before frosting to prevent the cream cheese frosting from melting.</li><li class="MethodStepper"><h4 class="step-title">Step 9</h4>While the cakes cool, prepare the frosting. In a large bowl, beat the cream cheese and butter together until smooth and creamy, about 3 minutes. This creates a stable base for your frosting without lumps.</li><li class="MethodStepper"><h4 class="step-title">Step 10</h4>Gradually add the sifted icing sugar, beating well after each addition. This prevents lumps and creates a silky-smooth texture. Add the vanilla extract and lemon juice, beating until the frosting is light and fluffy.</li><li class="MethodStepper"><h4 class="step-title">Step 11</h4>Once the cakes are completely cool, place one layer on a serving plate. Spread about 1/3 of the frosting evenly over the top. Place the second cake layer on top and spread the remaining frosting over the top and sides of the cake.</li><li class="MethodStepper"><h4 class="step-title">Step 12</h4>For an elegant finish, you can decorate with additional chopped walnuts around the edge or create swirls in the frosting with an offset spatula. For the best flavor, let the cake rest at room temperature for 30 minutes before serving, allowing the spices to fully develop.</li></ol>