Directions
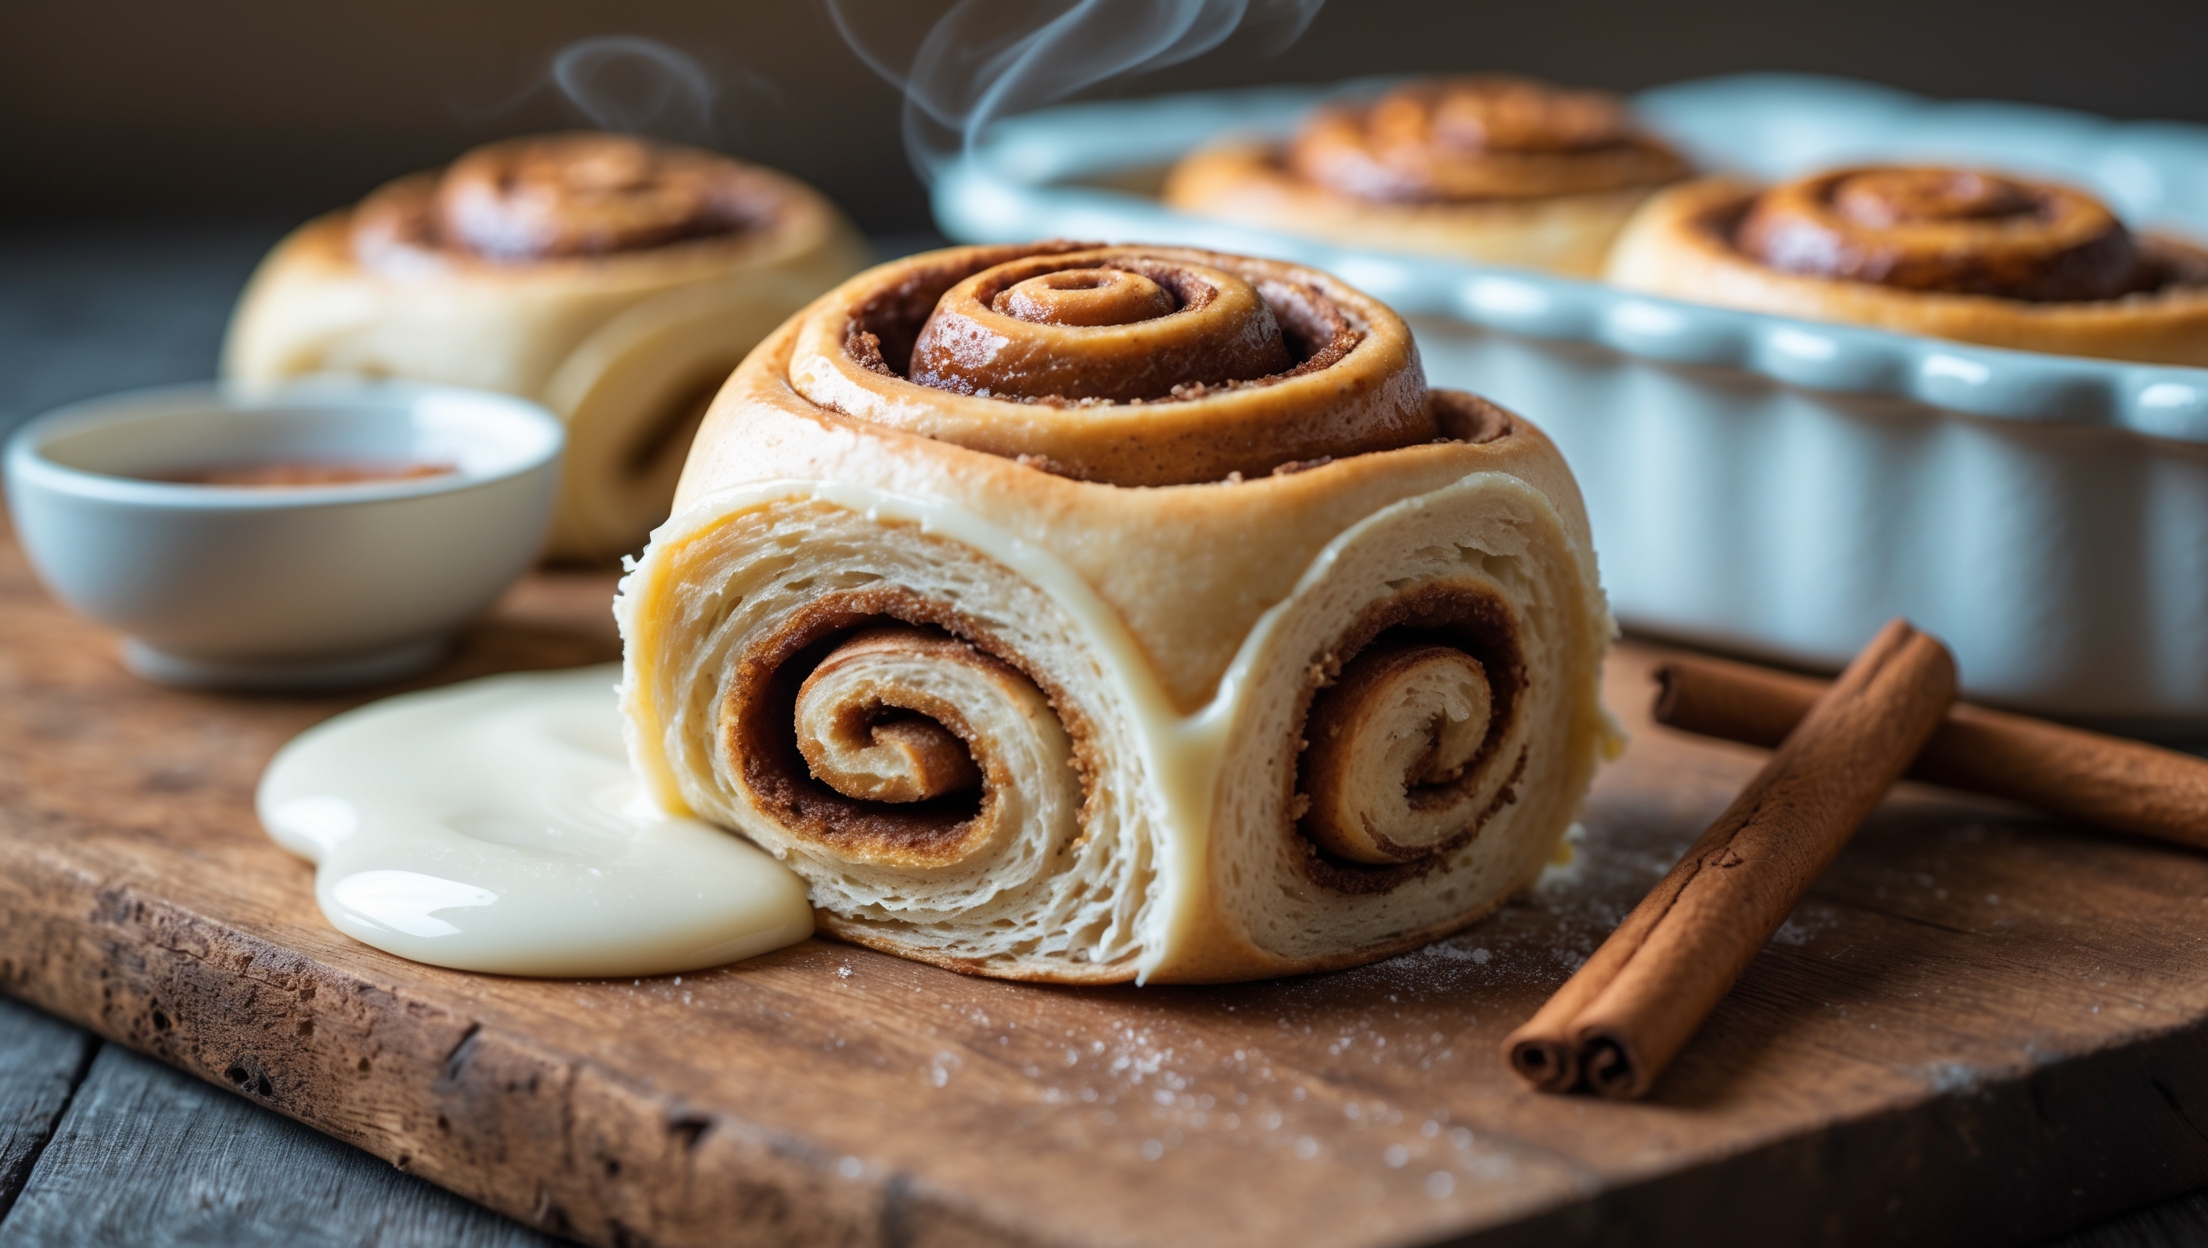
<ol class="no-list-style"><li class="MethodStepper"><h4 class="step-title">Step 1</h4>In a large bowl of your stand mixer, whisk together the gluten-free flour blend, tapioca starch, potato starch, instant yeast, granulated sugar, salt, and xanthan gum (if using). Combining dry ingredients thoroughly now prevents clumps later and ensures even distribution of the leavening agents.</li><li class="MethodStepper"><h4 class="step-title">Step 2</h4>Warm your milk to 38-43°C (100-110°F) – use a thermometer to check the temperature. This specific range activates the yeast without killing it. Add the melted butter, eggs, and vanilla to the warm milk and whisk until combined.</li><li class="MethodStepper"><h4 class="step-title">Step 3</h4>With the mixer on low speed using the paddle attachment (not the dough hook – gluten-free doughs don't develop gluten!), slowly pour the wet ingredients into the dry ingredients. Once incorporated, increase the speed to medium and beat for 4-5 minutes. This extended mixing time is crucial as it develops structure in the gluten-free dough. The dough will be soft and somewhat sticky – this is correct for gluten-free yeast dough.</li><li class="MethodStepper"><h4 class="step-title">Step 4</h4>Cover the bowl with plastic wrap and place in a warm, draft-free spot to rise for about 1 hour. Unlike traditional dough, gluten-free dough won't double in size but should look puffy and expanded by about 50%. Meanwhile, prepare your filling by mixing the brown sugar and cinnamon in a small bowl.</li><li class="MethodStepper"><h4 class="step-title">Step 5</h4>Lay a large piece of parchment paper on your counter and generously dust it with gluten-free flour. Scrape the dough onto the parchment and dust the top with more flour. Place another piece of parchment on top and gently roll the dough into a rectangle approximately 30×38 cm (12×15 inches). The parchment paper prevents the sticky dough from adhering to your rolling pin.</li><li class="MethodStepper"><h4 class="step-title">Step 6</h4>Remove the top parchment and spread the softened butter evenly over the dough surface, leaving a 1 cm border along one long edge. Sprinkle the cinnamon-sugar mixture evenly over the butter, gently pressing it in with your fingers to adhere.</li><li class="MethodStepper"><h4 class="step-title">Step 7</h4>Using the parchment paper to help, start rolling the dough from the long edge (opposite from your clean border) into a tight log. Go slowly and use the parchment to help lift and roll the dough, as gluten-free dough is more fragile than traditional dough. If the dough cracks, simply pinch it back together.</li><li class="MethodStepper"><h4 class="step-title">Step 8</h4>Once rolled, seal the edge by gently pinching the dough. Using a sharp knife or bench scraper (dental floss doesn't work as well with gluten-free dough), cut the log into 12 equal pieces. Lightly grease your round cake pan and arrange the rolls inside, leaving small gaps between them.</li><li class="MethodStepper"><h4 class="step-title">Step 9</h4>Cover the pan with plastic wrap and let the rolls rise in a warm place for 30-45 minutes. They won't double in size but should become somewhat puffy. Meanwhile, preheat your oven to 180°C (350°F).</li><li class="MethodStepper"><h4 class="step-title">Step 10</h4>Remove the plastic wrap and bake the cinnamon rolls for 22-25 minutes until they're golden brown and the internal temperature reaches 88-93°C (190-200°F). If they brown too quickly, cover loosely with aluminum foil.</li><li class="MethodStepper"><h4 class="step-title">Step 11</h4>While the rolls bake, prepare the cream cheese glaze. Beat the cream cheese and butter together until smooth and fluffy. Add the powdered sugar, milk, vanilla, and salt, mixing until well combined and silky smooth. Adjust consistency with additional milk or powdered sugar if needed.</li><li class="MethodStepper"><h4 class="step-title">Step 12</h4>Allow the rolls to cool in the pan for 10 minutes before spreading half the glaze over the warm rolls (it will melt slightly and seep into the crevices). Let them cool for another 10-15 minutes before adding the remaining glaze. Serving them slightly warm allows you to enjoy that perfect balance of tender, gooey roll with creamy frosting. Any leftover rolls can be stored in an airtight container at room temperature for 2 days or refrigerated for up to 5 days. Reheat individual rolls in the microwave for 15-20 seconds for that fresh-baked experience.</li></ol>