Directions
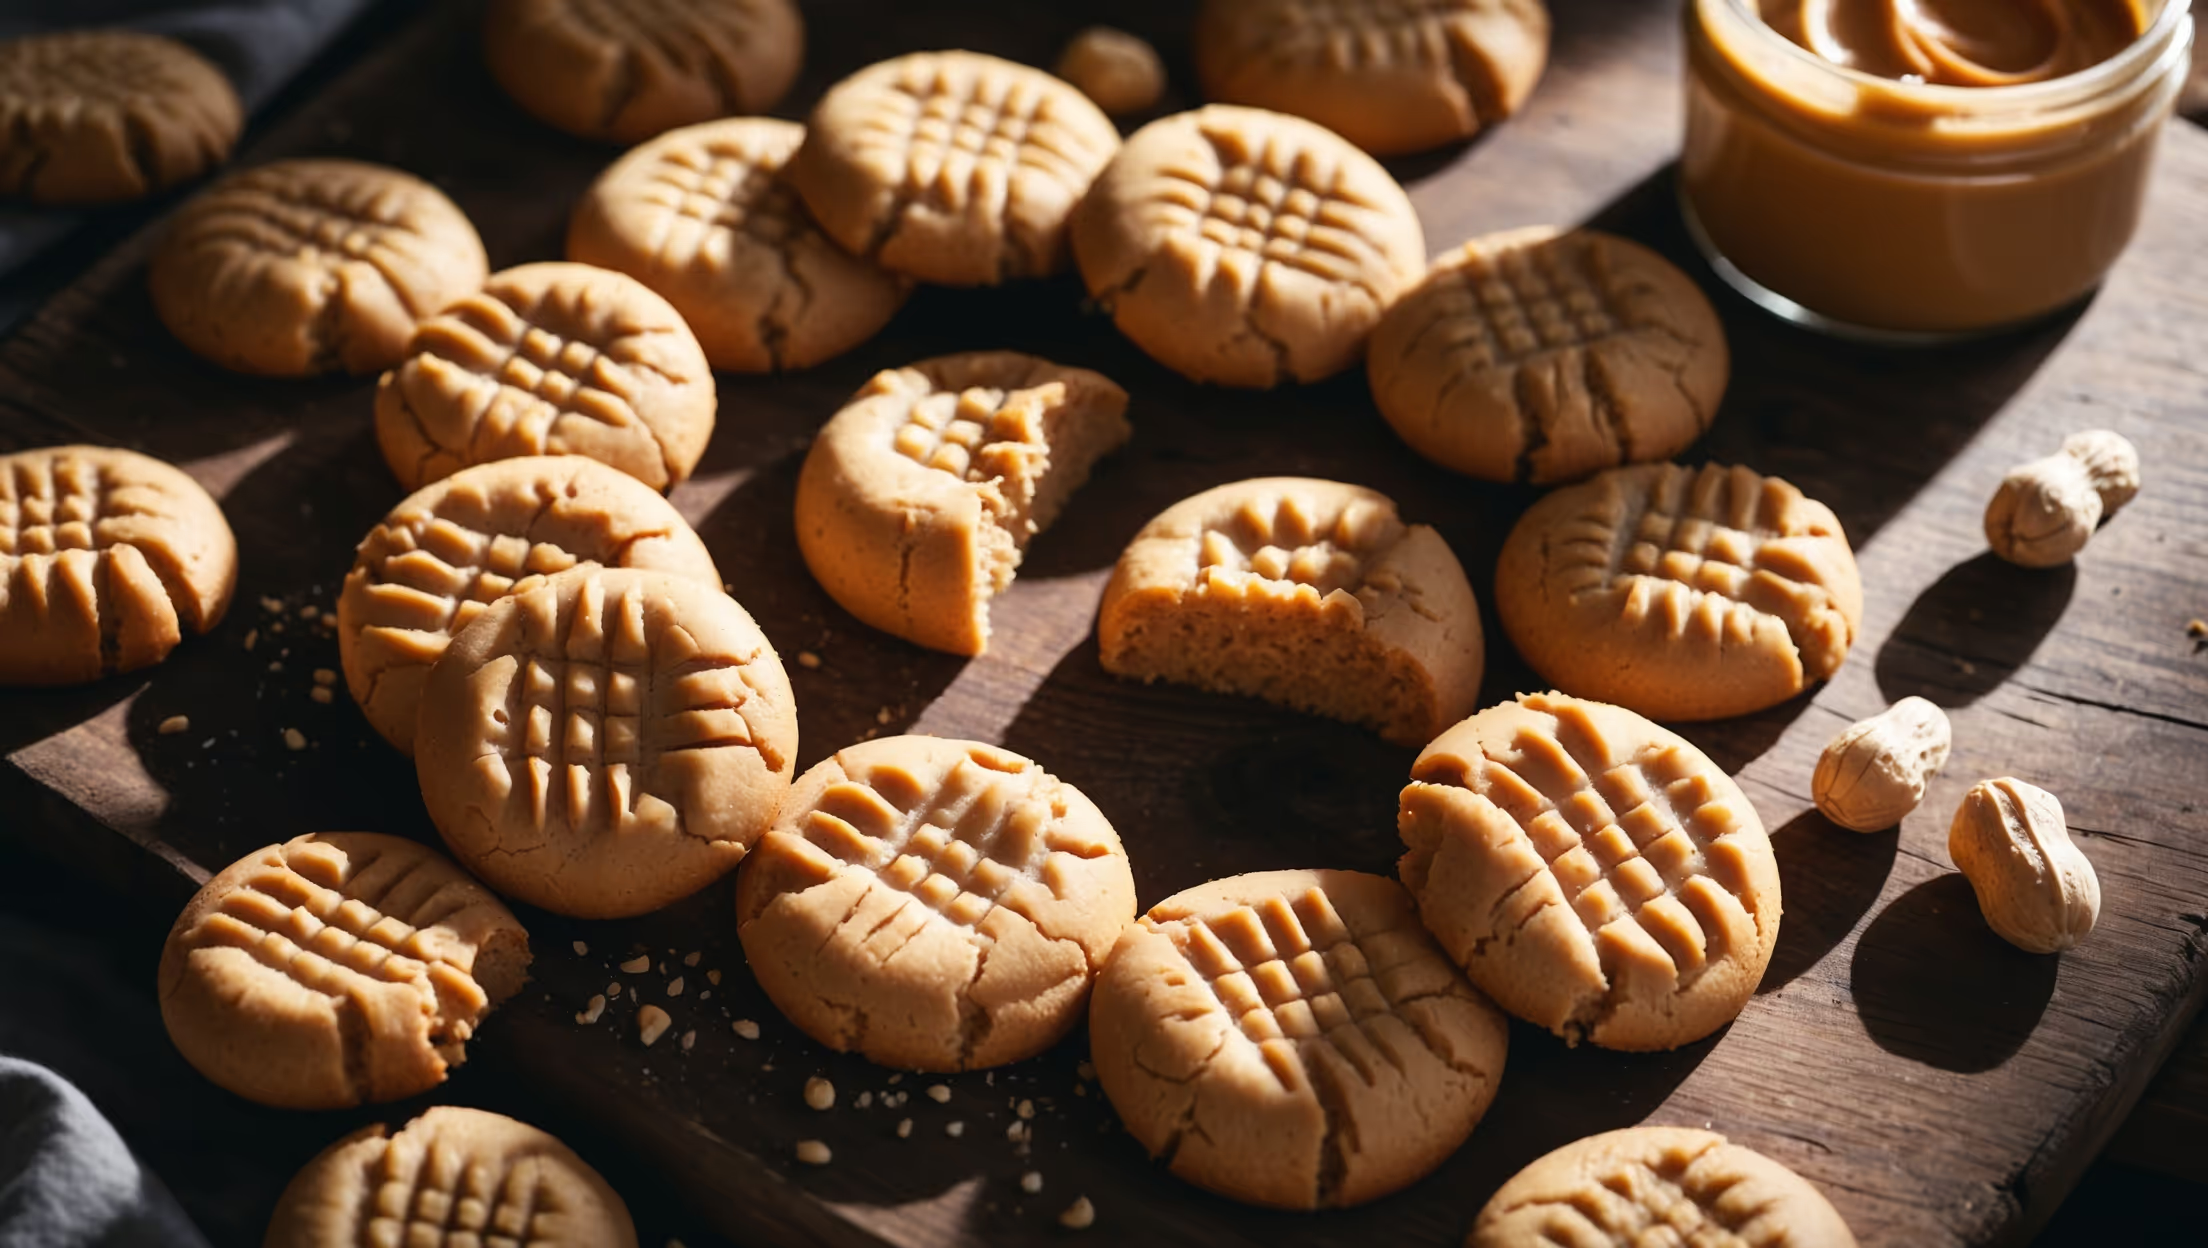
<ol class="no-list-style"> <li class="MethodStepper"> <h4 class="step-title">Step 1</h4> Preheat your oven to 180°C (350°F) and line a baking tray with parchment paper. This preparation ensures your cookies will bake evenly and won't stick to the tray. </li> <li class="MethodStepper"> <h4 class="step-title">Step 2</h4> In a medium mixing bowl, combine the peanut butter and sugar. The sugar creates structure in these flourless cookies while also helping to achieve those delightfully crisp edges. If your peanut butter has separated, make sure to stir it well before measuring. </li> <li class="MethodStepper"> <h4 class="step-title">Step 3</h4> Add the egg to the peanut butter mixture and mix thoroughly until completely incorporated. The egg provides protein which helps bind everything together in the absence of flour. You'll notice the dough transform from crumbly to smooth and cohesive. </li> <li class="MethodStepper"> <h4 class="step-title">Step 4</h4> Using a tablespoon or small cookie scoop, portion the dough into approximately 15 equal balls. Place them on your prepared baking tray, leaving about 5cm between each to allow for spreading. These cookies don't spread as much as traditional cookies, but they still need some room. </li> <li class="MethodStepper"> <h4 class="step-title">Step 5</h4> Using the back of a fork, gently press down on each cookie ball to flatten slightly, then press again in the opposite direction to create the classic criss-cross pattern. This signature design isn't just decorative—it helps the cookies bake evenly by creating a consistent thickness. </li> <li class="MethodStepper"> <h4 class="step-title">Step 6</h4> Bake in the preheated oven for 10-12 minutes, or until the edges are just beginning to turn golden. Be very careful not to overbake! These cookies can go from perfect to too dry in just a minute. They will still look slightly soft in the center, which is exactly what you want. </li> <li class="MethodStepper"> <h4 class="step-title">Step 7</h4> Allow the cookies to cool on the baking tray for 5 minutes. During this time, they'll continue cooking slightly from residual heat while also setting up their structure. This patience is crucial for achieving that perfect texture balance. </li> <li class="MethodStepper"> <h4 class="step-title">Step 8</h4> Carefully transfer the cookies to a wire rack to cool completely. They'll be quite delicate while warm but will firm up nicely as they reach room temperature. Once fully cooled, enjoy immediately or store in an airtight container for up to 5 days. </li> </ol>