Flourless Peanut Butter Cookies Recipe

Crisp edges giving way to chewy centers, these naturally gluten-free peanut butter cookies deliver rich nutty flavor and melt-in-your-mouth texture with just a handful of ingredients.
Difficulty:
Beginner
Prep Time:
15 mins
Cook Time:
10 mins
Serves:
18 cookies
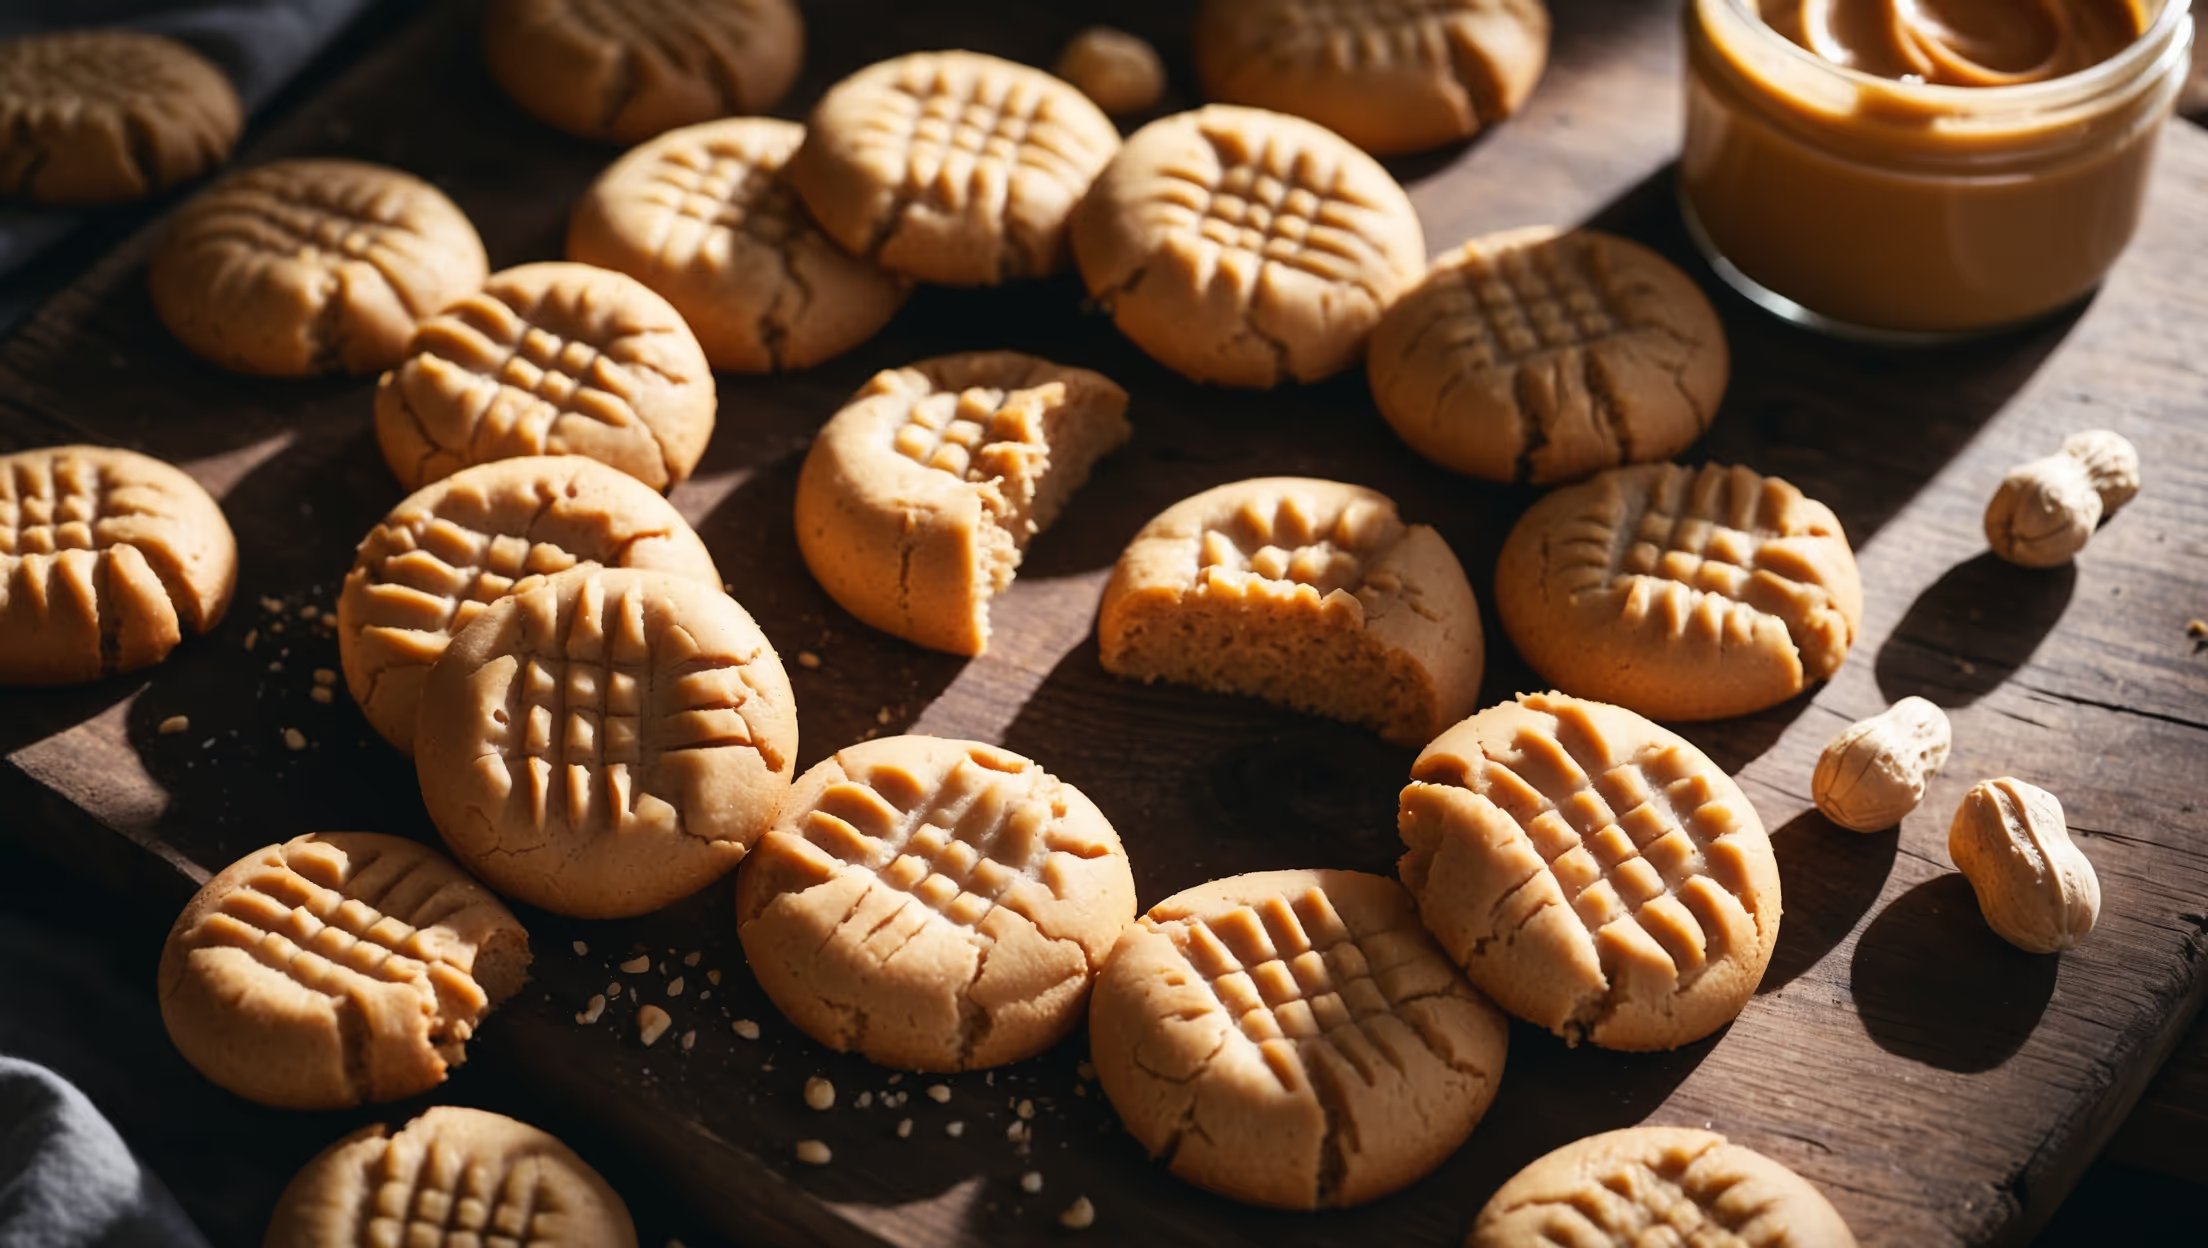
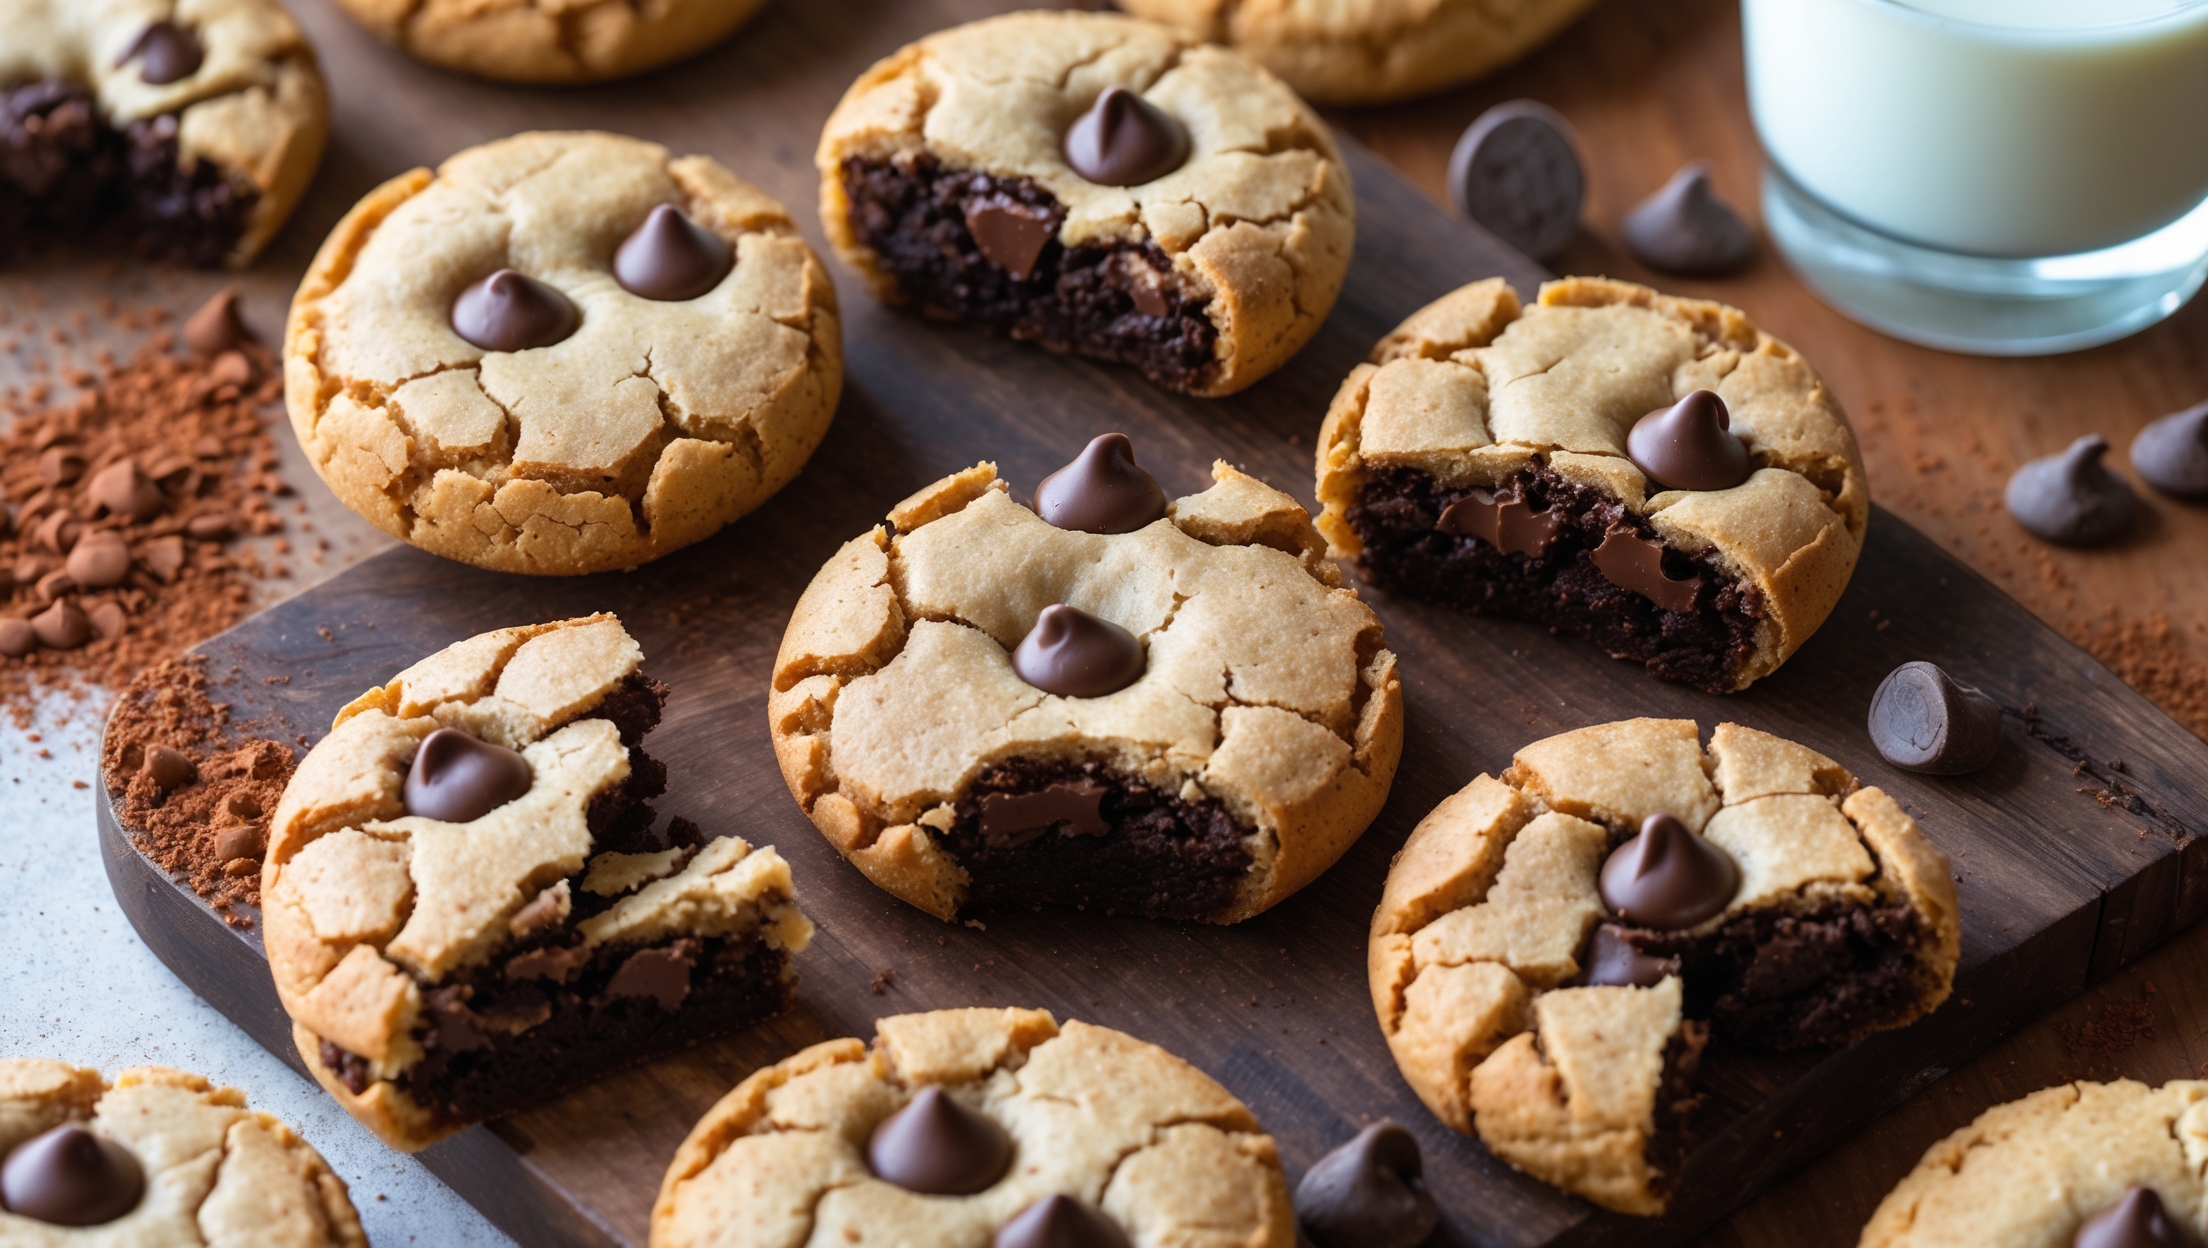
An overhead shot of perfectly cracked flourless peanut butter cookies arranged in a casual spiral on a rustic wooden board, with a few cookies broken in half to showcase their dense, slightly fudgy centers. The cookies feature distinguished fork-mark crosshatches on their golden-brown tops, with visible sugar crystals catching the soft natural light streaming through a kitchen window. A small jar of natural peanut butter sits nearby with a spoon resting against it, while a scattering of whole peanuts adds texture to the composition. The warm amber tones of the cookies contrast beautifully with the deep brown wood surface, emphasizing their homemade charm and irresistible texture.

Ingredients

<ul class="ingredients-main-list"> <li class="ingredients-single-item">250g creamy peanut butter (natural, no added sugar)</li> <li class="ingredients-single-item">150g granulated sugar</li> <li class="ingredients-single-item">50g light brown sugar, packed</li> <li class="ingredients-single-item">1 large egg, room temperature</li> <li class="ingredients-single-item">5ml vanilla extract</li> <li class="ingredients-single-item">2g baking soda</li> <li class="ingredients-single-item">1g salt (omit if using salted peanut butter)</li> <li class="ingredients-single-item">60g chopped peanuts (optional, for extra texture)</li> </ul>

Equipment

<ul class="equipment-main-list"> <li class="equipment-single-item">Baking sheets</li> <li class="equipment-single-item">Parchment paper</li> <li class="equipment-single-item">Fork (for crosshatching)</li> </ul>
BAKE SMARTER

Kitchen Converter

Quickly switch between common baking units without leaving the recipe.

Convert
Result—

Volume uses US cups, tablespoons, and teaspoons. Converting weight to volume depends on the ingredient.

Directions

<ol class="no-list-style"> <li class="MethodStepper"> <h4 class="step-title">Step 1</h4> Preheat your oven to 175°C (350°F) and line two baking sheets with parchment paper. This preparation ensures your cookies will bake evenly and won't stick to the pan. </li> <li class="MethodStepper"> <h4 class="step-title">Step 2</h4> In a medium bowl, combine the peanut butter, granulated sugar, and brown sugar. Mix thoroughly until well incorporated - you'll notice the mixture becoming slightly less dense as the sugars integrate with the oils in the peanut butter. </li> <li class="MethodStepper"> <h4 class="step-title">Step 3</h4> Add the egg, vanilla extract, baking soda, and salt to the mixture. Beat vigorously until completely combined and the dough becomes cohesive. The egg acts as both a binder and provides structure in place of the flour. If using, fold in the chopped peanuts for added texture. </li> <li class="MethodStepper"> <h4 class="step-title">Step 4</h4> Using a tablespoon or cookie scoop, portion the dough into roughly 30g balls and place them on the prepared baking sheets, leaving about 5cm (2 inches) between each cookie as they will spread. The dough will be soft but should hold its shape - if it seems too sticky, refrigerate for 15-20 minutes to firm it up. </li> <li class="MethodStepper"> <h4 class="step-title">Step 5</h4> Using the back of a fork, gently press down on each dough ball to create a crisscross pattern. This traditional peanut butter cookie technique not only creates the signature appearance but also helps the cookies bake more evenly by flattening them slightly. </li> <li class="MethodStepper"> <h4 class="step-title">Step 6</h4> Bake in the preheated oven for 10-12 minutes, or until the edges are set and lightly golden while centers still look slightly soft. Don't overbake! These cookies continue to firm up as they cool, and since there's no flour to absorb moisture, overbaking can quickly lead to dry cookies. </li> <li class="MethodStepper"> <h4 class="step-title">Step 7</h4> Remove from the oven and allow the cookies to rest on the baking sheets for 5 minutes. During this time, they'll firm up enough to be moved. Then transfer to a wire rack to cool completely. The cookies will crisp around the edges while maintaining a wonderfully chewy center. </li> <li class="MethodStepper"> <h4 class="step-title">Step 8</h4> Store cooled cookies in an airtight container at room temperature for up to 5 days, or freeze for up to 3 months. If freezing, place sheets of parchment paper between layers to prevent sticking. </li> </ol>

Nutrition Facts (per serving)

🍽️ Serving Size: 1 cookie
🔥 Calories: 145 calories
🥑 Fat: 10 g
🧈 Saturated Fat: 2 g
🍞 Carbohydrates: 12 g
🍭 Sugar: 10 g
🍗 Protein: 5 g
🫀 Cholesterol: 10 mg
🧂 Sodium: 75 mg

Chef’s Notes

A few helpful details for making this recipe.

Why do peanut butter cookies have fork marks?

The traditional crosshatch pattern created with a fork serves both practical and aesthetic purposes. It flattens the dense, sugar-rich dough to promote even baking, prevents cookies from puffing too much, and creates the iconic look that signals "peanut butter cookie" to most people.

Can I use crunchy peanut butter instead of smooth in gluten-free cookies?

Yes! Crunchy peanut butter works brilliantly in flourless cookies, adding extra texture and nutty bite. The recipe will still work perfectly with the same measurements, though the final cookies will have a more rustic appearance and additional crunch from the peanut pieces.

How do you know when flourless cookies are properly baked?

Look for set, lightly golden edges while the centres still appear slightly soft and underdone. This is crucial for flourless cookies as they continue firming up while cooling. Overbaking results in dry, crumbly cookies, while proper timing creates that coveted chewy centre with crisp edges.

Want to try something else in ...

More recipes you might like

Keep exploring with more recipes from What's Baking.