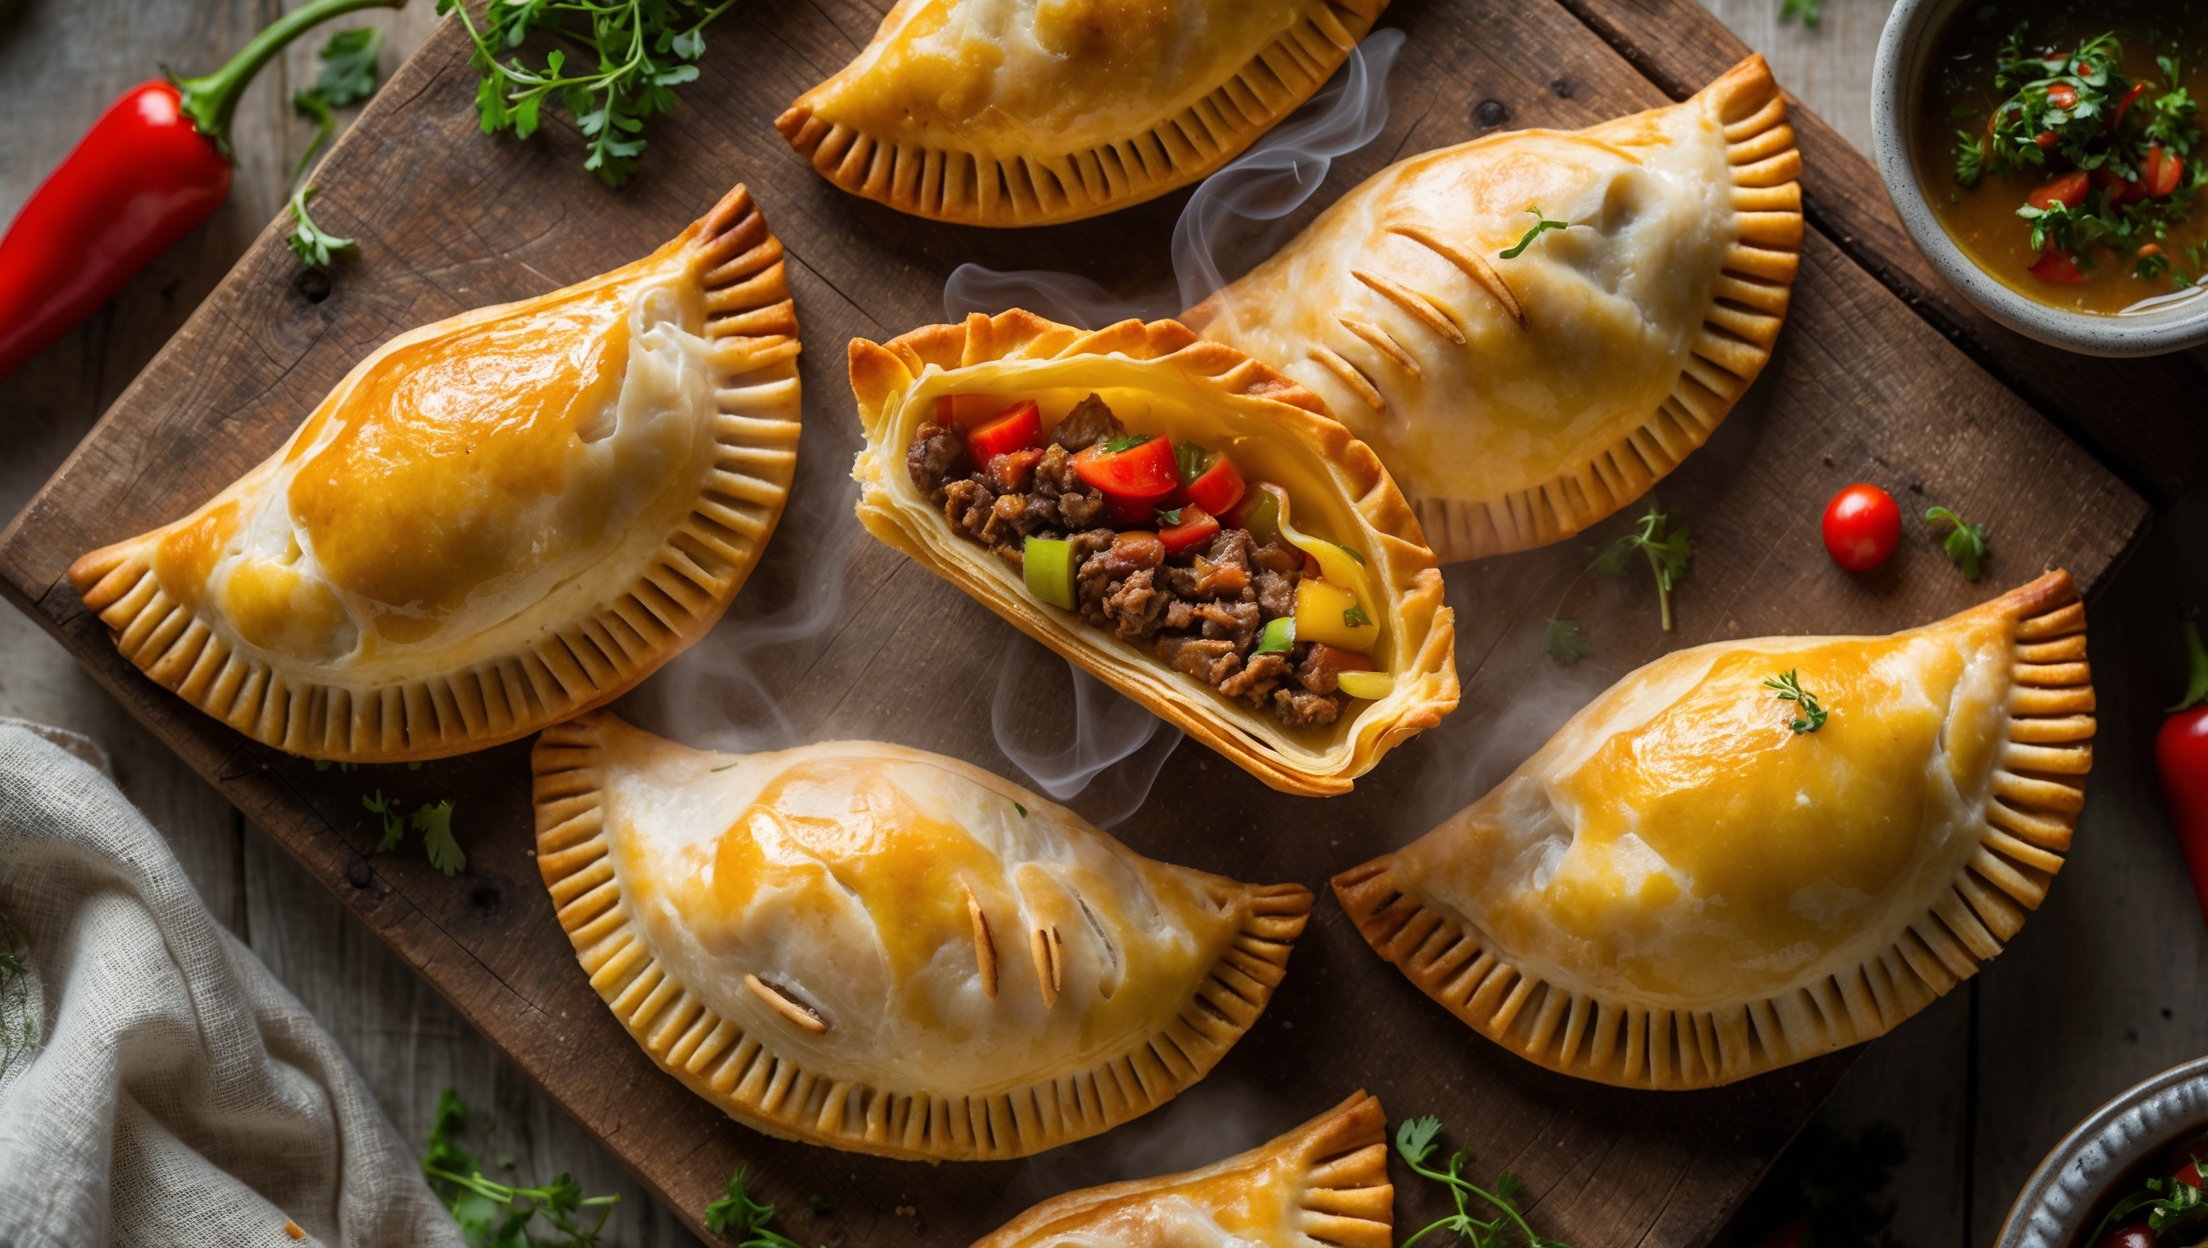
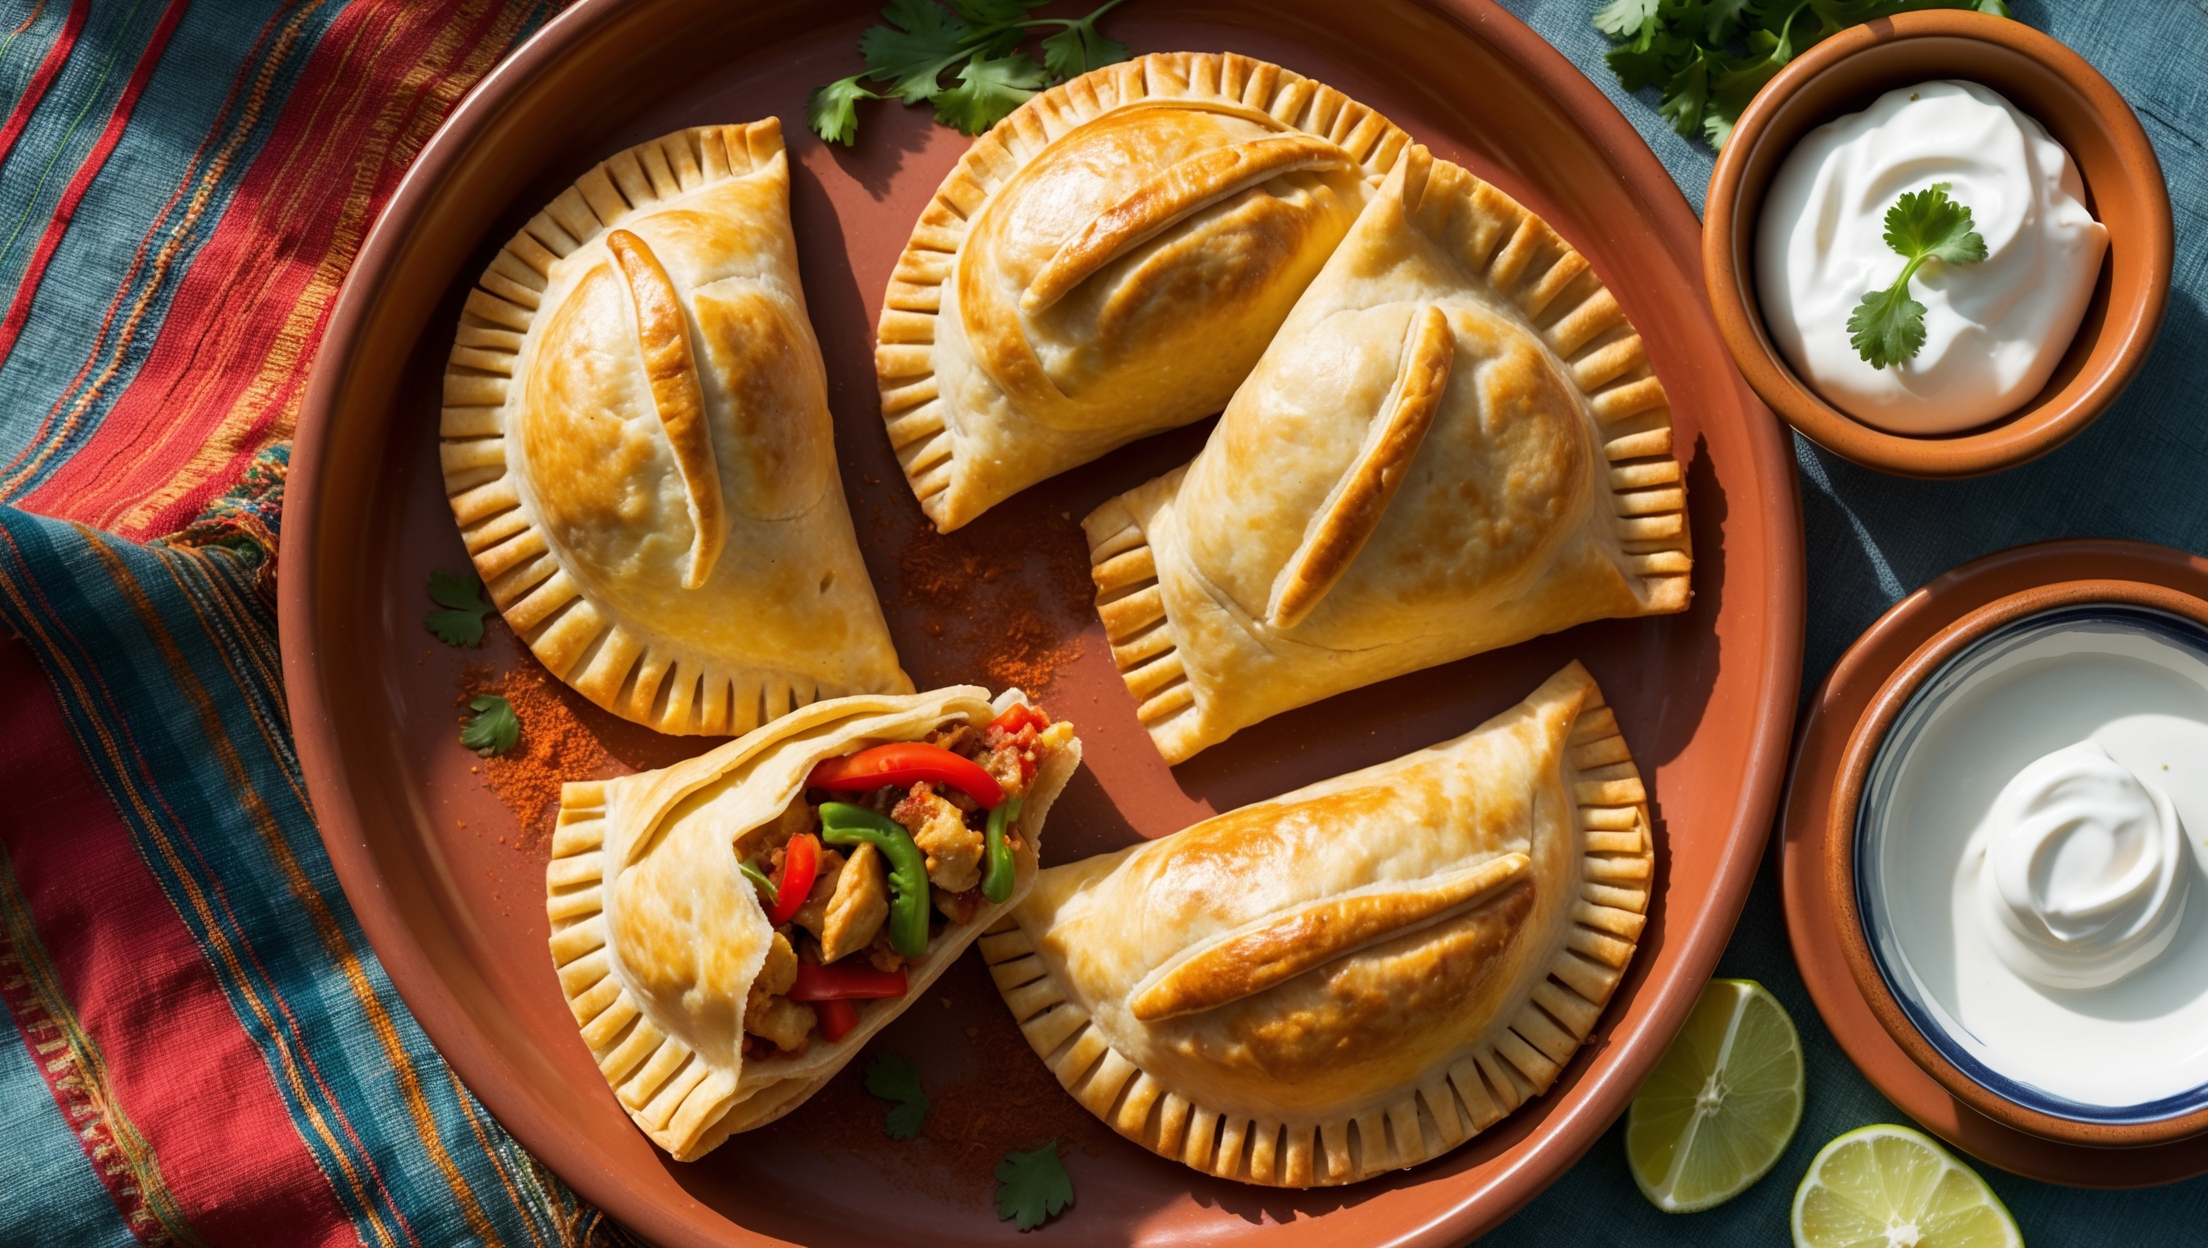
Fajita Hand Pies Recipe
Ingredients
Equipment
Directions
FAQs
Find answers to your most pressing questions about this delicious recipe right here.
Fajita Hand Pies require pastry ingredients (flour, butter, salt, sugar, water, egg), filling ingredients (chicken, bell peppers, onion, garlic, cheese), and fajita seasoning components (chili powder, cumin, paprika, oregano, garlic powder, salt, pepper, and optional cayenne).
Learn how to cook Fajita Hand Pies by making a flaky pastry dough, preparing a spiced chicken and pepper filling, assembling the hand pies with cheese, sealing them properly, and baking until golden. The key techniques involve keeping butter cold for the pastry, properly cooling the filling before assembly, and ensuring a good seal to prevent leakage during baking.
Yes! You can freeze the unbaked assembled pies for up to 3 months. When ready to eat, simply brush with egg wash and bake from frozen, adding 5-7 extra minutes to the baking time. Alternatively, baked pies can be refrigerated for up to 3 days and reheated in a 160°C oven for 10 minutes.
The best complementary dipping sauces include traditional Mexican accompaniments like guacamole, sour cream, pico de gallo, or salsa verde. For a creamier option, try chipotle mayo or cilantro lime crema. These sauces enhance the flavours while adding moisture to balance the flaky pastry texture.
For vegetarian hand pies, substitute chicken with black beans, corn, and additional peppers or mushrooms. For gluten-free versions, use a certified gluten-free flour blend in the pastry and add a little xanthan gum to help with binding. Keep the seasonings the same for authentic fajita flavour.
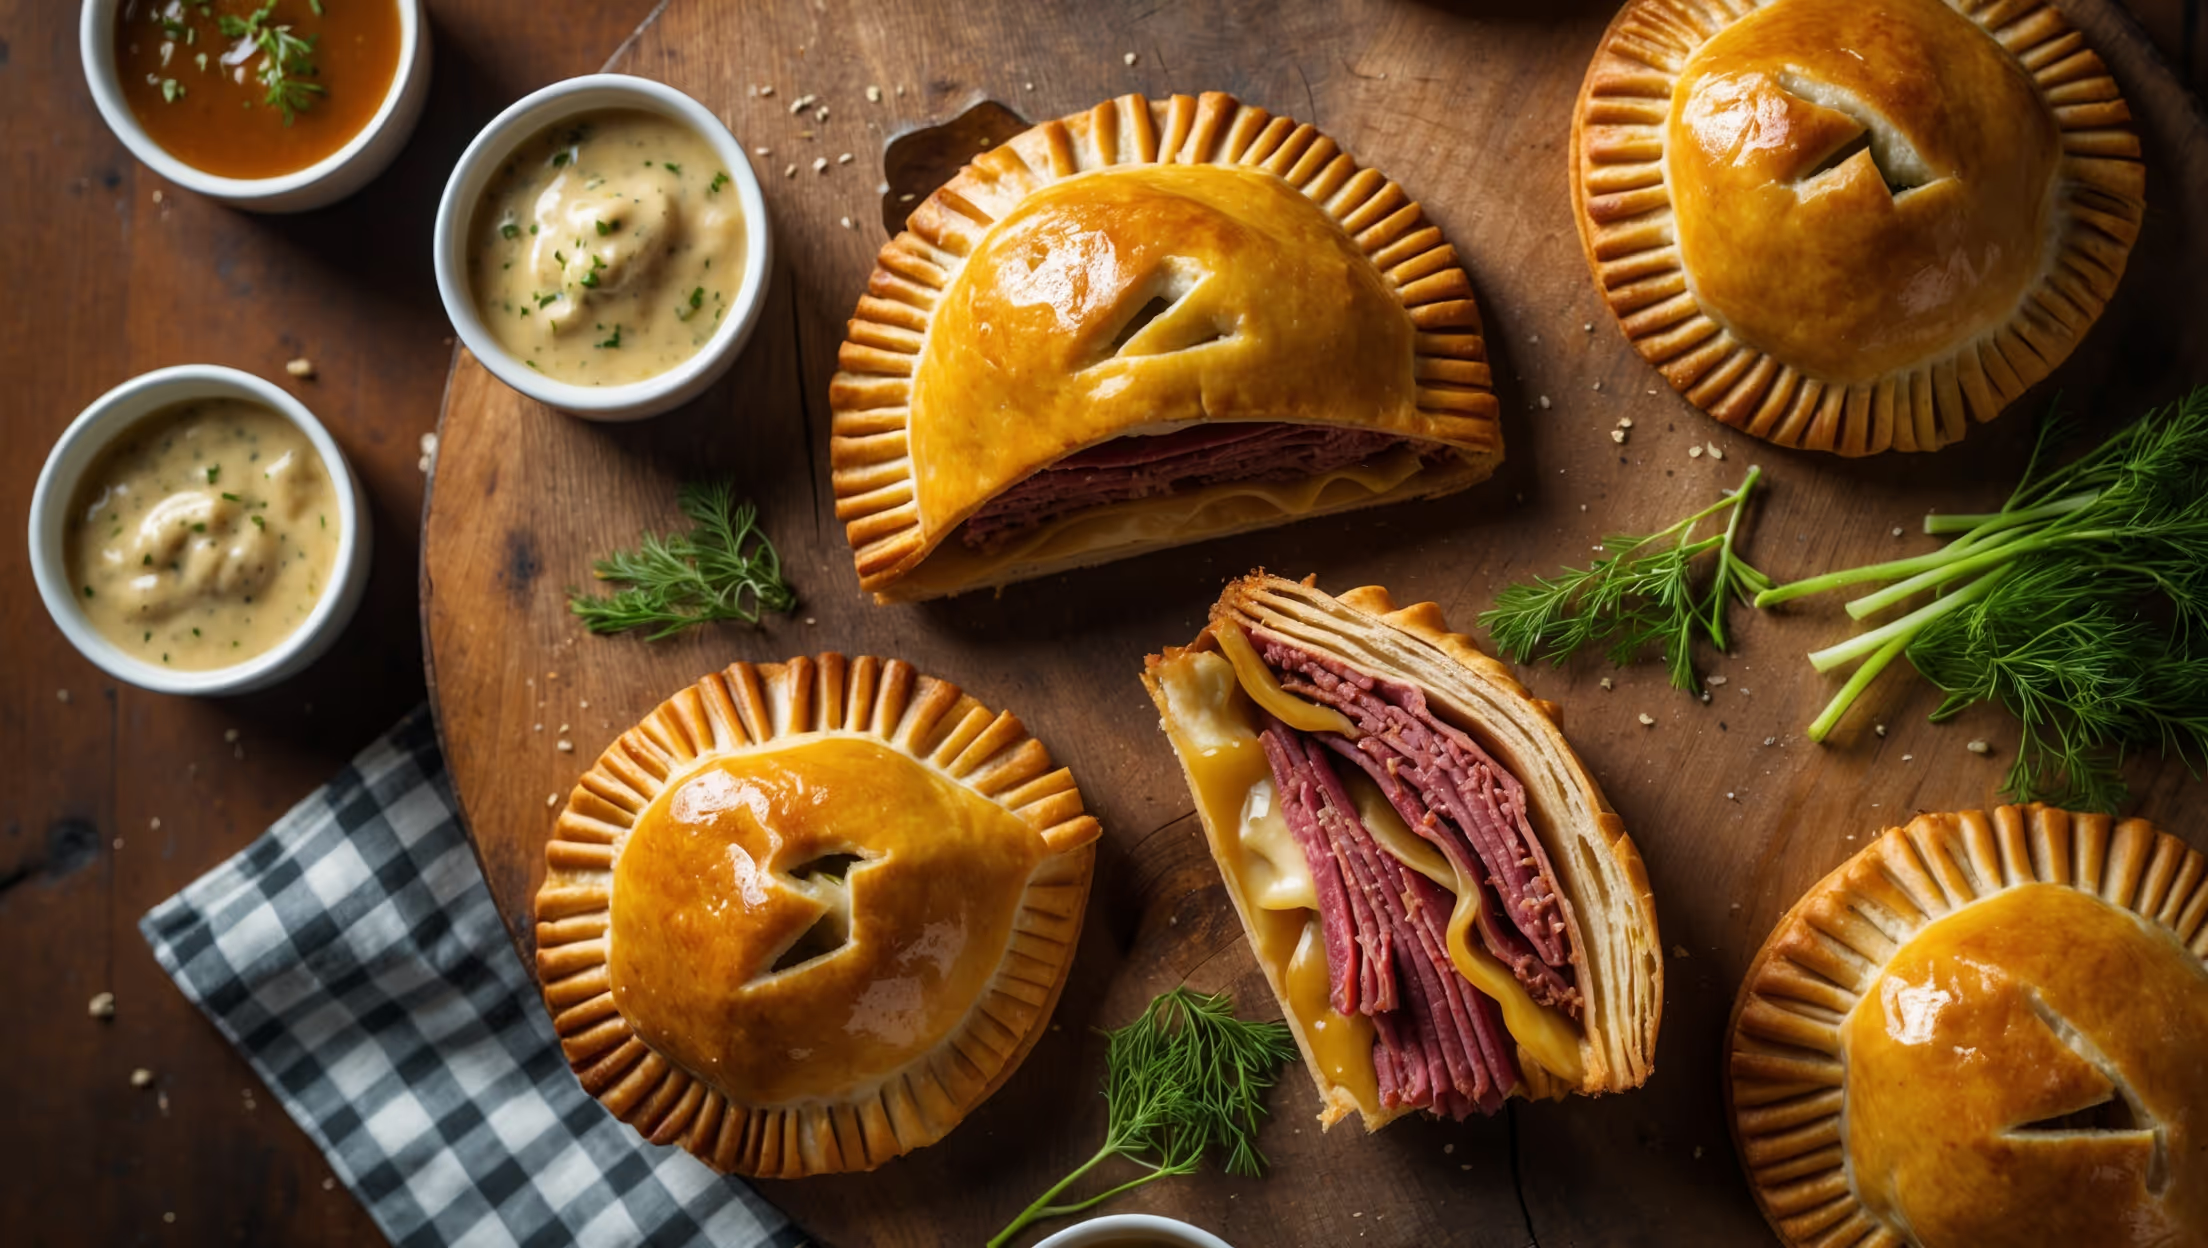
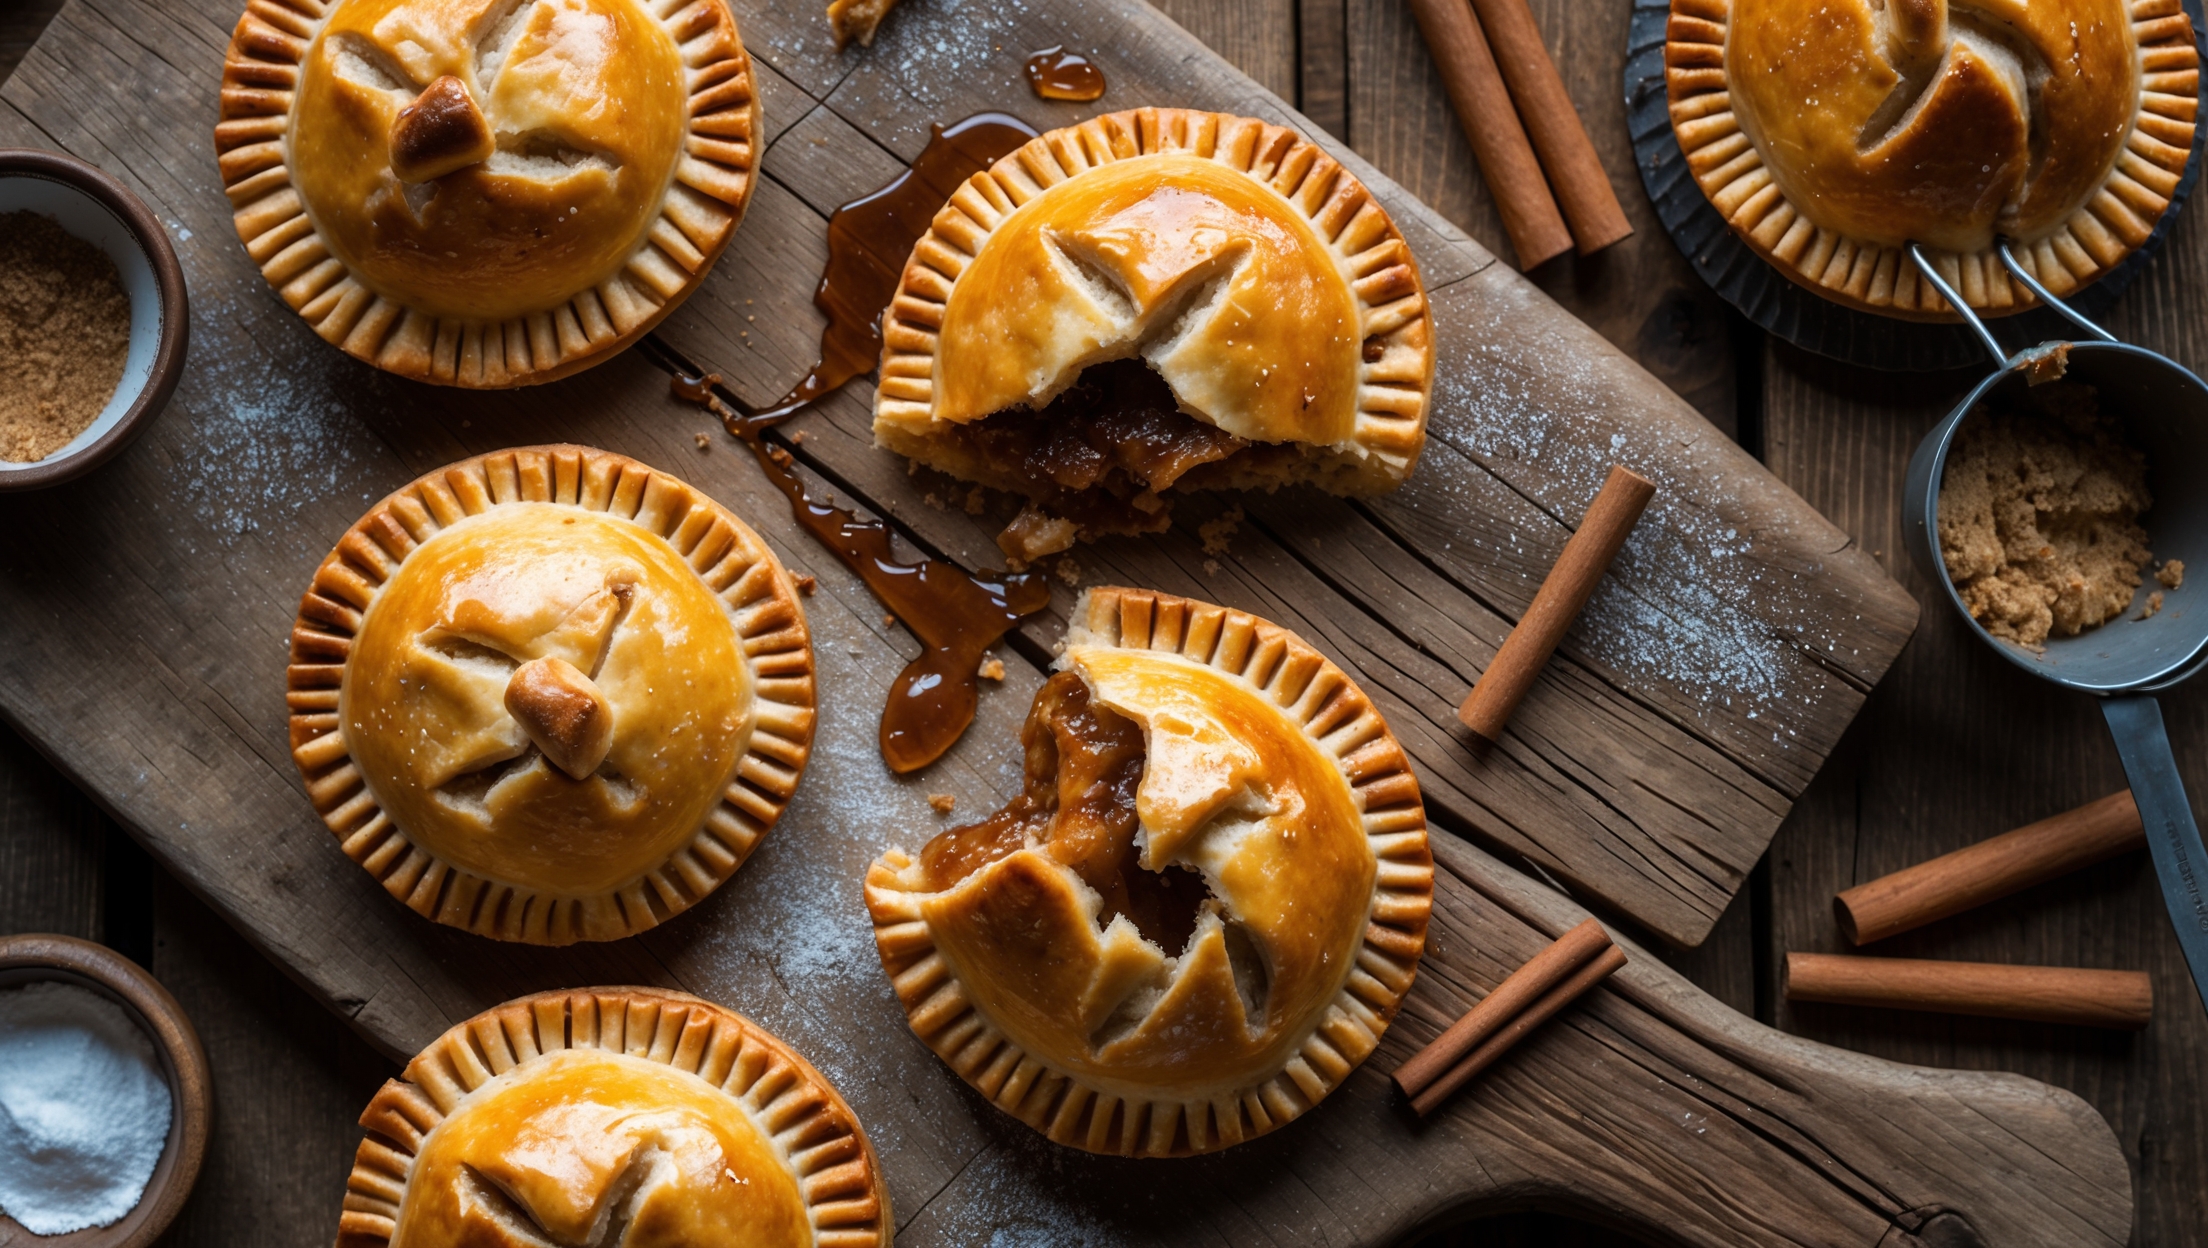
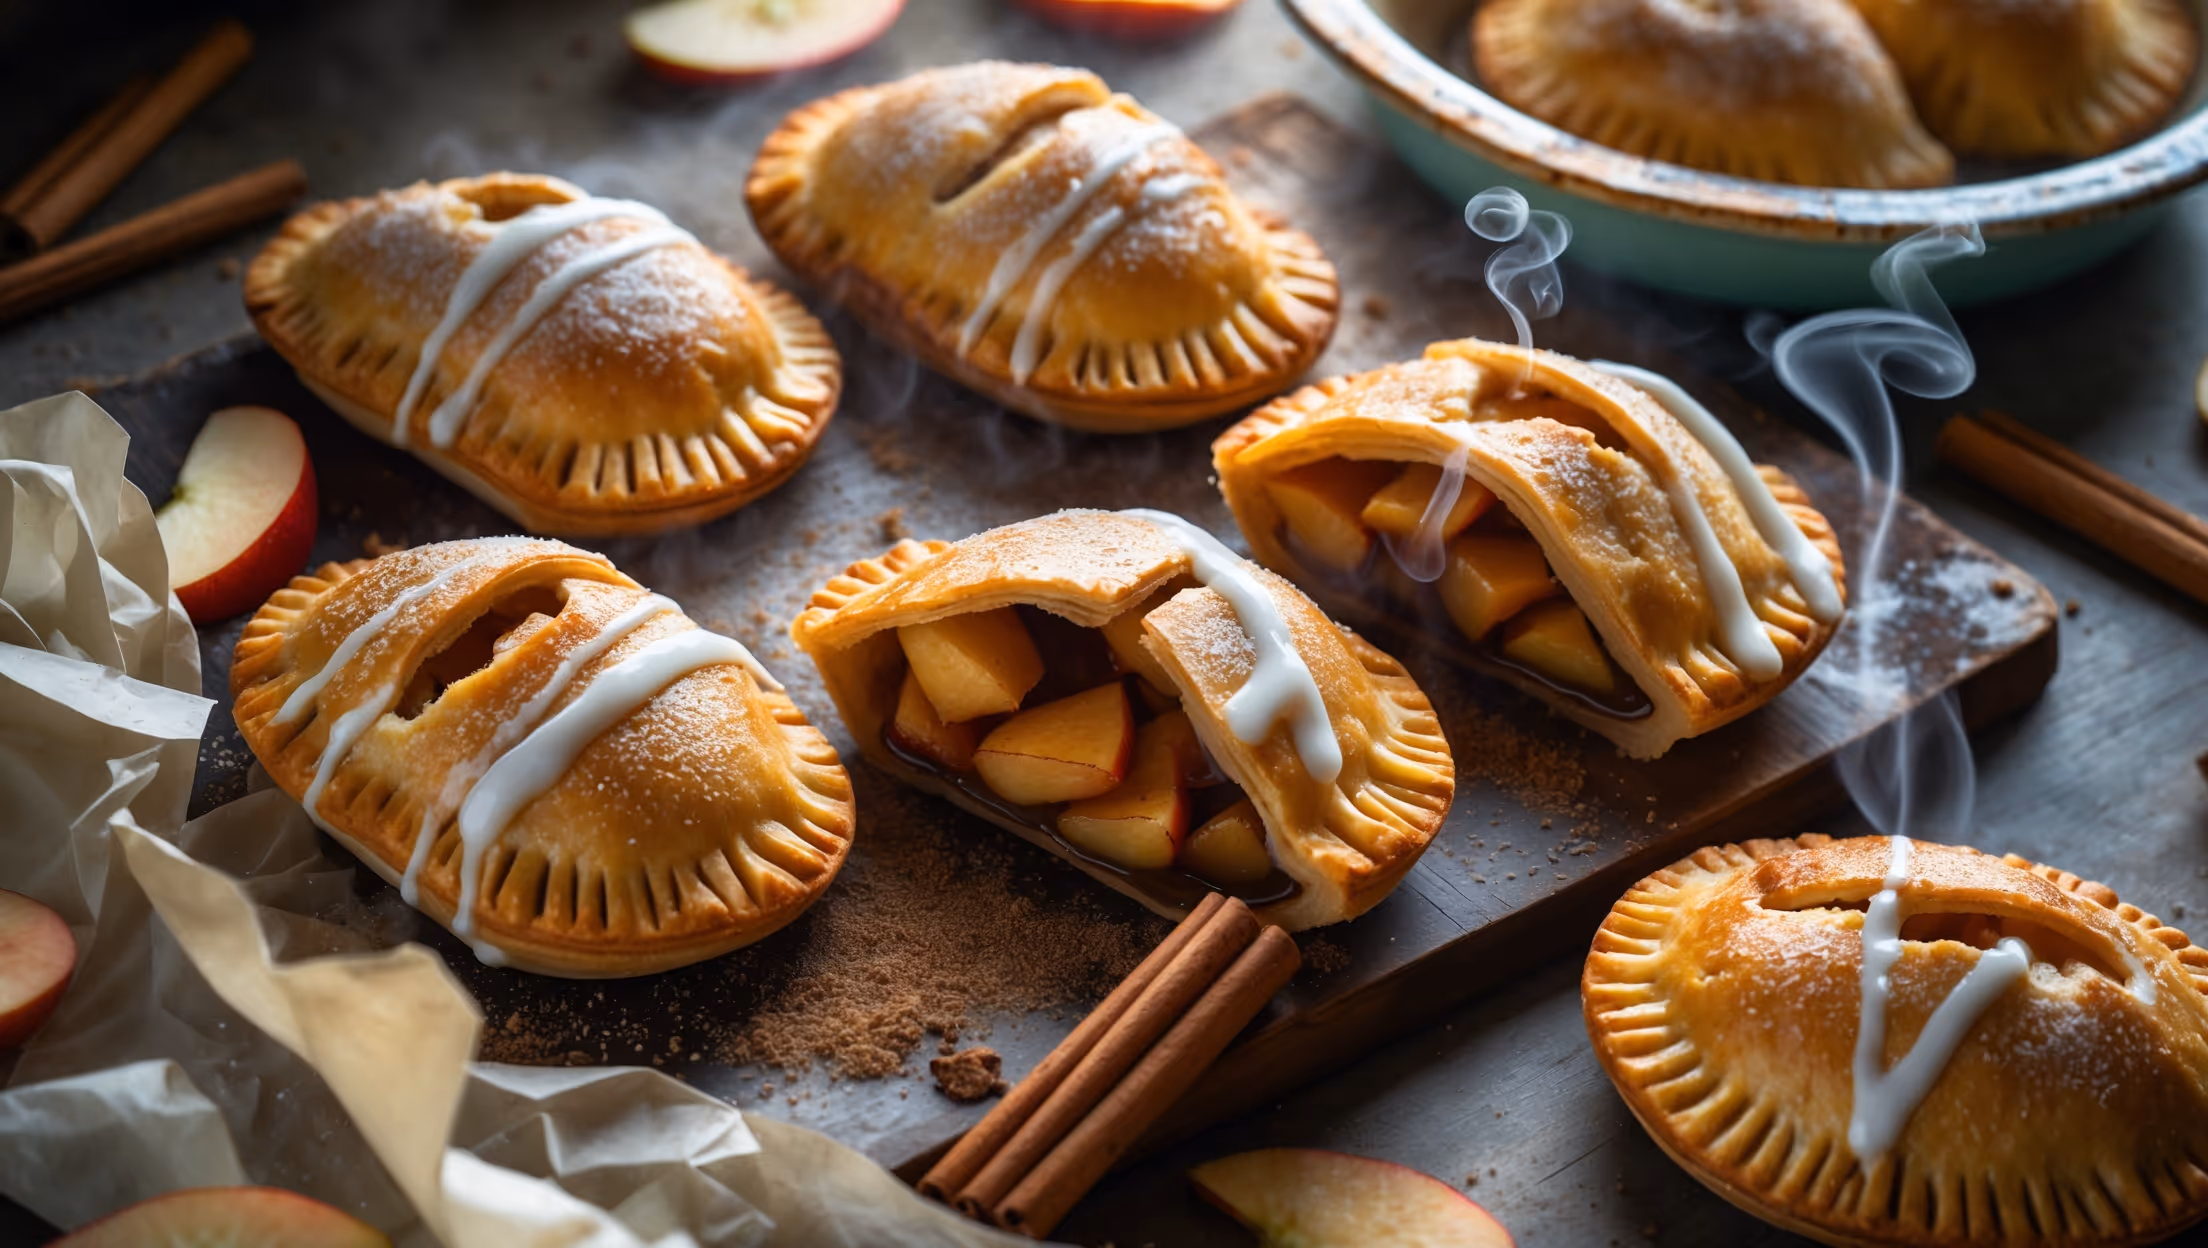
Hand Pies
Try following recommended recipes