Espresso Cream Pie Recipe

Ingredients
Equipment
Directions
FAQs
Find answers to your most pressing questions about this delicious recipe right here.
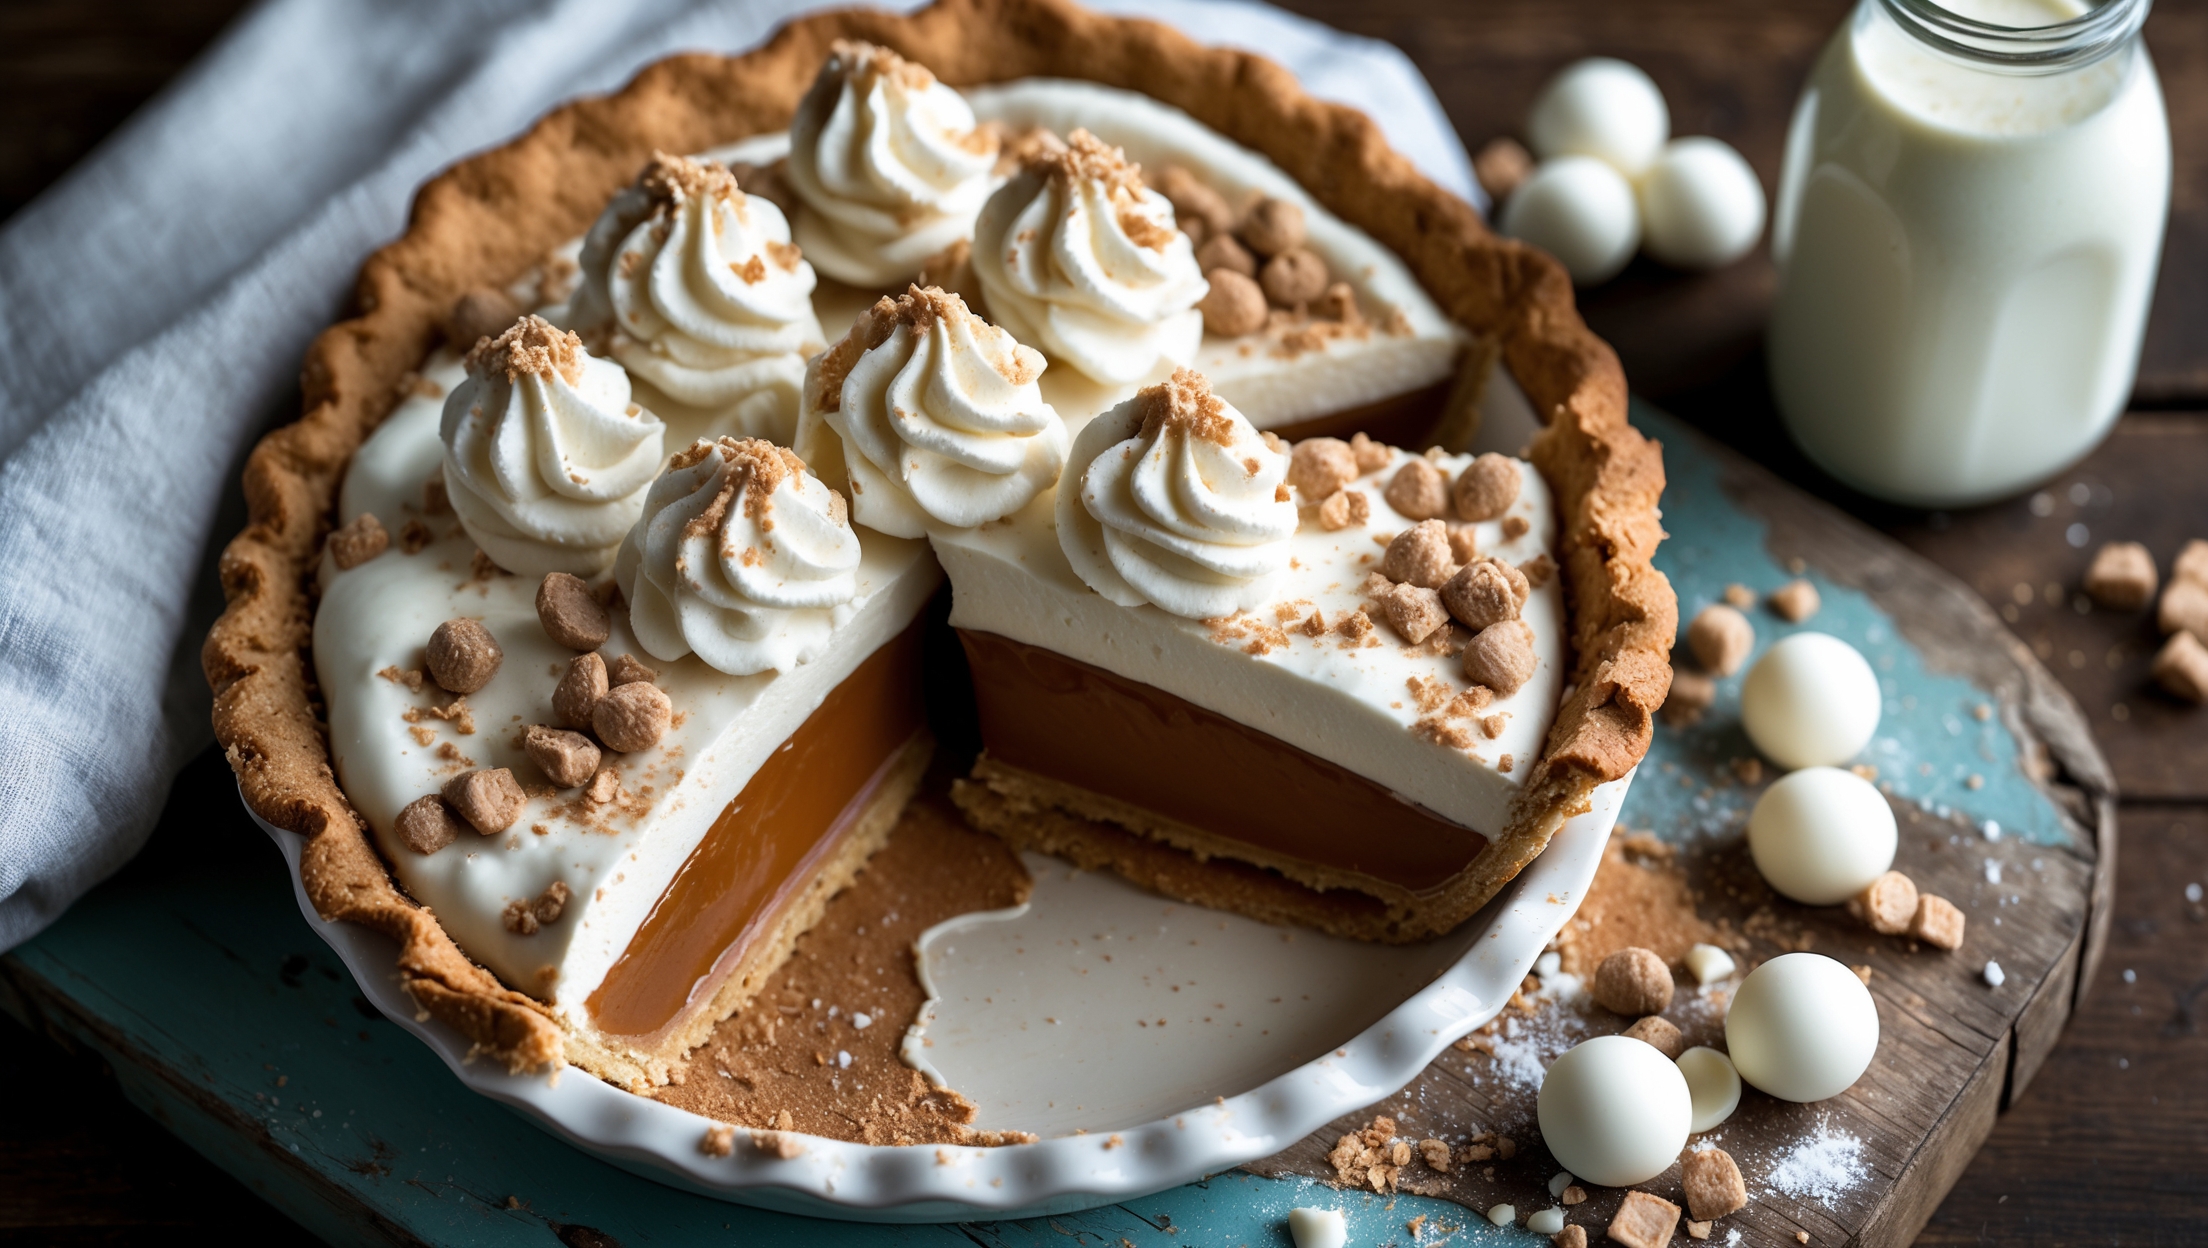
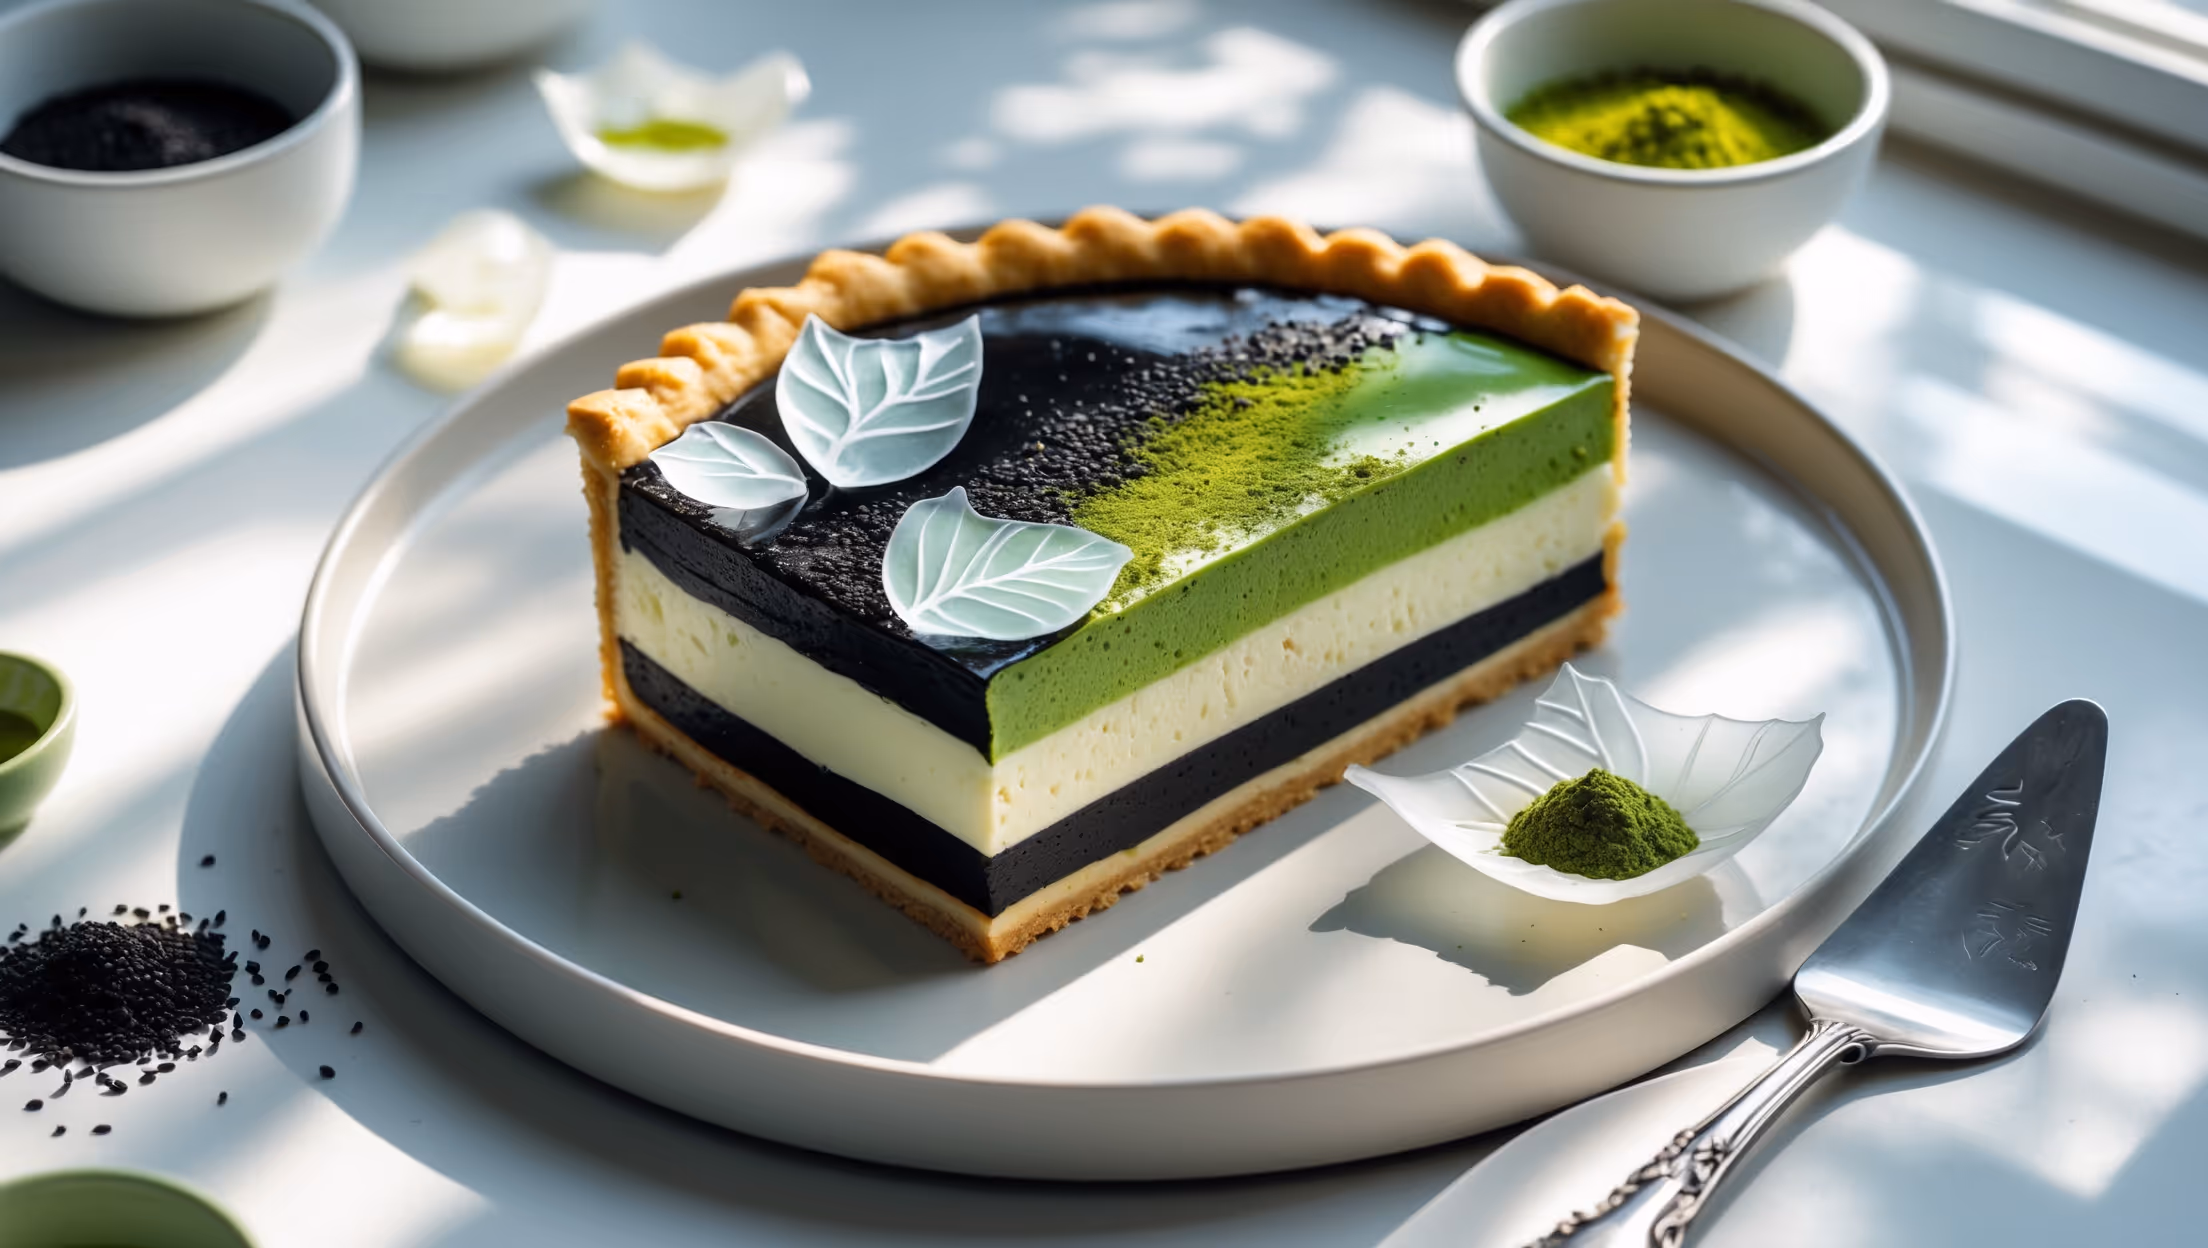
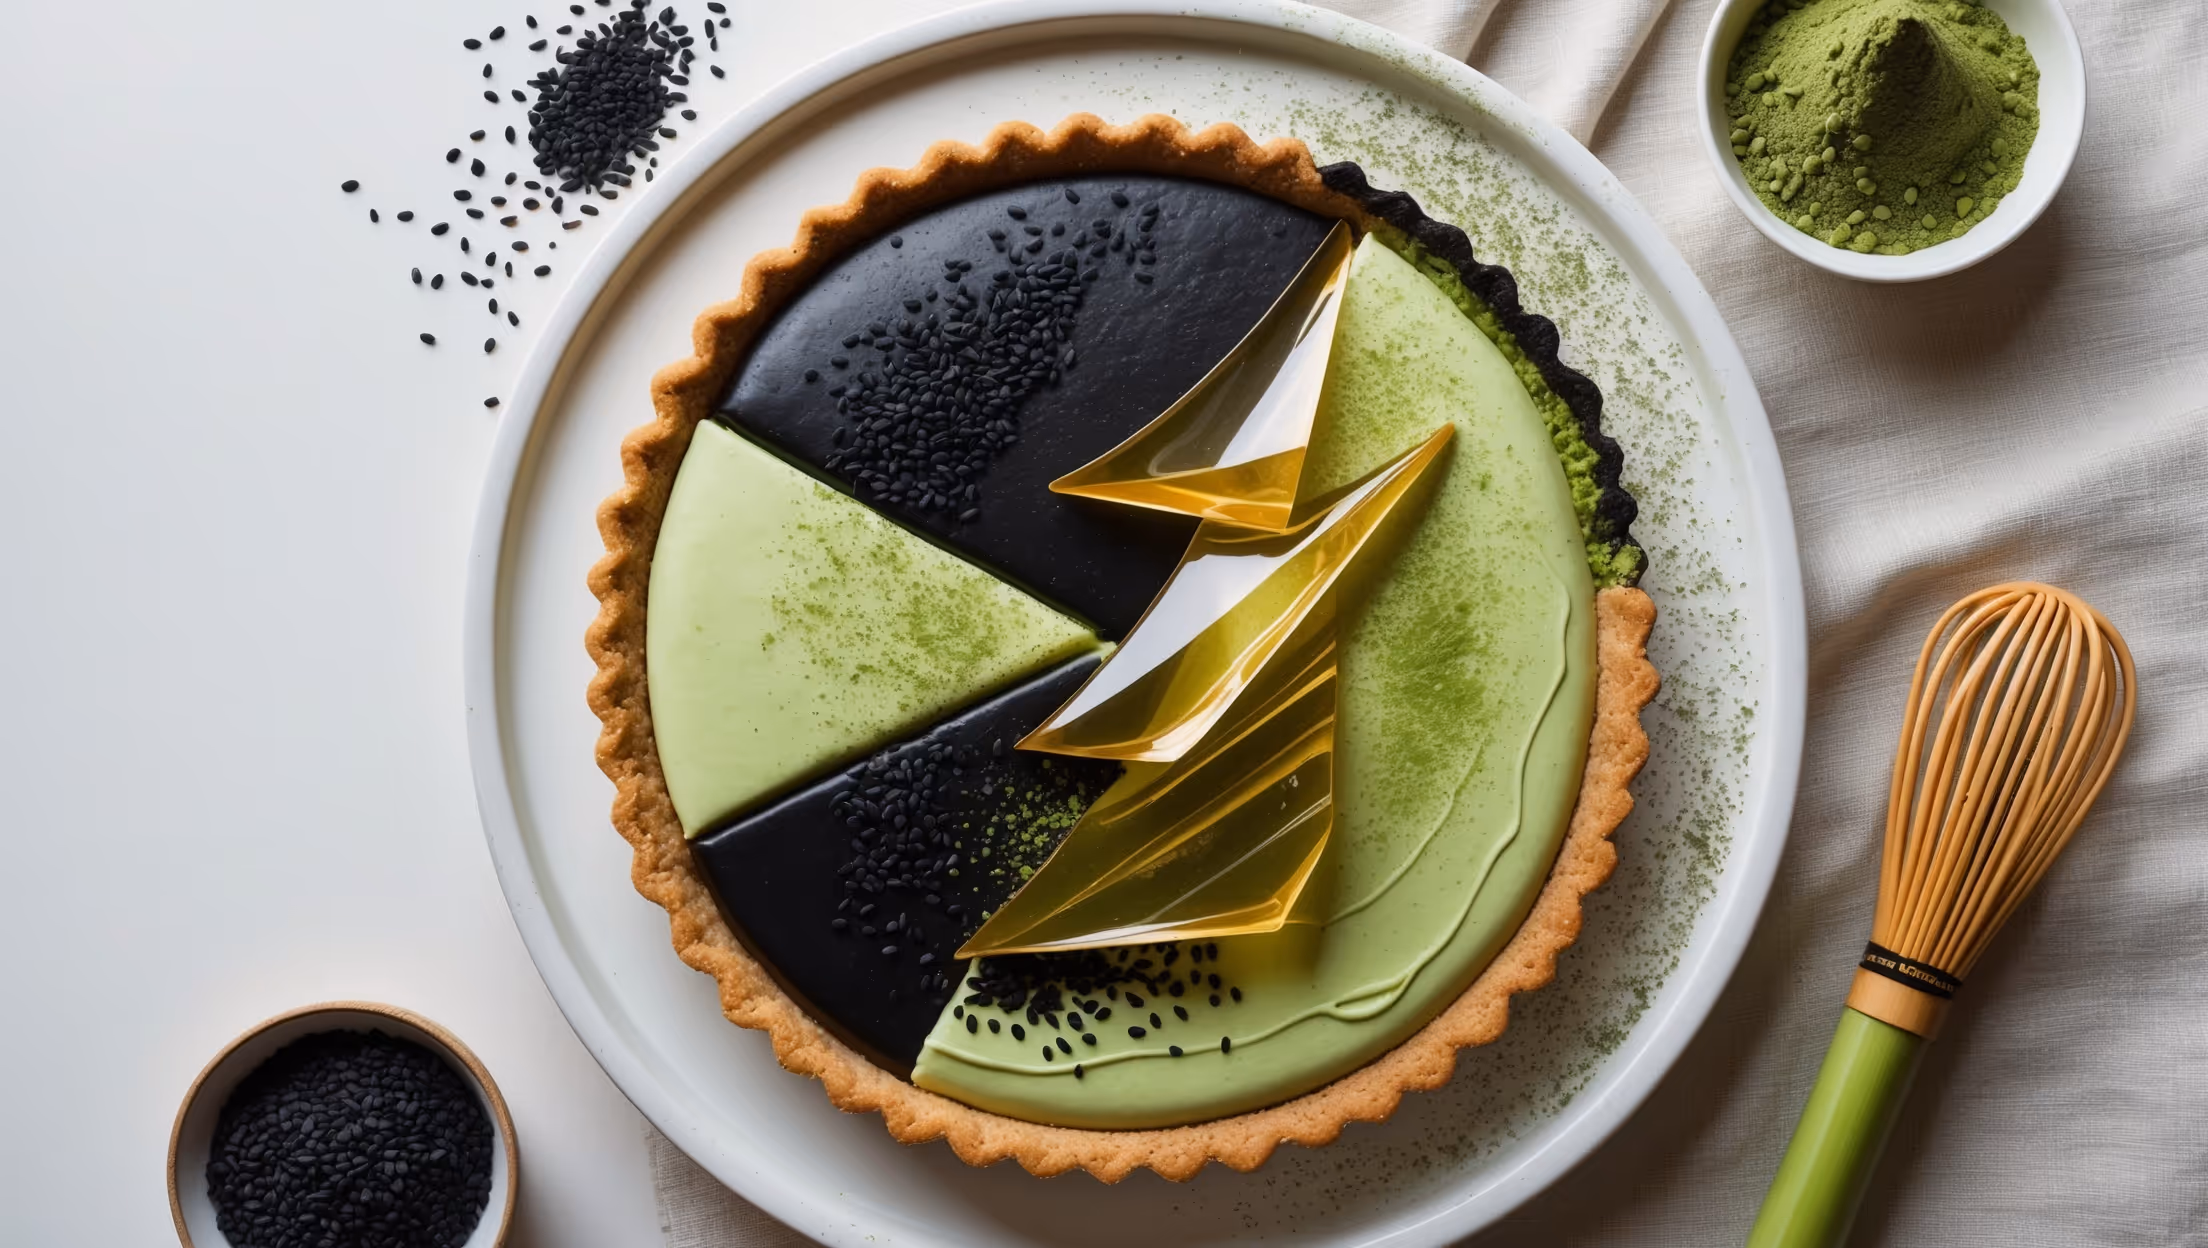
The key ingredients include chocolate cookie crumbs, butter, whole milk, espresso, sugar, cornstarch, egg yolks, vanilla extract, and heavy cream. These create the three distinct layers: chocolate cookie crust, coffee-infused custard filling, and whipped cream topping.
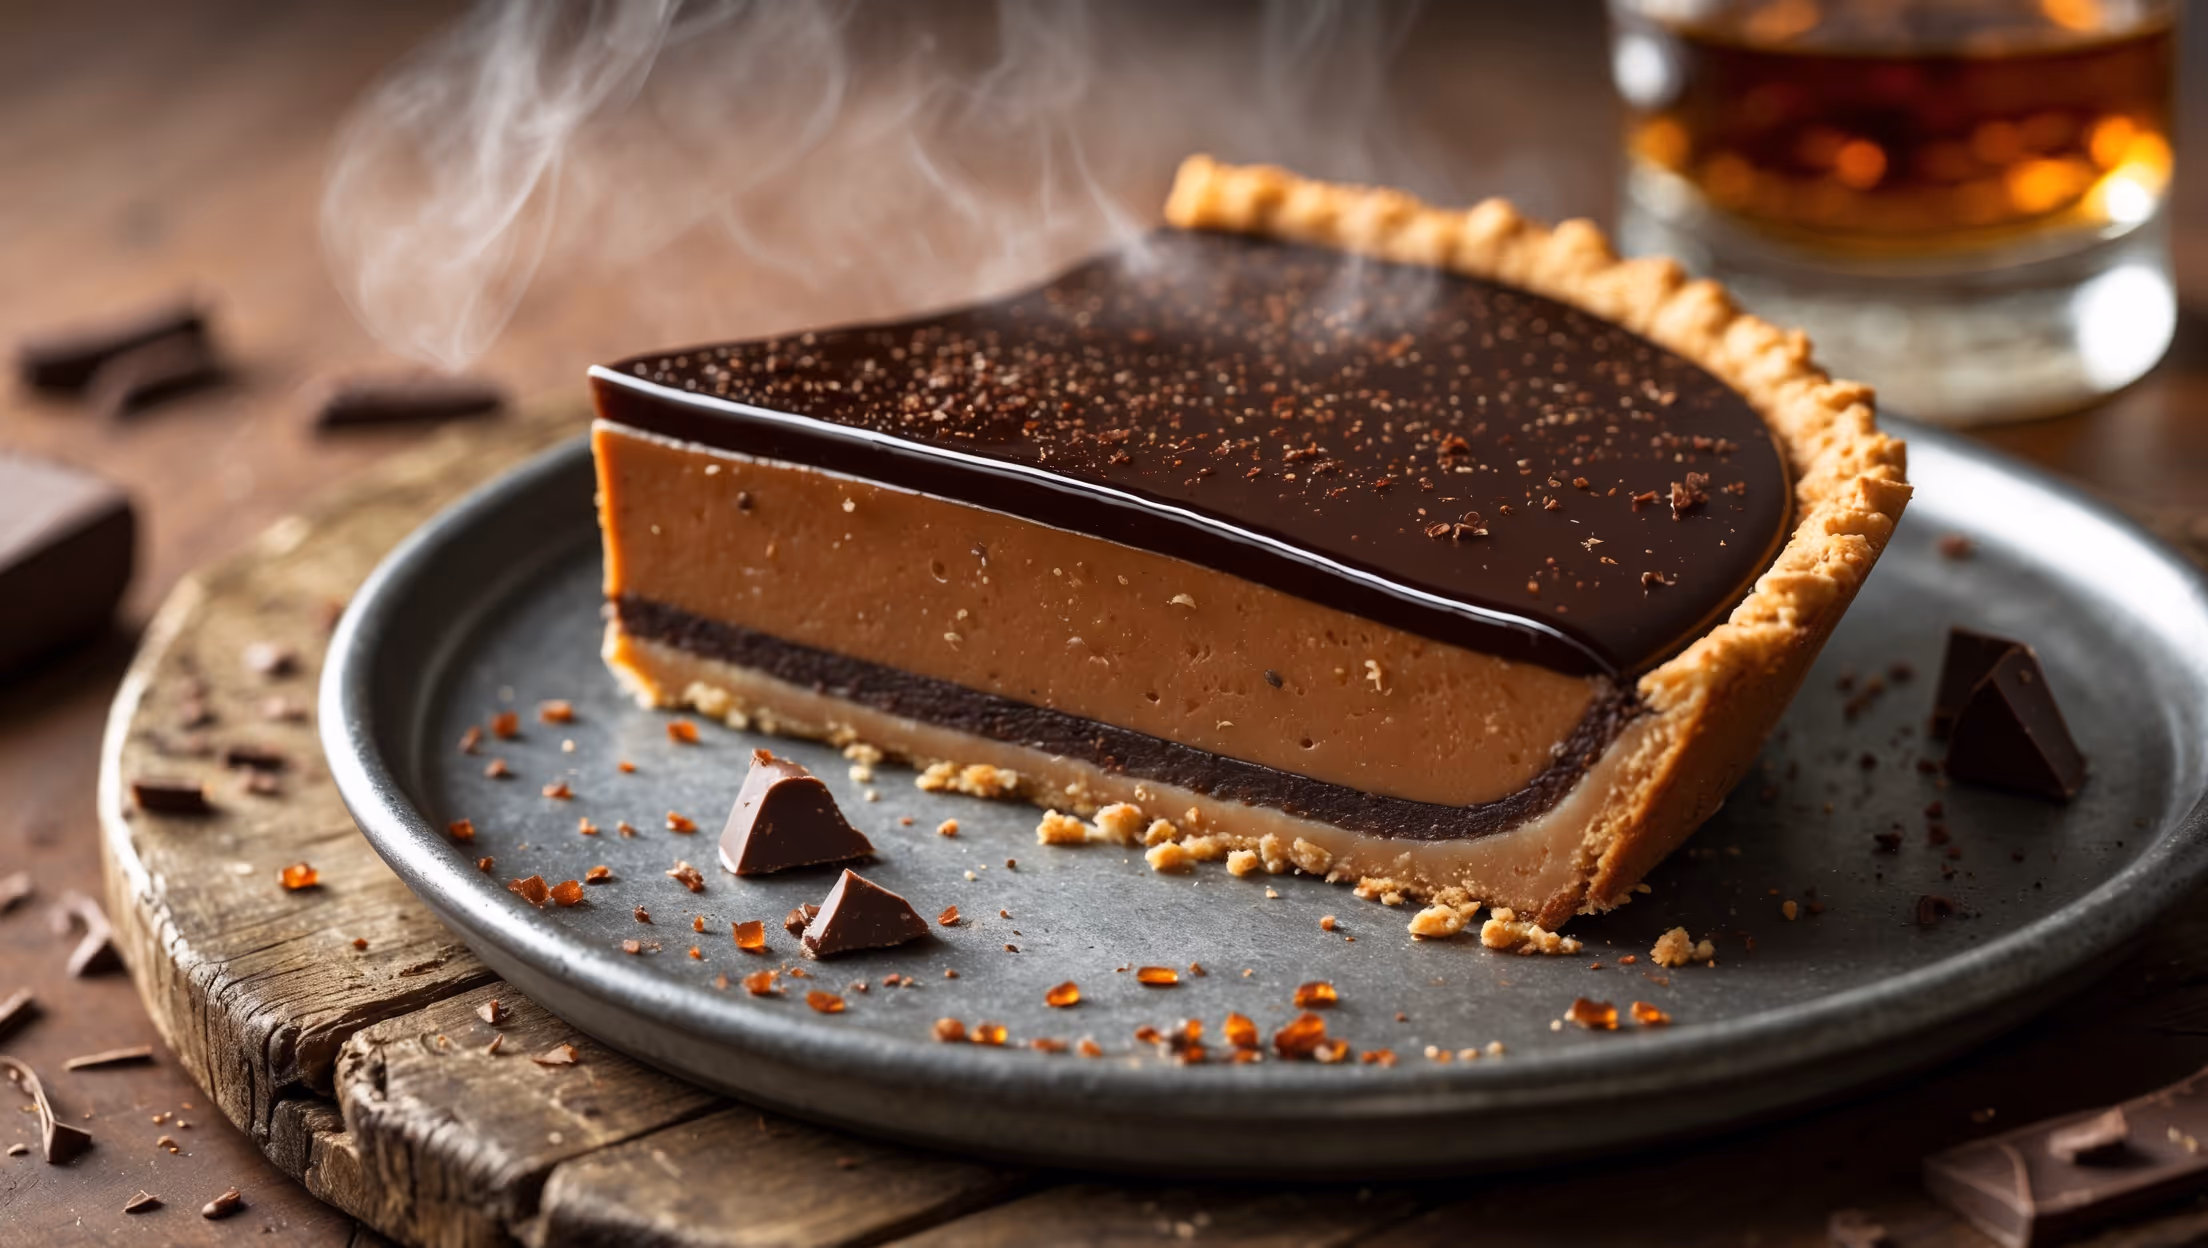
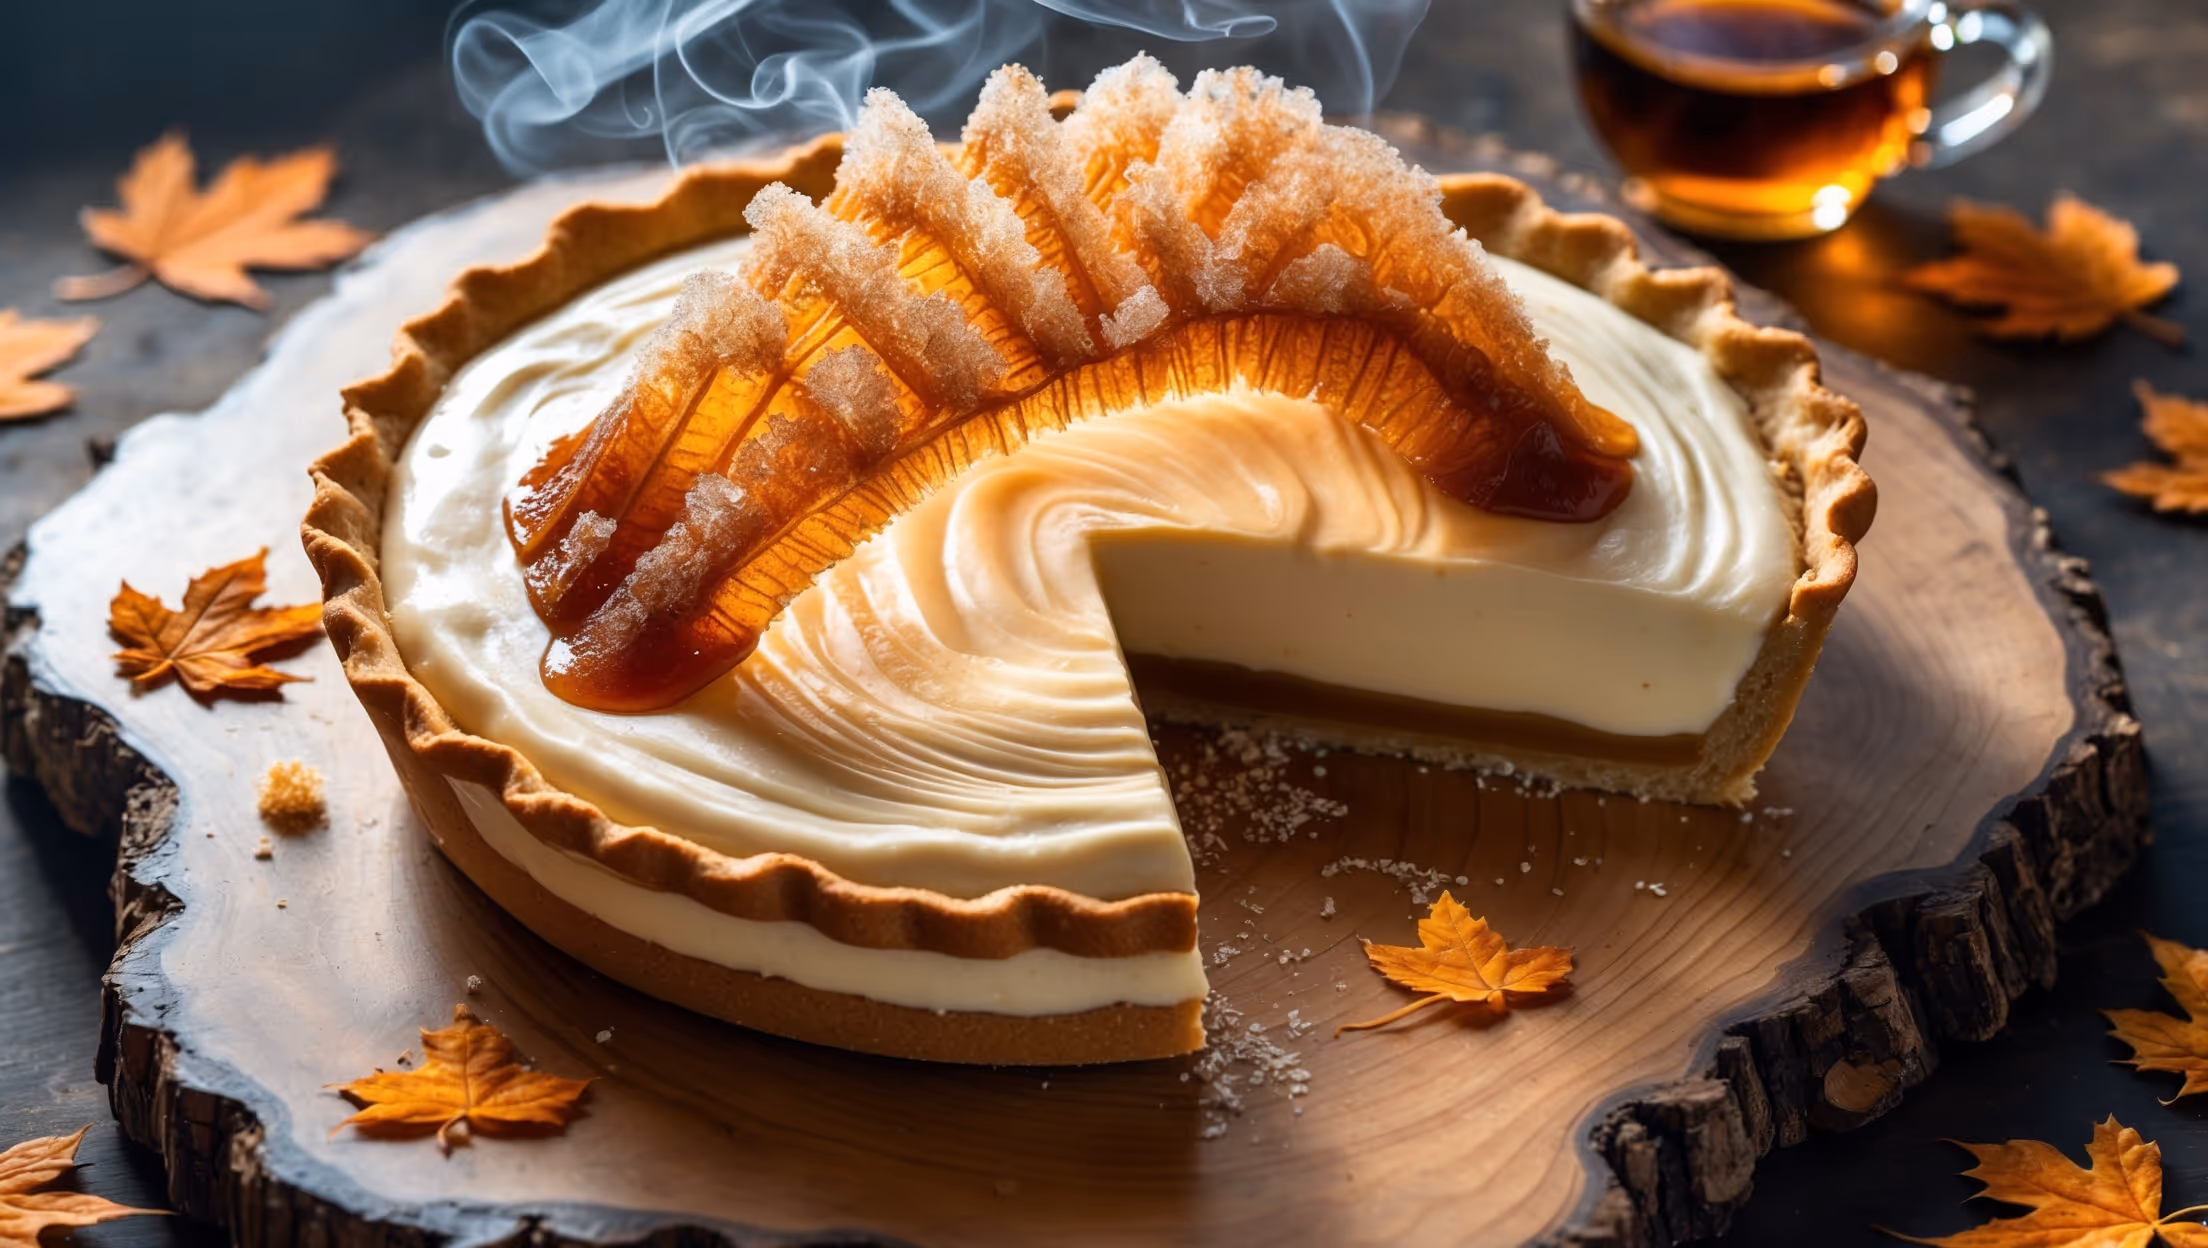
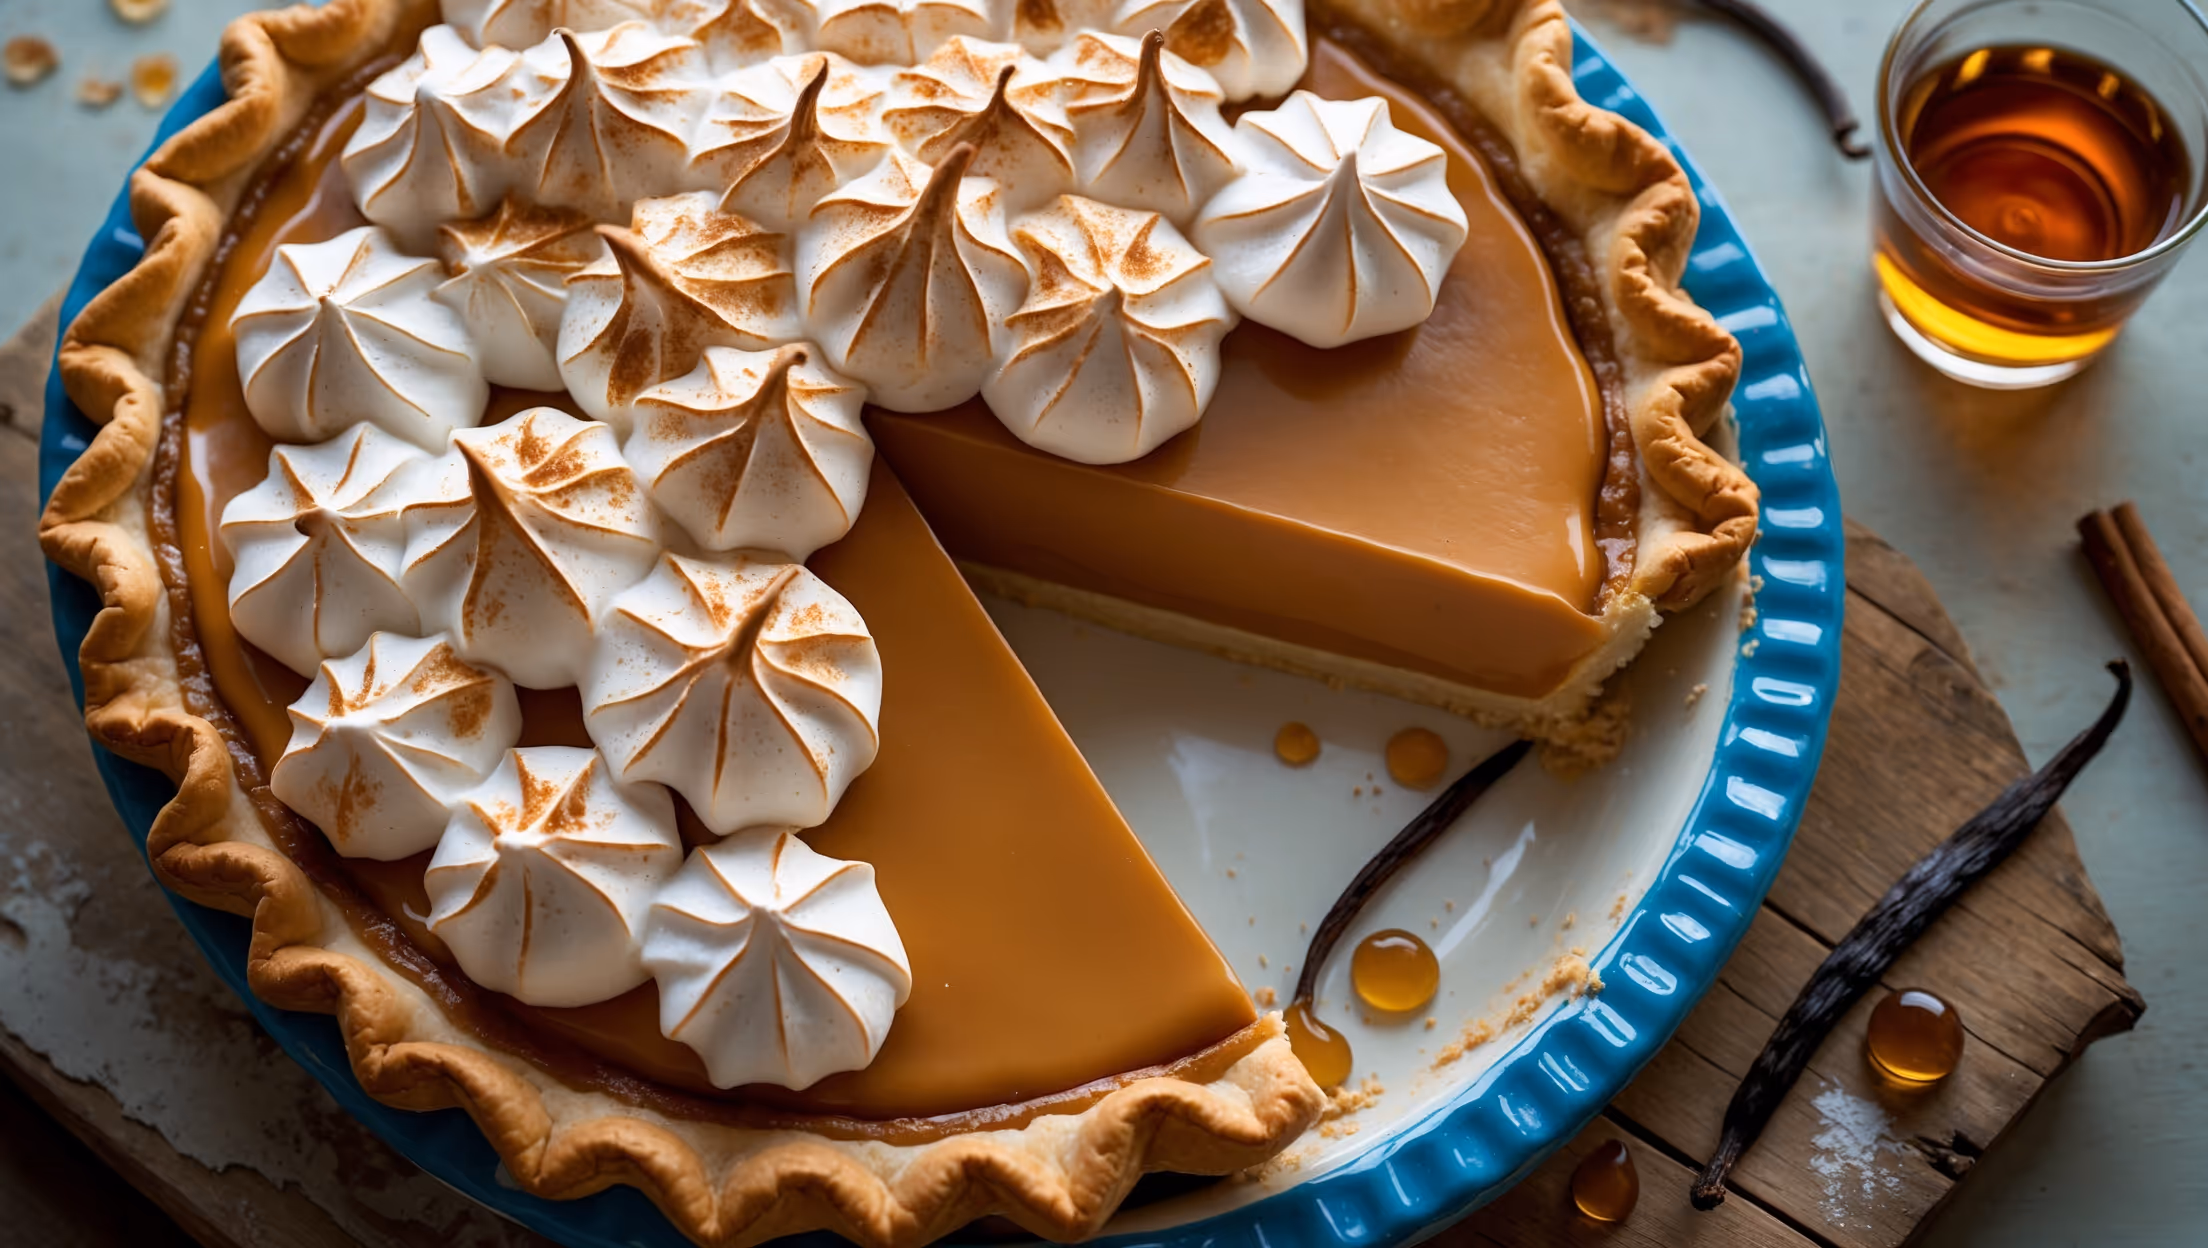
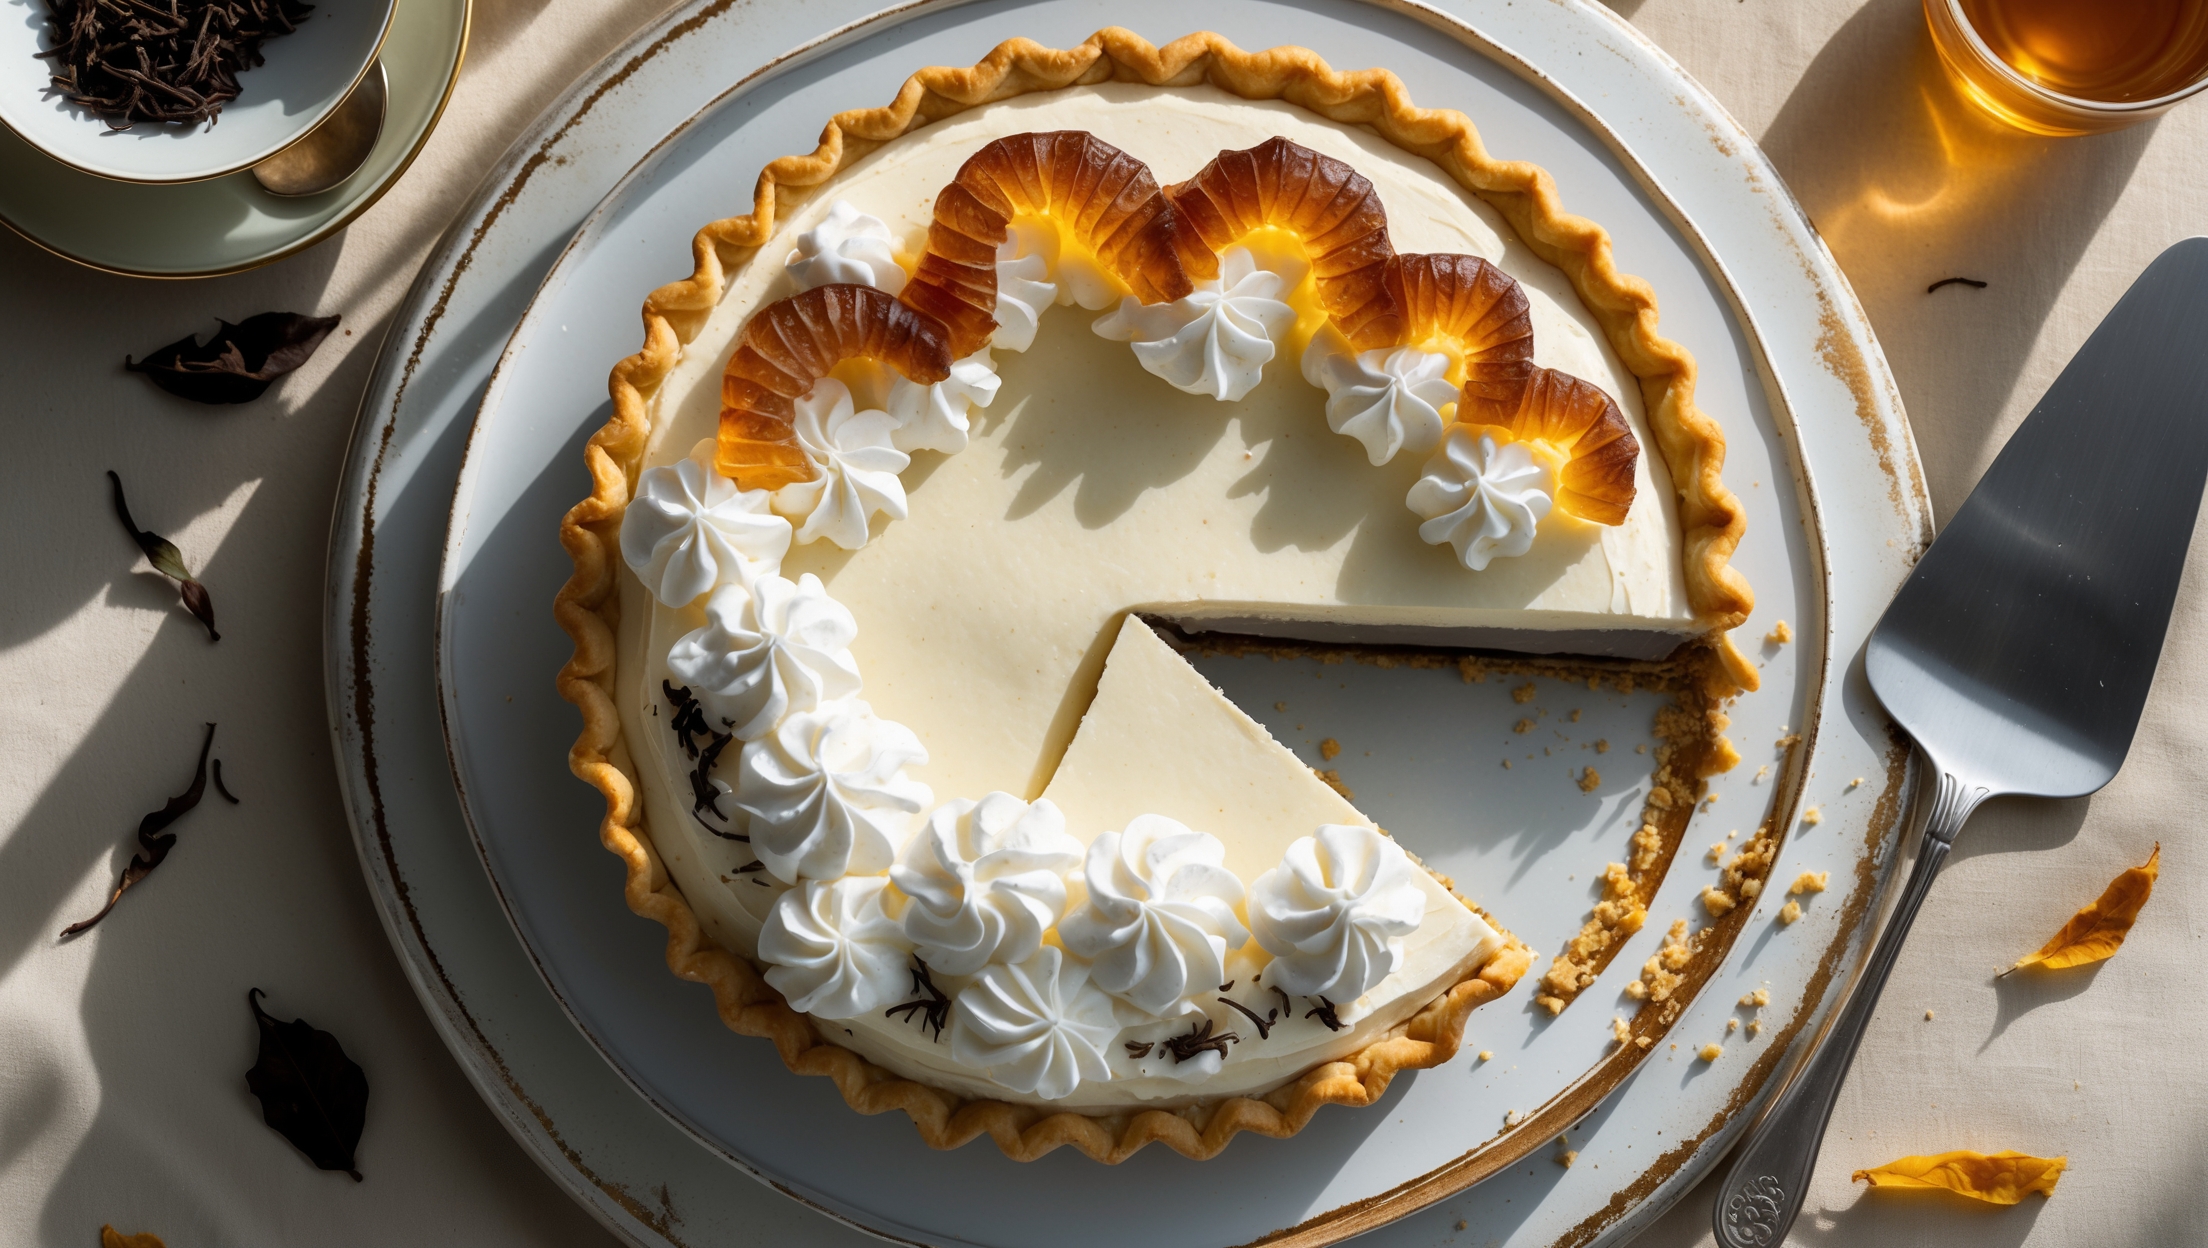
Learn how to cook Espresso Cream Pie by creating a chocolate cookie crust, baking it briefly, then cooking a silky espresso custard on the stovetop until thickened. After cooling the filled pie completely, top with freshly whipped cream and chocolate garnishes. The process combines simple baking and stovetop techniques for professional results.
The key is tempering the egg yolks properly by slowly adding hot liquid while whisking constantly, then straining the finished custard through a fine-mesh sieve to remove any lumps. Adding butter at the end provides extra silkiness and richness to the texture.
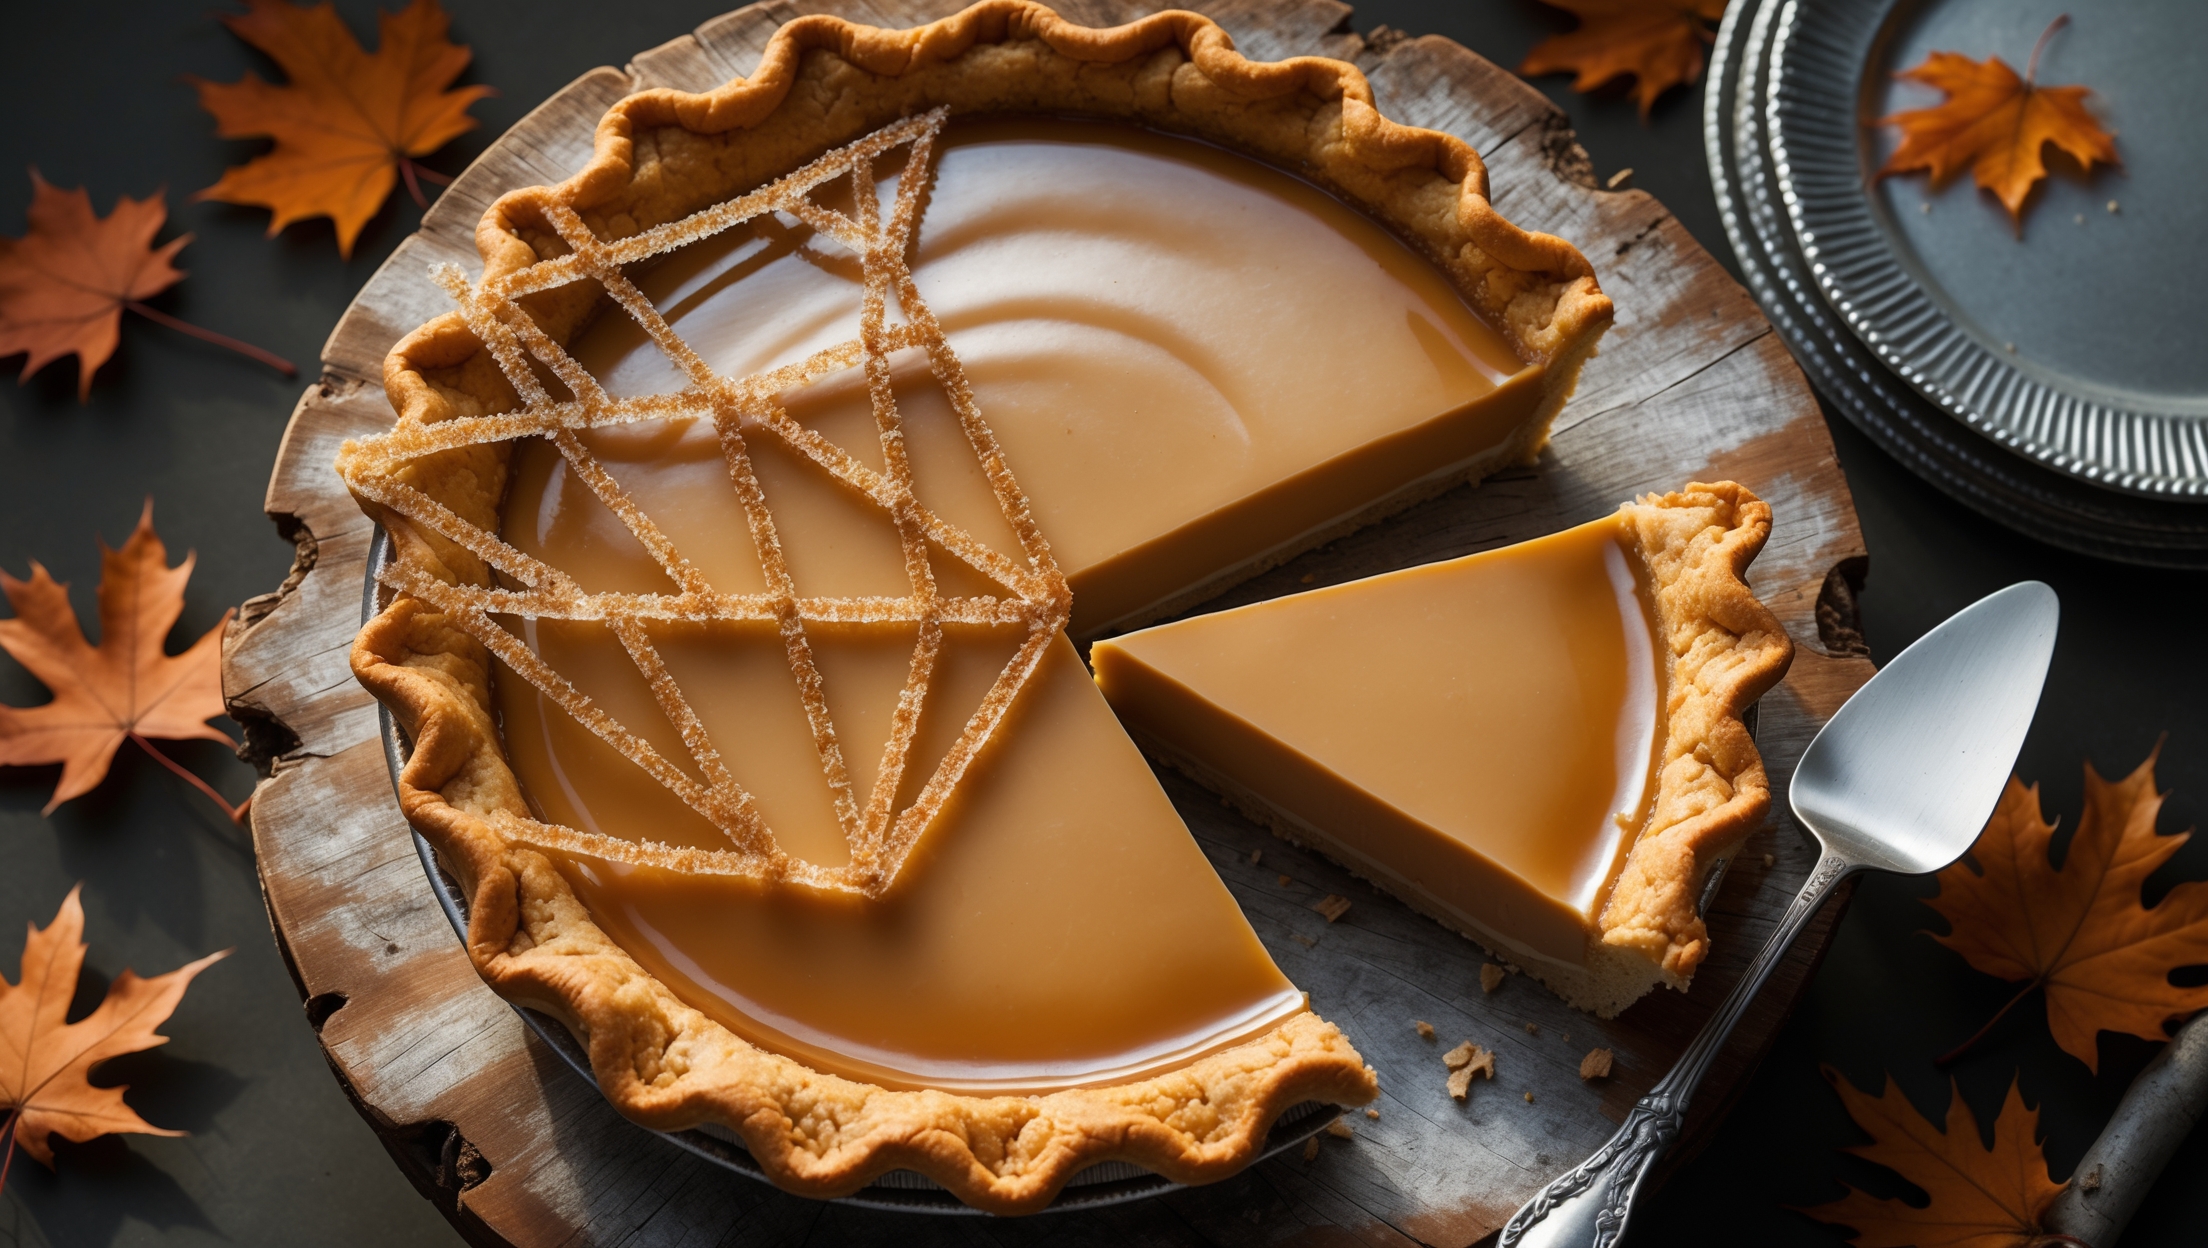
Yes, this is an ideal make-ahead dessert! The pie needs at least 4 hours to set properly, but can be made 1-2 days in advance. Add the whipped cream topping and garnishes a few hours before serving for the freshest presentation and best texture.
For a lower caffeine version, use decaffeinated espresso or coffee. You could also substitute with flavourings like coffee extract (2 teaspoons) or coffee liqueur (3 tablespoons) for the coffee flavour without as much caffeine.
Cream Pies
Try following recommended recipes