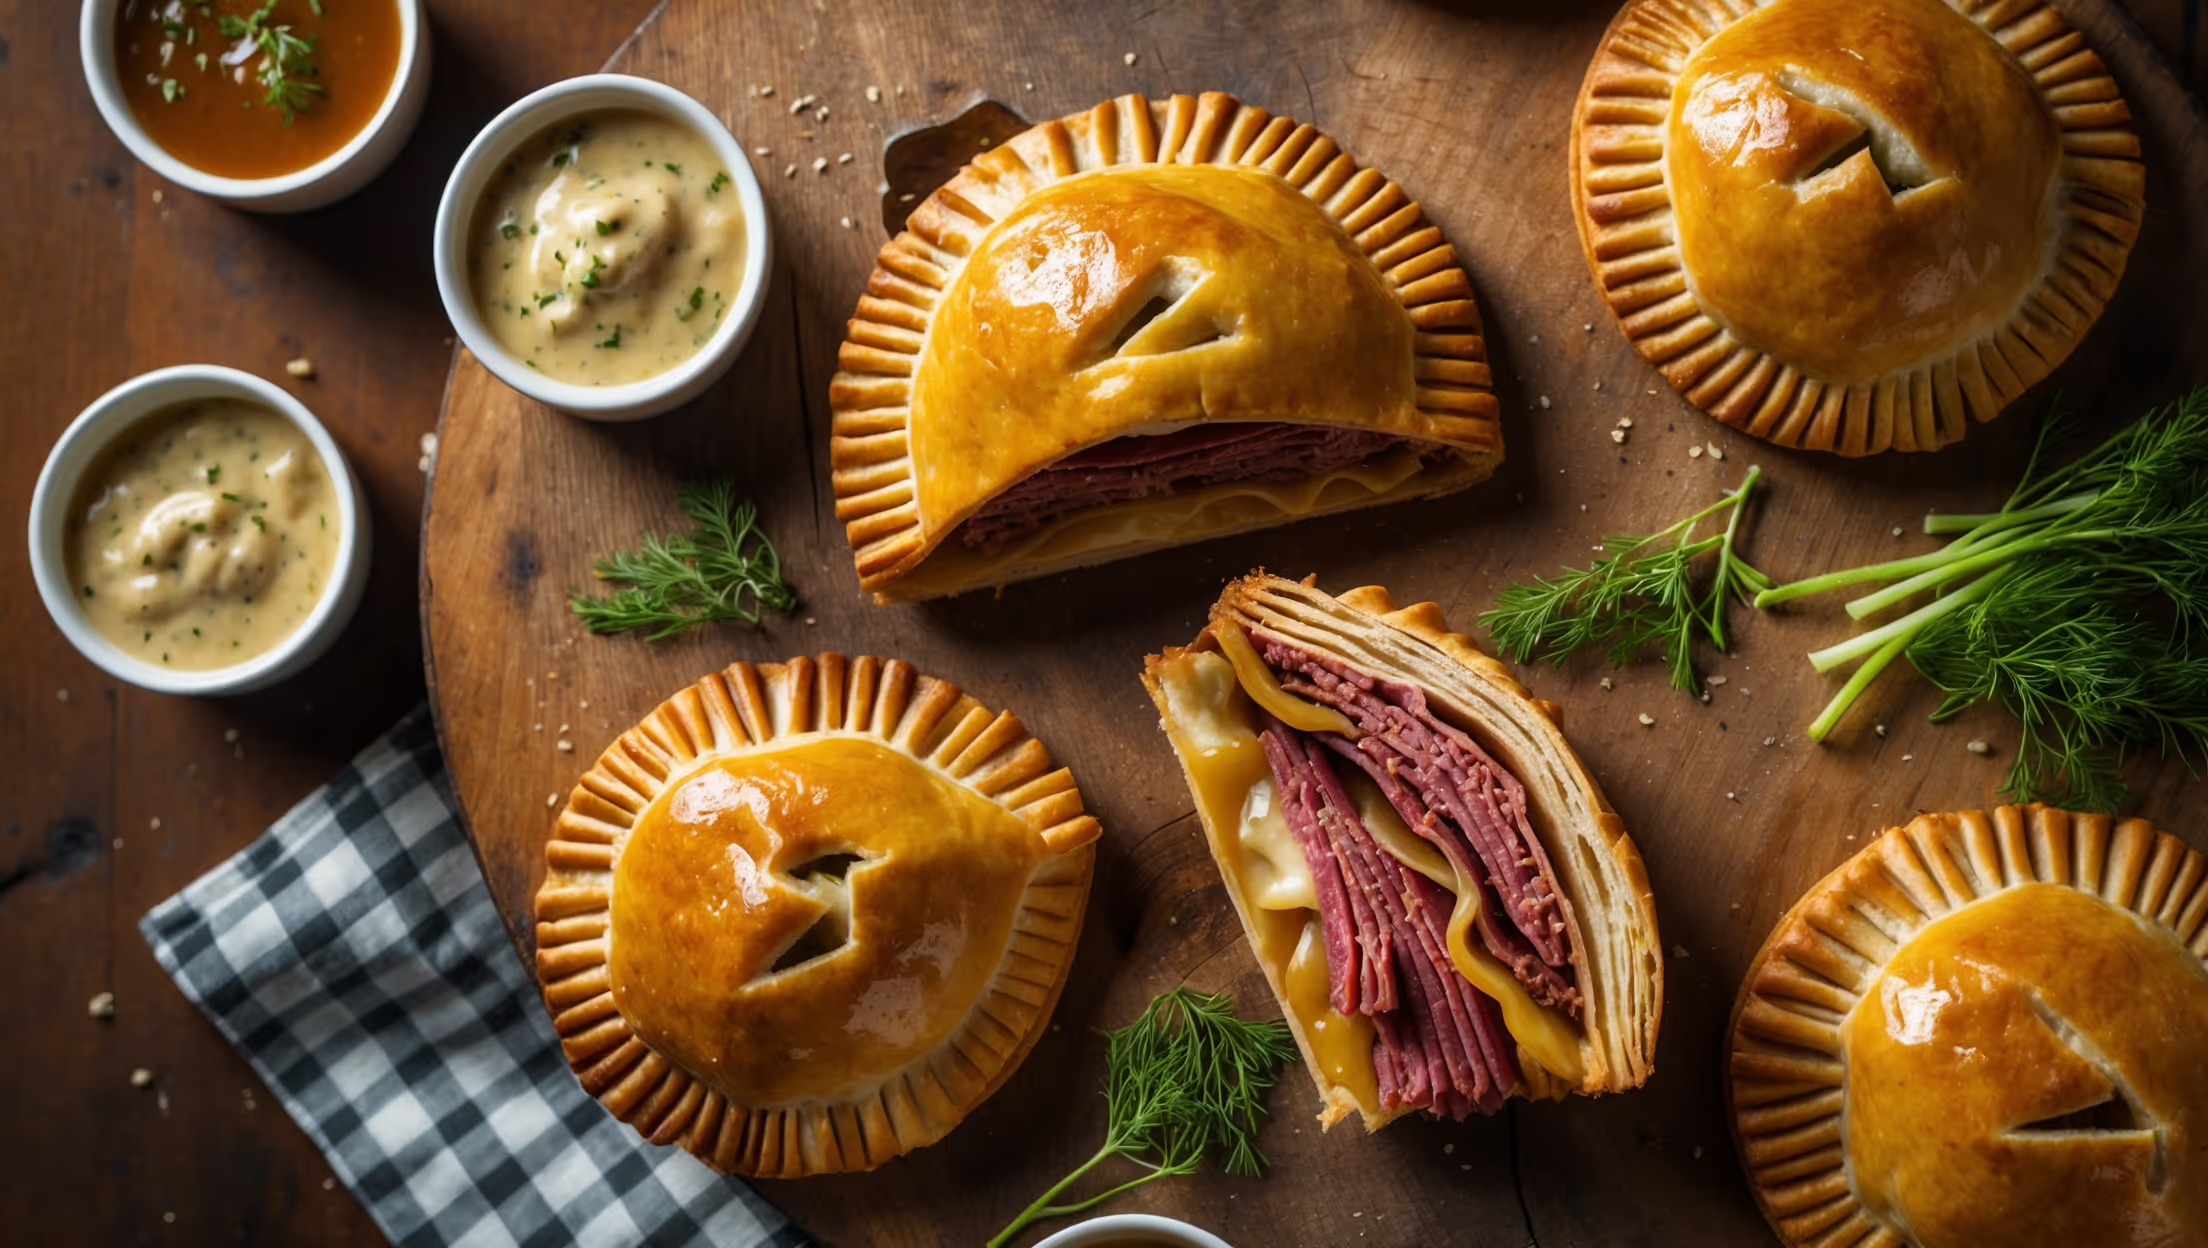
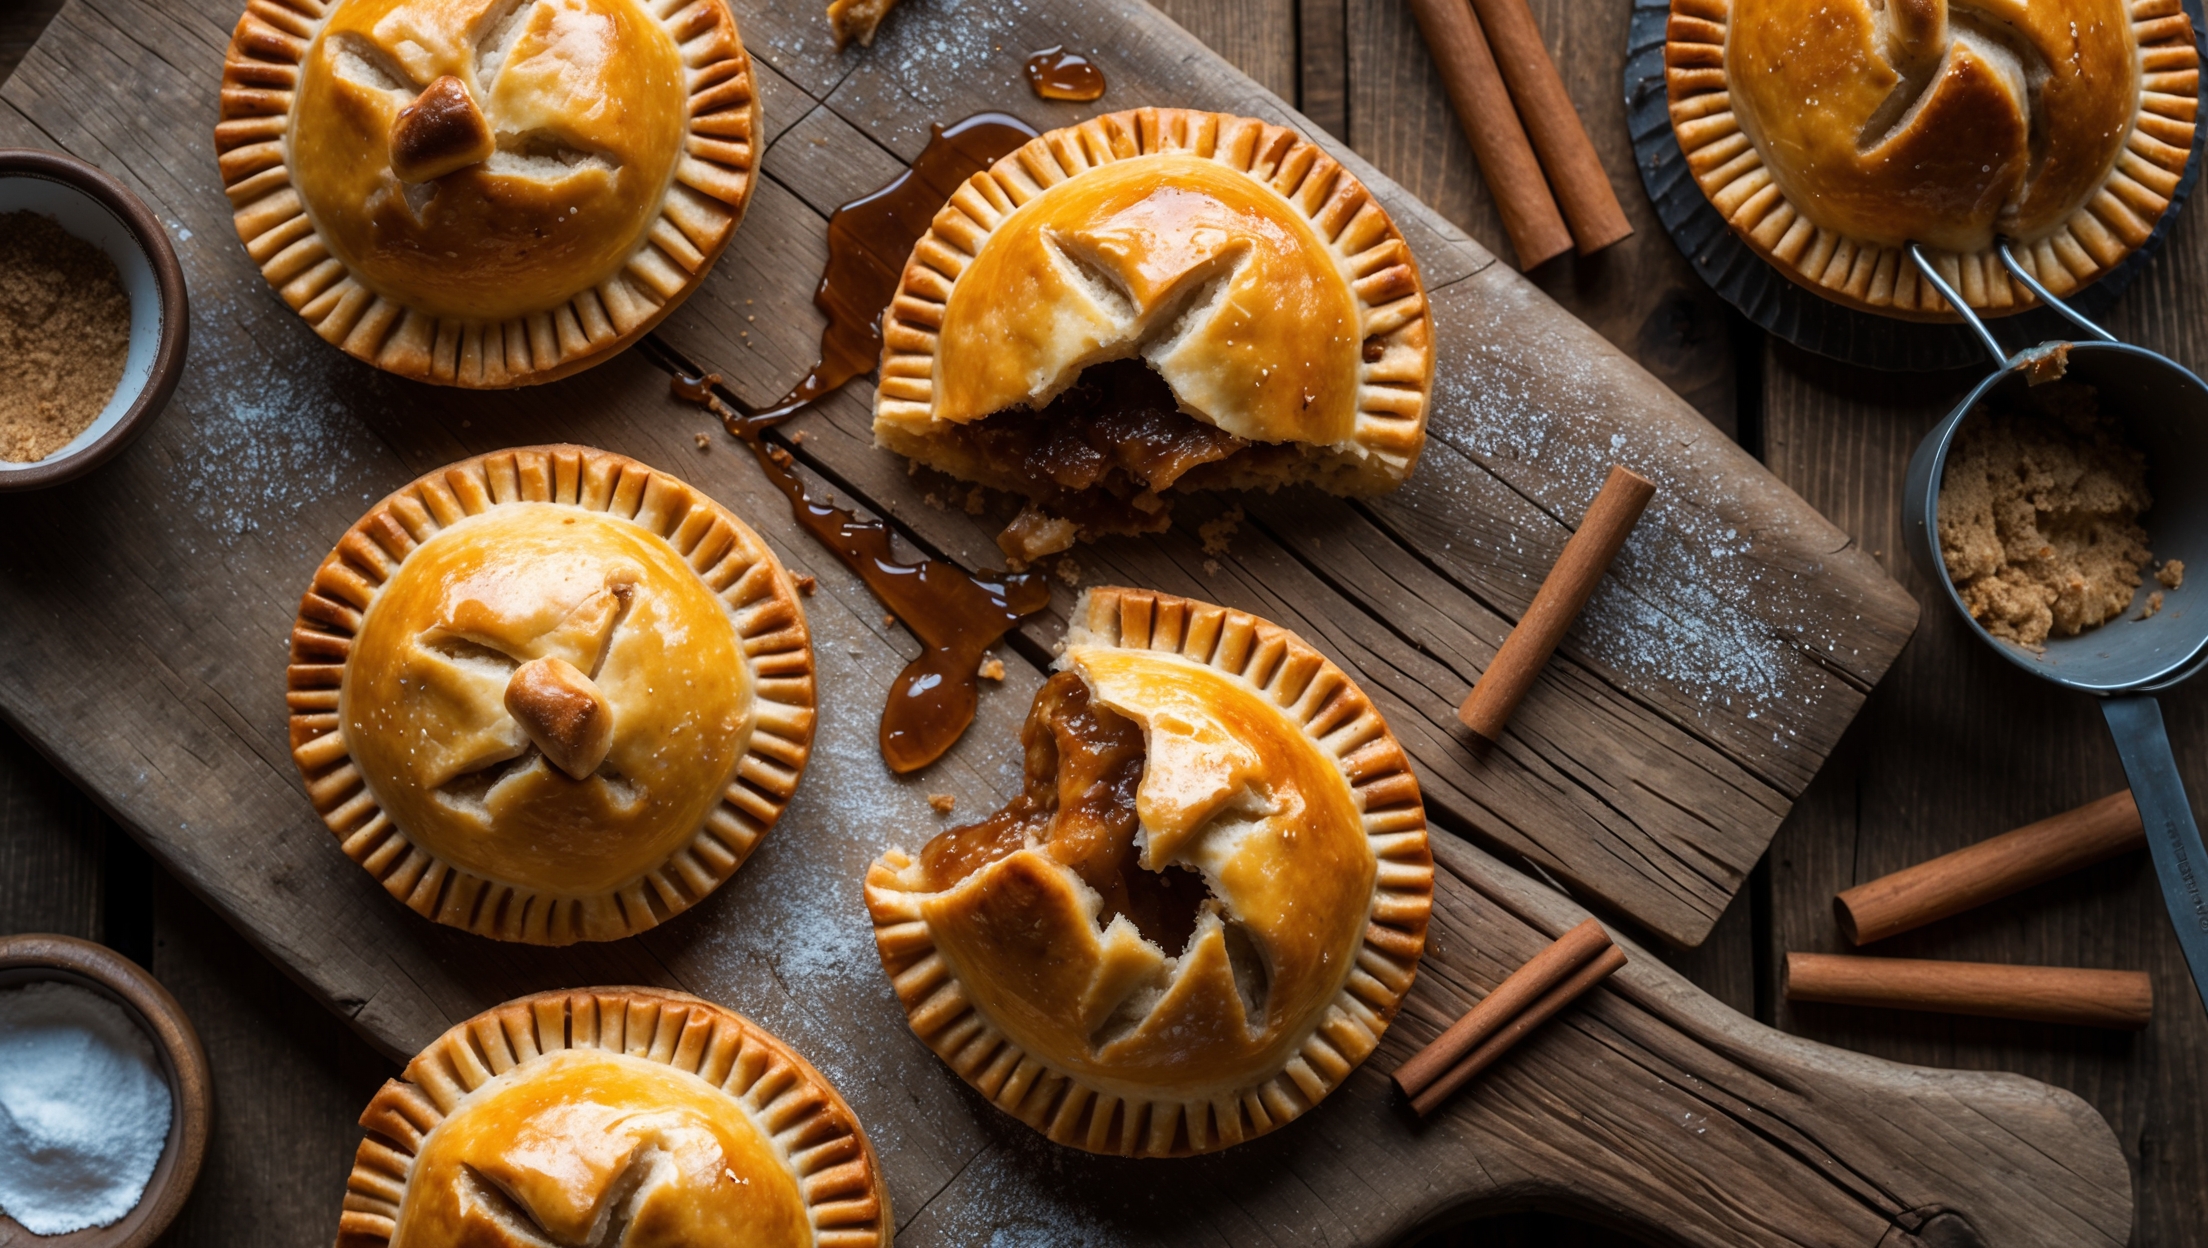
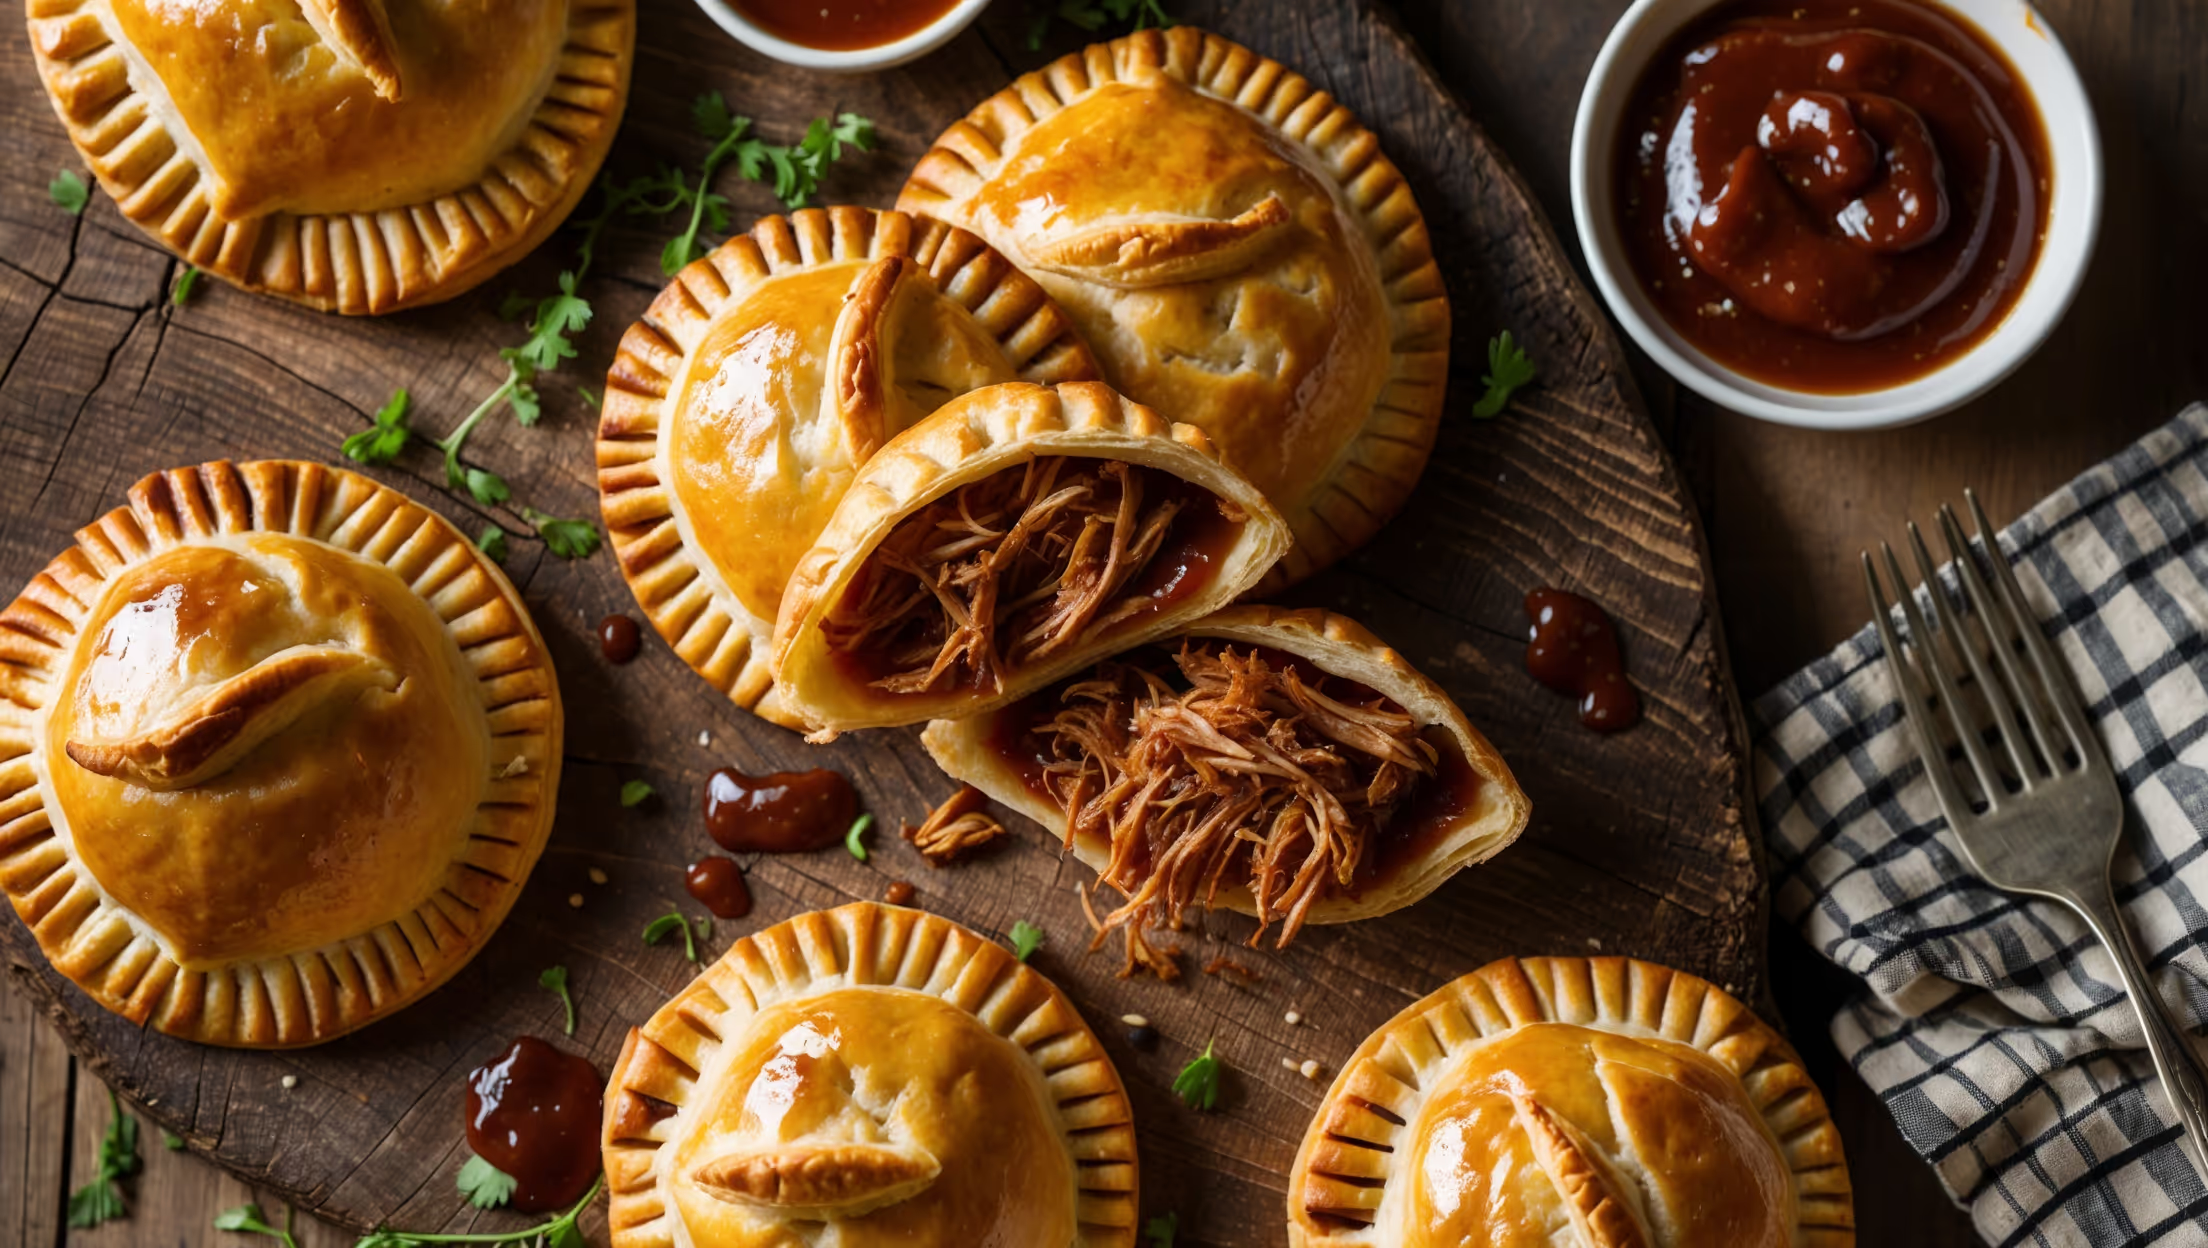
Directions
<ol class="no-list-style"><li class="MethodStepper"><h4 class="step-title">Step 1</h4>Begin by making the pastry. In a food processor or large bowl, combine the flour, salt, and sugar. Add the cold cubed butter and pulse or use your fingertips to work it in until the mixture resembles coarse breadcrumbs with some pea-sized pieces of butter remaining. These butter pieces are crucial for creating flaky layers in your pastry.</li><li class="MethodStepper"><h4 class="step-title">Step 2</h4>Gradually add the ice-cold water, a tablespoon at a time, pulsing or mixing gently just until the dough begins to come together. You may not need all the water – stop adding it when the dough holds together when pinched. Cold ingredients and minimal handling keep the butter from melting, which creates those wonderful flaky layers.</li><li class="MethodStepper"><h4 class="step-title">Step 3</h4>Turn the dough onto a lightly floured surface, divide it into two equal portions, and shape each into a disc. Wrap in plastic wrap and refrigerate for at least 1 hour or up to overnight. This resting period allows the gluten to relax and the flour to fully hydrate.</li><li class="MethodStepper"><h4 class="step-title">Step 4</h4>While the dough chills, prepare your filling. Heat a large skillet over medium heat and add the minced beef. Cook until browned, breaking it up with a wooden spoon, about 5-6 minutes. Add the onion, garlic, and bell pepper, cooking until softened, about 3-4 minutes more.</li><li class="MethodStepper"><h4 class="step-title">Step 5</h4>Stir in the tomato paste, enchilada sauce, cumin, smoked paprika, and chili powder. Cook for 2 minutes, allowing the spices to bloom and develop deeper flavors. Fold in the black beans and cook for another 2 minutes. Season with salt and pepper to taste.</li><li class="MethodStepper"><h4 class="step-title">Step 6</h4>Remove the skillet from heat and allow the mixture to cool completely. Once cooled, stir in the grated cheese and fresh coriander. A hot filling would melt the butter in your pastry before baking, preventing proper puff and flakiness.</li><li class="MethodStepper"><h4 class="step-title">Step 7</h4>Preheat your oven to 200°C (180°C fan) and line two baking trays with parchment paper. Remove one disc of dough from the refrigerator (keeping the other chilled) and roll out on a floured surface to about 3mm thickness.</li><li class="MethodStepper"><h4 class="step-title">Step 8</h4>Using a 10cm round cutter or small bowl as a guide, cut out circles from the dough. Place 1-2 tablespoons of filling in the center of each circle, being careful not to overfill or the pies may burst during baking.</li><li class="MethodStepper"><h4 class="step-title">Step 9</h4>Brush the edges of each circle with beaten egg, then fold over to create a half-moon shape. Press the edges together firmly, then use a fork to crimp and seal completely. The egg creates a protein bond that helps seal the edges.</li><li class="MethodStepper"><h4 class="step-title">Step 10</h4>Transfer the assembled hand pies to your prepared baking trays, spacing them about 3cm apart. Cut a small vent in the top of each pie with a sharp knife to allow steam to escape during baking. Repeat with remaining dough and filling.</li><li class="MethodStepper"><h4 class="step-title">Step 11</h4>Brush the tops of the pies with beaten egg for a beautiful golden finish. Bake for 22-25 minutes, or until the pastry is puffed and deep golden brown. Rotate the trays halfway through baking for even coloring.</li><li class="MethodStepper"><h4 class="step-title">Step 12</h4>Allow the pies to cool on the trays for 5 minutes before transferring to a wire rack. Serve warm or at room temperature, with additional toppings like sour cream, guacamole, or salsa if desired. These hand pies can be stored in an airtight container in the refrigerator for up to 3 days, or frozen for up to 3 months.</li></ol>